
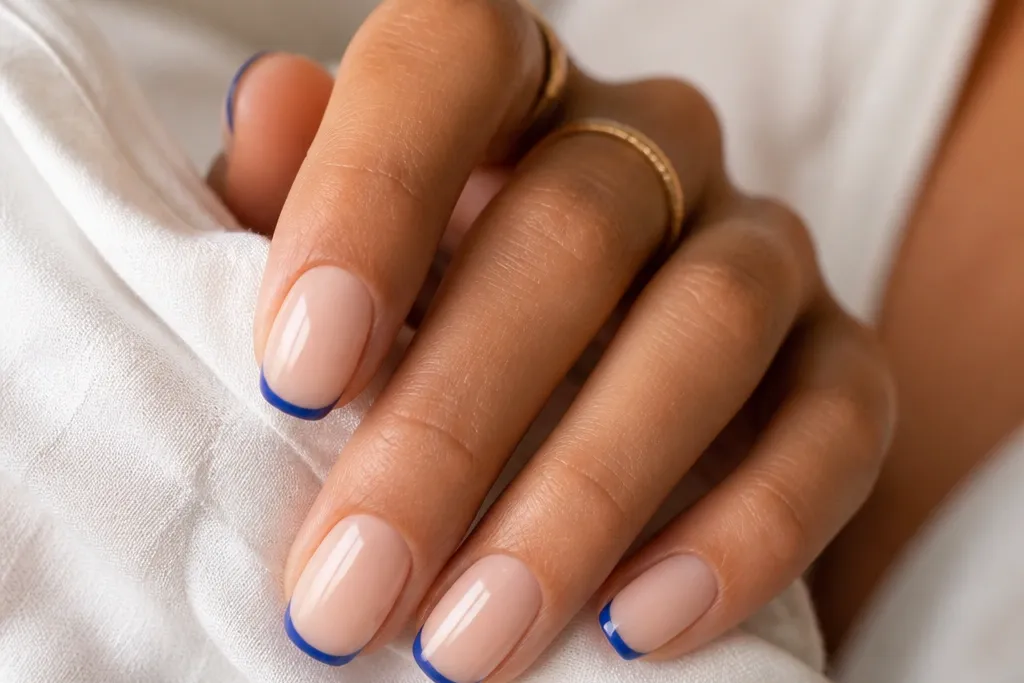
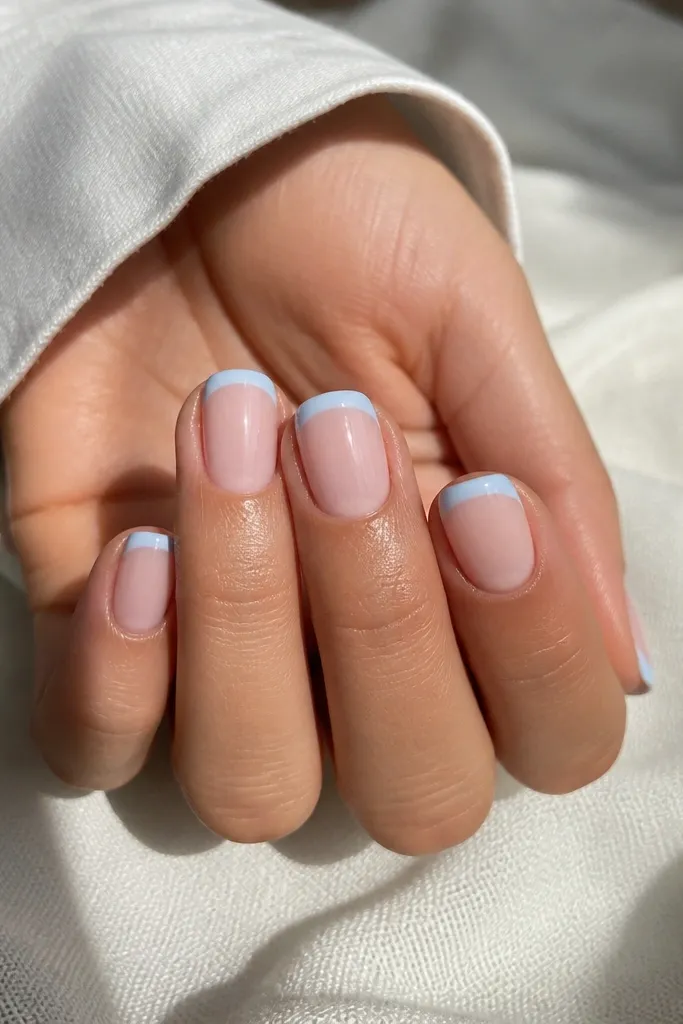
1. Classic Denim French on Tiny Square Tips
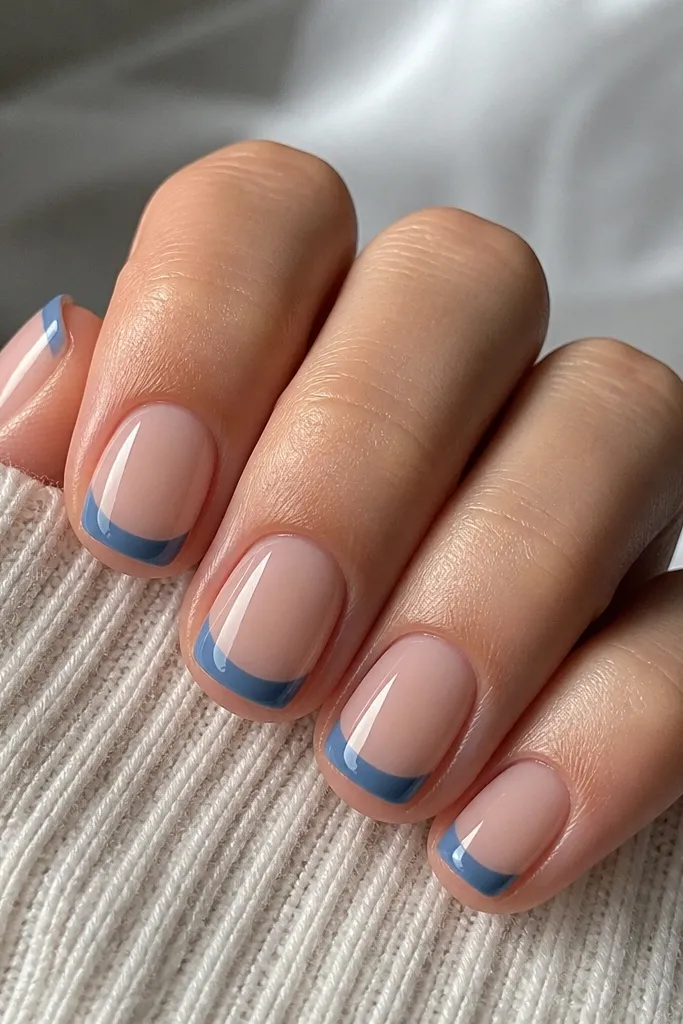
This one is my go-to when I want “done” hands without extra steps. The base is a sheer nude pink (not opaque) so the blue looks crisp against it. Denim blue on short square nails makes your fingers look a touch slimmer because the tip line stays narrow and straight-edged. It looks best on light to medium skin tones, but it also flatters deeper skin by giving a clear contrast. For everyday wear, the glossy finish keeps it looking salon-clean even when it grows out.
Editor's noteIf your smile line is uneven, mark it lightly with a dotting tool before taping so the arc stays consistent across nails.
Start with a thin base coat, then apply one sheer nude pink layer and cure/air-dry fully. Cut small pieces of striping tape and place them so the edge follows your natural smile line; the tape should leave about 2 mm for the blue tip. Paint denim blue over the exposed tip area in one thin coat, let it level, then add a second thin coat only if you can see nail showing through. Remove the tape while the blue is still slightly tacky (for gel) or right after it’s dry to the touch (for regular polish). Finish with two coats of glossy top coat, letting the first coat dry completely before the second.
Watch outAvoid wide French tips — they make short nails look stubby and cheap.
2. Powder Blue Micro French Arc with Clear Base
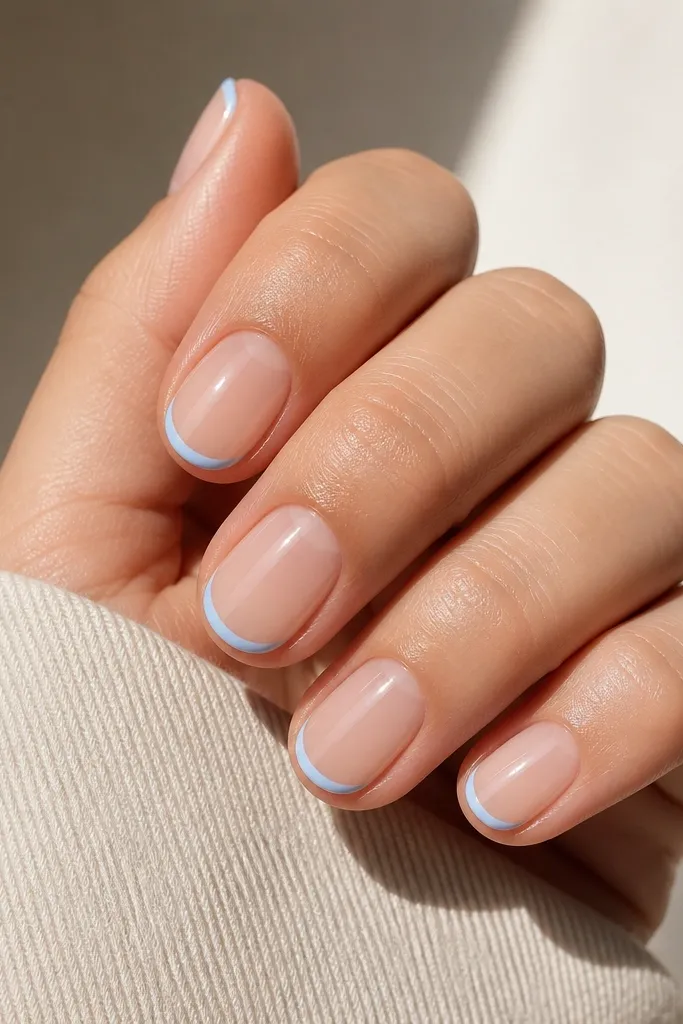
A micro French is the secret for budget-friendly because you use less blue polish and every line looks intentional. The clear jelly base makes the nails look fresh and hydrated, which makes the powder blue feel airy instead of heavy. This design flatters short rounded nails and hands with smaller nail beds because the blue stays close to the free edge. On warm skin tones it looks soft and clean; on cool skin tones it pops without turning harsh. It also photographs well because there’s less busy detail competing with the line.
Editor's noteUse a liner brush with bristles trimmed to about 4-5 mm so you get a controlled arc.
Start by buffing the nail lightly and wiping with alcohol so the jelly base grips. Apply a clear jelly base coat or a sheer clear pink jelly and let it level. Use a fine liner brush to paint a thin powder blue arc along the free edge, keeping the tip width under 2 mm. Let the blue dry fully, then add one more pass to even out the arc where it looks patchy. Seal with one coat of glossy top coat, then check for any bald spots at the tip edge and spot-finish with a second thin top coat.
3. Sky Blue French with One Side Accent Dot
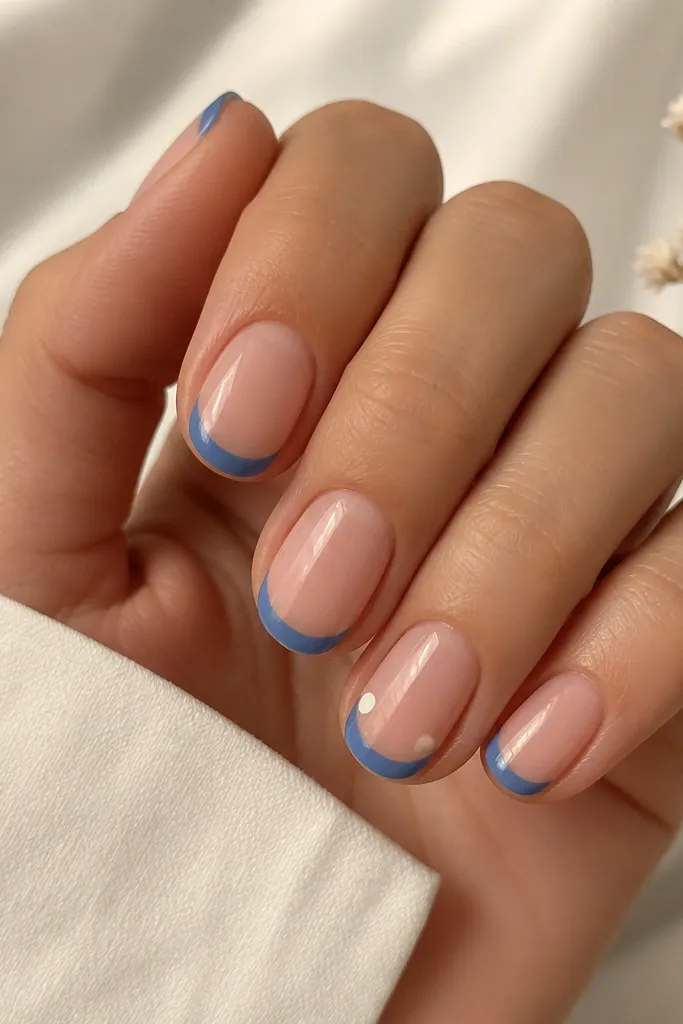
This one looks expensive because the accent is small and placed with intention. The sky blue French tip is clean and simple, while the single white dot adds a “jewelry” effect without adding a ton of product. I like it on short oval nails because the rounded shape makes the arc look smooth. It flatters all skin tones, but it’s especially pretty on medium and deep tones where white dots give a bright focal point. Best for casual dates, brunch, and any day you want a fun detail without full nail art.
Editor's noteIf your dot smears, dot on the blue after cure/dry, then seal immediately with a thin top coat.
Paint your nude base first and let it dry completely. Apply striping tape for the French line, leaving a narrow blue tip area, then fill with sky blue in one thin coat. Remove tape after the blue sets enough that it won’t smear. For the ring finger, use a dotting tool to place one tiny white dot about 1/3 in from the outer edge of the blue tip. Finish with glossy top coat on all nails, then run the brush lightly over the dot so it looks embedded, not sitting on top.
4. Cobalt French Tip with Matte Top Over Gloss Tips
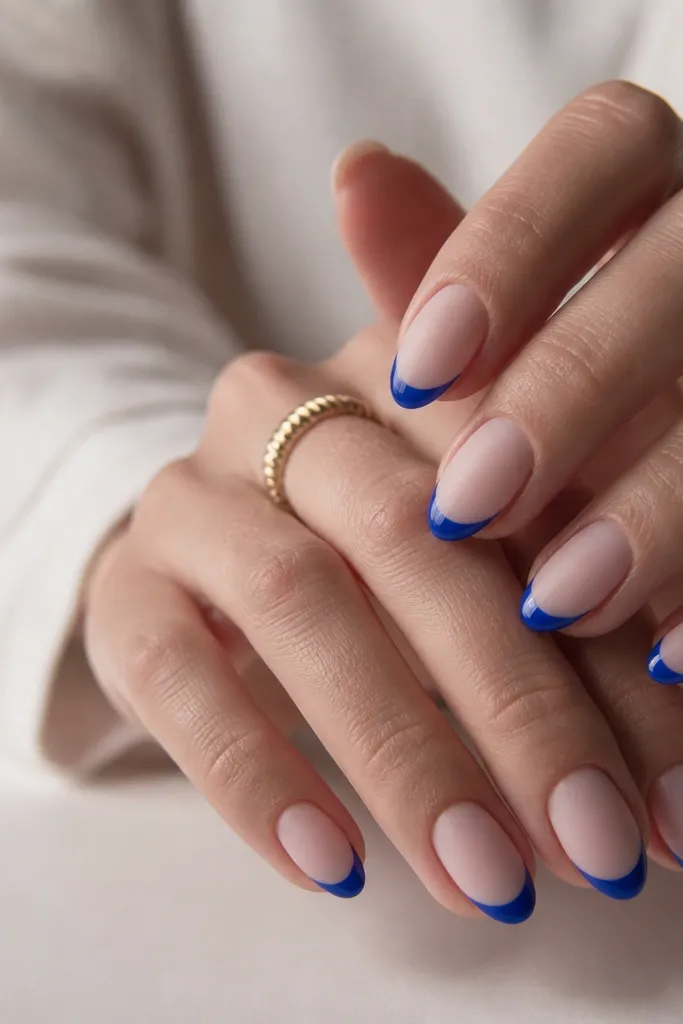
Contrast makes this look designer without extra nail art. The cobalt tip stays glossy so it catches light, while the nude area turns matte for a softer, velvety look. I like matte on short almond shapes because it hides tiny surface texture and keeps the nails looking smooth. On fair skin, the cobalt looks bold but clean; on deeper skin, it reads richer and more saturated. This is a great choice if you’re tired of everything being shiny but still want your tips to pop in photos.
Editor's noteUse matte top coat sparingly. Too much on the blue area turns the tip cloudy.
Apply a sheer nude base and let it set. Tape your French line and paint cobalt blue in thin layers, then top the blue area with glossy top coat only. Once the blue is sealed, apply matte top coat to the nude parts while carefully avoiding the blue tips; you can use a small piece of tape at the tip boundary to protect the gloss. If matte gets on the blue, wipe the edge quickly before it dries. Cure/dry fully, then lightly run a cuticle oil drop around the base for a finished look.
5. Blue French with Tiny White Dashes (Like Stitching)
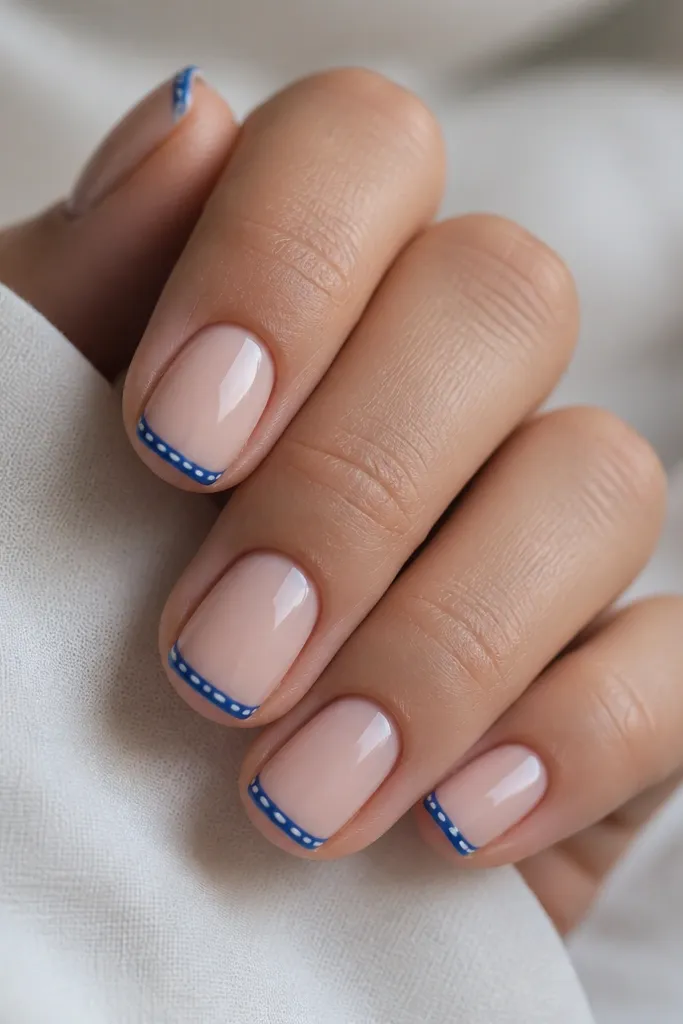
This is the “I did nail art but it’s still budget” design. The white dashes are small enough to keep the look minimal, yet they add movement and texture. It flatters short squoval nails because the slightly rounded edges make the dashes look tidy instead of scattered. On cooler skin tones, white dashes brighten the blue; on warm skin tones, they keep everything from looking too muted. Wear it for school, work, or any day you want a playful detail that still reads polished.
Editor's notePractice the dash length on a paper towel first. You want short strokes, not tiny dots.
Start with a nude base and let it dry fully. Use striping tape to create a narrow blue French line, then apply your blue (denim or medium cobalt) in one thin coat and a second thin coat if needed. Remove tape and wait for the blue to set. Dip a fine liner brush in white polish and paint 3-4 tiny dashes across the middle of the blue tip — keep them about 1 mm long. Finish with a glossy top coat so the dashes look smooth and not raised.
6. Powder Blue French with Inner Corner Rhinestone
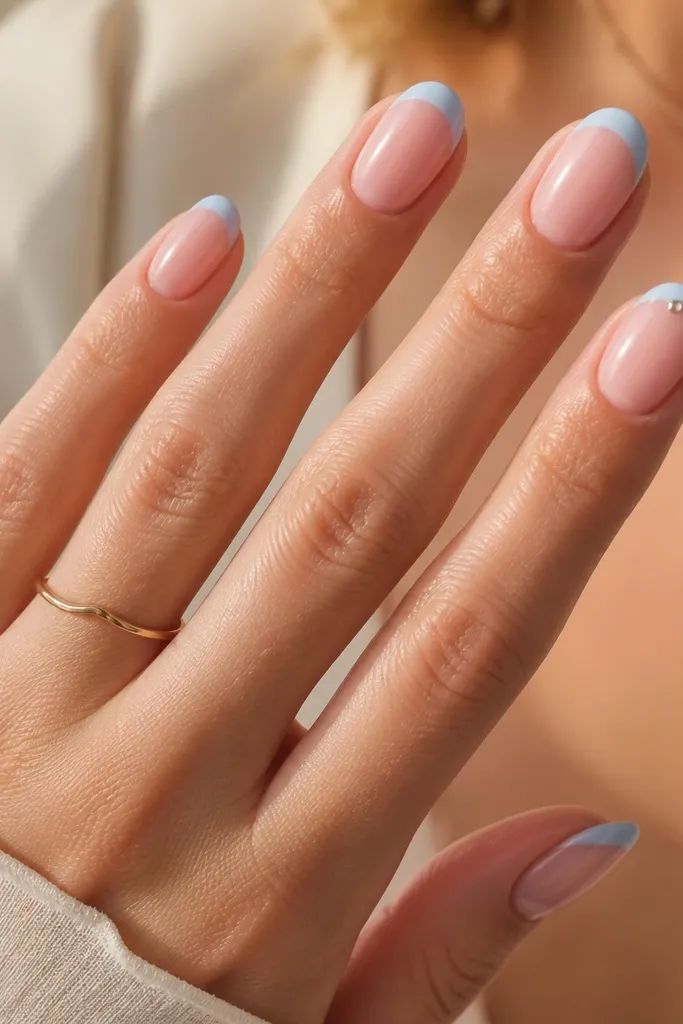
One rhinestone is enough. Place it near the inner corner of the French arc and the whole manicure looks intentional, like a bridal detail. Powder blue keeps the vibe soft, and the silver sparkle reads clean instead of flashy. This works really well on short oval or rounded nails because the stone sits securely and doesn’t fight the shape. It flatters hands with shorter nail beds by pulling the eye toward the center of the tip. I’ve worn this to a couple of events and it always gets “where did you get your nails done?” reactions.
Editor's noteIf you can feel the rhinestone edge with your finger, add top coat around it and over it, then cure/dry again.
Apply a sheer jelly base and cure/dry. Tape and paint powder blue tips in thin coats, then remove tape and let the blue set. Add a tiny drop of clear rhinestone glue or gel adhesive on the ring finger at the inner corner of the blue tip, then place one small rhinestone (2 mm size works on short nails). Press gently and cure if you’re using gel glue. Seal with a glossy top coat, but keep the brush pressure light so the stone doesn’t shift.
7. Blue French with Negative Space Half-Moon
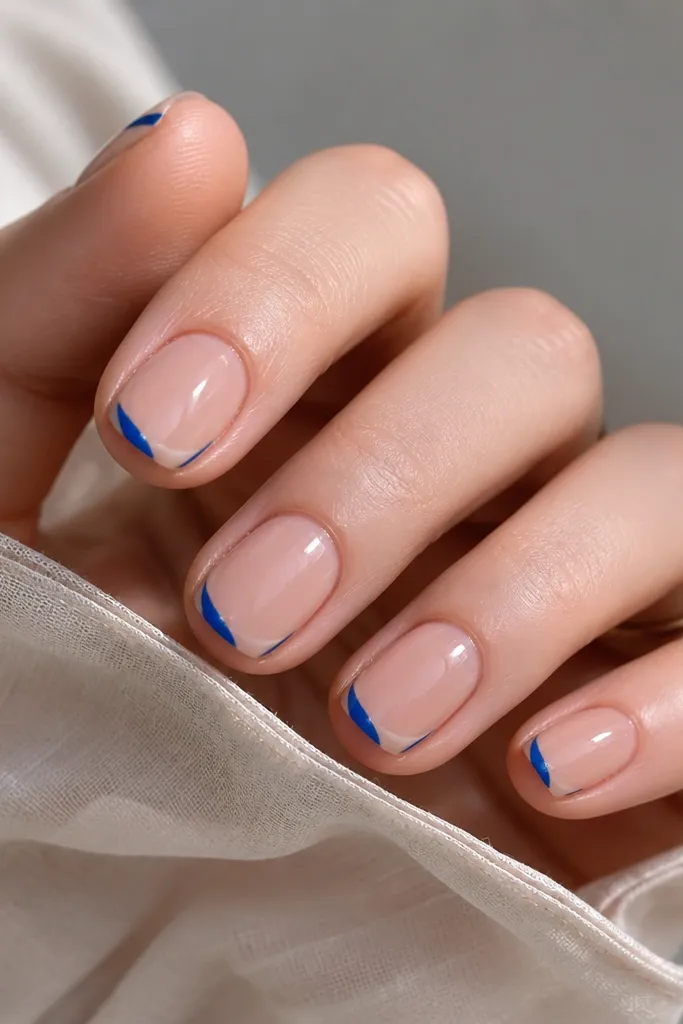
Negative space makes short French tips look modern and less “painted on.” The half-moon gap in the blue creates a clean shape that makes your nail look longer than it is. I like this on short round or short almond because the curve of the half-moon matches the nail’s natural shape. It looks great on every skin tone because the color is controlled and the rest of the nail stays sheer. This design is also forgiving when your smile line is slightly off because the gap breaks up the line.
Editor's noteKeep the blue only on the outer 2/3 of the tip. That’s what makes the half-moon read clearly.
Start with a sheer nude base coat so the nail looks even. Tape a French outline for the outer edge only, leaving the center of the tip uncovered. Paint blue over the exposed outer tip area in one thin coat, then add a second coat if needed. Remove the tape carefully to reveal the negative space half-moon. If the negative space edge looks messy, clean it with a cotton swab dipped in acetone and then re-seal with glossy top coat.
8. Denim Blue French with White Watercolor Edge
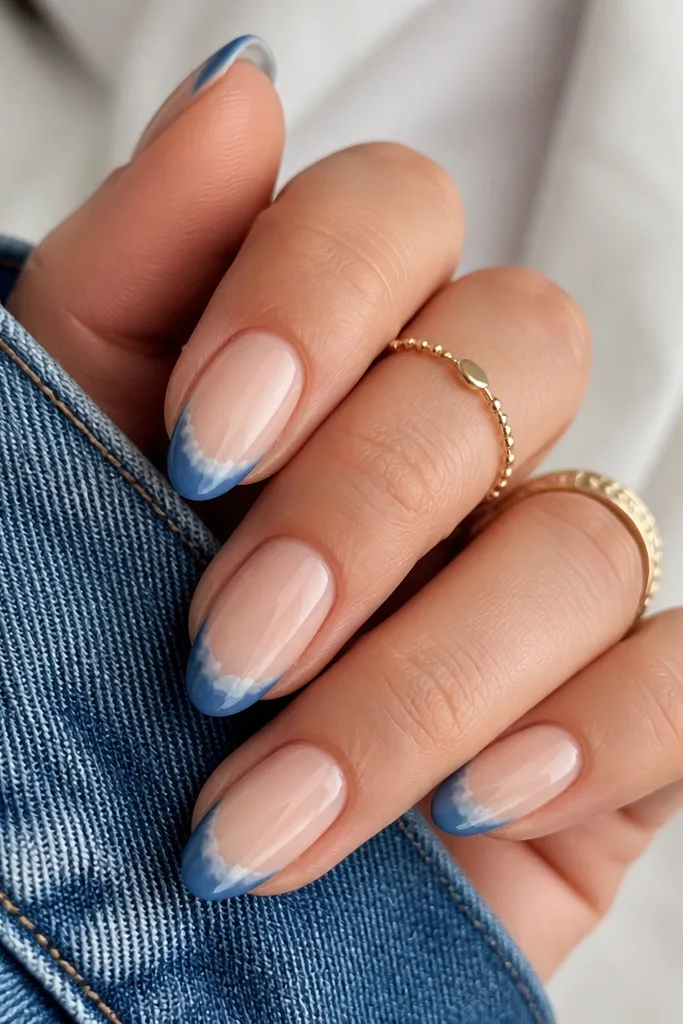
This is my favorite when you want blue French but you don’t want perfect lines. The white watercolor edge makes the tip look airy and artist-made, and it hides small unevenness. On short almond nails, the feathering makes the nail look smooth and elongated. It flatters fair to medium skin because the blend stays light and pretty, and it still works on deeper tones by keeping the base nude and the feathering crisp. Wear it for vacations, spring weekends, or anytime you want “soft art” without heavy nail supplies.
Editor's noteUse a tiny amount of white. Watercolor edges look best when the white is subtle.
Paint a nude base and let it fully set. Tape your French line as usual, then paint denim blue on the tip area in a thin coat. Remove the tape while the blue is still slightly tacky, then immediately dab a small amount of white polish onto the outer edge with a makeup sponge or stippling brush. Use light taps so the white feathers instead of forming a solid stripe. Seal with glossy top coat, focusing on the feathered edge so it looks smooth and not dry.
9. Blue French with Micro Glitter Fade Only at the Tip
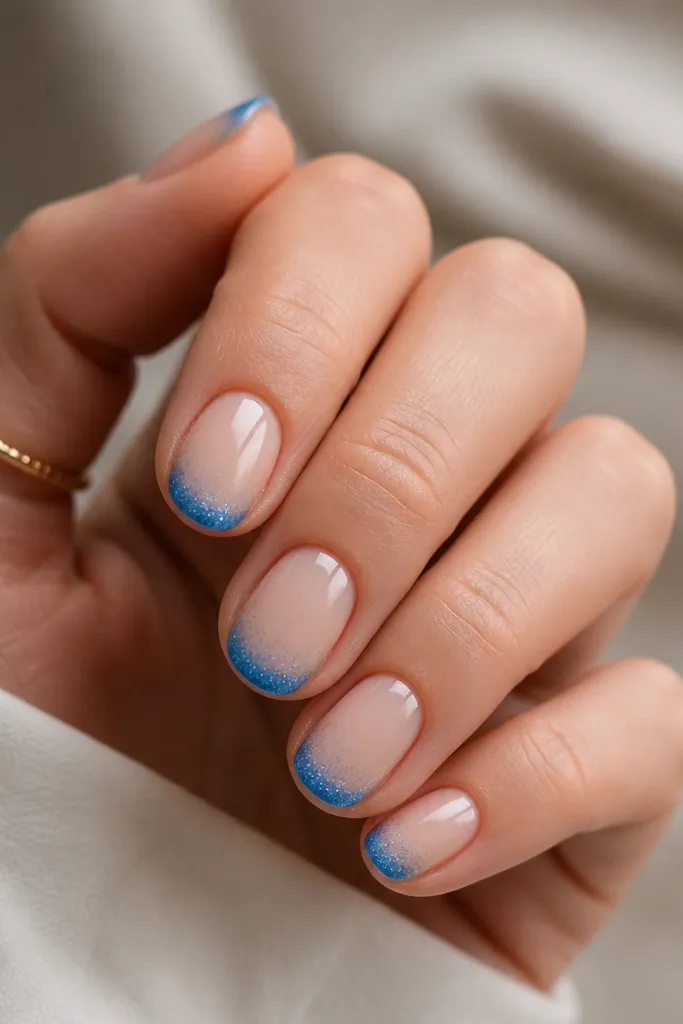
Glitter can look cheap fast, but micro glitter at the very edge avoids that. The blue base gives the color, and the glitter fade adds a clean sparkle line that looks like a salon finish. This one flatters short oval nails because the fade follows the curve of the tip and looks smooth. It’s also great for special occasions because the sparkle is subtle until it hits light. On warm skin tones, the glitter adds a slightly golden sparkle; on cool tones it reads silver-blue. Keep the rest of the nail nude so it stays affordable.
Apply a nude base coat and cure/dry. Tape a narrow French line and paint blue tips in thin coats. While the top layer is still slightly tacky, lightly pat micro glitter only at the very outer edge of the blue tip, then drag the glitter inward with the edge of the sponge so it fades. If you’re using regular polish, mix micro glitter with a clear top coat so it applies evenly. Seal with a glossy top coat, and do an extra thin coat on the tip edge so the glitter doesn’t catch on fabric.
If glitter feels gritty, add one more thin top coat and cure/dry longer.
10. Two-Tone Blue French Tips (Cobalt + Baby Blue Split)
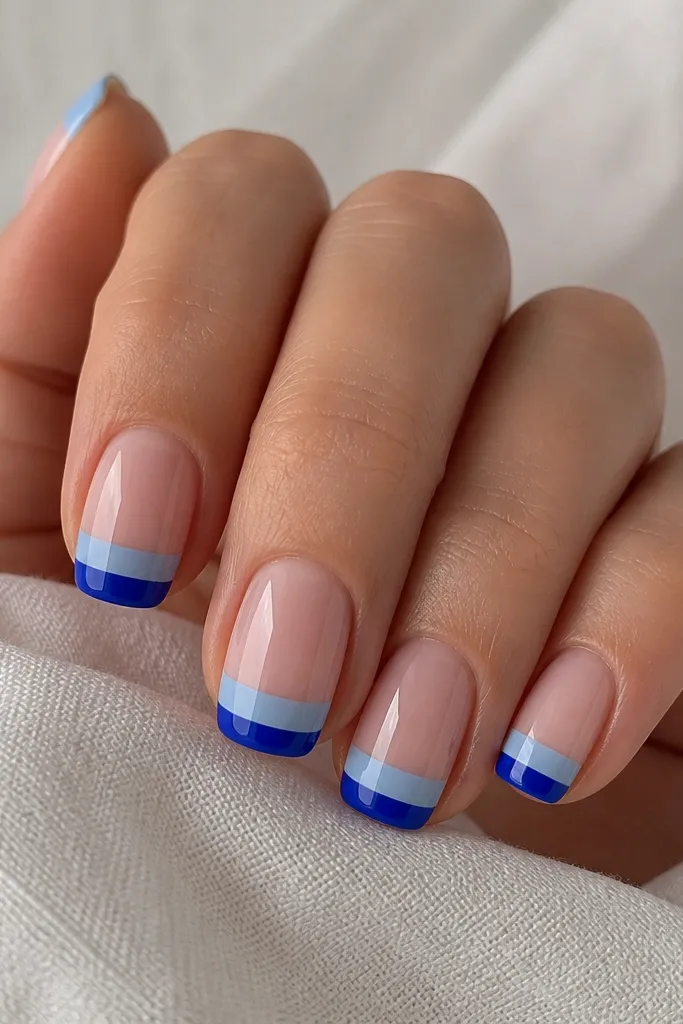
Two-tone tips look high-end because they add design without adding complex art. The key is keeping the split clean and the tip narrow. I like this on short squoval nails since the straight-ish sides make the color split look crisp. It flatters a wide range of skin tones because both blues are cool and bright against nude. For work or school, it reads stylish but not loud. For photos, the split line makes your hands look sharp even if your nails are short.
Editor's noteUse two different brushes for each blue so you don’t contaminate the shades and blur the split.
Start with a nude base and let it set. Tape a standard French tip arc first. Paint the lower half of the exposed tip area with cobalt blue in a thin coat. Cure/dry, then reposition tape to mask the lower half and paint baby blue on the upper half. Remove tape carefully and check for a clean split line. Finish with glossy top coat, but keep the first top coat thin so the split stays defined.
11. Blue French with White Star on the Ring Finger
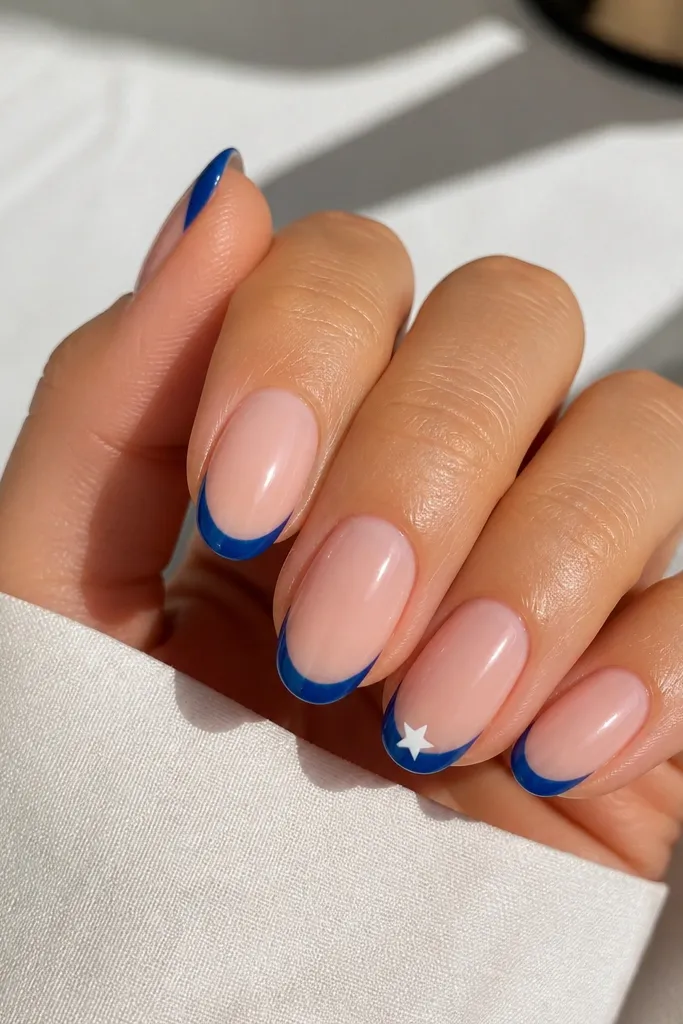
A single star is playful, but it still feels tidy because it stays one focal point. The white star on a blue tip pops in bright indoor light and looks cute in daylight. I like it on short almond or short oval because the star sits nicely on the curve. It flatters fair, medium, and deep skin tones because the contrast is strong and clean. This design works for birthdays and casual parties, especially if you don’t want full nail decals.
Editor's noteIf you can’t freehand the star, draw a tiny “X” with white polish, then add three short lines to form the shape.
Paint a nude base and let it dry fully. Tape and apply blue French tips in thin layers, then remove tape and let the blue set. For the ring finger, use a dotting tool to place five small dots in a star pattern, then connect them with a fine liner brush. Keep the star small — about 2 mm wide on short nails. Seal with glossy top coat, making sure the brush goes over the edges of the star so it doesn’t snag.
12. Matte Baby Blue French with Glossy Base Only
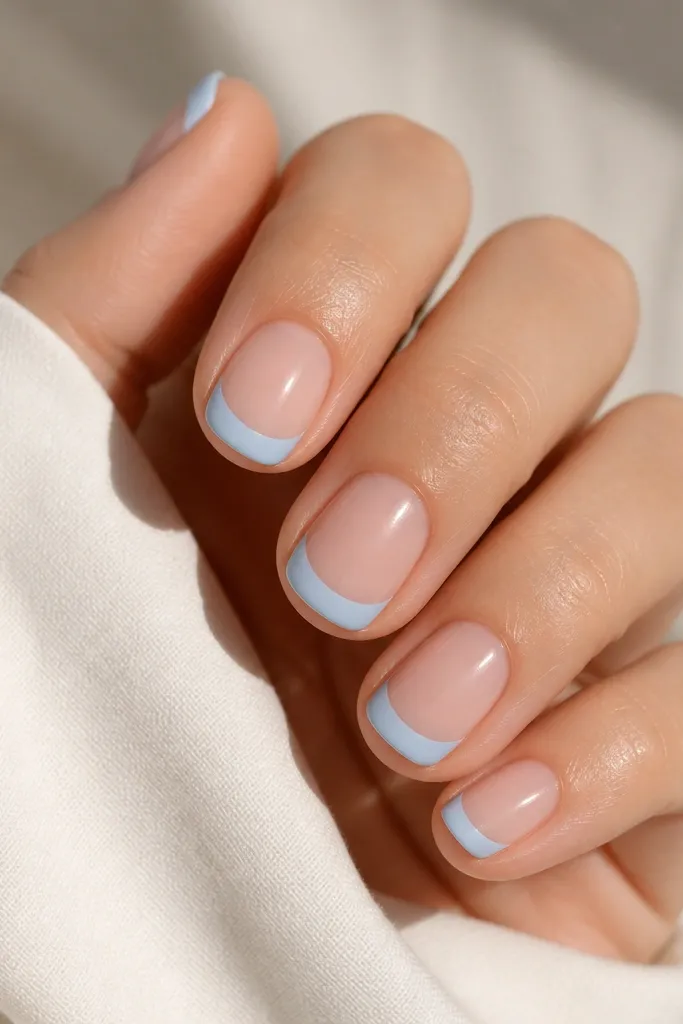
This is the manicure I wear when I want something soft and modern. The glossy base makes your nails look hydrated, while the matte baby blue tips keep the French line from looking too shiny or too bold. It flatters short round nails because the matte finish smooths out tiny ridges and makes the blue look even. On lighter skin tones it looks airy; on deeper tones it looks calm and clean without screaming for attention. It’s also a good option if your top coat tends to flood cuticles because matte hides slight imperfections.
Editor's noteUse a matte top coat that dries fast. Slow matte coats leave streaks on short tips.
Start with a glossy base coat or a glossy sheer nude polish. Tape your French line and paint baby blue tips. Let the blue fully dry, then apply matte top coat only over the blue tips — avoid the nude area. If you accidentally matte the nude, you’ll lose the contrast, so protect the boundary with a small tape strip. Finish by cleaning edges with a cotton swab and a tiny bit of acetone on regular polish or isopropyl alcohol on gel.
13. Blue French with Thin Gold Foil Line at the Outer Edge
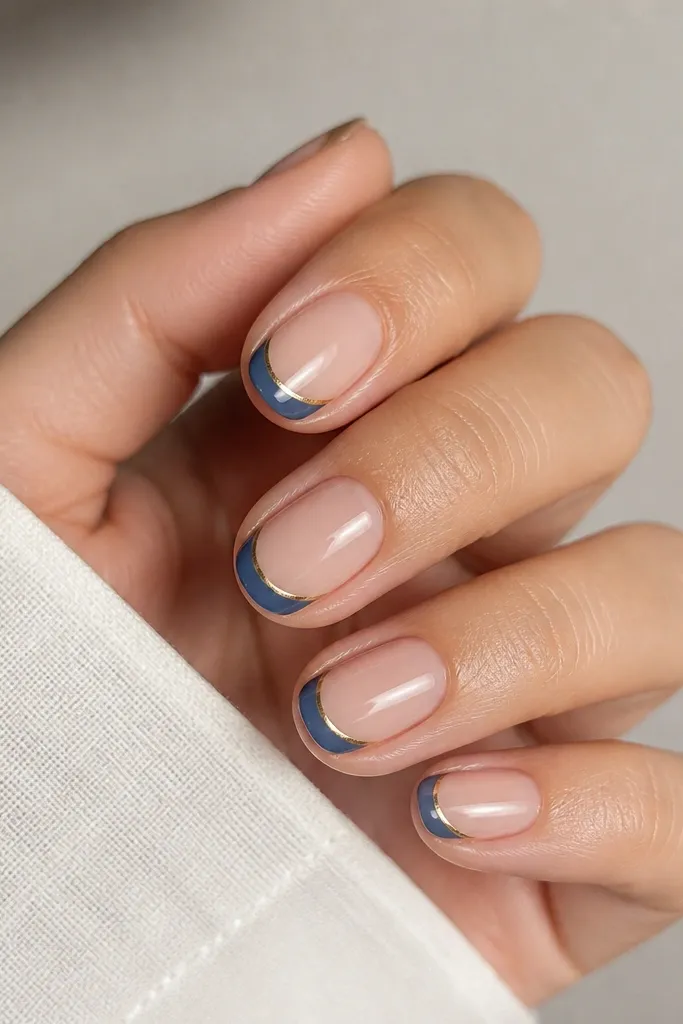
Gold foil on the outer edge turns a simple French into something you’d expect to pay more for. The foil line is thin, so it doesn’t overpower the blue or make the manicure look heavy. This looks best on short oval and short almond because the outer curve gives the foil a natural path. It flatters warm and neutral skin tones especially well, but it still pops on cool skin tones because the foil adds warmth. I wear this for dinners and holiday weekends when I want “polished” without giant gems.
Editor's noteCut foil into narrow strips first. Wide foil makes short tips look bulky.
Apply a nude base coat and let it set. Tape your French tip and paint blue tips in thin layers. Remove tape and let the blue dry until it’s tacky enough for foil adhesion (for gel, cure the base coats but leave the blue slightly tacky before foil). Press thin gold foil along only the outer edge of each blue tip, then gently tap off excess with a soft brush. Seal with one glossy top coat, but keep the coat thin so the foil doesn’t drown and lose shine.
14. White Outline French on Blue Tip (Reverse French Look)
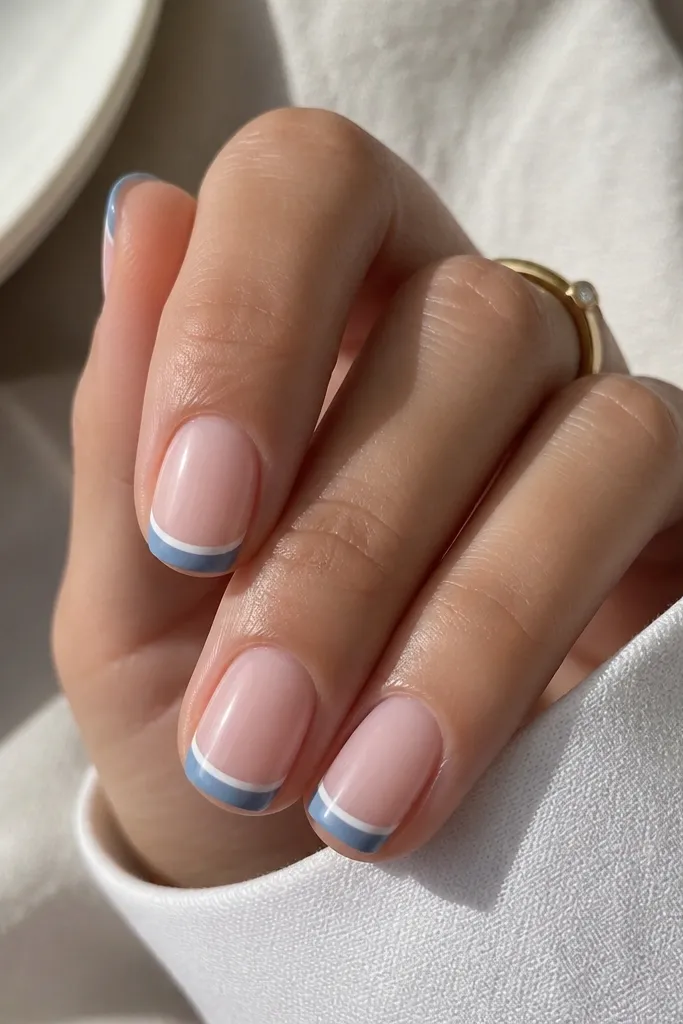
This one tricks the eye into thinking the French line is sharper and longer. The thin white outline sits right above the blue edge, creating a “reverse French” effect that looks clean even when nails are short. I like it on short square nails because the edges are crisp and the outline stays controlled. It looks great on medium and deep skin tones because the white border reads bright and crisp. For daily wear, it feels neat and graphic without being loud.
Editor's noteUse a liner brush that’s dry on the sides. Too wet makes the white line bleed into the blue.
Start with a nude base and a clear base coat if your polish chips easily. Tape and paint your blue French tips, then remove tape and let the blue set completely. With a fine liner brush, paint a thin white line along the top edge of the blue — just 0.5-1 mm thick. Let it dry, then apply glossy top coat carefully so the outline stays defined. If the white line spreads, you added too much polish — use less and go slower with the brush.
15. Blue French with Single Teal Chevron on Thumb
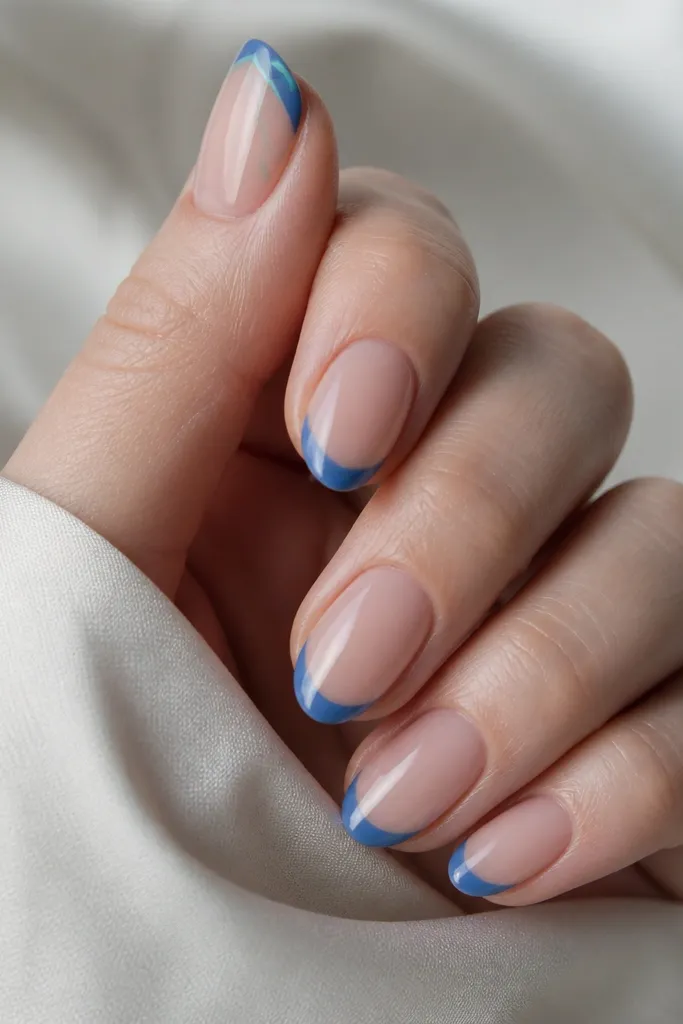
Chevron is graphic, and when you keep it to one nail it looks intentional instead of busy. The teal chevron inside the blue tip gives a layered color effect without using more than one accent. I like it on short almond because the chevron mirrors the nail’s natural V shape near the center. It flatters fair, medium, and deep skin tones because teal reads bright against blue. This is a fun option for everyday when you want something more interesting than plain French but still affordable and quick.
Paint your nude base and tape your French tips. Apply your blue tips in thin coats, remove tape, and let them dry fully. On the thumb, use a fine liner brush to draw a small V chevron centered in the blue tip, about 3 mm wide. Let it dry, then seal with glossy top coat across all nails. If you’re using gel, cure the chevron line before the final top coat so it doesn’t smear.
If your chevron looks crooked, place a tiny dot at the center point first, then build each side from that dot.



