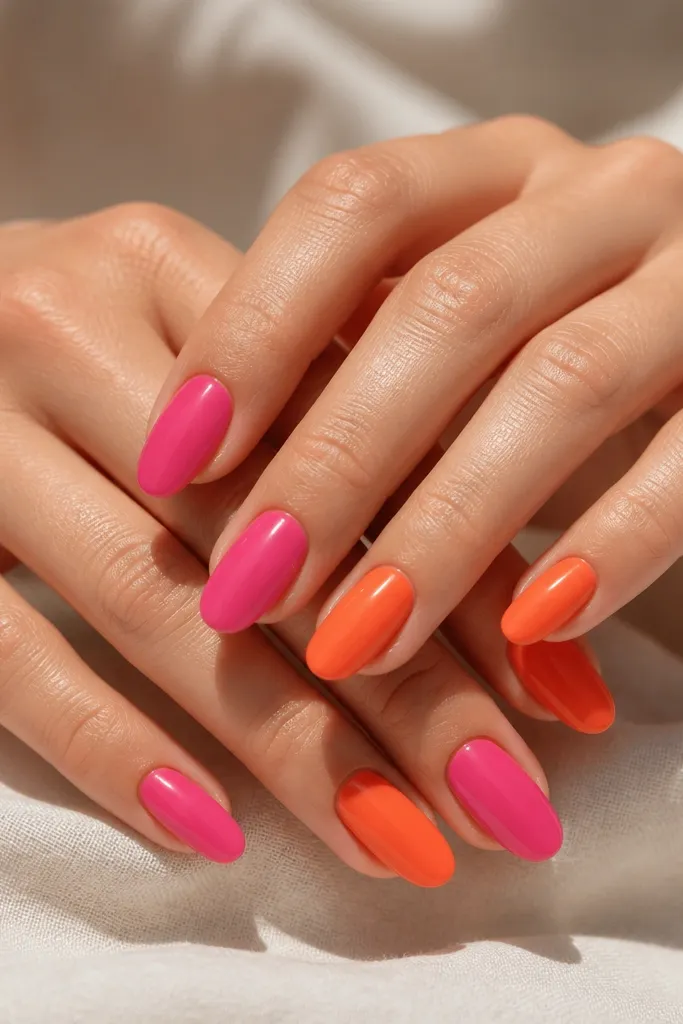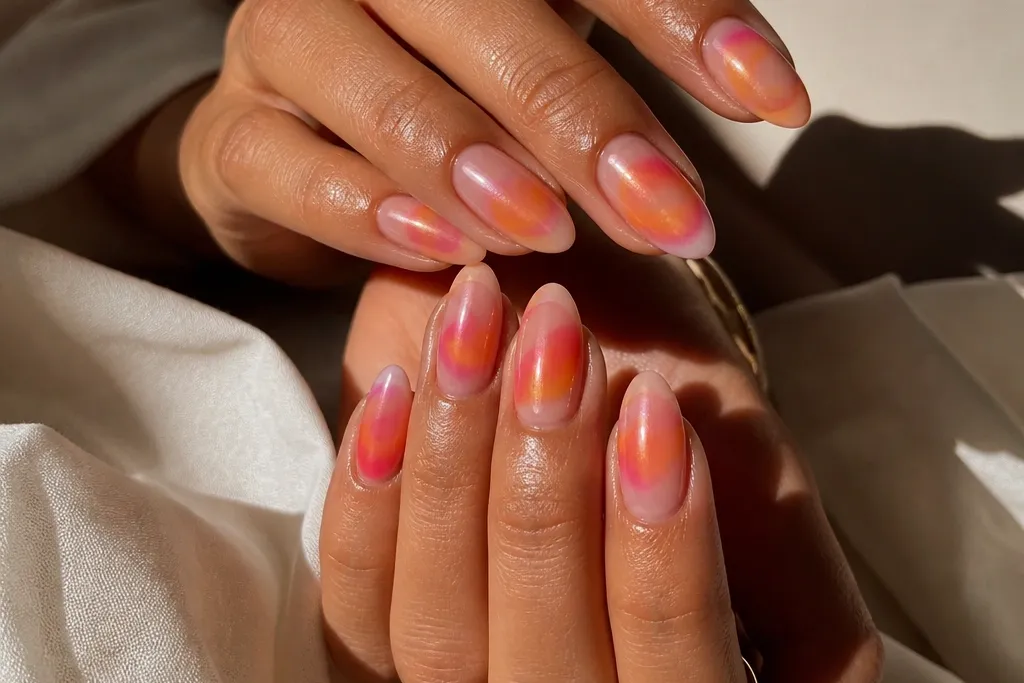

1. Cotton Candy Pink to Tangerine Aura with Milky Base
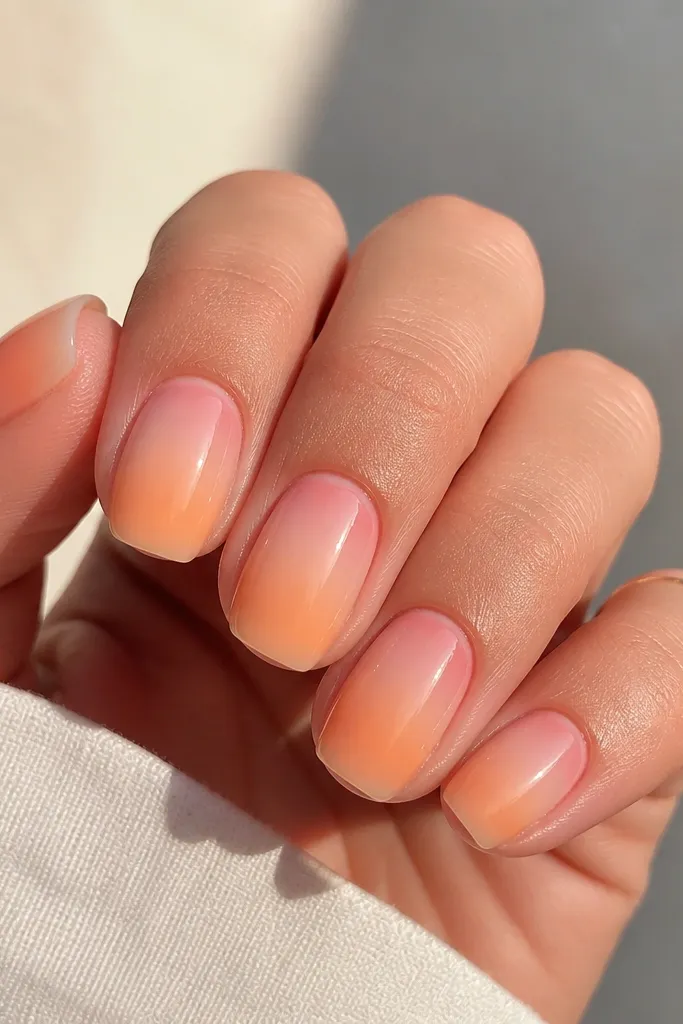
Step 1: Apply a thin milky nude base, then cure or let it fully dry until it feels smooth. Step 2: Sponge cotton candy pink starting at the cuticle and blend upward, using light dabs — don’t press hard. Step 3: Use a cleaned sponge wedge for tangerine orange, dabbing from mid-nail toward the tip and blending into the pink for a soft halo. Step 4: Seal with two thin glossy top coats, curing fully between coats if you’re using gel.
Start with a milky base because it makes the pink and orange read like they’re lit from inside. The cotton candy pink sits right at the cuticle line, then the orange blooms into the outer half so the center stays airy. This combo flatters light to medium skin tones because the milky base keeps everything bright without looking neon. It also works on shorter nails because the aura is compact and doesn’t need extra length to look intentional. I like this one for daytime events because it looks sweet without turning “candy” loud.
Watch outAvoid using a big round sponge — it spreads the orange too far and the aura turns smoky.
Editor's noteAfter sponging, swipe a tiny amount of top coat over the aura line to smooth it — it helps the blend look intentional, not speckled.
2. Peach Sunset Aura with Clear Jelly Orange Tips
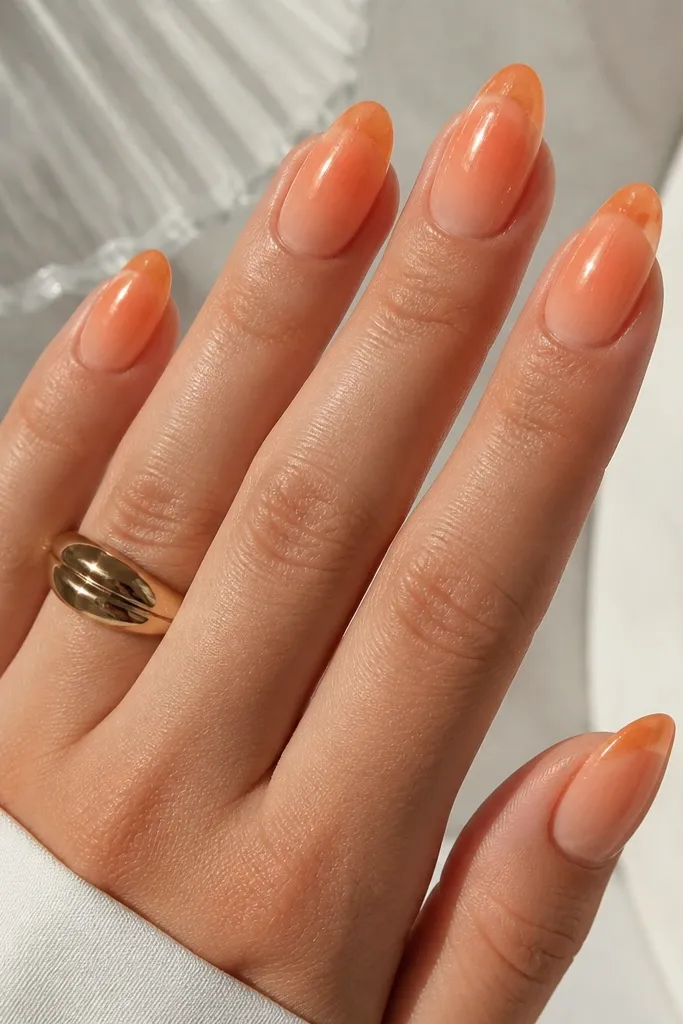
This look gives the aura a “sunset in glass” effect. The peach jelly base keeps everything translucent, so the orange doesn’t feel heavy. The clear jelly orange tips add a second glow layer that catches light at the edges, which is why it looks dreamy in photos. It flatters medium and tan skin tones because the peach and orange warm up the hand instead of washing it out. I’ve worn it to beach dinners — it looks expensive even when you’re in a simple outfit.
Step 1: Paint a sheer peach jelly base and keep it slightly thicker at the center for glow. Step 2: Sponge a peach aura from cuticle to mid-nail, then lightly sponge orange from mid-nail to just before the tip. Step 3: Add clear jelly orange at the very tips only, building a gentle curve so it looks like a luminous cap. Step 4: Top coat twice for a glassy finish, and cap the free edge so the tips resist chipping.
If your orange looks too opaque, mix a drop of clear jelly into the orange before applying the tips.
Don’t bring the orange all the way to the cuticle — it kills the airy sunset effect.
3. Hot Pink Inner Aura with Coral Outer Halo
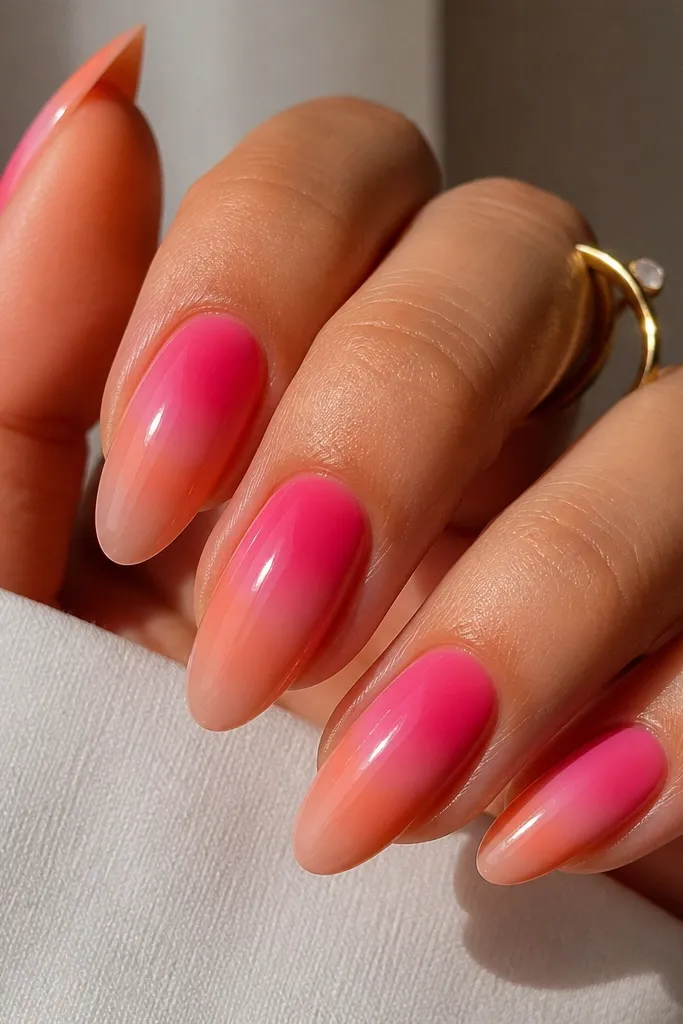
This is the bolder version that still reads dreamy. Hot pink near the cuticle creates a strong focal point, and coral spreads outward like a warm halo. It looks best on long almond nails because the fade has room to breathe, and the center stays bright. On fair skin, it pops without turning harsh because the nude base and soft coral blur soften the contrast. For medium skin, it looks like a flattering color wash, especially with gold jewelry.
Step 1: Apply a nude pink base that matches your natural nail line, then let it dry completely. Step 2: Sponge hot pink directly at the center of the nail — keep it narrow and let it fade outward. Step 3: Clean your sponge and dab coral orange around the hot pink edges, blending until the center stays brighter than the perimeter. Step 4: Finish with two glossy top coats; use a small dot of top coat at the aura edge to smooth any graininess.
Use a darker pink than you think for the inner aura — the fade will soften it into something wearable.
Skip thick base layers — they make the aura look like it’s floating and uneven.
4. Soft Rose Aura with Apricot Glow on Short Squoval
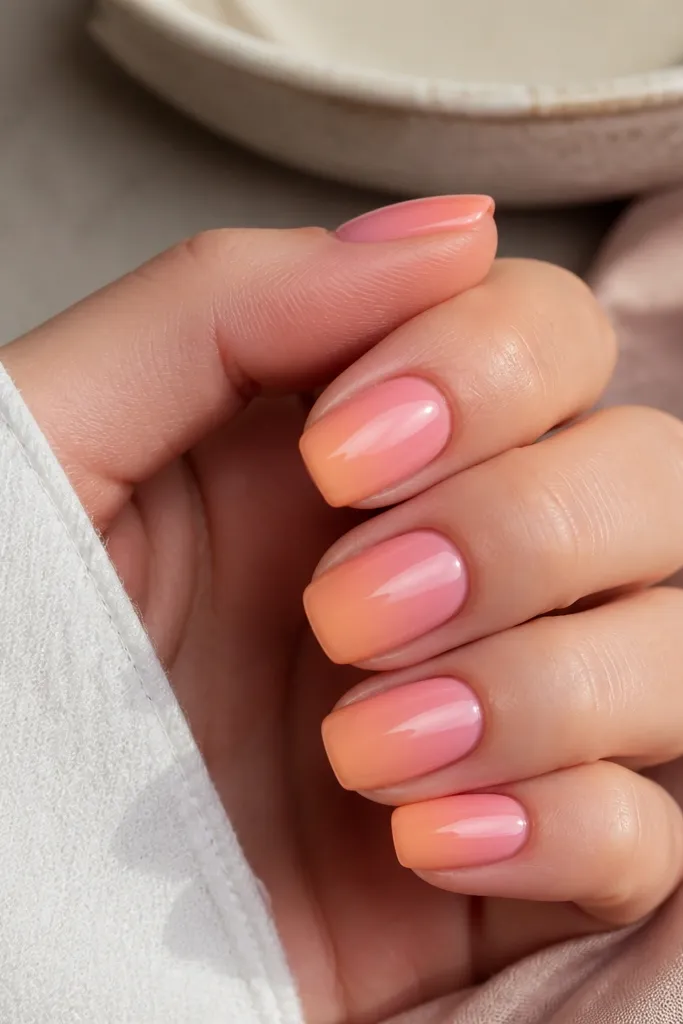
Step 1: Apply a sheer nude or pale pink base, then top it with a thin glossy coat so the sponge glides. Step 2: Dab rose pink at the cuticle center and lightly sponge upward, stopping around the mid-nail. Step 3: With a second sponge wedge, dab apricot orange from mid-nail to the tip and blend back into the rose with a few light taps. Step 4: Seal with two thin glossy top coats, focusing on the free edge.
Short nails need restraint, and this design nails that balance. Soft rose near the cuticle gives a gentle flush, while apricot orange stays pale enough to keep the aura looking airy. The feathered edges make the nails look longer because you don’t get a heavy band of orange at the top. This flatters almost every skin tone because apricot reads warm but not neon. It’s my go-to when I want something dreamy that doesn’t scream “look at my nails.”
Watch outDon’t overbuild the orange — one extra sponge pass can make short nails look bruised.
Editor's noteIf your sponge leaves dots, tap the sponge on paper first to remove excess pigment.
5. Pink Aura with Orange Glitter Dust Gradient
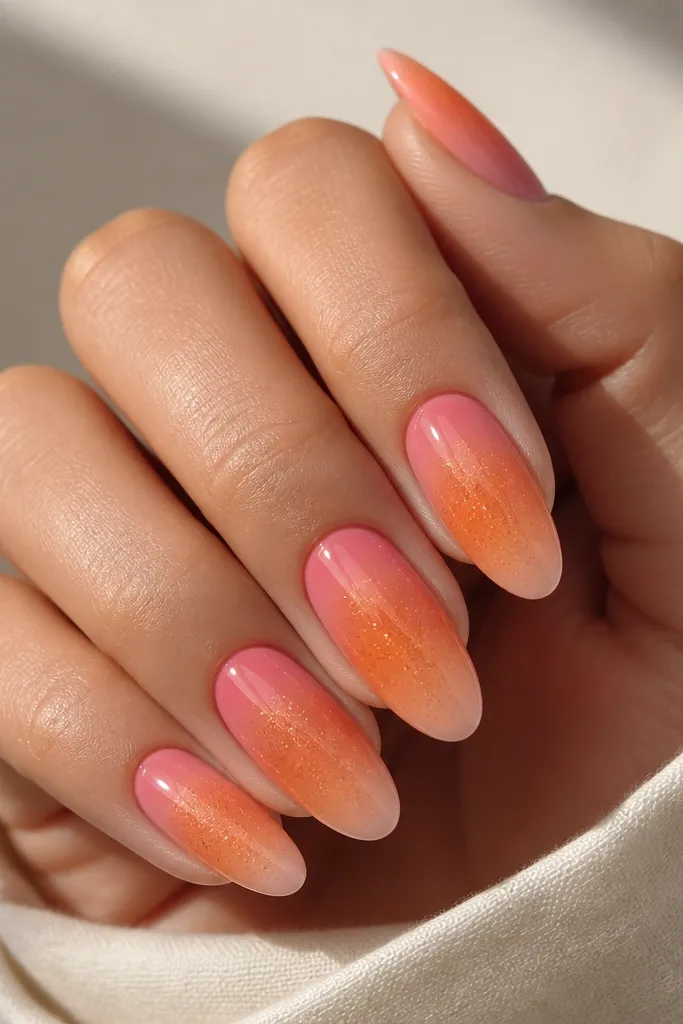
Step 1: Create your pink-to-orange aura with sponge, keeping the blend smooth and centered. Step 2: While the base is tacky (or after a thin gel layer), sprinkle fine orange glitter dust only over the orange area — mid-nail to tip. Step 3: Use a clean brush to push glitter toward the center so the aura edge stays soft. Step 4: Apply two top coats, one to lock glitter down and one for full gloss.
This look adds sparkle without turning into chunky glitter. The key is placing glitter only where the orange is strongest, then letting it fade out so it looks like light scattering through the aura. Pink near the cuticle keeps the overall tone sweet, and the orange glitter dust makes it feel festive in a controlled way. It’s flattering for hands with shorter nail beds because the glitter highlights the center and pulls attention upward. I used this for a birthday dinner and got compliments on how “soft” the sparkle looked.
Watch outDon’t apply glitter to the pink zone — it makes the pink look gray instead of dreamy.
Editor's noteUse fine glitter, not chunky — chunky will interrupt the aura fade and look separate from the color.
6. Orange Aura Over Milky Pink French Tips
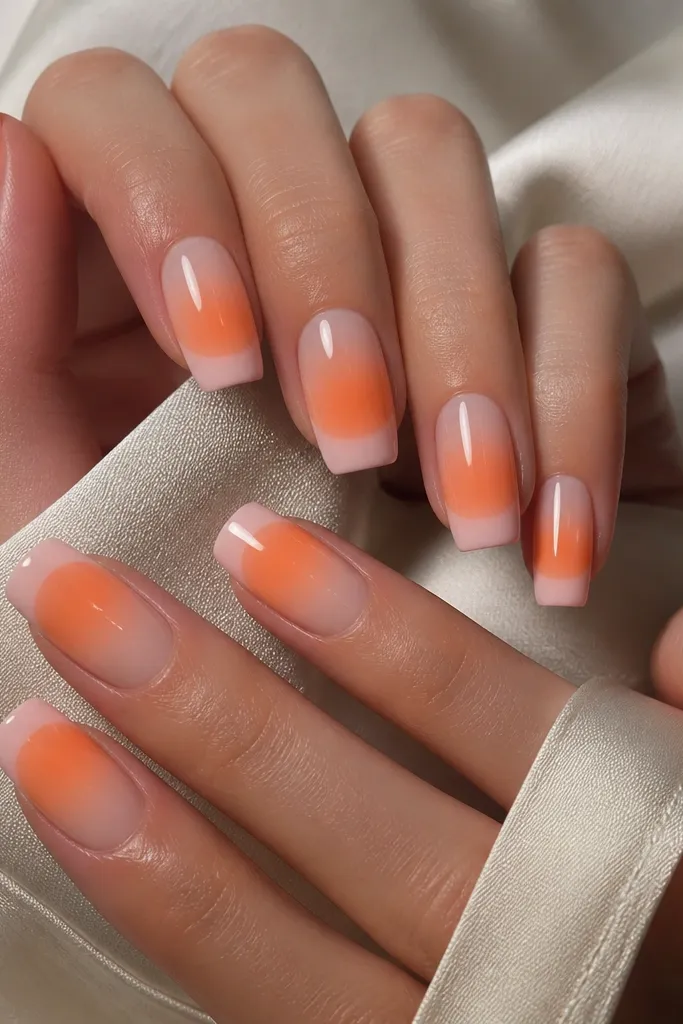
French tips are crisp, and the aura softens them so the whole nail looks romantic. The milky pink tip gives you a clean anchor, while the orange aura grows upward underneath it, creating a glow effect that feels dreamy instead of graphic. This style flatters longer nail shapes and also looks great when your cuticles need a little camouflage because the base is sheer. On fair skin, the milky pink looks clean and the orange halo adds warmth. On deeper skin tones, it looks bright and intentional without needing bold art.
Step 1: Apply a sheer nude base and let it dry fully. Step 2: Paint milky pink French tips, keeping the smile line thin and even. Step 3: Sponge orange starting just under the French line and blend upward toward the mid-nail, leaving the tip edge milky. Step 4: Top coat twice, and cap the French edge so it doesn’t lift.
Keep the French tip narrow — a wide tip makes the aura look like a block of color.
Skip matte top coat here — it kills the glow and makes the aura look flat.
7. Bubblegum Pink Aura with Tangerine Side Fade
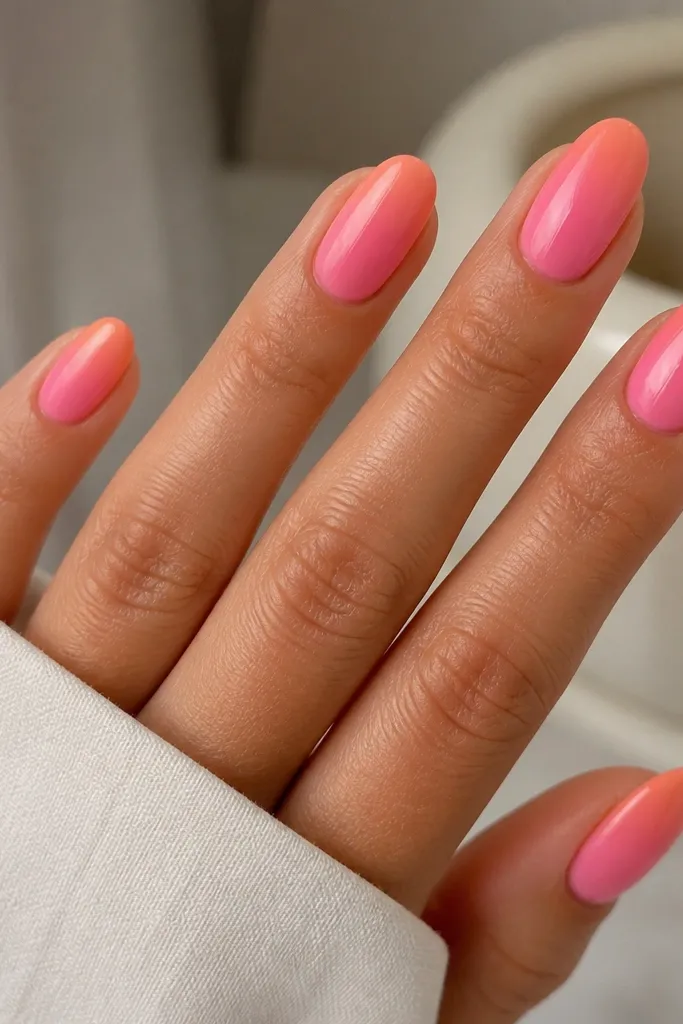
This version tilts the aura slightly off-center so it looks playful and dimensional. Bubblegum pink stays the main color, and the tangerine side fade gives the illusion of extra width and movement. I love it on almond shapes because the curve makes the side glow look smooth instead of streaky. It flatters hands that look better with curved shapes, and it looks cute with colorful rings. The dreamy effect comes from how the orange is lighter at the center and heavier at the sides.
Step 1: Sponge or paint bubblegum pink centered on the nail, focusing pigment in the middle. Step 2: With a clean sponge wedge, dab tangerine orange on the left and right edges, then lightly drag the sponge inward just a touch to blend. Step 3: Use a soft brush to remove any pigment that got too close to the sidewalls. Step 4: Apply two glossy top coats, making sure the aura edge is sealed.
If you want it to look extra dreamy, leave the exact center slightly lighter so the aura looks like it’s glowing from within.
Don’t let orange touch the sidewalls — it can look messy and shorten the nail visually.
8. Peony Pink Aura with Burnt Orange Ember Tips
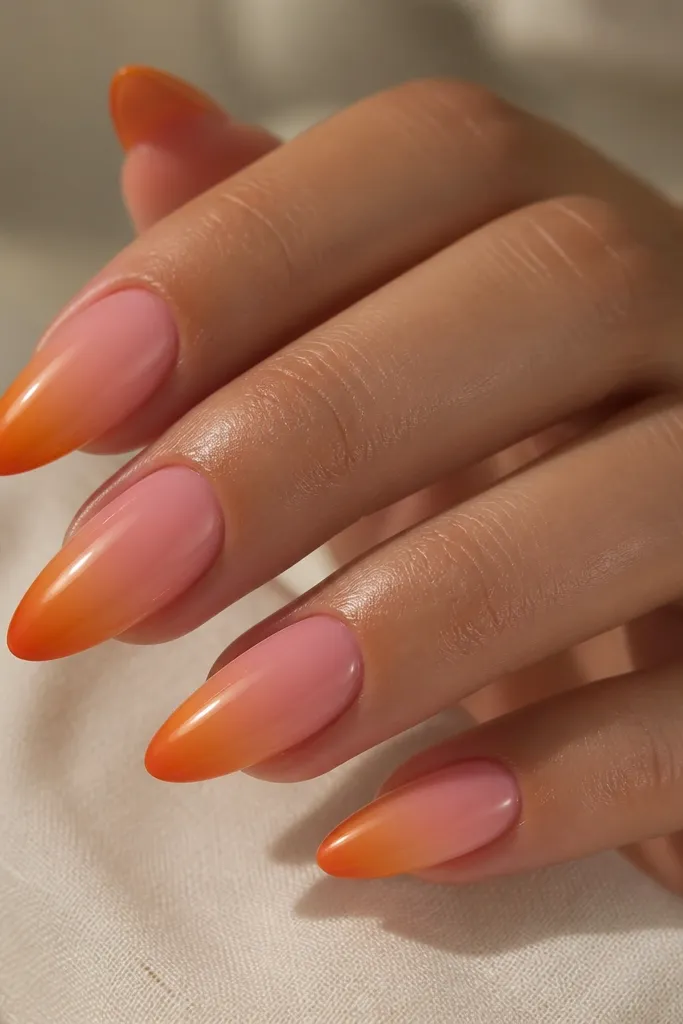
This is for when you want “dreamy” but with a little edge. Peony pink keeps it romantic, and the burnt orange tips add depth without making the nail look like fall-only. The blend matters here: the ember tone should fade into the aura, not sit as a separate stripe. It flatters medium to deep skin tones because burnt orange warms up the hand and looks rich under light. On fair skin, it still works when you keep the burnt tone only at the tip area.
Step 1: Apply a sheer pink base so the aura looks translucent. Step 2: Sponge peony pink from cuticle to mid-nail, then blend a lighter orange into the center. Step 3: Sponge burnt orange only on the last third of the nail, then blend upward with two or three light taps so the edge stays soft. Step 4: Seal with two glossy top coats and cap the tip for durability.
Use a slightly darker orange than you think for the ember — it should look like warmth, not brown dust.
Don’t paint a solid burnt tip — the hard line makes the aura look fake.
9. Milky Pink Aura with Neon-Soft Orange Glow
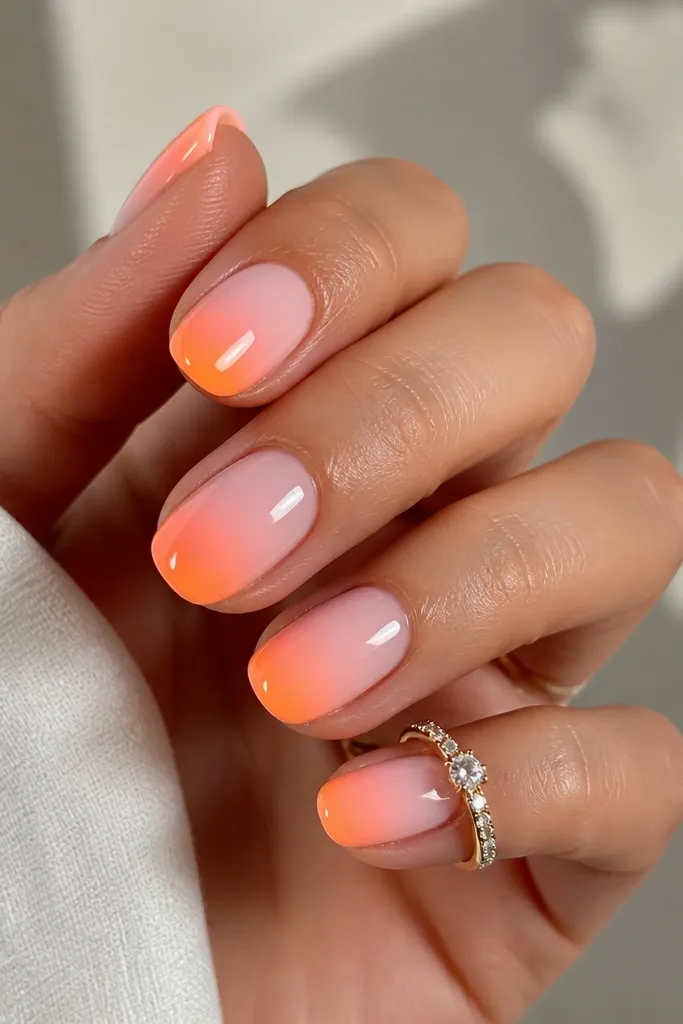
Step 1: Apply a milky pink base and cure or dry until smooth. Step 2: Sponge neon-soft orange from mid-nail to tip in a few light passes, blending into the milky pink so the center stays lighter. Step 3: If it looks too intense, add a thin layer of milky pink over the orange area and sponge once more lightly. Step 4: Top coat twice for a glassy finish.
This one is bright without being harsh because the neon-soft orange is blended through a milky pink base. The glow effect comes from the translucency — you see the light through the layers instead of getting an opaque neon block. It’s flattering for fair and light-medium skin tones because the milky pink keeps everything gentle. It also looks great for festivals or nights out because the orange reads like light. The dreamy part is the blur: the aura edges stay foggy, not crisp.
Watch outAvoid skipping the milky base — neon orange over nude can look streaky.
Editor's noteKeep passes light. Two thin sponge layers look cleaner than one heavy layer.
10. Pink Aura with Orange Marble Swirl Hint
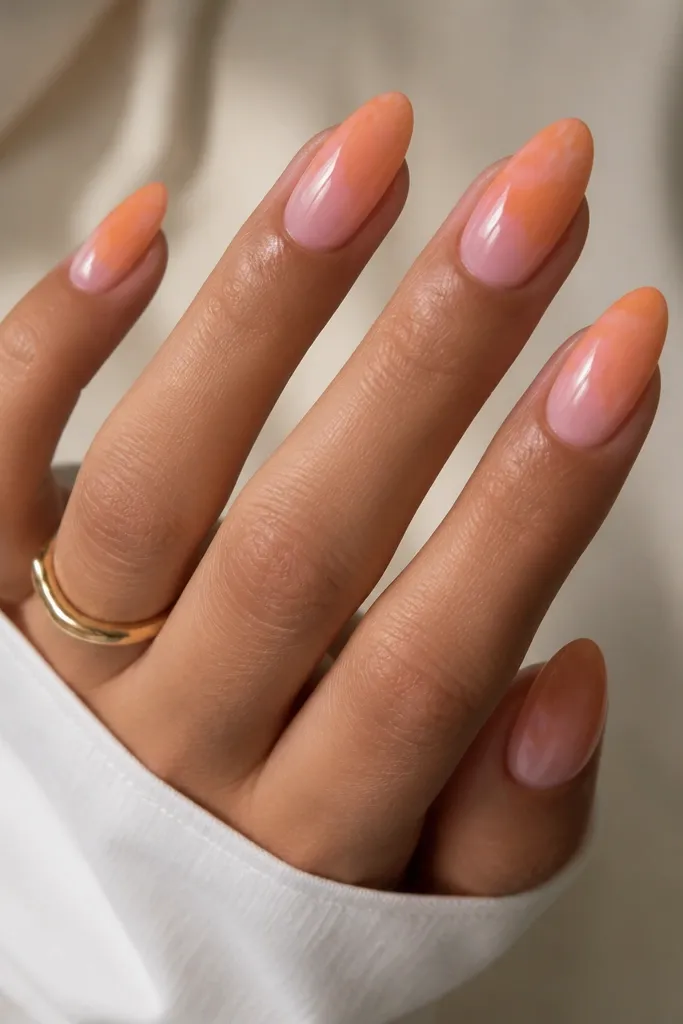
Step 1: Build your pink aura near the cuticle and orange aura toward the tip using sponge, keeping the blend smooth. Step 2: With a fine detail brush, draw one or two thin orange swirl lines in the middle, then soften their edges with a tiny amount of top coat so they don’t look painted on. Step 3: Add one more faint swirl closer to the tip for balance. Step 4: Seal with two glossy top coats, curing fully if gel.
Marble can get busy fast, so this version uses marble only as a hint inside the aura. The pink-to-orange fade gives the dreamy foundation, and the tiny swirl lines add movement without turning into full-on nail art. This flatters hands that look good with subtle texture because it adds dimension while still feeling wearable. It’s especially pretty on medium almond shapes where there’s enough space for small lines. I wore it to a date night and the swirls caught light like you could almost see the pattern changing.
Watch outDon’t draw lots of swirls — too many lines kill the aura glow.
Editor's noteUse a detail brush that’s slightly worn at the tip — it makes thinner lines with less drag.
11. Soft Pink Aura with Peachy Orange Ombré Edge
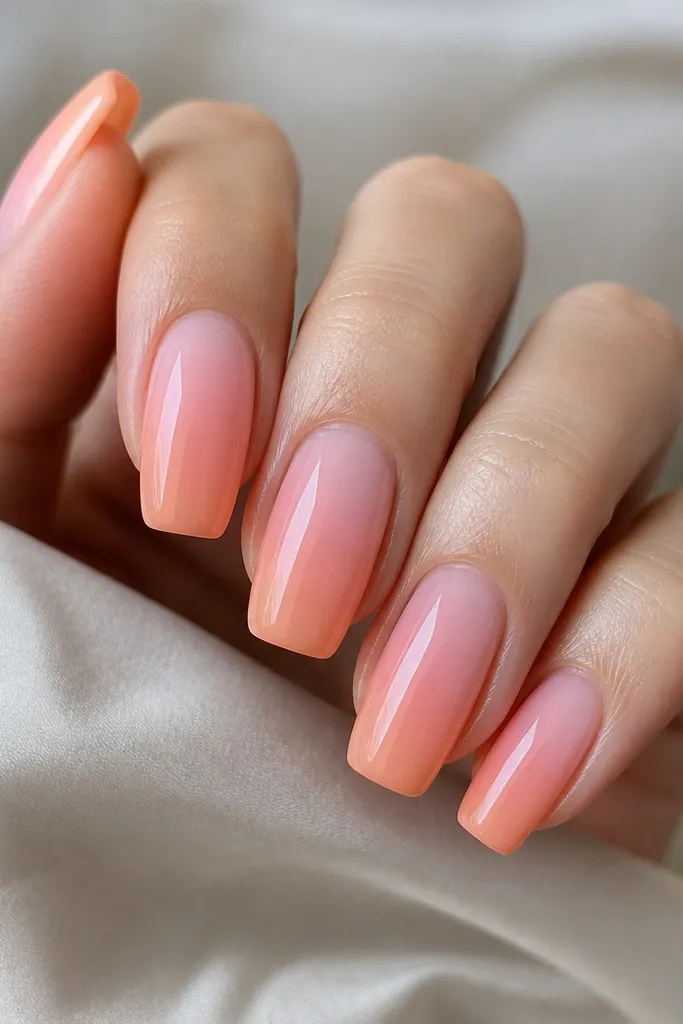
Step 1: Apply a sheer pink base, then sponge a soft pink aura in the middle. Step 2: Using a separate sponge wedge, dab peachy orange along the outer edges starting at mid-nail and blend toward the center lightly. Step 3: Feather the orange upward so it looks like a glow frame, not a thick border. Step 4: Top coat twice, and pay attention to the corners so the ombré edge stays smooth.
This look is for when you want the aura but also want a defined outer glow. The center stays dreamy and pink, while the peachy orange ombré edge makes the nail look framed. It flatters most nail beds because the edge shading creates a length illusion. I like it on long squoval because the shape already has soft corners and the ombré edge sits nicely. It also looks good with silver rings because the orange reads warm and the pink balances it.
Watch outAvoid harsh borders — if you can draw a line, you pressed too hard.
Editor's noteIf the orange looks too dominant, wipe your sponge wedge on a paper towel before dabbing again.
12. Pink Aura with Orange Foil Flake Confetti
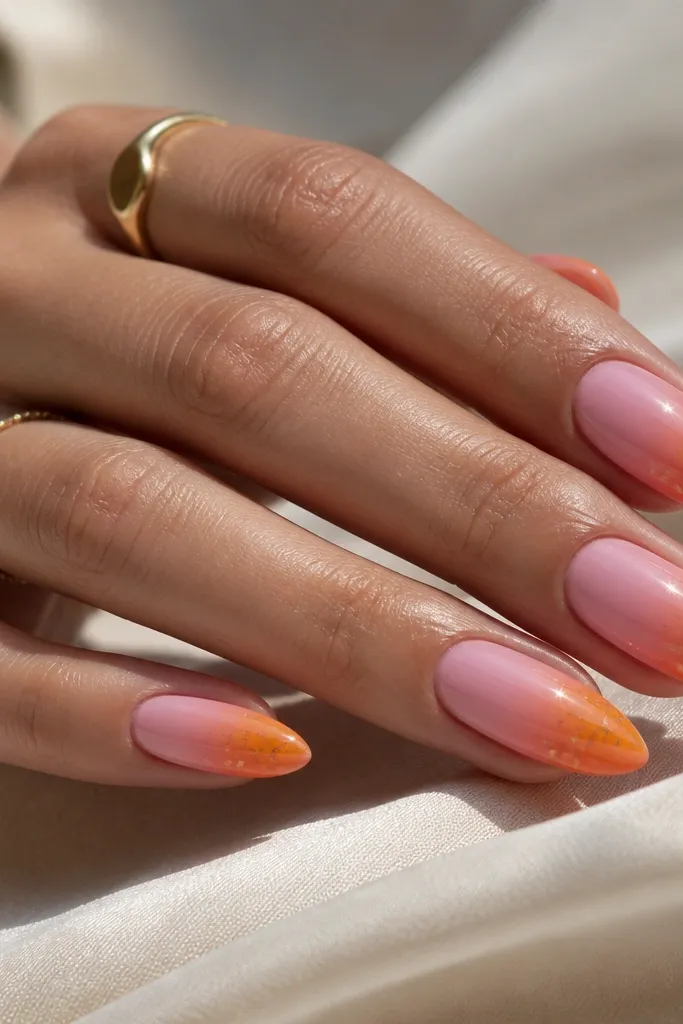
Foil flakes make aura nails look extra special because they catch light where the orange is already warm. The trick is to keep flakes mostly in the orange half, so the pink stays airy and dreamy. This flatters hands that look good with texture because flakes add dimension without needing gems. It also works for fair to deep skin tones since the foil is orange and gold-toned, not cool-toned silver. I’ve done this for weddings and it photographs like you planned a full set.
Step 1: Create the aura fade with pink near the cuticle and orange toward the tip, blending until it looks foggy. Step 2: Apply a tacky layer or thin gel in the orange half, then press tiny orange foil flakes in a few spots — not across the whole nail. Step 3: Use a brush to nudge flakes so they don’t cluster at the sides. Step 4: Seal with two top coats, pressing gently to smooth over the foil.
Use a matte brush or clean silicone tool to press foil flakes — it keeps them from spreading into the pink zone.
Don’t use large foil sheets — they lift and make the aura look bumpy.
13. Glossy Pink Aura with Tangerine Chrome Veil
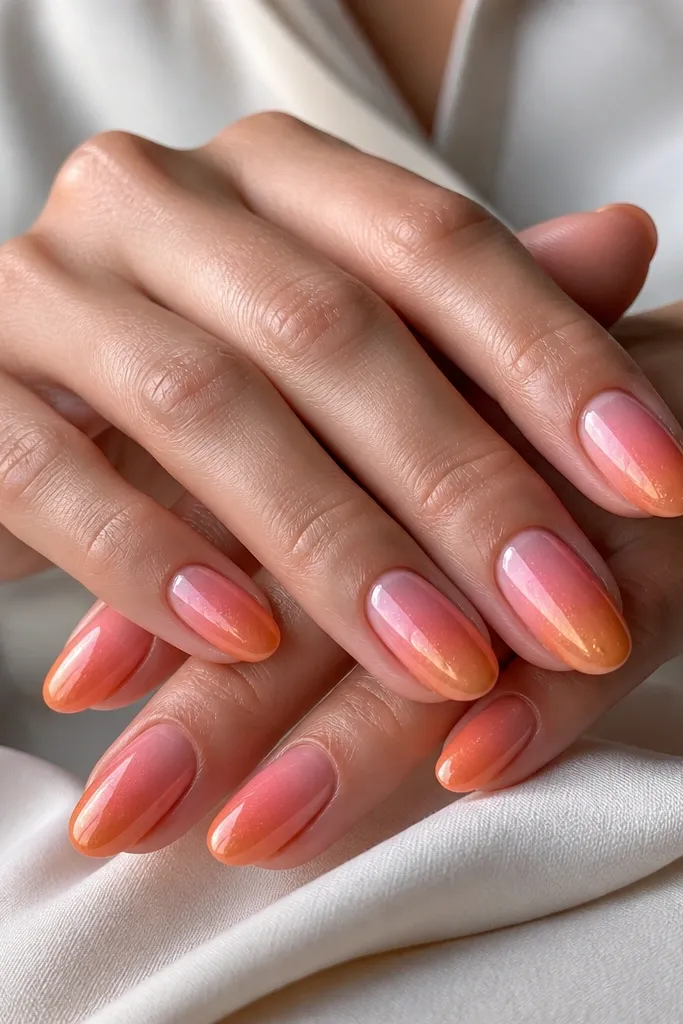
Chrome over an aura makes it feel like the color is coated in light. I like dusting the chrome veil only over the orange half because it keeps the pink soft and dreamy instead of turning mirror-bright. Tangerine chrome gives a warm reflection that looks great in car lights and indoor warm bulbs. This flatters short almond nails because chrome adds visual interest without needing length. It also looks clean enough for work if you keep the chrome coverage light.
Step 1: Sponge pink near the cuticle and blend into tangerine orange toward the tip, then seal with a tacky-friendly top coat layer. Step 2: Lightly buff chrome powder or chrome dust over the orange area only — use a small eyeshadow brush. Step 3: Tap off excess and add a final glossy top coat to lock it in. Step 4: If it dulls, add one more thin glossy coat after curing.
Less chrome looks better. Start with a light veil and build only where you want extra glow.
Avoid rubbing the chrome into the pink — it turns the pink gray and takes away the dreamy softness.
14. Matte Pink Aura with Glossy Orange Center Pop
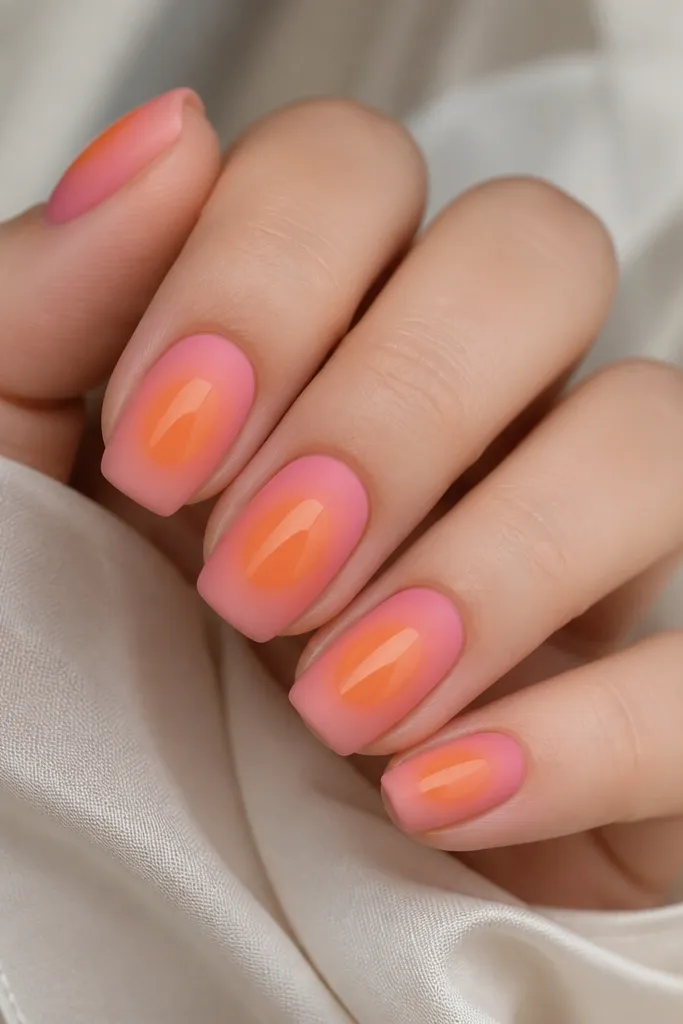
This is the texture trick that makes aura nails look designed, not random. Matte pink gives you a soft, velvety base, and the glossy orange center pop looks like a glowing spot. The contrast flatters hands because matte hides tiny imperfections, while gloss draws attention to the aura center. It looks especially good on medium and short nails where you want a clean style without adding length. I did this for a brunch day and it looked artsy in a way that still felt wearable.
Step 1: Sponge pink-to-orange aura and seal with one glossy top coat layer so the blend stays smooth. Step 2: Apply matte top coat over the whole nail and cure/dry fully. Step 3: With a fine brush, paint a small glossy gel patch over the orange center area, keeping it oval and centered. Step 4: Cure the glossy patch and then add a tiny edge top coat where it meets matte so it doesn’t peel.
Keep the glossy patch smaller than you think. A big patch looks like a sticker instead of a glow.
Avoid full glossy top coat — you lose the matte-soft dreamy effect.
15. Glazed Donut Aura Pink and Orange with Tiny Dot Stars
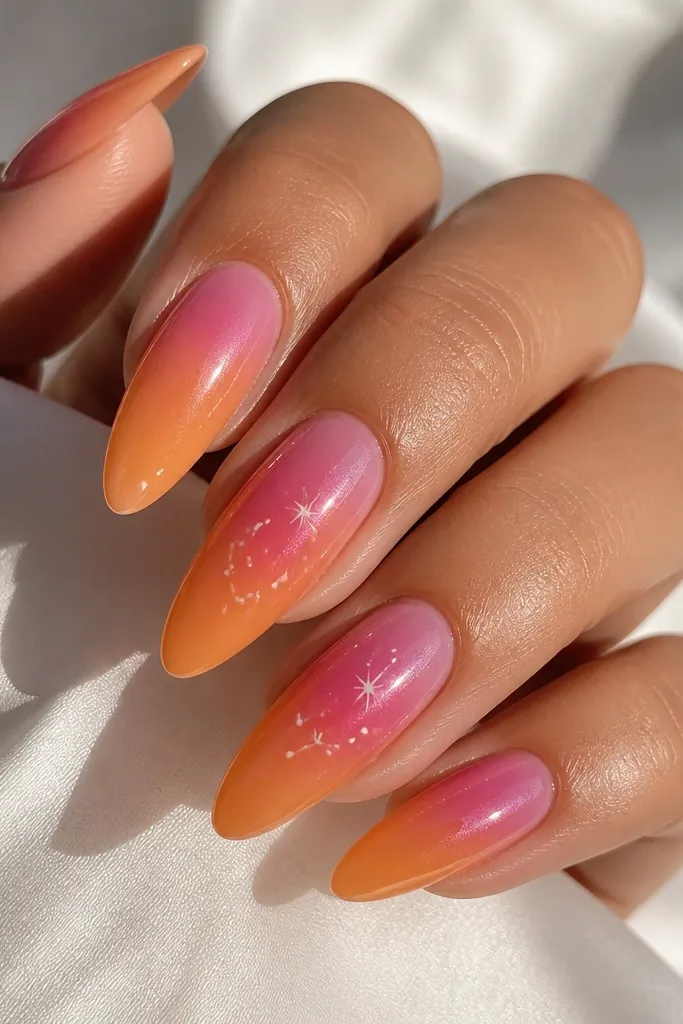
Step 1: Create the pink-to-orange aura with sponge, keeping the fade centered and smooth. Step 2: Seal with two glossy top coats for that glazed look. Step 3: Use a dotting tool or toothpick to place 3-5 tiny white dots on the aura center of two accent nails. Step 4: Add one more thin glossy top coat to lock dots down and keep them from catching on fabric.
The glazed finish is what makes this aura look like candy glass. Pink and orange blend into a smooth glow, then tiny white dot stars add a dreamy “night sky” feel without going full galaxy. This flatters long almond nails because the center has room for dots that don’t crowd. On fair skin, the white dots pop cleanly. On deeper skin tones, the white still shows but feels softer because it’s tiny and spaced out.
Watch outDon’t use big stars or lines — they overpower the aura glow.
Editor's noteDot stars look best when the dots are uneven — some should be slightly smaller so it feels organic.
16. Pink Aura with Orange Micro-Glitter Tips Only
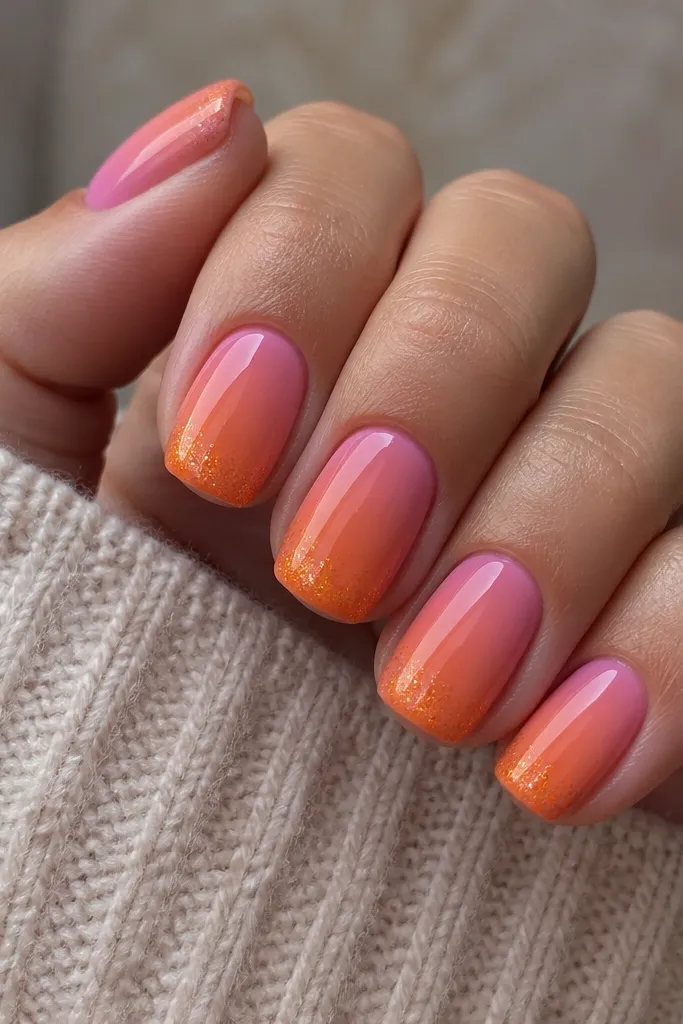
Step 1: Sponge pink near the cuticle and orange toward the tip, blending until the aura is soft. Step 2: Apply a thin layer of top coat or tacky gel on the last third of the nail. Step 3: Press or sprinkle orange micro-glitter only on the tips, then brush off excess so it stays thin. Step 4: Seal with two glossy top coats, making sure the glitter is fully covered so it doesn’t snag.
Micro-glitter tips keep the aura dreamy while adding a polished finish. The glitter is restrained, so the pink and orange stay the main event. This style is flattering on short nails because it visually adds a little height at the tip without thickening the center. It’s also easy to wear with everyday outfits since it’s subtle. I like it for weeks when my nails are short but I still want them to look “done.”
Watch outSkip glitter on the mid-nail — it makes the aura look speckled instead of glowing.
Editor's noteIf glitter feels rough, add an extra thin top coat and cure longer — it smooths the texture.
17. Rosy Pink Aura with Orange Gradient Cuticle Crescent
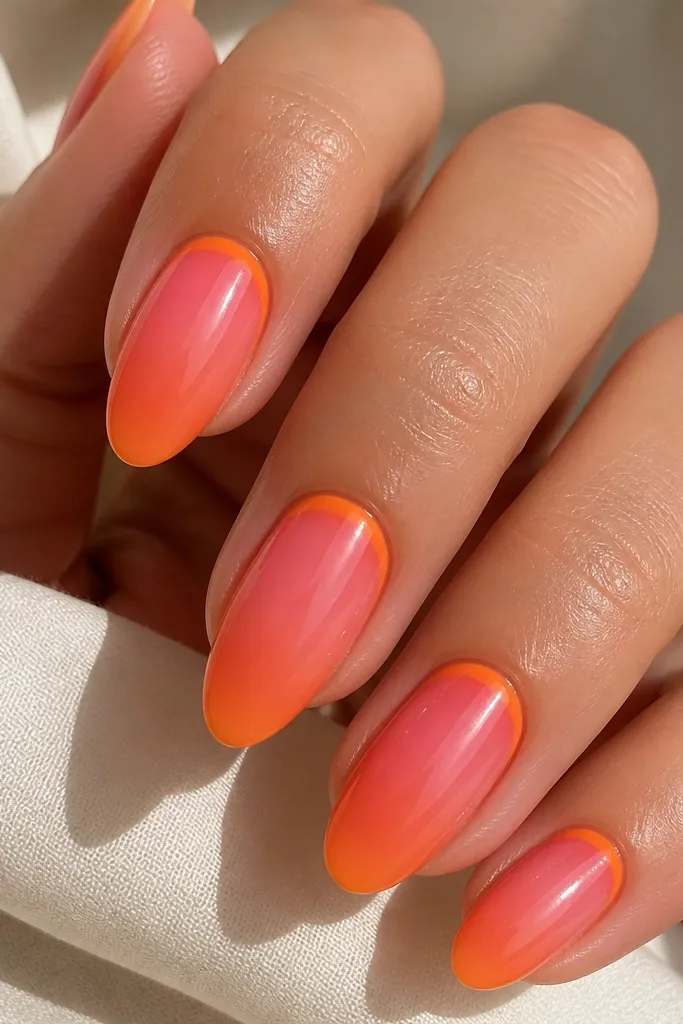
Step 1: Apply a sheer rosy pink base and sponge a soft pink aura across the nail. Step 2: With a small sponge wedge, dab orange in a curved crescent right under the cuticle line, then blend outward into the pink. Step 3: Sponge a lighter orange toward the tip so the crescent connects to the overall aura. Step 4: Top coat twice for a glossy, smooth finish and cap the cuticle edge gently to avoid lifting.
This look puts the orange in a crescent at the cuticle, which makes the whole nail look lifted. The rosy pink aura is your main background, and the orange crescent adds a glowing frame right where your nail bed naturally draws the eye. It flatters hands with shorter nail beds because the cuticle area looks brighter and the length looks longer. On fair skin, it looks like a warm blush. On medium skin, it looks like a lit-up halo, especially with gold rings.
Watch outDon’t paint the crescent too close to the skin — keep it a hair away for a clean aura edge.
Editor's noteUse a tiny sponge wedge — the crescent should be narrow, not a big orange patch.
18. Pink Aura with Orange Tie-Dye Swirl Cloud
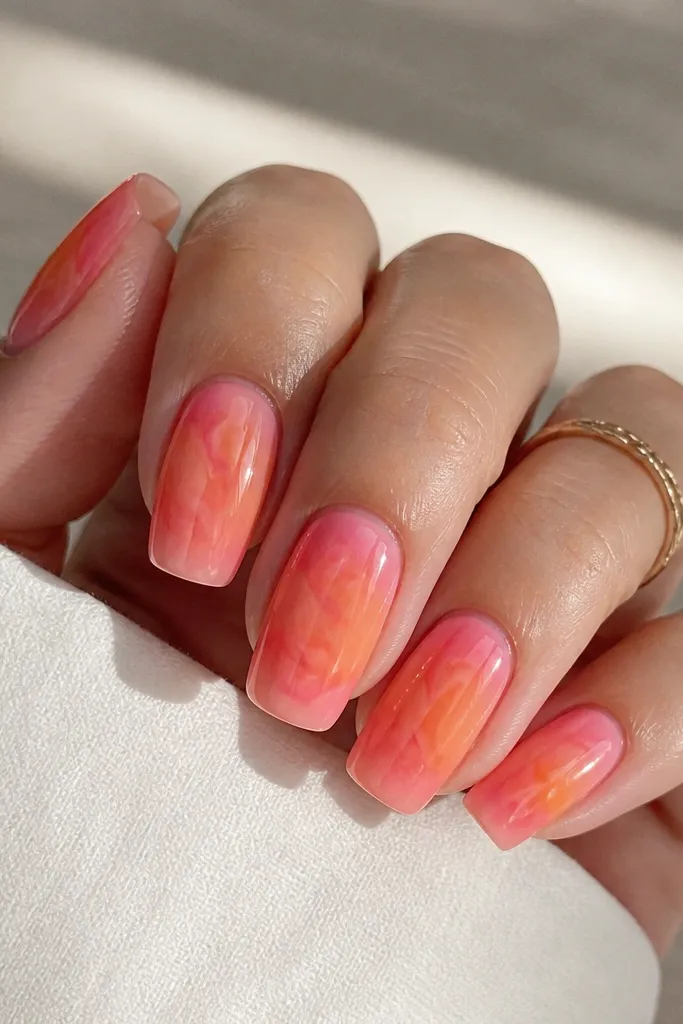
Tie-dye swirls can look messy, but inside an aura they look like a soft cloud. The pink-to-orange fade gives structure, then the deeper orange swirls add movement without hard lines. This flatters long squoval nails because the broad surface makes the swirls look smooth instead of scribbly. It also looks amazing on hands with warm undertones since orange and pink sit close together on the color wheel. I wore this for a music event and it looked like my nails were lit up from different angles.
Step 1: Sponge your base aura: pink at the cuticle, orange toward the tip, keeping the blend foggy. Step 2: With a thin brush and a slightly deeper orange, paint 2-3 translucent swirl shapes in the center — don’t outline, just pull color. Step 3: Blend the swirl edges by tapping with a clean sponge or using a tiny amount of clear gel on the brush. Step 4: Seal with two glossy top coats, curing fully between coats if you’re using gel.
Use deeper orange sparingly. Two swirls are enough — more makes it look like a stain.
Avoid thick paint for swirls — thick swirls look opaque and ruin the dreamy haze.
19. Pink Aura with Orange Gradient Halo and Thin Black Outline
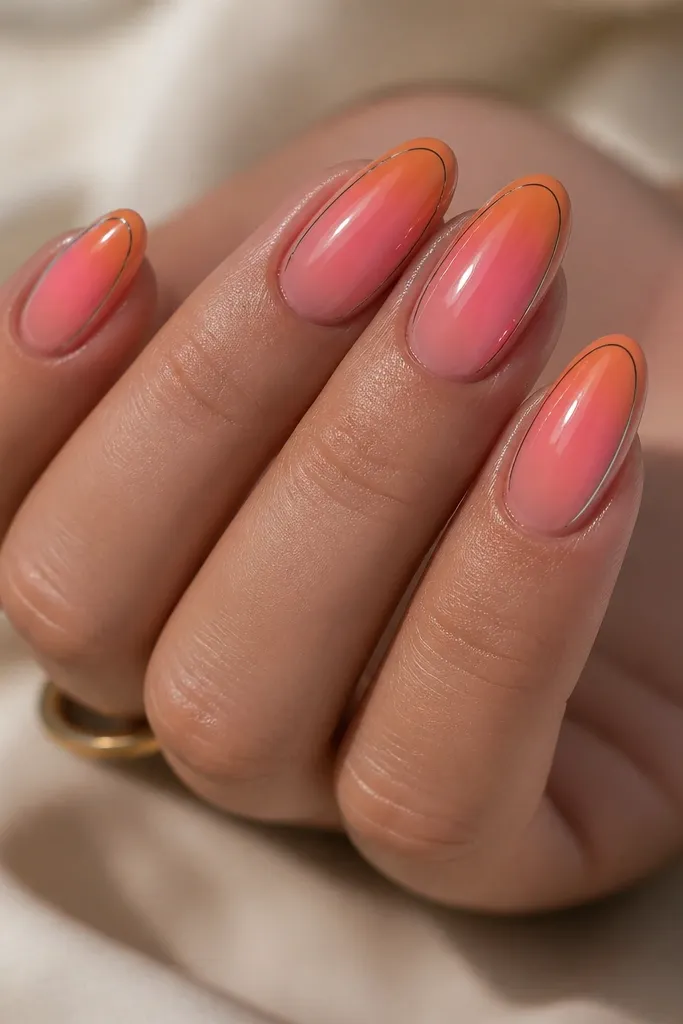
This is the only “liner” style I do with aura nails, and it works because the outline is thin and minimal. The pink-to-orange aura stays dreamy, and the black edge frame makes the colors look sharper and more intentional. It flatters olive and medium-deep skin tones in a way that feels edgy but still cute. On fair skin, it looks chic and graphic without getting too goth because the aura keeps the center soft. I like wearing this with black outfits or layered necklaces.
Step 1: Sponge pink near the cuticle and orange toward the tip, blending until the aura looks like it’s floating. Step 2: Apply a thin glossy top coat and cure/dry so you can draw clean lines. Step 3: Using a fine liner brush, draw a very thin black outline along the outer edge of the nail — stop before the corners and keep it subtle. Step 4: Add one more thin glossy top coat to seal the liner and prevent fading.
If the black looks too bold, dilute it with a drop of clear gel or top coat so it stays hair-thin.
Don’t outline the entire nail like a frame — it kills the aura softness.
20. Pink Aura with Orange Velvet Effect (Velour Powder)
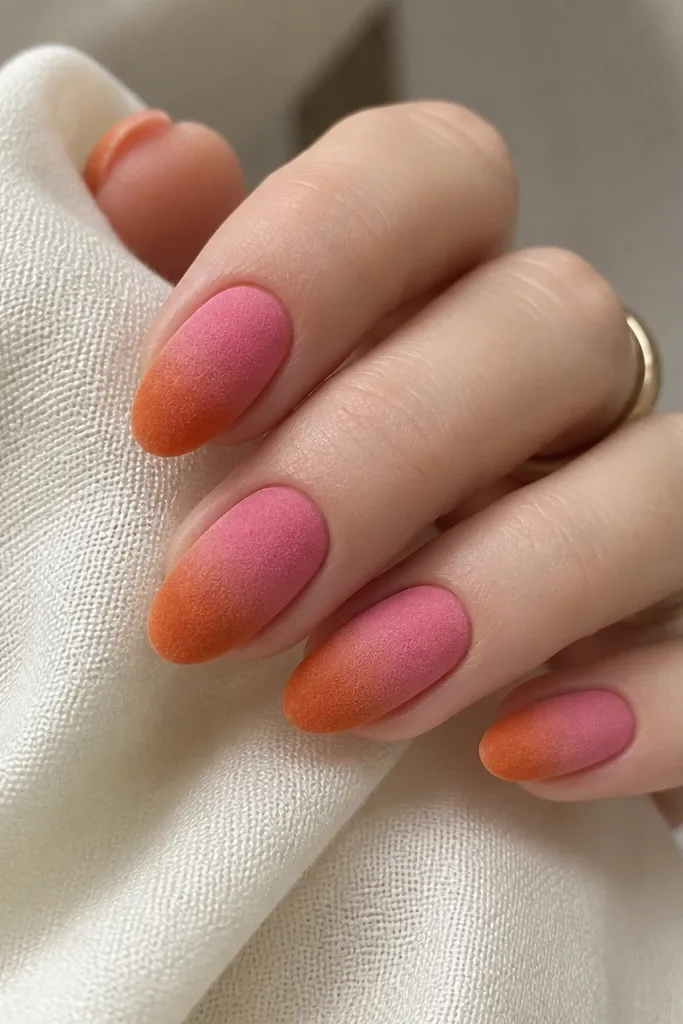
Step 1: Sponge your pink-to-orange aura and seal it with a matte base layer or a velour-friendly top coat. Step 2: Apply velour powder over the nail using a dense puff, focusing slightly more on the orange half so it looks richer. Step 3: Tap off excess powder and lightly brush around the edges for a clean cuticle line. Step 4: Seal only if your powder brand recommends it — some velour effects stay better without a full glossy top coat.
Velvet effect changes the whole mood. Instead of a mirror glow, you get a soft, velvety aura that looks dreamy in a different way — like a soft-focus filter. The pink still reads rosy, and the orange looks warm and plush. This flatters hands that get smudges easily because matte velvet hides tiny imperfections better than glossy. It also looks great for fall and winter parties when you want something cozy. I tried this once at home and immediately loved how the aura looked like it had depth.
Watch outDon’t mix velvet with thick glitter — the texture becomes bumpy and catches on hair.
Editor's notePress the velour powder gently with a puff, then stop. More pressure makes the texture clump.