1. Velvet Plum with Cocoa Brown Tips
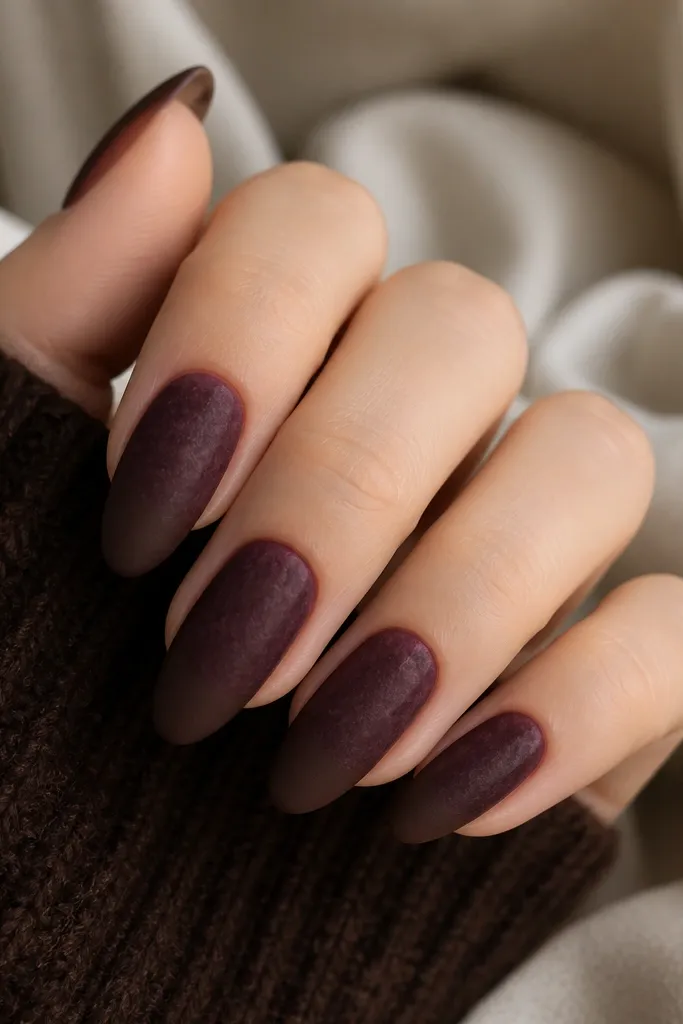
This set is my go-to when the weather turns and your hands feel dry. The velvet finish on the plum base catches light like suede, which makes the color look warmer and less flat. The cocoa-brown tips add a "cozy coffee" contrast that pairs perfectly with camel coats, brown boots, and cream sweaters. It flatters most skin tones because plum has both warm and cool pigments - it doesn't pull orange or grey. Keep the almond shape; the curved tip makes the gradient look intentional instead of messy.
Start with a dehydrator and a thin base coat, then paint two coats of velvet-plum polish. Cure each coat fully so the velvet texture doesn't turn grainy. Next, sponge a cocoa-brown polish onto only the last third of the nail, blending upward with a dry sponge for a soft fade. Finish with a velvet-friendly topcoat on the plum area and a matte topcoat on the brown tips so both textures stay distinct. Clean up the edges with a brush dipped in acetone-free remover.
Editor's noteIf your velvet polish feels too dry, mix in a drop of velvet topcoat to thin it before applying.
Watch outDon't paint the velvet finish too thick or it will look bumpy instead of plush.
2. Glassy Blackberry with Gold Half-Moons
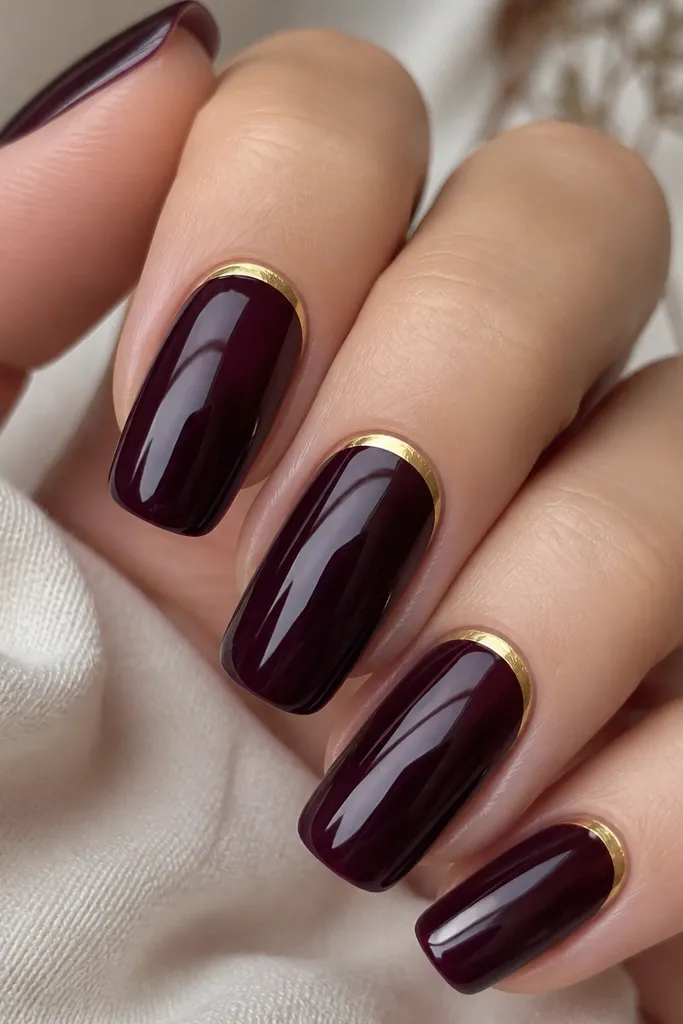
This one looks expensive fast. The blackberry jelly base gives that "glassy" depth where the purple seems to glow from inside. Gold half-moons at the cuticle make your nail bed look longer, which is flattering if your nails grow with a shorter natural bed. It's a great match for fall outfits with gold hardware - belts, watch bands, and hoop earrings. I also like it because the design stays neat as your nails grow out; the half-moon is anchored at the same spot each time.
Apply a builder base if you need smoothing, then paint one thin jelly layer of blackberry and cure. Add a second jelly coat, but keep it slightly sheer near the cuticle so the gold sits clean. Use a striping brush or half-moon stencil to paint a metallic gold arc at the cuticle, then cure. Seal everything with a high-gloss topcoat in two thin coats for maximum glass effect. If you want extra depth, add a final glossy coat only to the center of each nail so it catches light.
Editor's noteUse a tiny dot of gold gel on a silicone mat, then pick it up with the brush - it stays consistent instead of flooding.
Watch outAvoid gold that's too yellow; it can fight the purple undertone and look off.
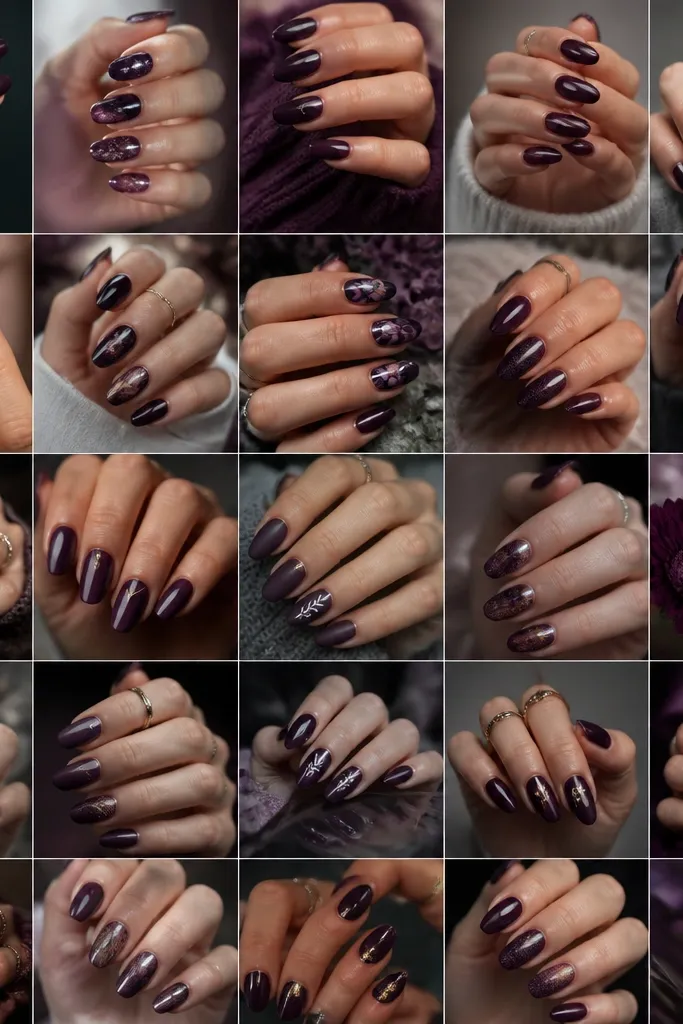
3. Micro-Glitter Plum Gradient (No-Drama Sparkle)
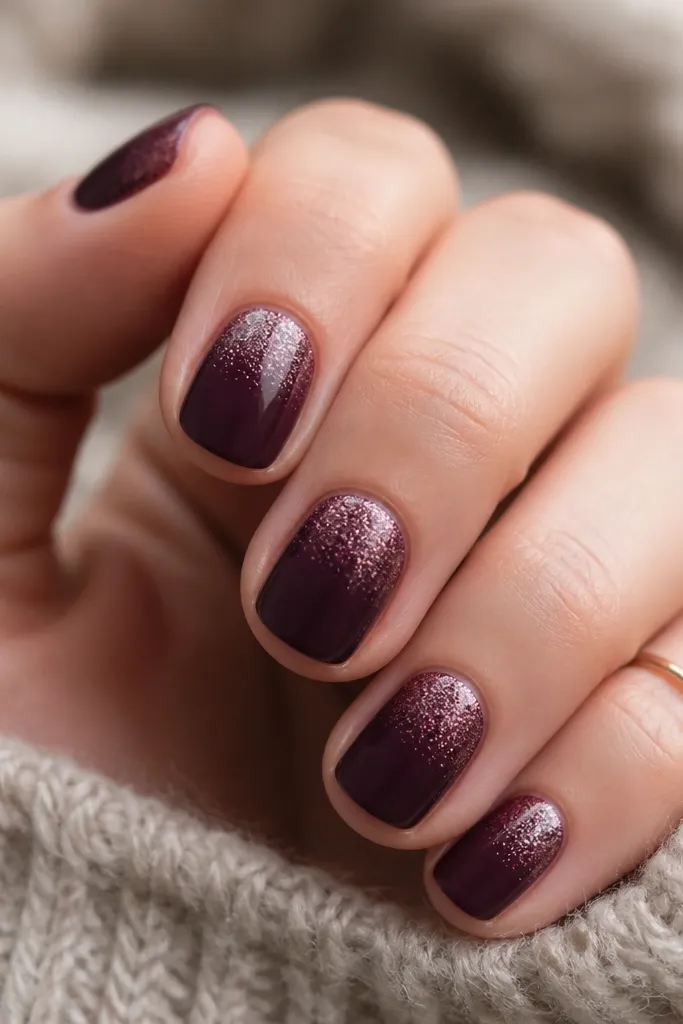
This is cozy without looking like you're trying too hard. Micro-glitter is smaller than chunky glitter, so it reads like warm starlight rather than "party mode." The gradient placement keeps the nail looking tidy, especially on short nails where full glitter can shrink the hand visually. It flatters cooler skin tones because the plum base has enough warmth to balance the sparkle. Pair it with thick sweaters and scarves - the nails look like they belong with the season.
Start with two solid coats of deep plum and cure fully. For the gradient, use a makeup sponge and dab micro-glitter gel mostly at the tip, then lightly pull it down about one-third of the nail. Cure after each build so the glitter doesn't migrate. Add a thin layer of clear or jelly topcoat over the glitter zone to smooth the texture. Finish with a glossy topcoat to lock in the gradient and prevent snagging.
Editor's noteTap the sponge on a paper towel once before applying so you control the glitter density.
Watch outDon't skip a smoothing topcoat over glitter; rough edges catch on sleeves.
4. Satin Wine Purple with Tiny Dark-Ruby Dots
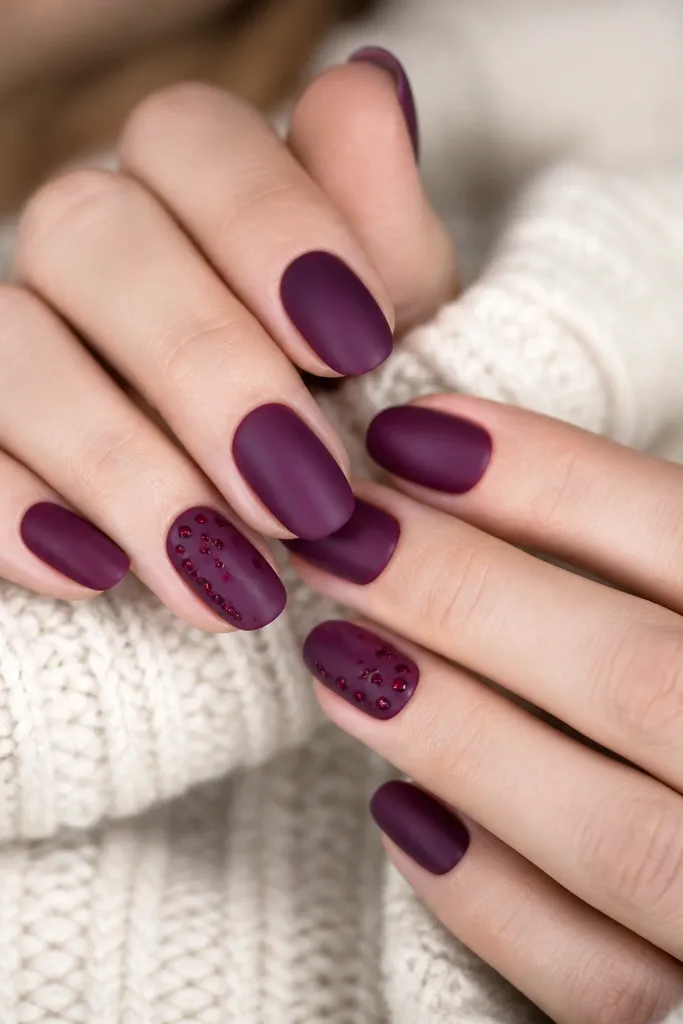
Satin finishes look cozy because they don't scream shine. The wine-purple base has a warm, slightly red undertone that looks good with burgundy, olive, and mustard. Tiny dark-ruby dots add movement without stealing attention from your hand shape. This set is especially flattering if your skin has pink undertones - the wine and ruby play nicely together. I also love it for work because the dots are small enough to look polished even when you're typing all day.
Paint two coats of wine-purple satin polish and cure. Pick two accent nails per hand and use a dotting tool with dark-ruby polish to place three to five dots in a diagonal line near the sidewall. Keep the dots about one dot-width apart so they look intentional, not crowded. Seal with a satin-compatible topcoat on the base nails and a normal topcoat on the accent nails if you want the dots to pop slightly. Clean around the cuticle with a small brush so the dots don't bleed.
Editor's noteIf your dots look too big, load less polish on the tool and touch the nail for a shorter moment.
Watch outAvoid placing dots too close to the cuticle - it can look like a stain as it grows out.
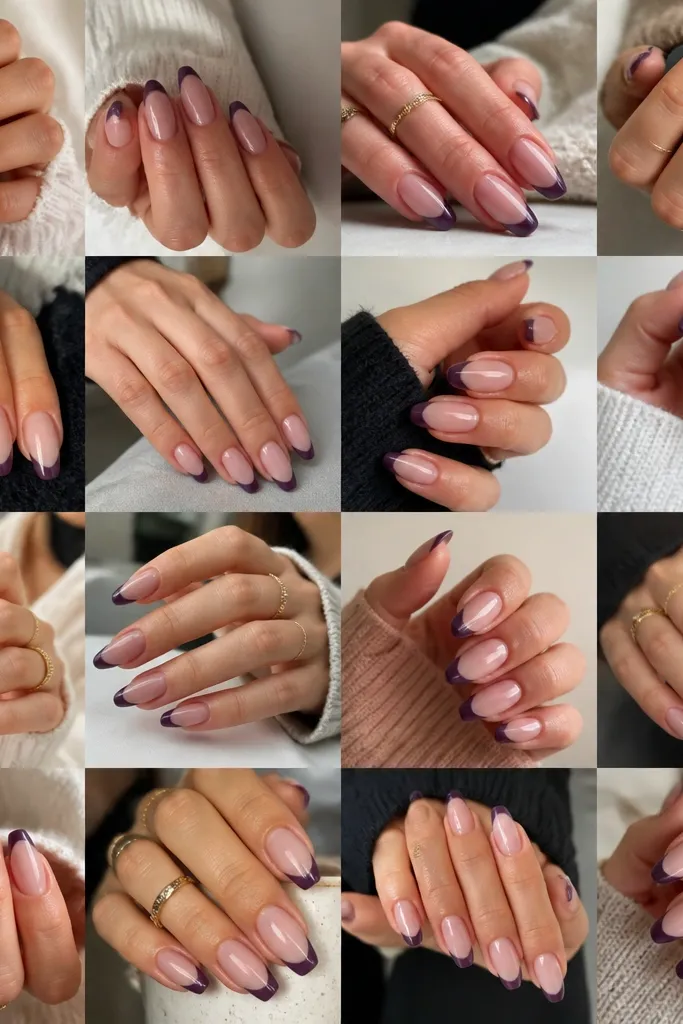
5. Dark Purple French Tips with Warm Taupe Outline
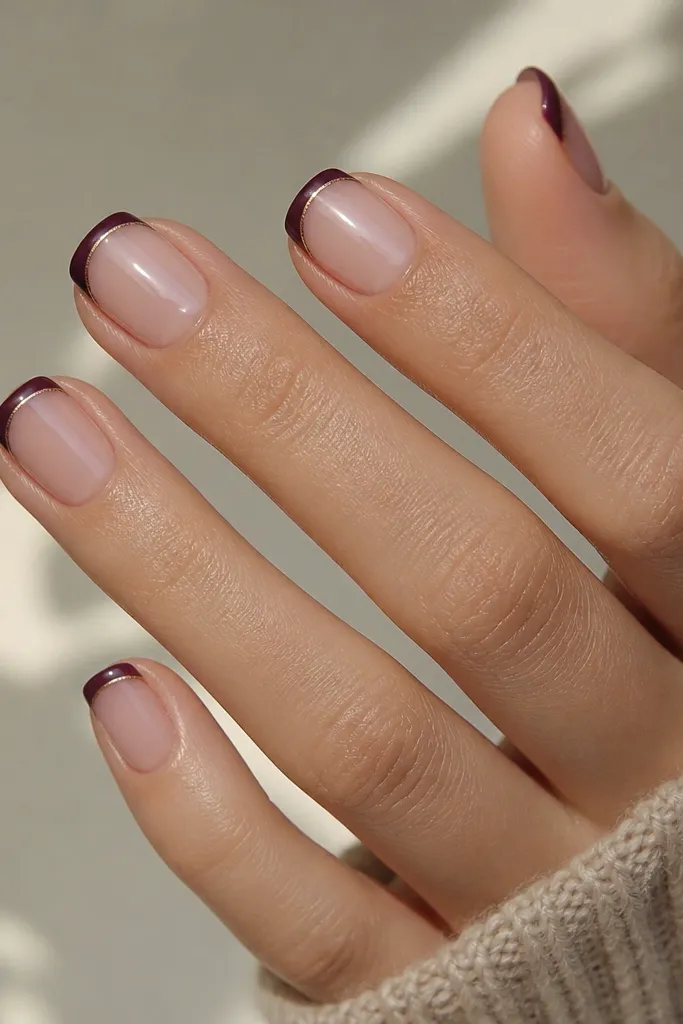
This is the cleanest way I know to make dark purple feel fall-cozy instead of harsh. The sheer nude base keeps your nails looking fresh, and the French tips give you structure. The warm taupe outline is the secret - it softens the purple and makes it look more like a sweater color than a dye. This flatters hands with shorter nails because the outline creates a crisp boundary that makes the tip look longer. It also looks great on medium and short almond shapes.
Start with a nude base that matches your skin tone and cure. Paint the French tips in dark purple using guides or tape, keeping the smile line slightly higher at the sides. Then, take a thin striping brush and add a warm taupe line along the border of the French tip. Cure and inspect under a lamp; you want the taupe to be a hairline, not a second band. Finish with a glossy topcoat to even out the surface.
Editor's noteUse striping tape for the first purple layer, then remove it before curing so you don't get a jagged edge line.
Watch outDon't make the taupe outline too thick or it turns into a blocky border.
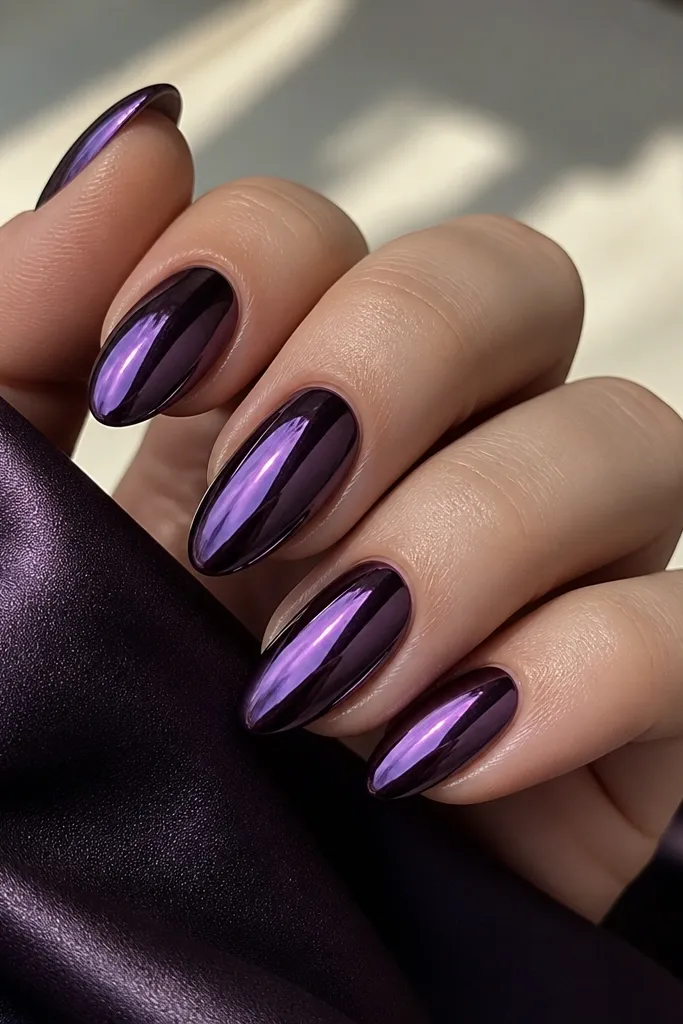
6. Blackberry Chrome Dust Over Matte Base
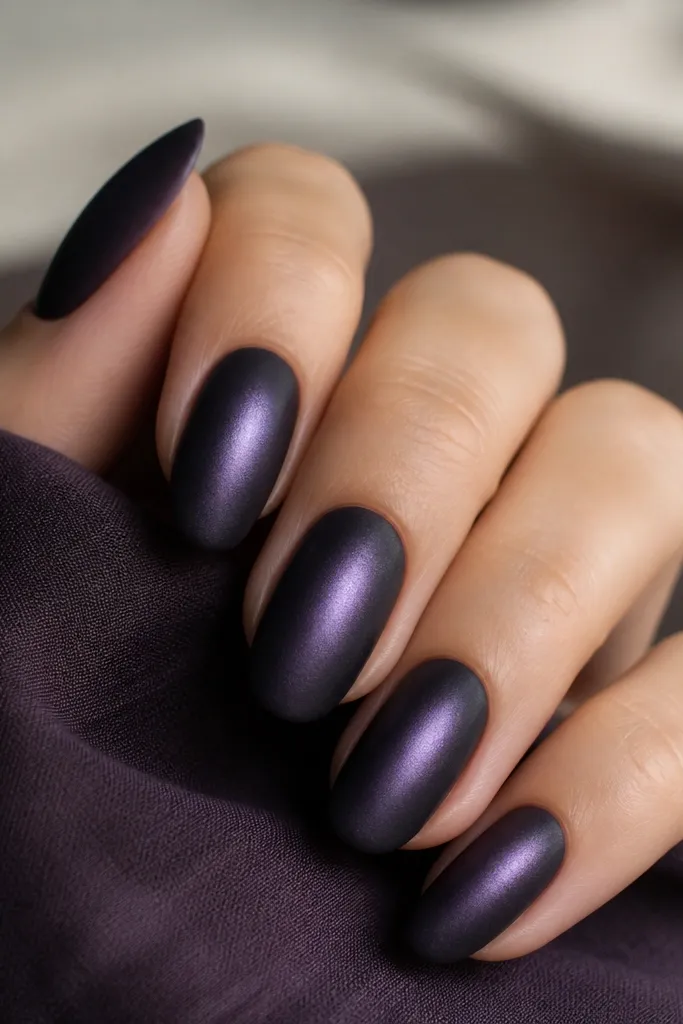
Chrome dust on top of matte is the cozy-meets-cool combo I keep coming back to. The matte base makes the blackberry shade look deep and velvety, then the chrome dust adds a subtle glow that looks like moonlight through fog. This is flattering on almost everyone because the shine is controlled and not mirror-bright. It's also a win for fall photos - the nails look dimensional even in cloudy daylight. If you wear a lot of black, this set prevents your hands from blending in.
Apply matte topcoat over two coats of blackberry polish and cure. For chrome, use a purple-black chrome powder and apply it with a small foam applicator, focusing on the center of each nail. Lightly buff so you get a soft halo effect, then cure if your chrome uses a gel top method. Seal with a matte topcoat over everything only if you want less shine; if you want the glow, skip matte and use a thin glossy topcoat just to lock the dust in. Clean around the cuticle with a cotton swab dipped in remover.
Editor's noteWork in small sections - chrome dust spreads fast and you want that soft center focus.
Watch outAvoid heavy chrome coverage; it turns from cozy glow to harsh mirror.
7. Plum Cable-Knit Accent on Matte Nude
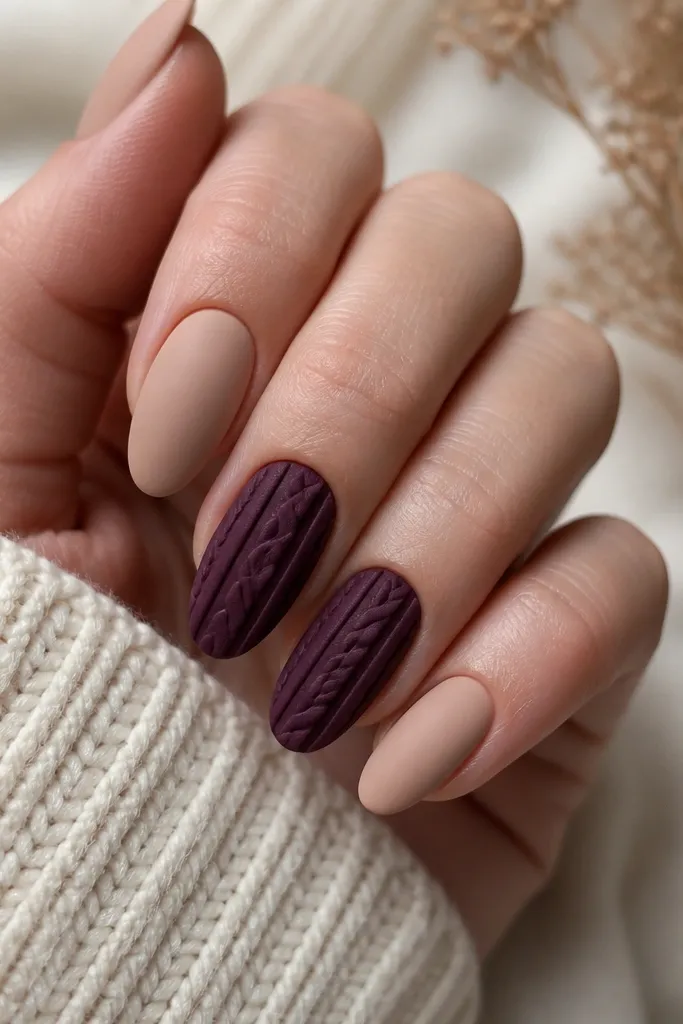
This one literally reads like a sweater cuff. The matte nude base keeps things calm, and the cable-knit pattern in dark plum adds texture you can see up close. It's flattering because the nude gives your fingers a clean line, while the vertical knit detail makes nails look longer. I like it for date nights and fall weddings because it looks thoughtful without being loud. The pattern also hides small imperfections as your nails grow out.
Start with a nude polish and matte topcoat on all nails. On two accent nails per hand, use a thin detail brush to draw vertical lines spaced about 2-3 mm apart. Add the "twist" by crossing short diagonal lines between the vertical guides, then repeat on the next section to create a cable effect. If you want it to look extra dimensional, use a gel that holds shape slightly and build the pattern in two thin layers. Finish with a matte topcoat over the base and a matte topcoat over the knit pattern as well so it matches the texture.
Editor's notePractice the cable pattern on a nail swatch first; spacing is what makes it look like knit, not random lines.
Watch outAvoid thick paint for the knit lines; it looks like a sticker instead of a pattern.
8. Dark Purple Aura Fade with Warm Beige Center
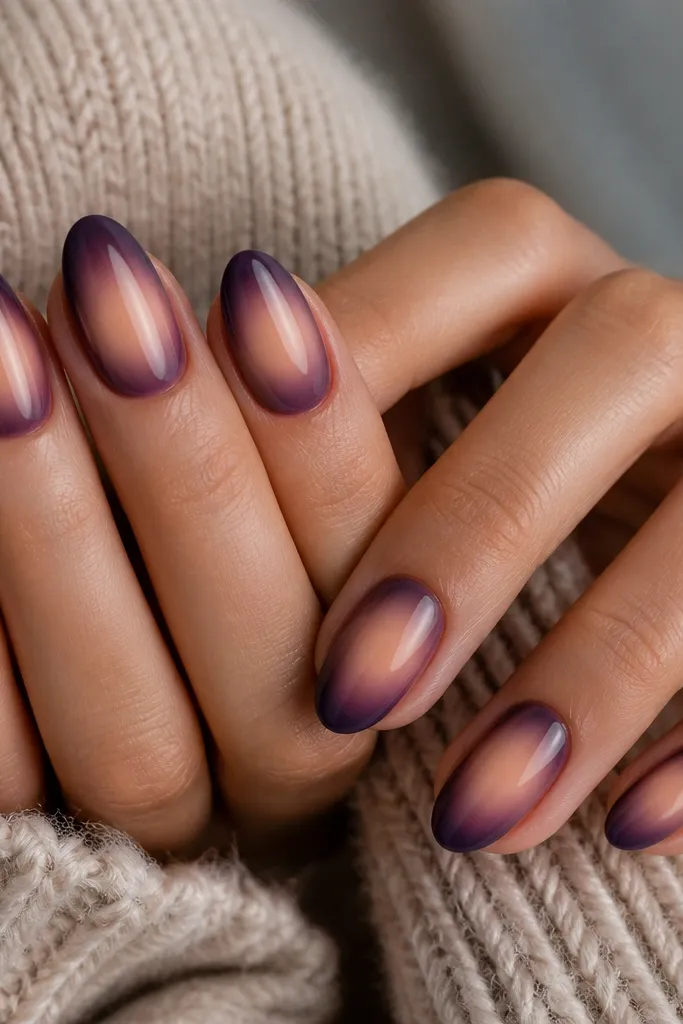
Aura nails look cozy when the center is warm. The beige center makes the purple feel like it's lit from inside, and it flatters a wide range of skin tones by keeping the design closer to your natural nail bed color. If you have a shorter nail bed, the beige glow pulls the eye toward the center and makes your nails look longer. This set also looks amazing with chunky rings because the aura glow gives your jewelry something to match. The best part is that it grows out nicely because the fade doesn't have a hard edge.
Paint a sheer nude base, then cure. Sponge or airbrush dark purple outward from the center of the nail, leaving a small beige oval in the middle. For a sponge method, use a makeup sponge and dab the purple lightly, building intensity at the outer edges. Add a thin layer of clear gel over the center to keep the beige glow smooth. Seal with glossy topcoat to make the aura look like it's under glass.
Editor's noteKeep the beige center about the width of your cuticle - if it's too big, the purple loses depth.
Watch outAvoid harsh lines at the aura edge; the whole look depends on blur.
9. Plum Jelly with Burnt Orange Leaf Tips
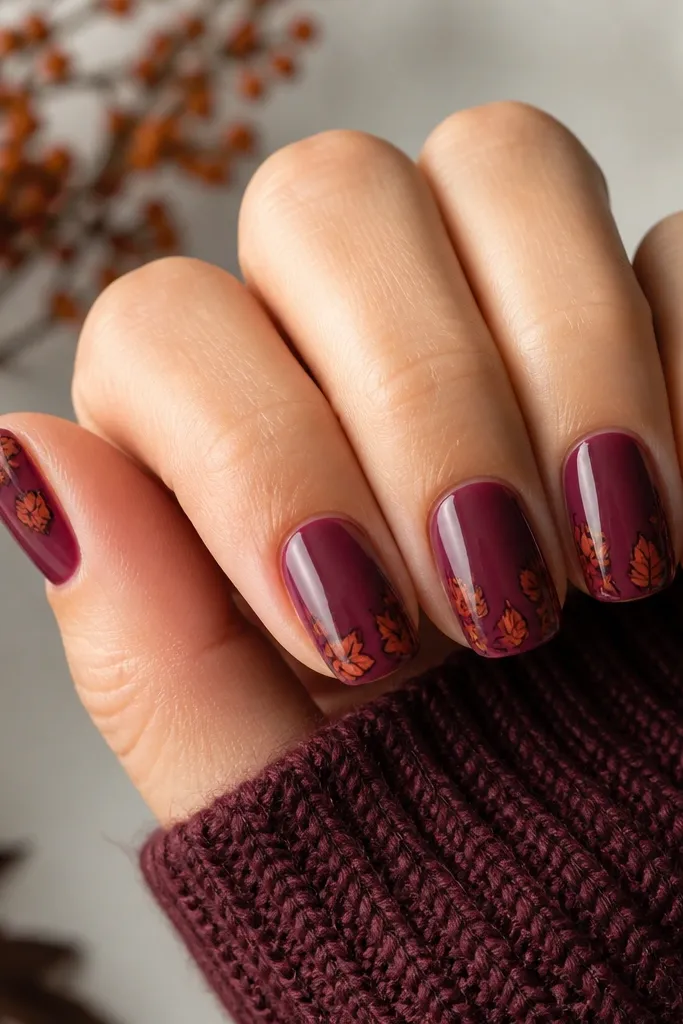
This is fall without looking childish. A translucent plum jelly base makes your nails look juicy and healthy, and burnt orange leaf tips bring in the autumn palette that sweaters and scarves already use. The tiny dark outline keeps the leaf shapes crisp so they don't look smeared. It flatters warm skin tones and also looks great on neutral undertones because the orange is close to rust and cinnamon. I like it for weekends because it feels artsy, but the leaf placement stays near the tip, so it still looks neat at work.
Apply a jelly builder or clear base, then paint two thin coats of plum jelly, curing between coats. On the tips, paint small leaf shapes using a detail brush - start with a teardrop, then add a second smaller teardrop on the side to suggest a leaf vein. Use burnt orange gel, then outline each leaf with a very thin line of deep brown or espresso. Cure and add one more thin jelly coat to blend the edges. Finish with glossy topcoat for that wet leaf look.
Editor's noteUse a brown outline that's slightly warm, not black; warm brown makes orange look richer.
Watch outAvoid placing leaves all the way up the nail - it makes the manicure look busy and harder to maintain.
10. Dark Purple Marble with Soft Smoky Veins
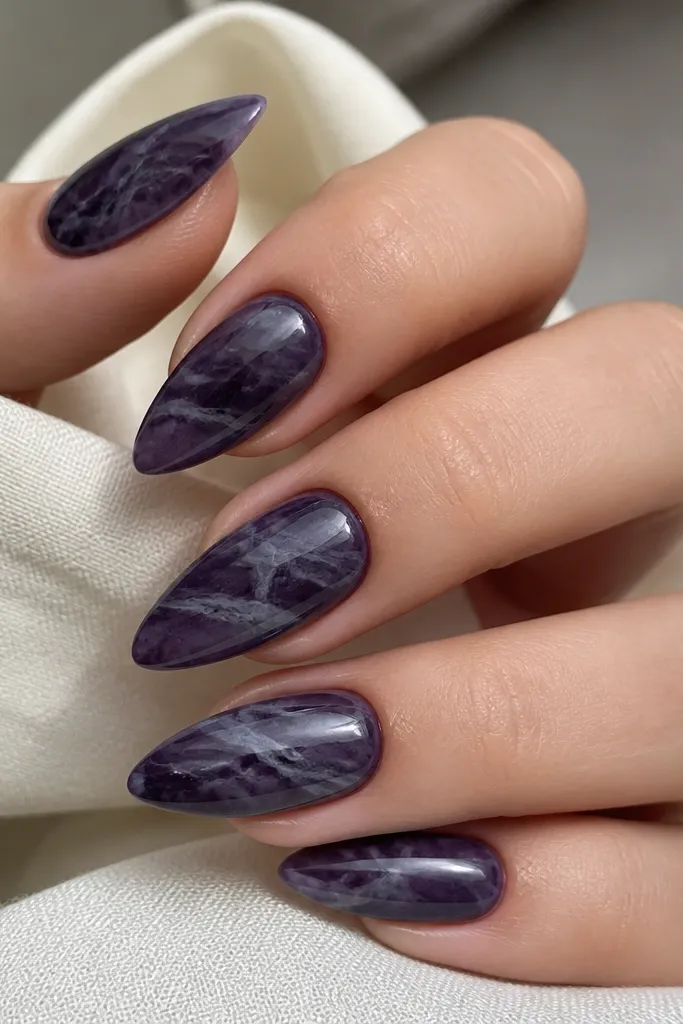
Marble nails can look classy or chaotic. This version stays cozy because the veins are smoky grey instead of bright white, so the purple keeps a fall mood. The diagonal movement makes the nails look longer and more sculpted. It flatters hands with any skin tone because grey neutralizes the purple intensity. I love this set for evenings because the marble catches light in a way that looks like polished stone on your fingers.
Paint a solid dark purple base and cure. For the marble, use a thin brush to drag a lighter grey-purple or smoky grey through the purple, then blend with a clean brush tip while the gel is still workable. Add a second pass of slightly darker grey to give depth, then drag a couple of lines diagonally across the nail. Wipe the brush often so the veins don't turn muddy. Seal with glossy topcoat in two thin layers to smooth the marble and prevent snagging.
Editor's noteKeep the veins thin - thick marble lines make dark purple look heavy and flat.
Watch outAvoid using too much white; it pushes the set toward winter ice instead of fall smoke.
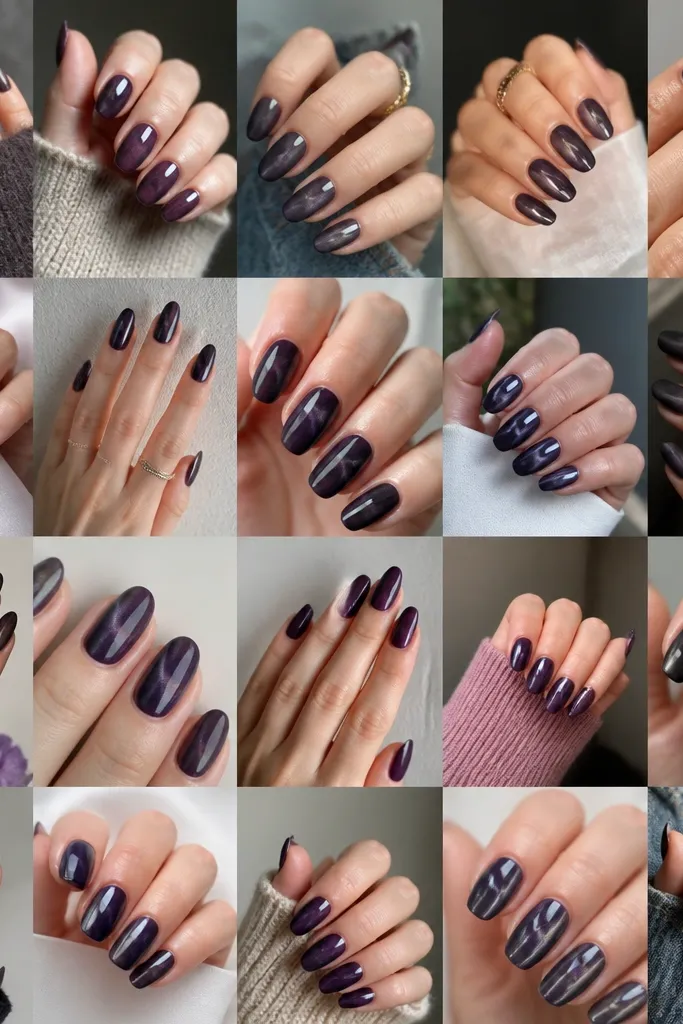
11. Matte Dark Purple with One Glossy Stripe
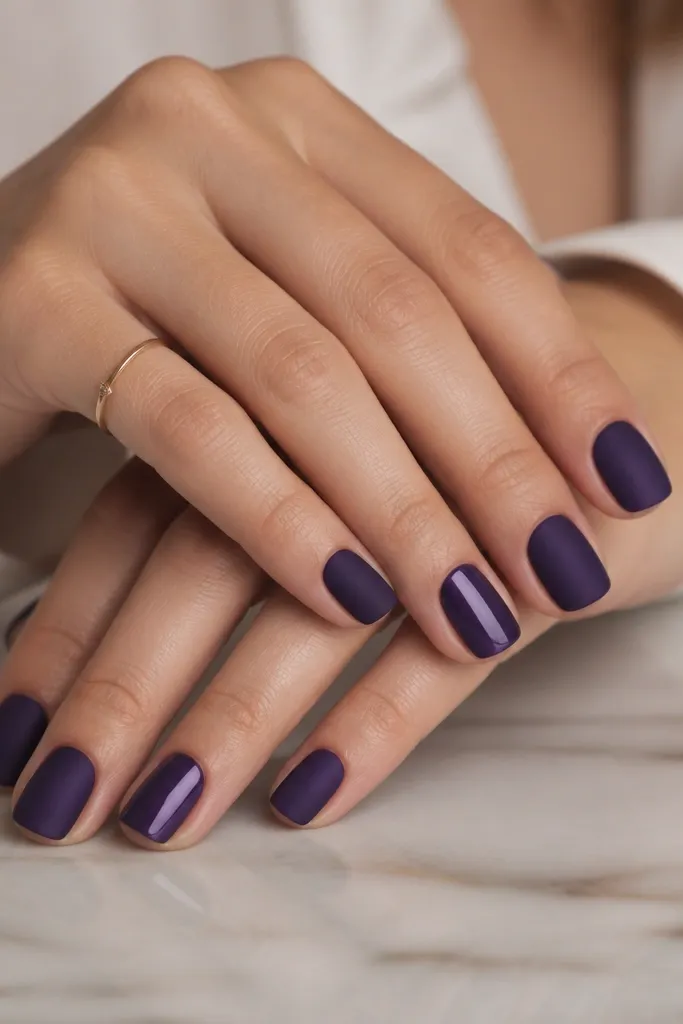
This is for when you want dark purple but you don't want full nail art. Matte makes the color feel soft and cozy, like felt fabric. The glossy stripe adds a clean highlight that looks sharp and intentional, especially under indoor lights. It flatters smaller nail beds because the stripe draws the eye upward. I also like how the glossy stripe makes your manicure look fresh even after a week, since it doesn't rely on tiny details that can wear off first.
Paint two coats of matte dark purple and cure. On one accent nail per hand, leave a narrow center strip un-topcoated with matte topcoat, then apply glossy gel or glossy topcoat only to that strip. Cure and then add a final thin layer of matte topcoat around the stripe so the matte coverage looks even. On non-accent nails, keep everything matte. Clean up sidewalls with a brush dipped in remover and check the stripe under a lamp for a smooth reflective line.
Editor's noteUse nail striping tape as a guide for the stripe, then remove immediately before curing.
Watch outAvoid a stripe that's wider than 1.5 mm; it starts looking like a mistake instead of a design.
12. Dark Purple Ombré with Chestnut Fade
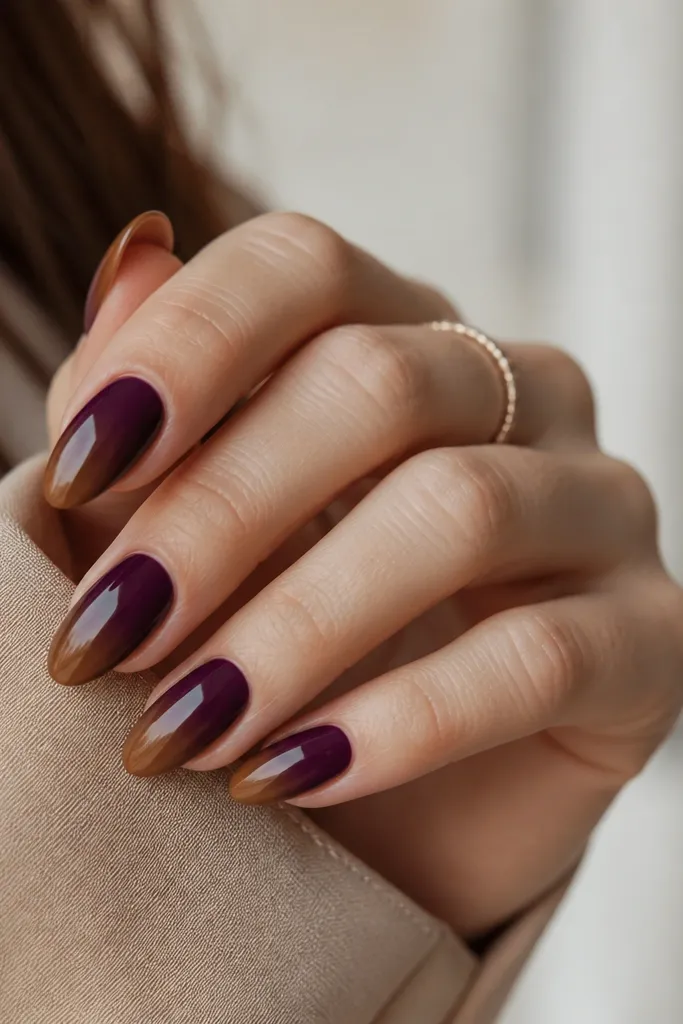
Ombré is cozy when the top color is deep and the fade is warm. This set uses chestnut at the tips so the purple looks like it's soaking into autumn leaves. The gradient flatters long fingers because it keeps the darker color at the base and transitions softly. It also looks good on different skin tones because chestnut is neutral-warm and doesn't fight undertones. I wear this when I'm busy and want a manicure that still looks "done" after a few days.
Start with a base coat and one coat of dark purple, then cure. Sponge or brush chestnut-brown polish onto the last third of the nail and blend upward with a clean sponge for a smooth ombré. Keep the darkest purple closest to the cuticle so the fade reads clean. Add a clear gel layer to blend the transition line and cure. Finish with glossy topcoat for a smooth, salon-like surface.
Editor's noteUse a slightly damp sponge edge for blending; it helps the ombré melt instead of show a line.
Watch outDon't blend too high - if chestnut reaches the middle, it can make the nails look shorter.
13. Plum Skittle Nails with One Cozy Texture Each
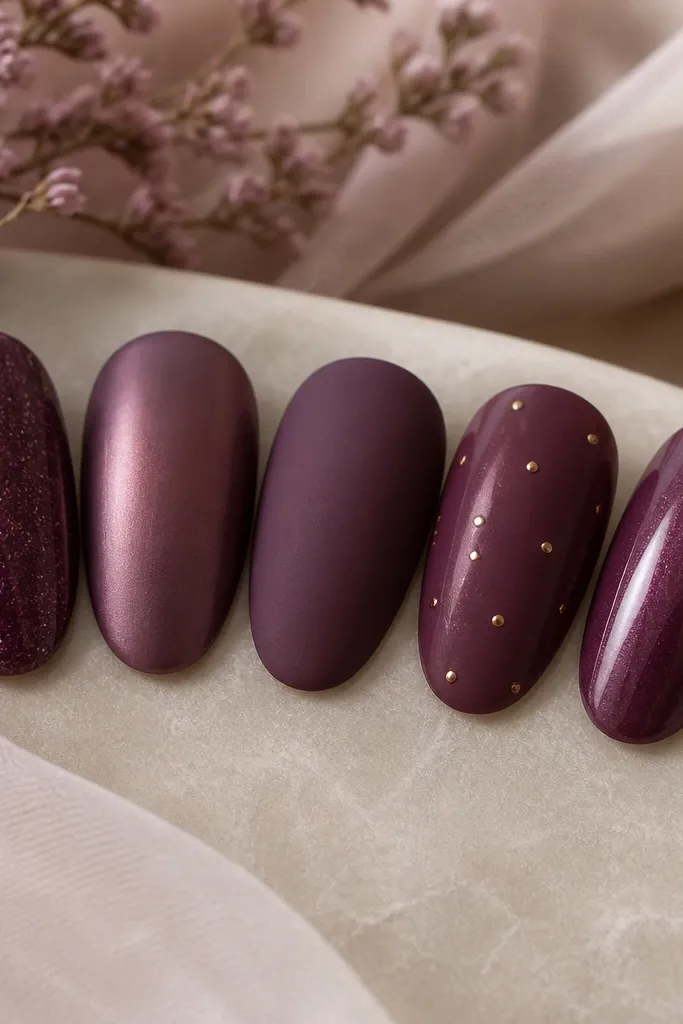
Skittle nails look best when they stay in the same color family and each nail has one clear texture choice. This set uses close plum shades so your hand looks cohesive, not random. The variety is still cozy because every finish feels fall-friendly - satin and matte soften the purple, micro-glitter adds warmth, and gold dots keep it polished. It flatters hands that need visual interest without needing heavy art on every nail. I like it for holidays and dinners because it photographs well from every angle.
Pick five plum shades: wine-purple, blackberry, plum-brown, and two slightly different mid-plums. Paint each nail with a different finish - one nail matte, one satin, one glossy shimmer, one micro-glitter gradient at the tip, and one solid with tiny gold dots near the cuticle. Keep the gold dot placement consistent on that one nail so it looks intentional. Cure each nail fully after its finish. Seal everything with topcoat - matte stays matte, and gloss/shimmer nails get a glossy topcoat.
Editor's noteChoose textures first, then pick shades. If the finishes clash, the color matching won't save it.
Watch outAvoid mixing too many different purples that lean blue; the set starts looking like separate manicures.
14. Dark Purple French with Crushed-Glitter Topcoat Over Tips
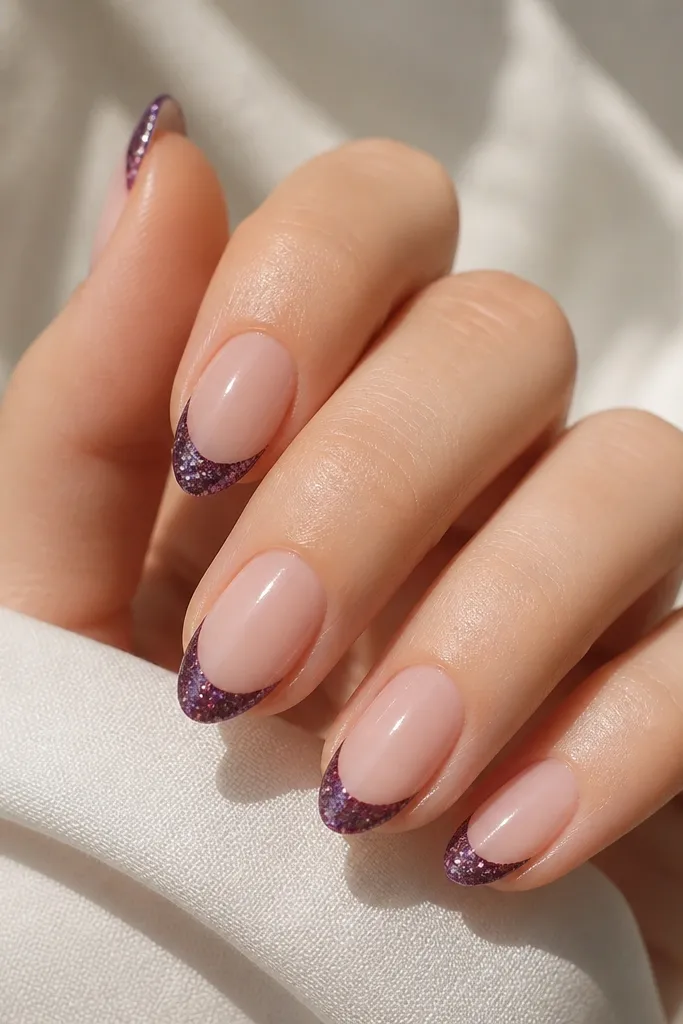
This is the cozy version of French tips. The nude base keeps it clean, and the dark purple gives it that fall depth. Crushed glitter only on the tips makes it feel like the nail is catching firelight from a candle or street lamp - warm, not blinding. It flatters almost every nail shape because the French line defines the nail edge. If you wear dark jeans and boots, this set makes your hands look like they belong in the same outfit.
Apply a nude base in two thin coats and cure. Paint French tips in dark purple using tape guides so the smile line is sharp. While the purple is tacky (or after you apply a thin gel layer), press crushed glitter only onto the French tip area and avoid the nude. Use a sponge to press gently so glitter fills gaps without spreading upward. Seal with a glossy topcoat, focusing on the tip so the glitter feels smooth and doesn't snag.
Editor's notePat the tip with a lint-free wipe after glitter so the surface stays even.
Watch outDon't put crushed glitter over the entire nail; it makes the manicure look heavy and can chip faster.
15. Plum and Olive Micro-Check Accent
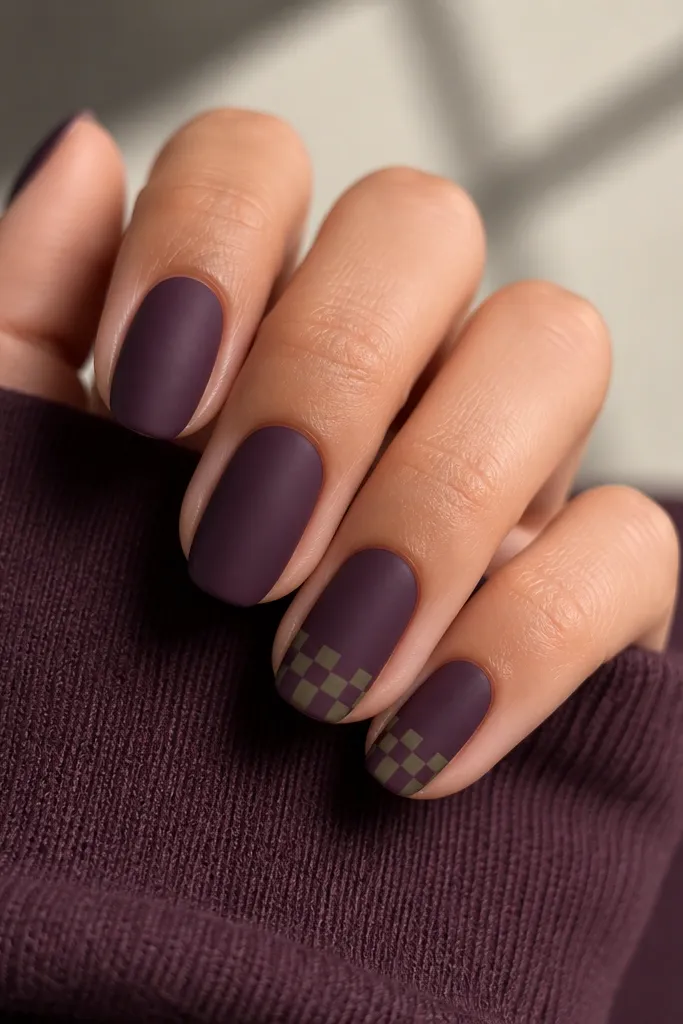
This set feels like fall clothes in nail form. The matte deep plum is the base that looks cozy with everything, and olive micro-check accents bring in that sweater-and-canvas vibe. Micro-check patterns are small enough to look grown-up, not childish, and they add visual texture without taking over the nail. It flatters neutral and warm undertones because olive has yellow-green warmth that balances plum. I also like it for everyday because the accent is near the tip, so regrowth doesn't ruin the design.
Start by painting all nails deep plum and top with matte topcoat. Choose two accent nails and draw a small grid near the tip using a fine striping brush - make squares about 1-2 mm. Fill the squares with olive green and alternate with a slightly lighter plum or the base shade. Cure each nail and add a thin glossy topcoat only on the accent nails if you want the checks to look crisp; keep matte on the rest. Finish with a matte-safe topcoat around the edges so the pattern stays clean.
Editor's noteUse nail art tape cut into tiny strips for straight lines; freehand micro-checks get uneven fast.
Watch outAvoid big check squares - they make dark purple look like it belongs on a costume.