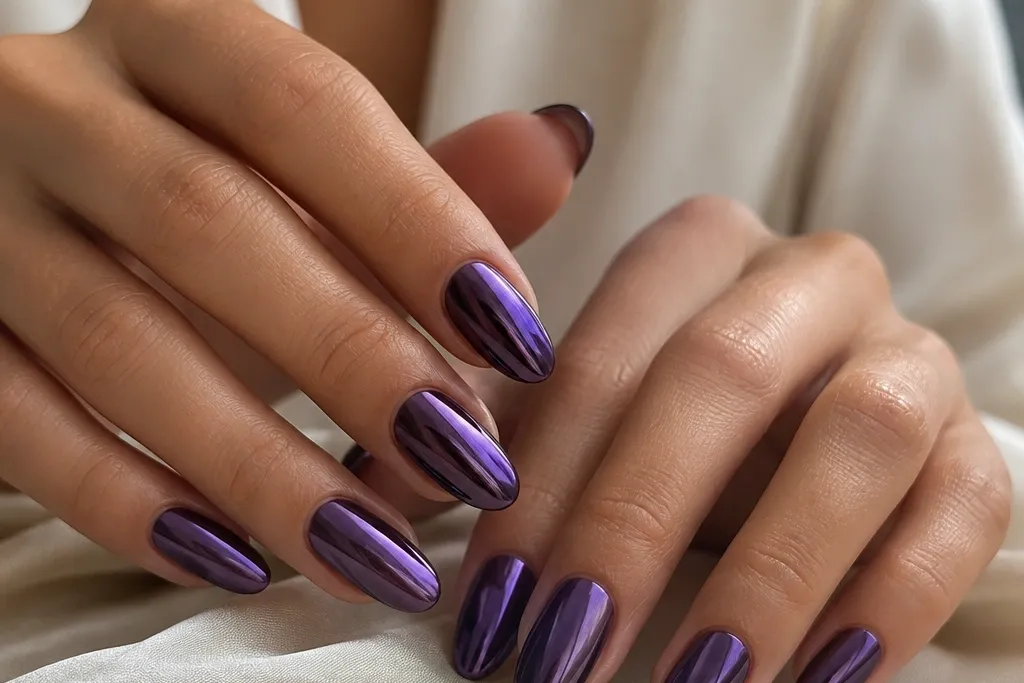
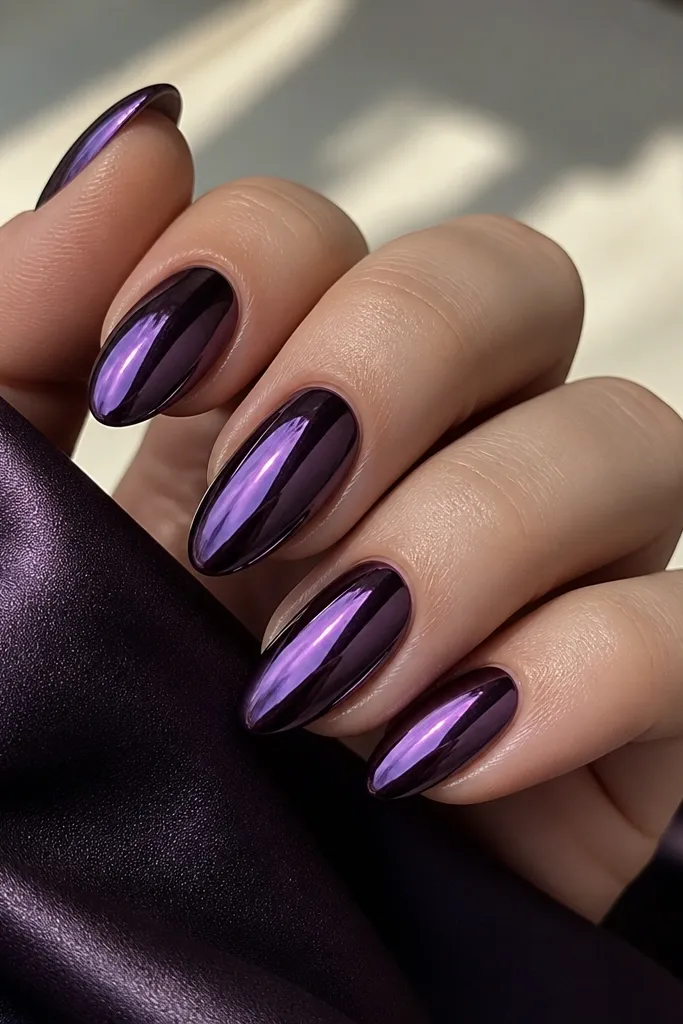
1. Midnight Violet Mirror Chrome Coffin
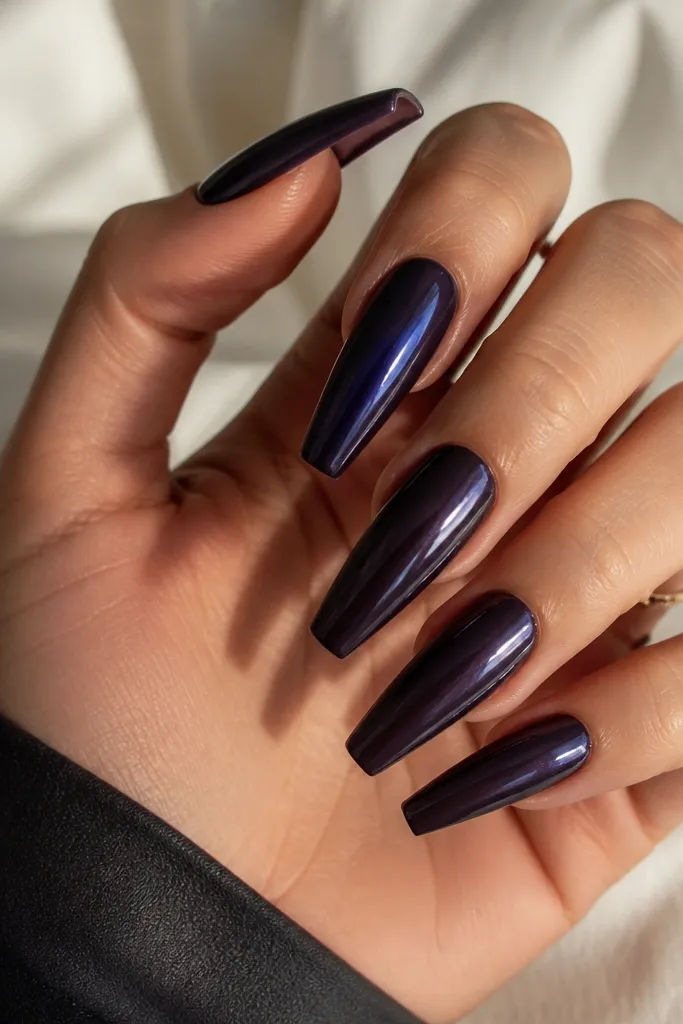
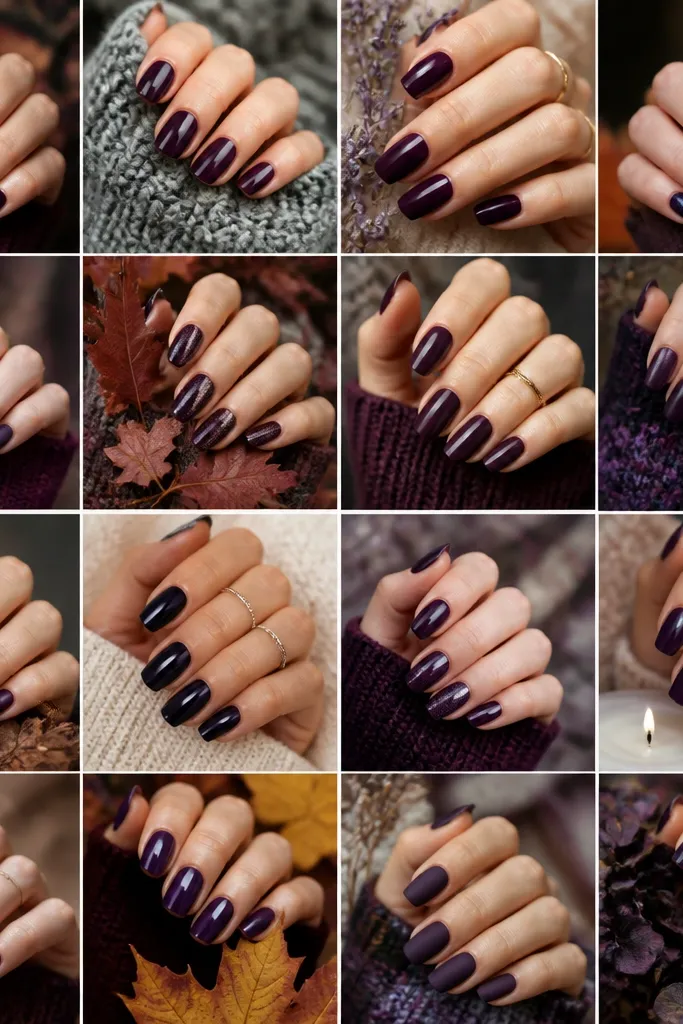
This is the set I reach for when I want “expensive” without extra art. The purple base is a midnight violet that looks black at first glance, then turns clearly purple when the light hits. Full mirror chrome on a coffin shape gives you a clean reflective plane, so your hand looks polished even in casual outfits. It flatters medium to warm skin tones because the violet reads cool and makes your skin look even-toned. For olive skin, it still works, but keep the purple deeper so it doesn’t go muddy.
Start by applying two thin coats of deep violet gel, curing fully between coats. Shape your nails into a balanced coffin and buff only enough to remove surface shine, then wipe with a lint-free pad and prep solution. Apply chrome gel or sticky layer where your chrome will sit, then press the purple mirror chrome powder in using a dense applicator — sweep once, then tap at the cuticle edge to fill. Finally, seal with a thick, high-gloss top coat in thin strokes, curing each nail without flooding the cuticle.
Editor's noteIf your chrome looks slightly gray, your base is too matte or too thick. Do thinner coats and make sure the base is glassy before chrome.
Watch outAvoid thick purple layers — they create ridges that chrome turns into dull stripes.
2. Plum Velvet Chrome With Soft Cuticle Line
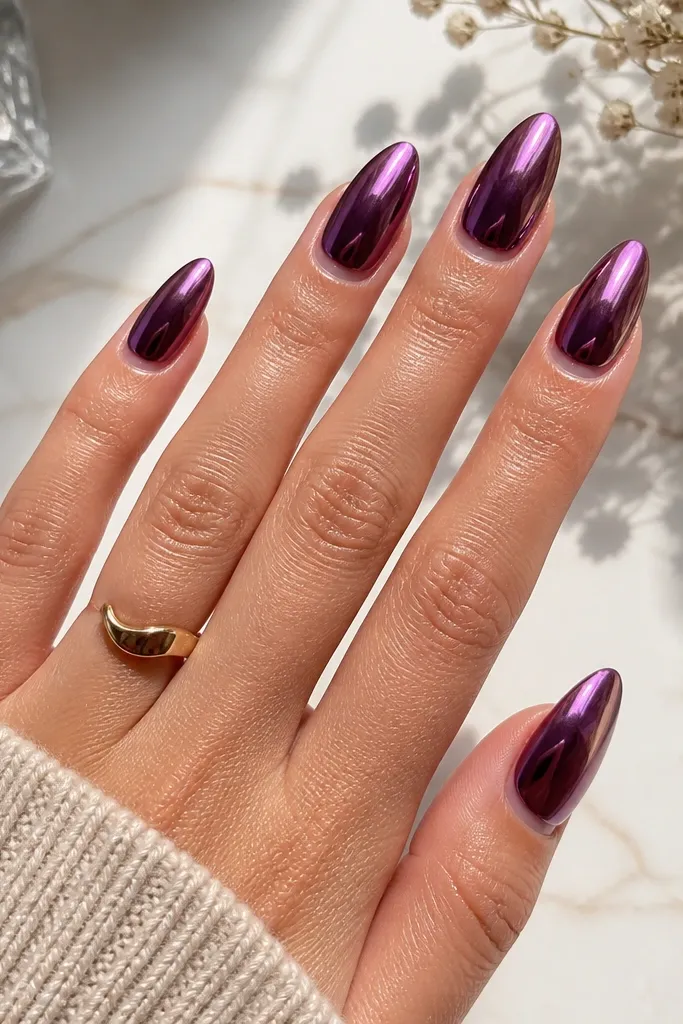
This look is luxe because it has boundaries. The base starts plum and deepens into violet, then the chrome turns everything into a smooth reflective velvet effect. That soft cuticle line makes your nails look longer and keeps the chrome from creeping, which is the difference between salon-grade and messy DIY. It looks stunning on short-to-medium almond because the shape already narrows the nail plate. I’ve worn it on my hands for work days when I still wanted something dramatic but neat.
Begin with a plum violet gel base and cure. Buff lightly for adhesion, then apply chrome gel in the main nail area, leaving a 1-2 mm clean margin around the cuticle. Dust and press the chrome powder across the nail, then do a second light pass focusing on the sidewalls so the reflective surface stays even. Use a small brush to clean up the cuticle border before top coat, then seal with a glossy top coat that doesn’t shrink.
Editor's noteUse a dot of top coat on a micro-brush to sharpen the cuticle edge; it locks the line and prevents smudging.
Watch outAvoid letting chrome touch the skin — it chips at the edge and makes the whole set look rushed.
3. Oil-Slick Dark Purple Chrome Gradient
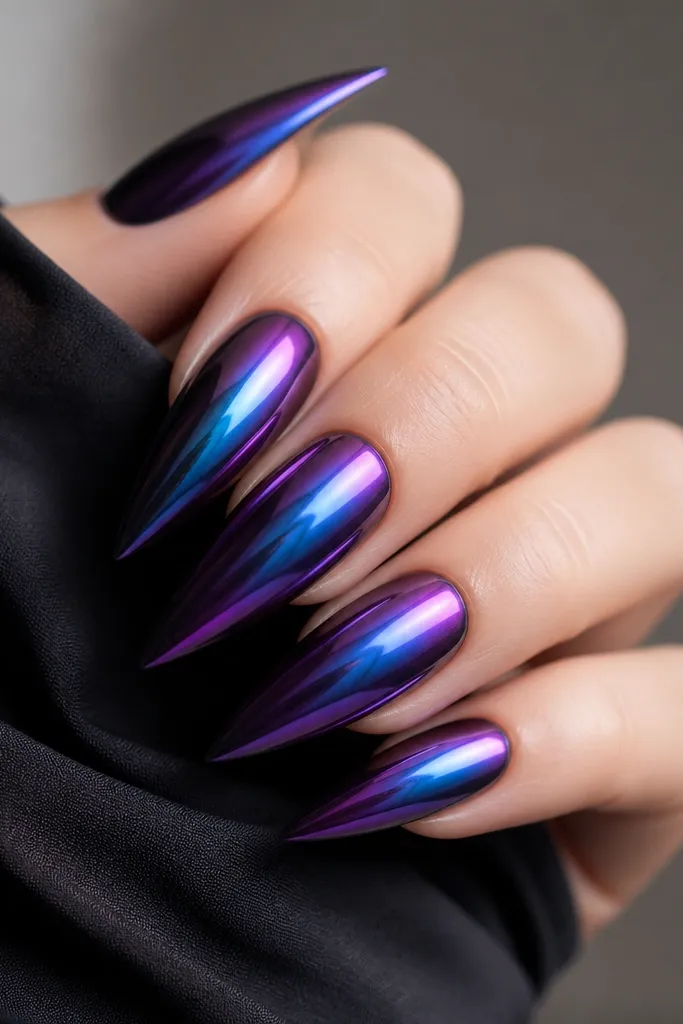
Oil-slick chrome is the most “photogenic” version of dark purple chrome because it throws multiple colors while staying in the same family. The base is still deep violet, but the chrome effect adds subtle blue-green flashes that make your nails look like they’re moving under light. This is perfect for long stiletto or extra-pointy almond because the gradient effect reads intentional along the length. It flatters cool skin tones and also looks great on tan skin because the teal flashes contrast nicely. If you want something that looks different in every photo, this is it.
Start with a dark purple gel base in two coats, curing thoroughly. Buff lightly and wipe, then apply chrome gel only where you want the brightest reflection — usually the center third. Press oil-slick chrome powder onto that area first, then blend outward with a lighter touch so the edges don’t get fully mirrored. Cure, then repeat a small amount at the tip if you want extra flash. Seal with a glossy top coat using slow strokes to avoid streaks.
Editor's noteFor a cleaner gradient, use less powder on the first pass and build it — heavy chrome makes the whole nail look flat.
Watch outAvoid curing chrome gel too long before applying powder; it can set unevenly and create patchy shine.
4. Dark Purple Chrome With Black Micro-Foil Lines
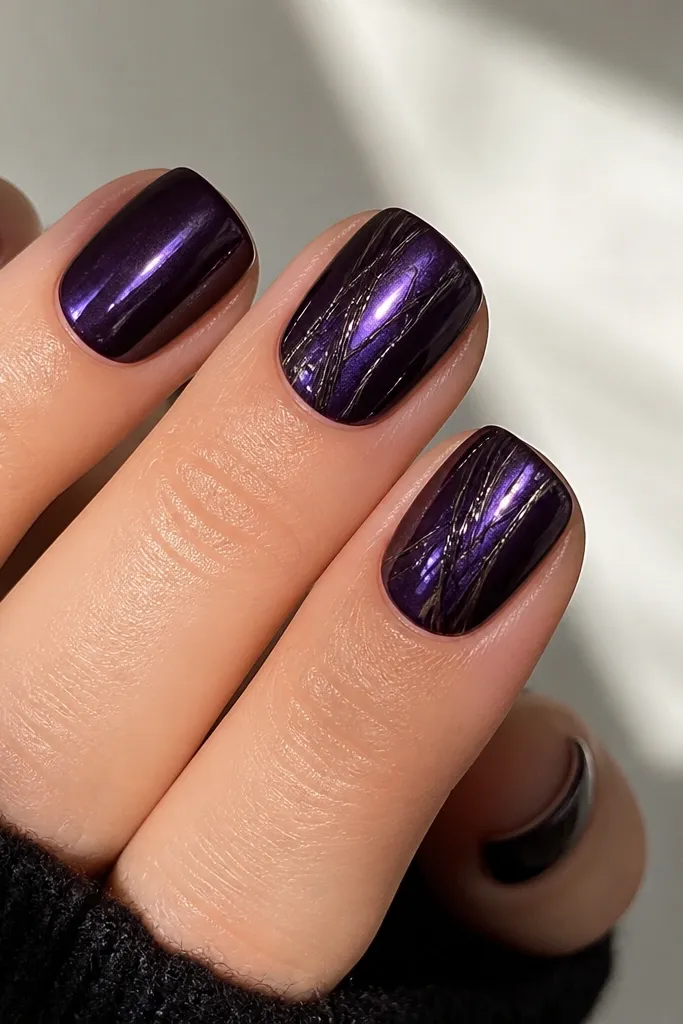
This set looks high-end because the foil lines add structure. The dark purple stays the main character, but the black micro-foil creates that graphic, jewelry-like effect that reads expensive in close-up. I like it on short square because the clean shape makes the foil lines look deliberate instead of chaotic. On deeper skin tones, the black lines give strong contrast; on fair skin, they keep the purple from looking too soft. It’s also a great option if you want chrome but don’t want full mirror on every nail.
Apply deep dark purple gel in two thin coats on all nails and cure. Buff lightly, then add chrome gel and apply mirror chrome powder to the full surface. Before sealing, place small pieces of black micro-foil using gel adhesive — keep the lines diagonal and only on two accent nails. Press the foil down with a silicone tool so it grabs fully, then cure. Finish with top coat, and use a slightly thicker coat over the foil so it doesn’t lift.
Editor's noteKeep foil lines skinny — around 0.5-1 mm wide — or they start looking like tape.
Watch outAvoid putting foil under chrome powder; it can blur the edges and turn the lines gray.
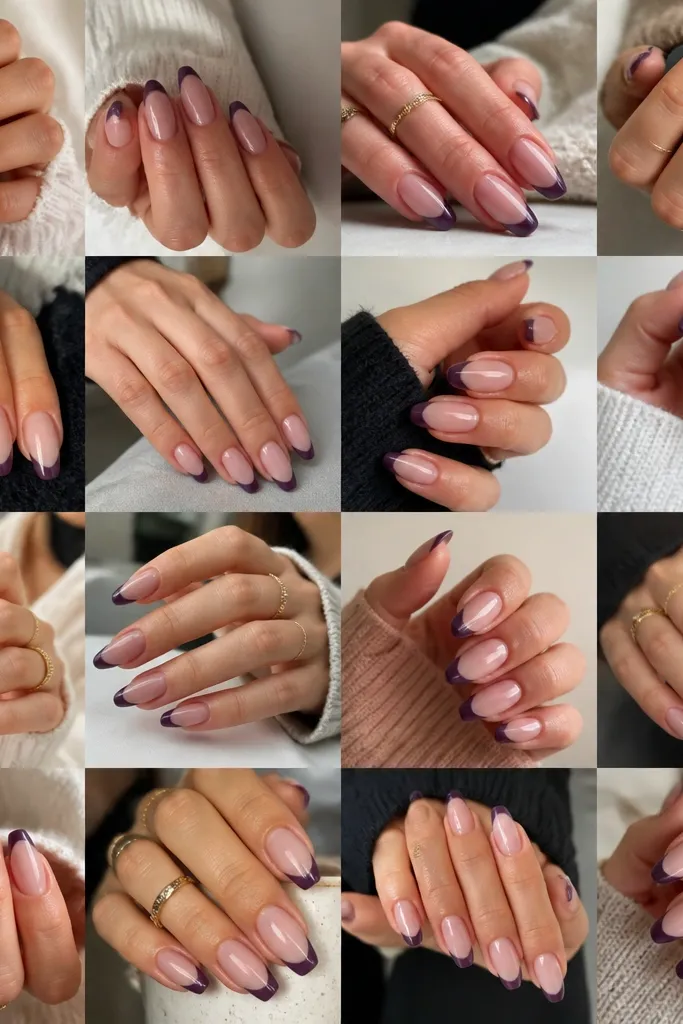
5. Purple Chrome French Tips With Thin Negative Space
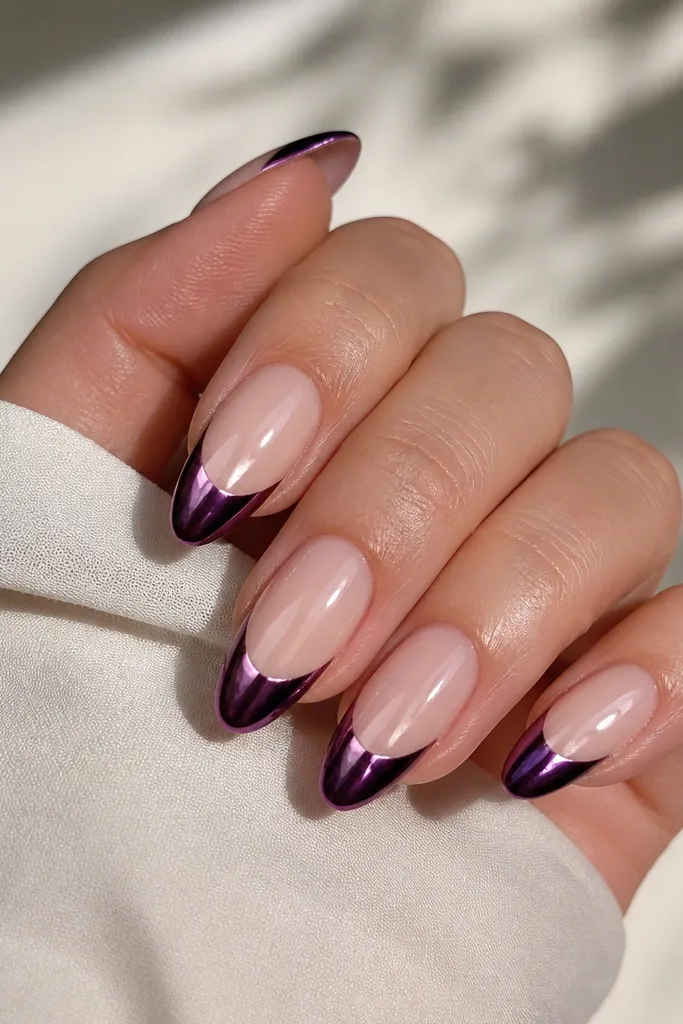
French tips are classic, but chrome makes them feel modern. Here, the nude base gives you contrast and keeps the dark purple from overpowering your hand. The negative space strip at the junction makes the nails look sharper and longer, which is why this design always looks clean in photos. It suits medium and fair skin tones beautifully because the nude reads fresh, and the dark purple looks crisp. If you’re unsure about going full chrome on every nail, this is the easiest way to get the luxe effect without committing.
Start with a sheer nude gel base in two thin coats, curing each. Use a guide strip or French tip stencil to paint a thin, even French line — deep purple gel, then cure. Apply chrome gel on the French tip area only, and press purple mirror chrome powder onto the tips. Use a fine brush to remove powder from the negative space line before curing. Seal with top coat, concentrating on the tip edge so it stays smooth.
Use a stencil for the French line even if you’re good at freehand; the symmetry is what makes it look salon-level.
Avoid thick purple French tips — they make the nail look bulky and the chrome reflection breaks up.
6. Dark Purple Chrome Half-Moon Cutouts
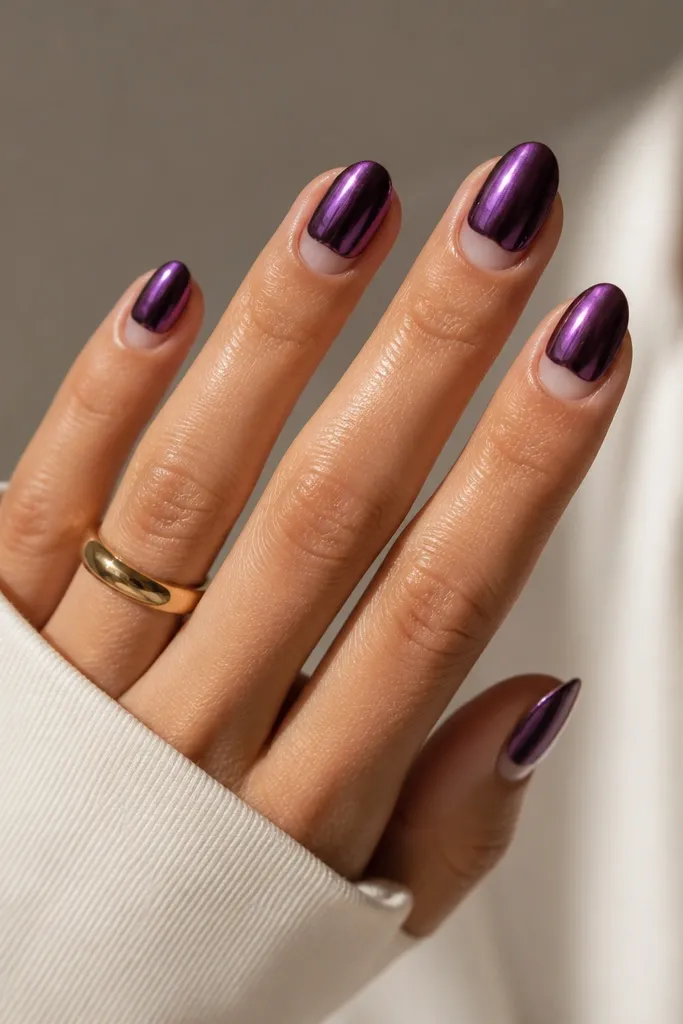
Half-moon cutouts make your nails look custom because they mimic jewelry shapes. The dark purple chrome covers the upper nail area, while the crescent near the cuticle stays nude or clear, so your nail bed still shows. This design is incredibly flattering on oval and almond shapes because the cutout follows the natural curve. It looks especially good on hands with longer nail beds, but you can adapt it for shorter lengths by shrinking the crescent. The chrome flash stays concentrated on the part people notice most.
Prep and buff your nail surface, then apply a nude base or clear base and cure. Use a small half-moon stencil or a cuticle-shaped foil guide to protect the crescent area. Paint dark purple gel on the top portion only, cure, then apply chrome gel over that purple area. Press mirror chrome powder to the purple section and tap edges so the reflection stays clean. Remove the stencil, then top coat over the chrome while avoiding flooding into the cutout.
Editor's noteIf your crescent looks messy, use a tiny brush dipped in acetone to clean the stencil line before top coat cures.
Watch outAvoid a crescent that touches the sides — leave a hairline gap so it stays crisp.
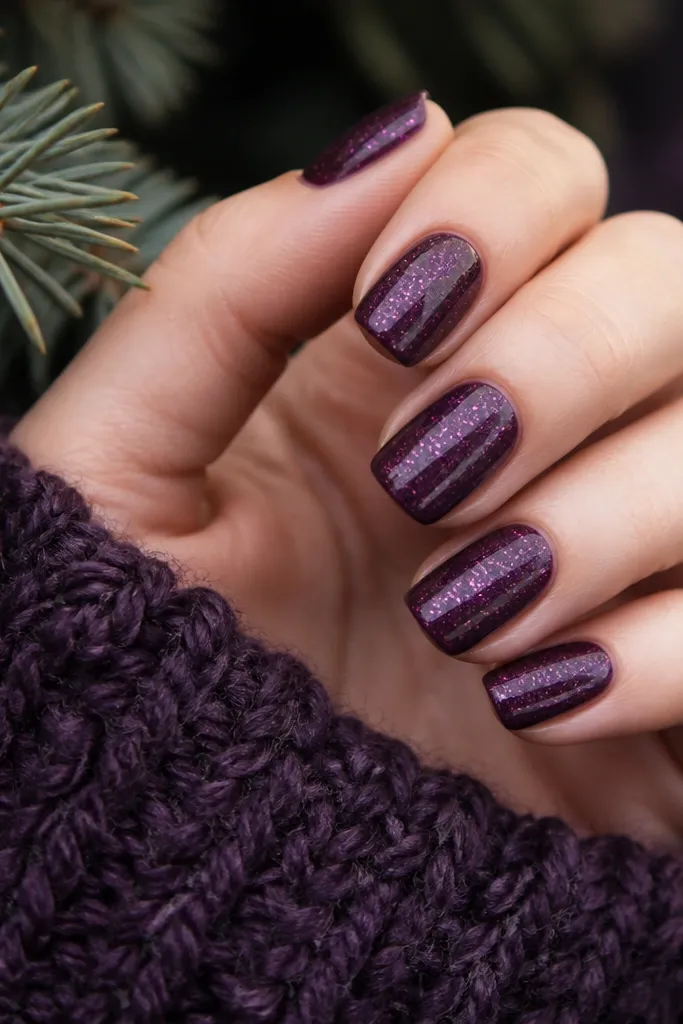
7. Grape Sorbet Chrome With Micro Glitter Veil
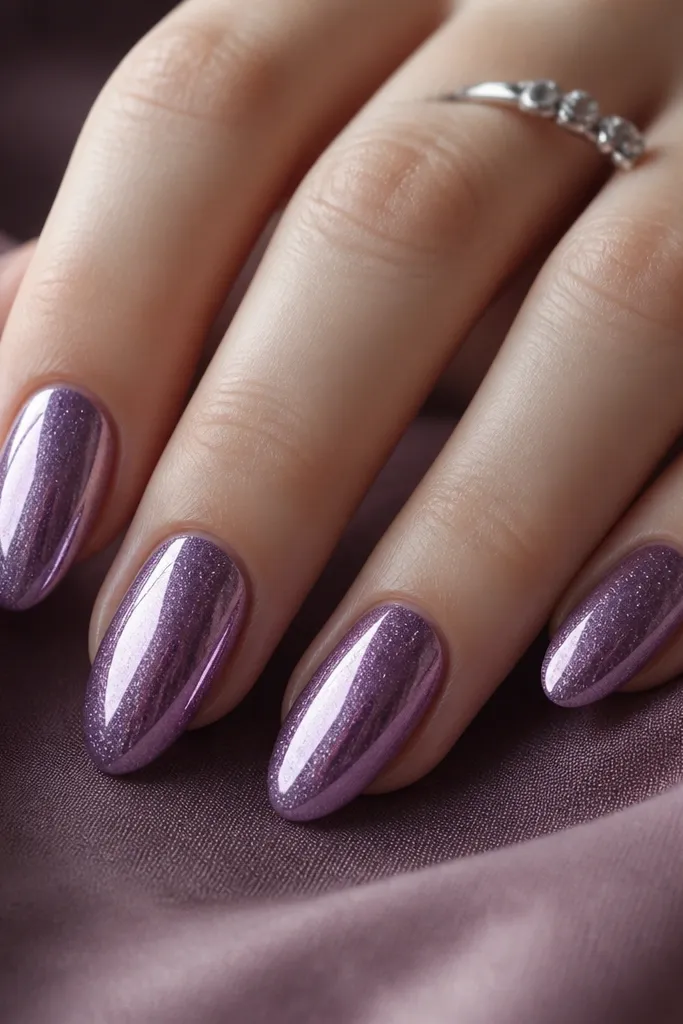
This is for when you want chrome, but you also want sparkle that looks like it’s trapped under glass. The base is a rich grape violet, then I add a micro glitter veil lightly over the chrome area. The result is not chunky glitter — it’s a fine shimmer that makes the purple look dimensional. It’s flattering on almost any skin tone because the grape color is balanced, not too cool or too warm. I like it for birthdays and dinner events because it catches flash photography in a way plain mirror doesn’t.
Apply grape violet gel in two thin coats and cure. Buff lightly, wipe clean, then apply chrome gel and press mirror chrome powder for a full reflective layer. Tap off excess powder, then add a very thin layer of clear gel mixed with fine micro glitter over the chrome surface — keep it light so the mirror doesn’t turn dull. Cure and wipe tacky residue if your system requires it. Finish with a glossy top coat that seals the glitter without turning it gritty.
Use micro glitter that is almost invisible when dry; chunky glitter kills the mirror effect.
Avoid heavy glitter layers over chrome — it turns the shine into a textured finish.
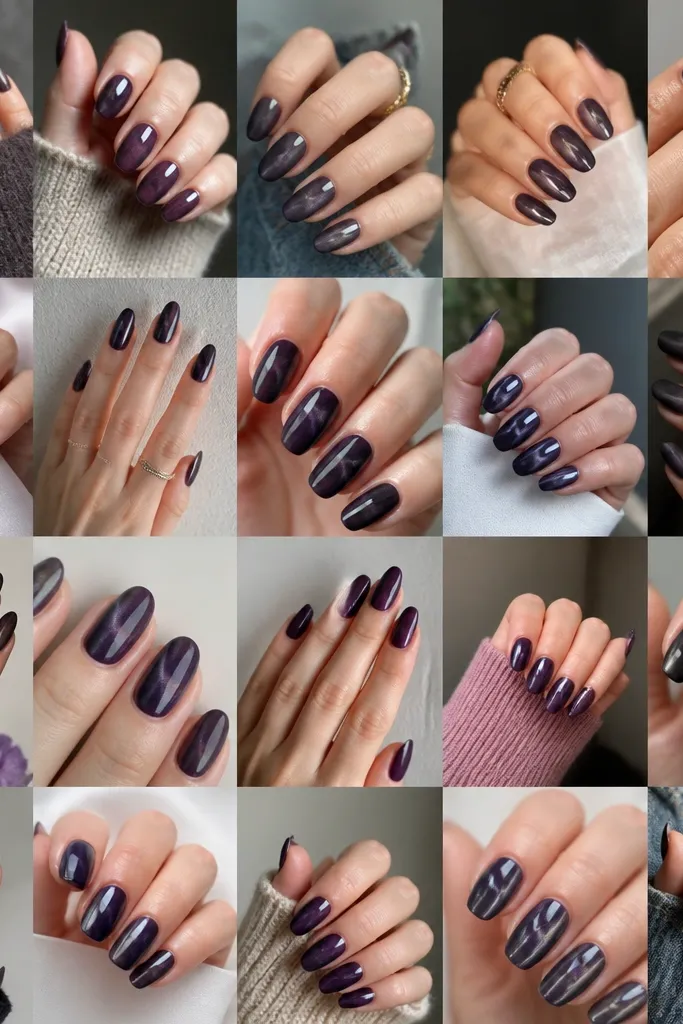
8. Dark Purple Chrome Cat-Eye Line
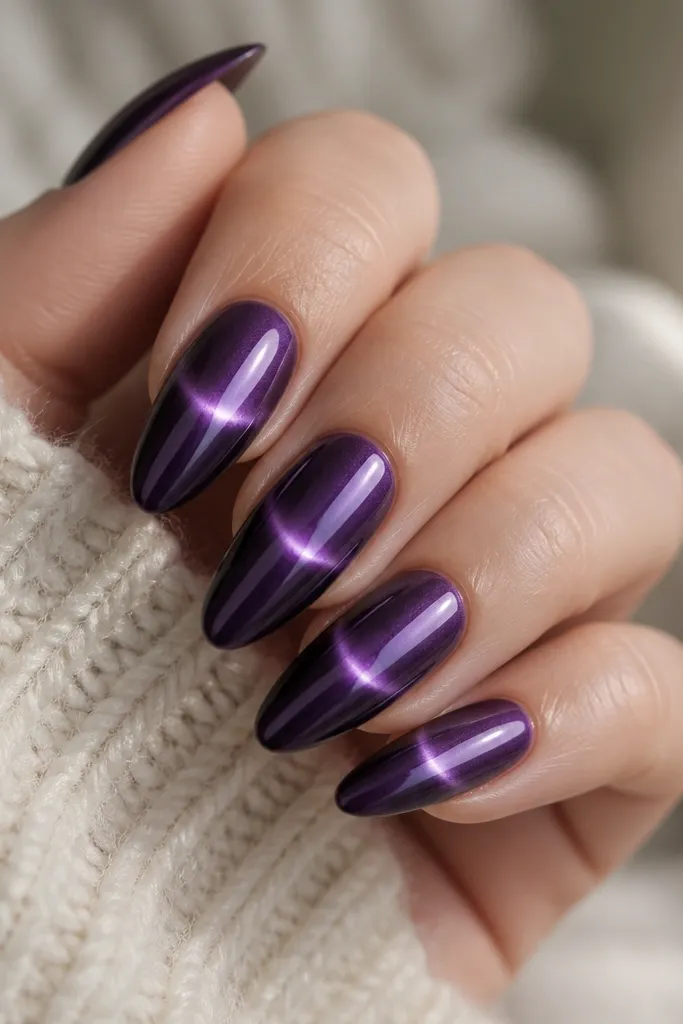
This one looks like a design you paid extra for. You start with a dark purple chrome base, then add a magnetic cat-eye gel line in a thin band across the nail. That line looks like it’s glowing, and because it sits on top of mirror chrome, it reads super dimensional. It flatters hands with longer nail beds because the horizontal line visually widens the nail — in a good way. For skin tones, it works across the board since the cat-eye glow is silver-violet.
Do your deep violet gel base in two coats and cure. Buff lightly and apply chrome gel, then press mirror chrome powder for full coverage. Wipe and remove tacky residue if needed, then apply a cat-eye magnetic gel strip across the middle of each nail — keep it narrow, about 2-3 mm. Use a magnet for the exact time your gel needs, usually 10-20 seconds, and cure. Top coat over the entire nail, using careful strokes to avoid moving the magnetic line.
Editor's noteTest the magnet placement on one nail first — the line shape changes fast depending on where you hold it.
Watch outAvoid thick cat-eye gel — it smears into the chrome and looks cloudy.
9. Matte Dark Purple Base With Gloss Chrome Overcoat
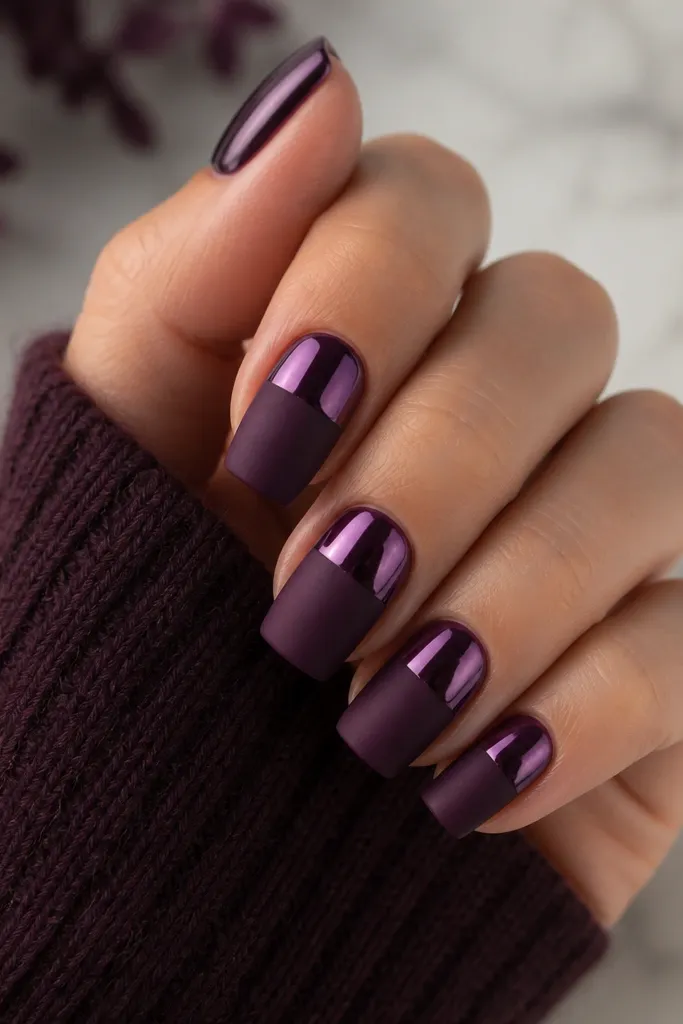
The matte base makes the chrome look brighter because you get contrast in texture. I paint dark purple gel, cure, then use a matte top coat on the lower half so it looks velvety. Then I apply chrome only on the top section, so you get a sharp “cap” of mirror reflection. This style is great for square and short oval nails because the line between matte and chrome looks intentional. It also works well on hands that show dryness because matte gel can hide tiny surface imperfections better than full mirror.
Start with two coats of dark purple gel and cure. Buff lightly, then seal with a matte top coat on the whole nail. After curing, use a stencil or striping tape to mask the top half where you want chrome. Remove the mask, apply chrome gel on the exposed matte area, press chrome powder, and cure. Finish with glossy top coat only on the chrome area so the matte stays matte.
Editor's noteUse striping tape for the split line — your eyes read straight edges as expensive fast.
Watch outAvoid chrome over matte top coat without masking — it can haze and dull the reflection.
10. Dark Purple Chrome With Silver Halo Ring
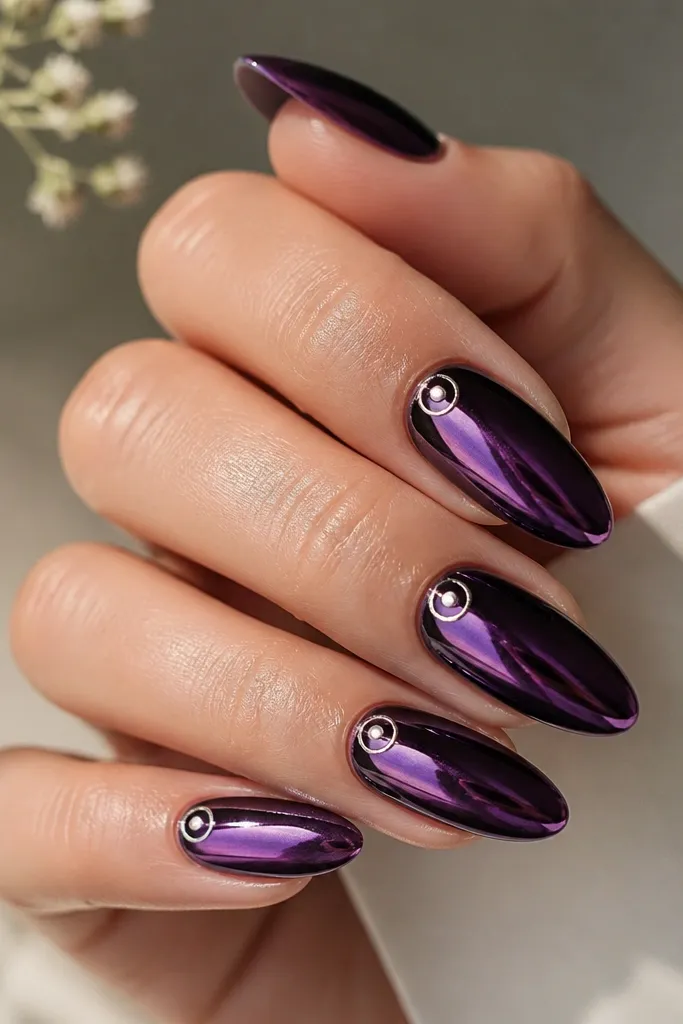
This set uses simple geometry to look luxe. The dark purple mirror chrome gives you the flash, while a silver halo ring adds a jewelry-like focal point without taking over the whole nail. It’s flattering on almond and oval because the ring sits nicely on the natural curve of the nail. I like it on fair to medium skin tones because the silver reads bright and clean, but it also looks sharp on deeper skin tones with enough contrast from the purple. If you want a “special” nail for an event without long decals, this is the one.
Apply deep violet gel and cure, then do full mirror chrome on the entire nail surface. Use a dotting tool to place a tiny dot of silver gel near the cuticle, about 1-2 mm from the skin line. Then draw a thin circle around it using striping gel or a fine liner brush, keeping the halo ring consistent on each nail. Cure carefully, then top coat over everything with a glossy top coat in slow passes. Clean the cuticle edge with a small brush if any gel spreads during curing.
Make the halo ring slightly thicker at the top — it catches light more and looks more dimensional.
Avoid thick gel lines for the halo — they create a raised lump that catches on hair and clothing.
11. Violet Chrome Gradient From Tip to Cuticle
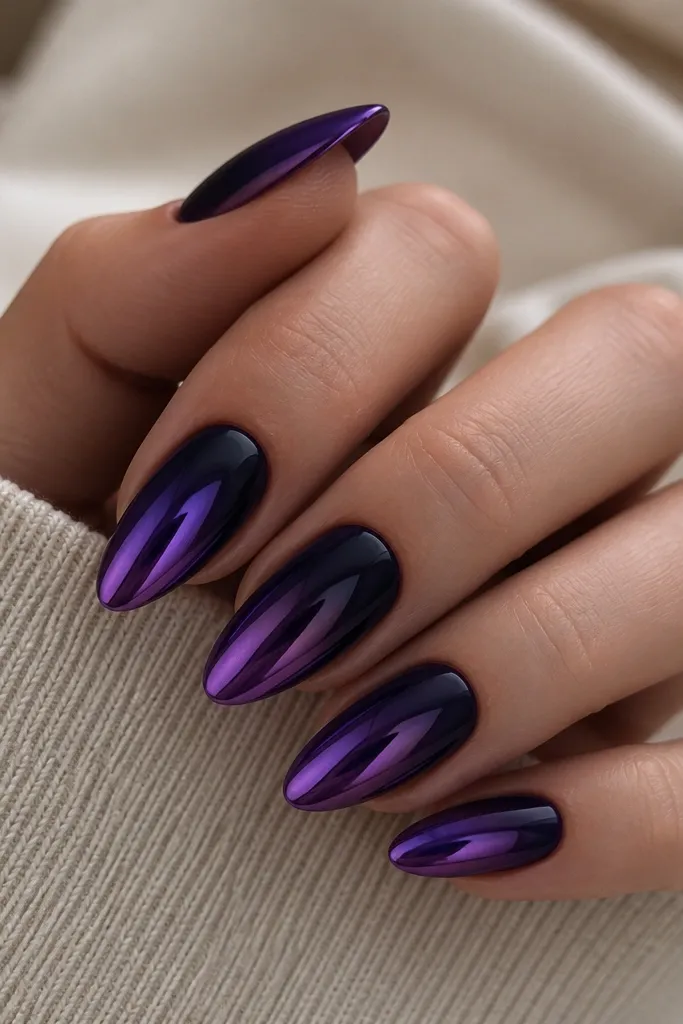
A gradient chrome set looks expensive because your eyes see depth, not just shine. The tip-to-cuticle fade makes the nail look longer and slimmer, which is why I love it on medium almond. The base stays dark purple, but the chrome intensity drops as it approaches the cuticle, so the center doesn’t look overexposed. This flatters hands with wider nail plates because the fade creates a subtle slimming effect. It also looks great for day-to-night because the cuticle zone stays softer.
Paint a deep purple gel base in two coats and cure. Buff lightly and wipe. Apply chrome gel to only the top third first, then press mirror chrome powder on the tips. Use a makeup sponge or chrome applicator to lightly blend chrome gel coverage downward before pressing again, so the reflection fades gradually. Cure and then seal with a glossy top coat, keeping the first coat thin so the gradient stays smooth.
Editor's noteIf you want a sharper gradient, press the powder only at the tip and blend with minimal pressure — don’t drag chrome across the whole nail.
Watch outAvoid fully mirroring the whole nail — it removes the slimming gradient and looks flat.
12. Dark Purple Chrome With Tiny Star Foil Dots
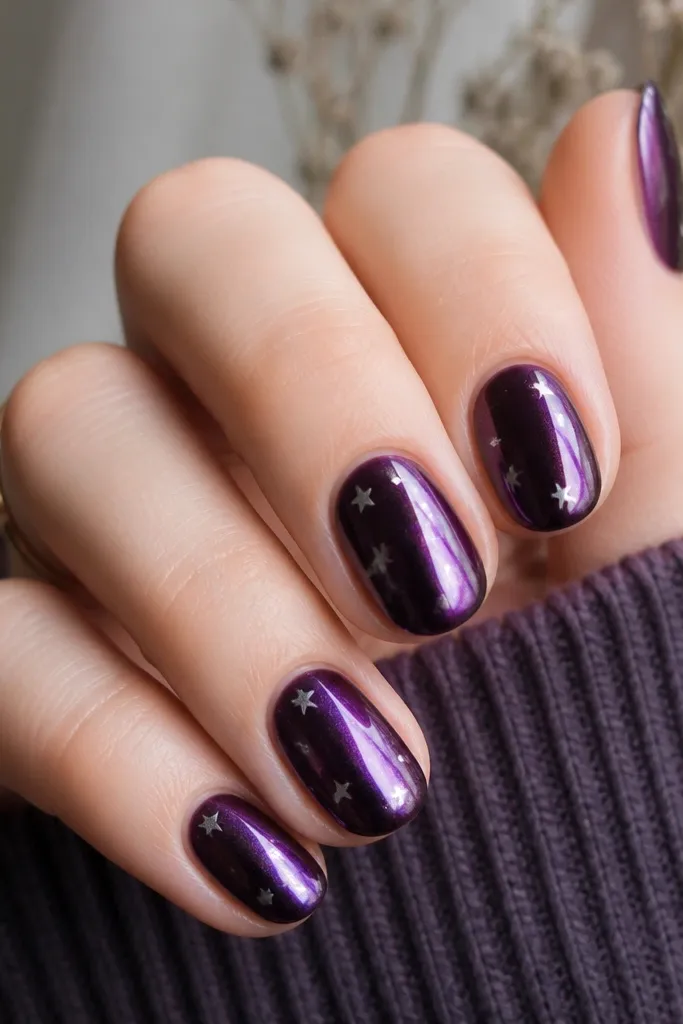
Micro star foil is a fun way to add sparkle without turning the set into glitter overload. The dark purple mirror chrome keeps everything sleek, and the tiny star dots read like jewelry studs. This works best on short oval and rounded shapes because the stars are small and spaced, not crowding the nail bed. It flatters warm and neutral skin tones because silver stars pop cleanly against violet. For everyday wear, it’s still wearable because the stars are sparse, not covering every nail.
Do your deep purple gel base and cure, then apply full mirror chrome powder for a smooth reflective surface. After curing, add tiny star foil pieces using a small amount of gel adhesive — place them only on two or three nails and keep spacing at least 2-3 mm apart. Press each star with a silicone tool so it sits flat, then cure. Seal with a glossy top coat in two thin layers over the stars so they don’t lift at the edges.
Editor's noteUse tweezers with a fine tip and place stars with a light touch — heavy pressure can scratch chrome.
Watch outAvoid clustering stars too close to the cuticle — it makes the set look like sticker residue.
13. Dark Purple Chrome Swirl Marble Accent
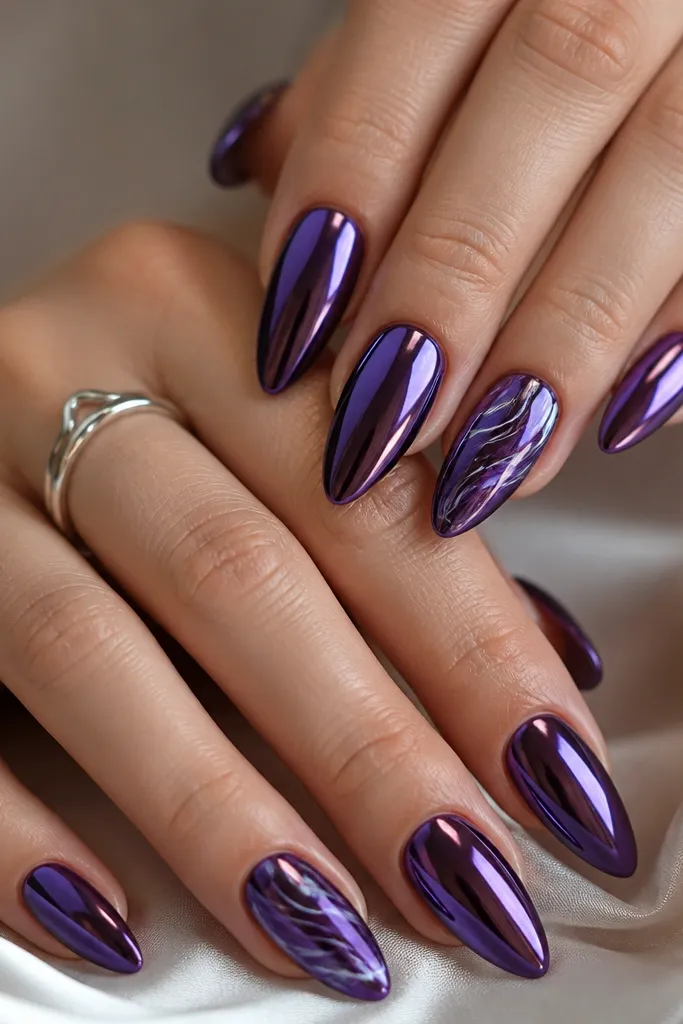
Swirl marble makes dark purple chrome feel artsy without going full abstract. The trick is to keep the swirl lines thin and let the chrome do the heavy lifting. Most nails stay full mirror chrome for that consistent luxe look, while the accent nail gets a marble swirl using darker purple gel and silver chrome liner. This style looks great on long almond because the swirl can follow the nail’s natural curve. It flatters a wide range of skin tones because the palette is tight: violet, deep purple, and silver.
Start with two coats of dark purple gel on all nails and cure. Buff lightly, apply chrome gel, and press mirror chrome powder for full coverage on every nail. For the accent nail, wipe and add a thin layer of darker purple gel in a swirl path, then cure. Apply chrome liner gel on top of the swirl lines, press a small amount of silver chrome powder, and cure. Top coat everything with a glossy finish, and use a fine brush to keep the swirl lines smooth.
Editor's notePlan the swirl direction before you paint — angle it from lower left to upper right for a more flattering look on most hands.
Watch outAvoid thick marble swirls — raised lines catch on fabric and look bulky.
14. Royal Plum Chrome With Pearl-Violet Overlay
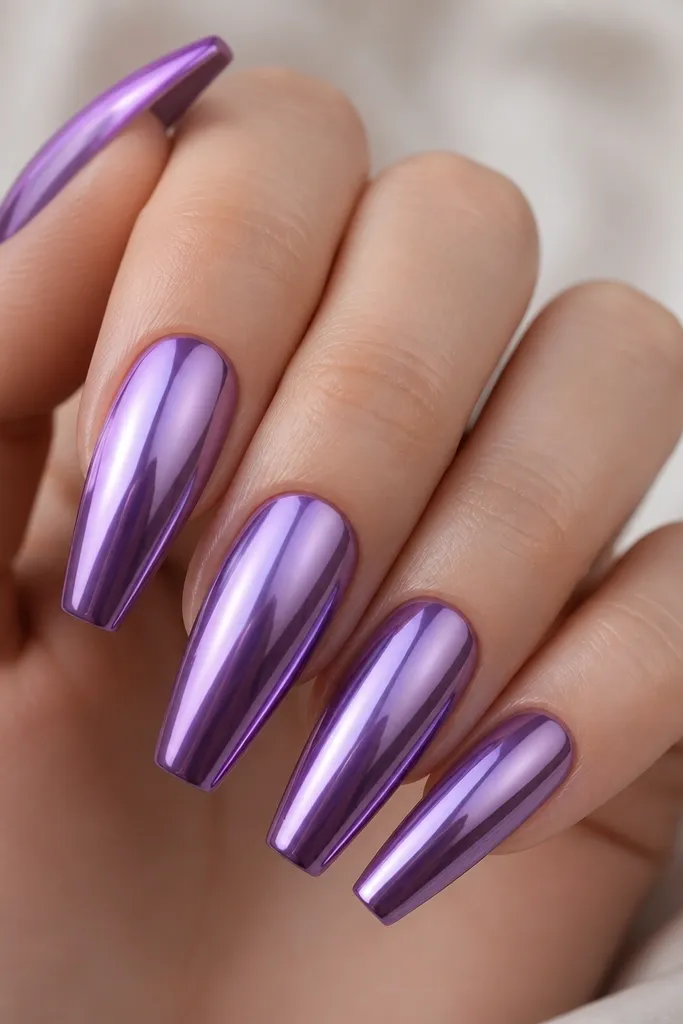
This set is for when you want chrome but you don’t want harsh mirror glare. The base is royal plum purple, then you layer a pearl-violet effect over the chrome so the reflection turns softer and more expensive-looking. It’s gorgeous on coffin and long almond because the diffused glow looks like light trapped in a gemstone. It flatters fair skin because the pearl tones brighten your overall look, and it also works on deeper skin tones because the purple stays saturated. If you hate “too shiny,” this is your middle ground.
Apply royal plum gel in two coats and cure. Buff lightly, apply chrome gel, and press mirror chrome powder for a full reflective layer. Mix or choose a pearl-violet top gel (not chunky glitter), then apply a thin translucent layer over the chrome where you want the soft glow, usually the center and upper half. Cure and seal with a final glossy top coat that keeps the pearl effect from turning chalky. Clean the cuticle edge before the last cure so it stays crisp.
Editor's noteKeep the pearl overlay thin. If you can see it as a separate layer, it’s too heavy.
Watch outAvoid pearl products that are gritty when dry — they dull chrome into a rough finish.
15. Smoked Amethyst Chrome With Black Lace Vein Lines
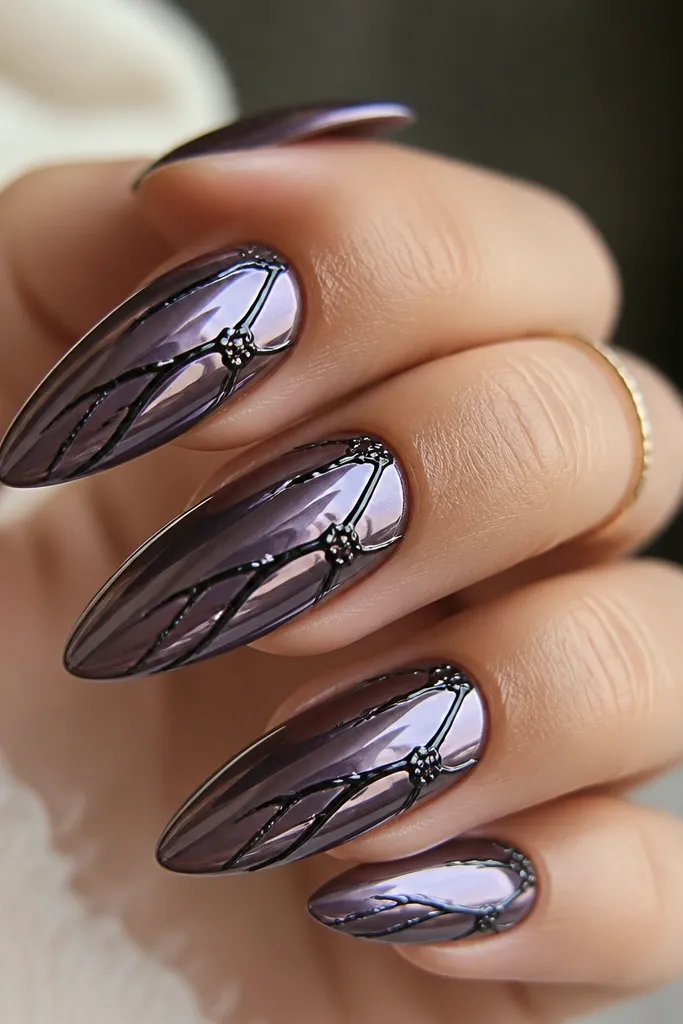
This look is dark purple chrome with a lace-vein pattern that feels expensive because it mixes two textures: mirror shine and slightly matte line work. The smoky amethyst base is not flat purple — it shifts cooler and grayer near the nail corners, which makes your hands look more sculpted. I like it for events because the black lines catch light only where they’re raised, so it looks detailed even in low light. It also hides small imperfections better than a solid chrome because the pattern breaks up the surface reflection.
Step 1 — Build the smoked amethyst base: apply a dark purple gel base, then mirror chrome on top after curing. I use a sponge to dab the chrome lightly at the outer third so it turns smoky instead of fully mirrored all the way to the edge. Cure fully and wipe with a lint-free pad so the surface is clean. Step 2 — Add the lace vein lines: use a fine liner brush and black gel paint to draw one main vein from the center of the cuticle down, then branch two thinner lines to each side. Keep the lines slightly off-center so the pattern looks organic, not symmetrical. Step 3 — Make it look raised: add a second thin pass of black gel only on the vein strokes, then cure. If you want extra dimension, dust a micro layer of black matte powder on the lines only before curing again. Step 4 — Seal: top coat with a non-wipe or low-wipe top coat, and paint it carefully over the chrome areas while staying gentle on the raised lines so they keep their texture.
Editor's noteUse a liner brush with a sharp tip and clean it on a lint-free wipe between nails — the lace lines look crisp only when the brush point is sharp.
Watch outDon’t flood the black lines with top coat — it flattens the raised texture and turns the pattern into a blurry outline.