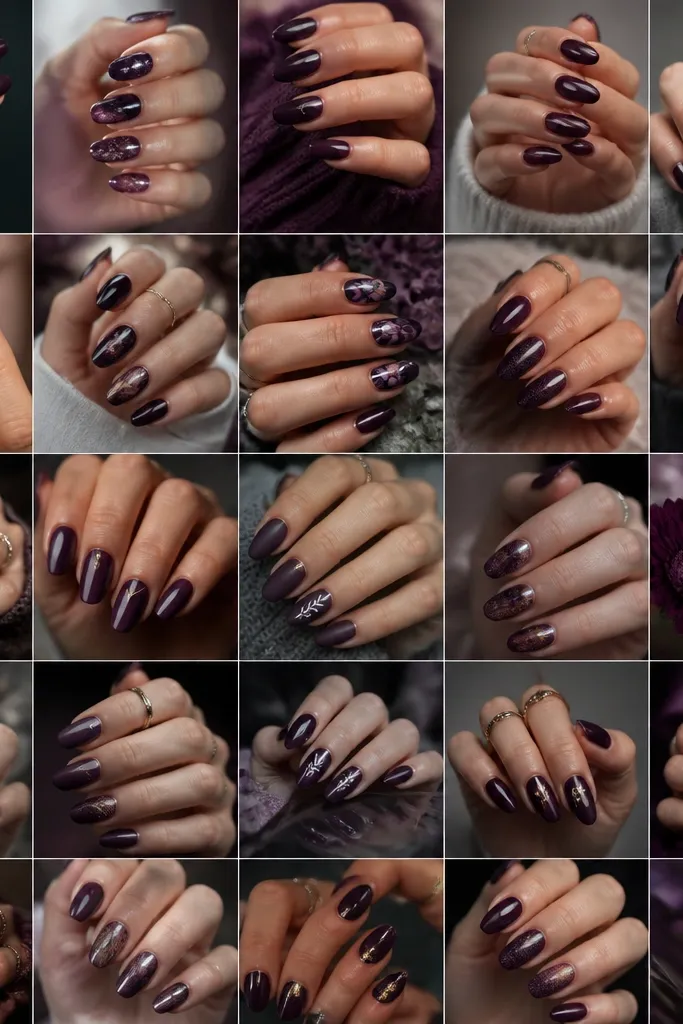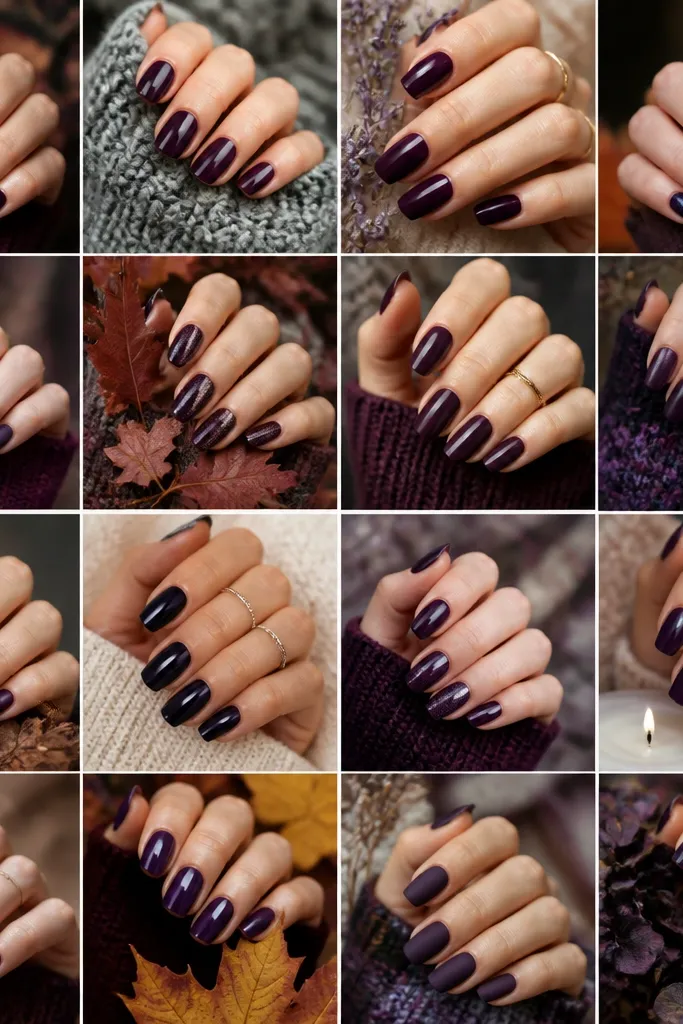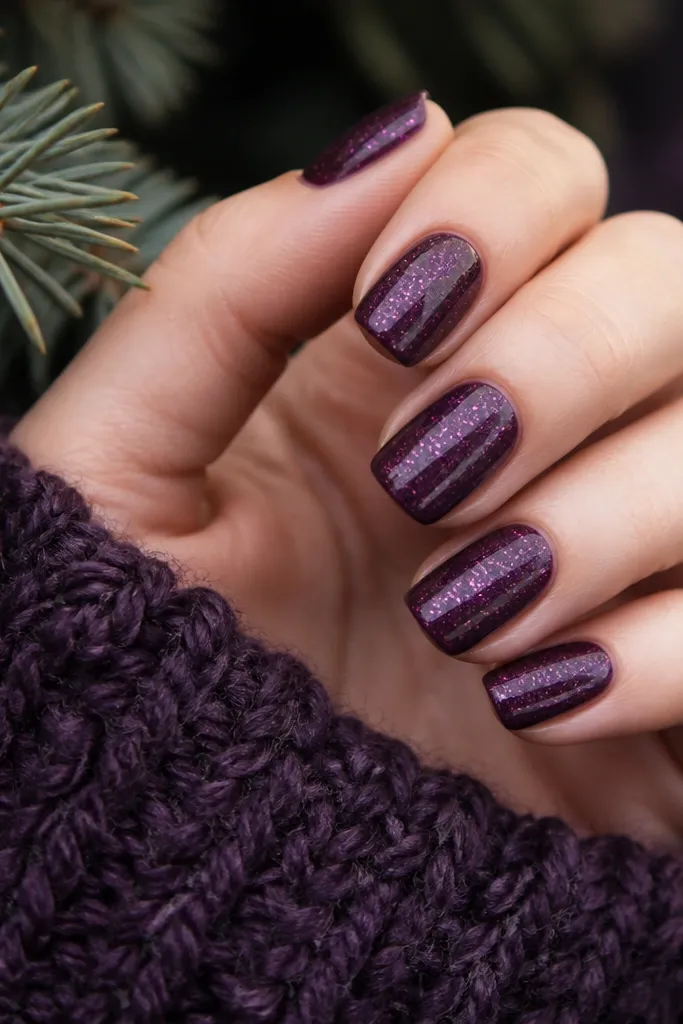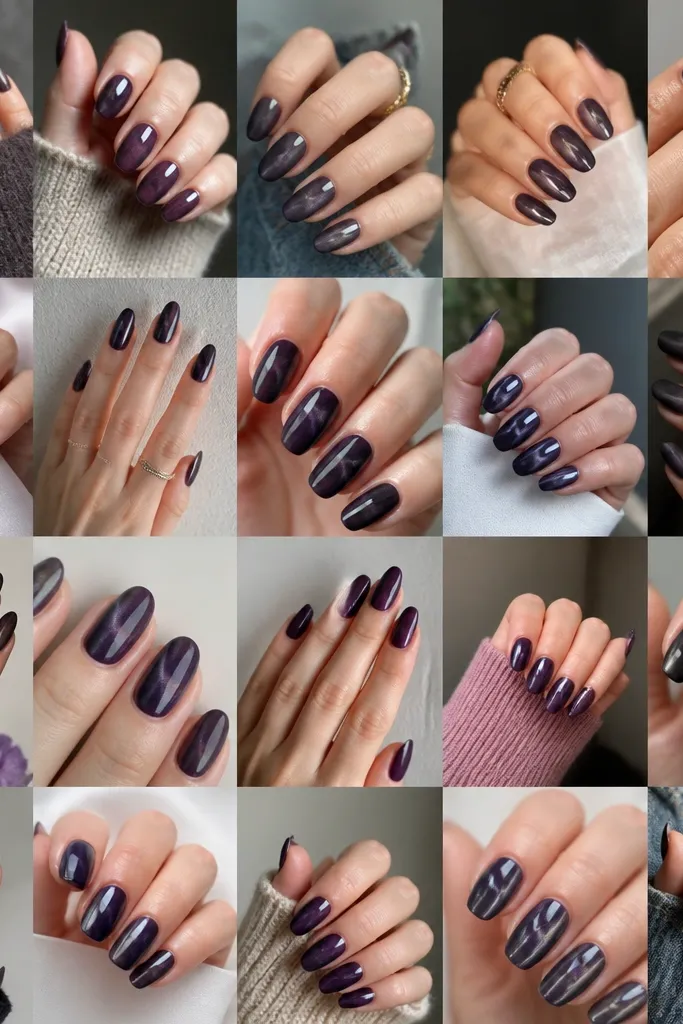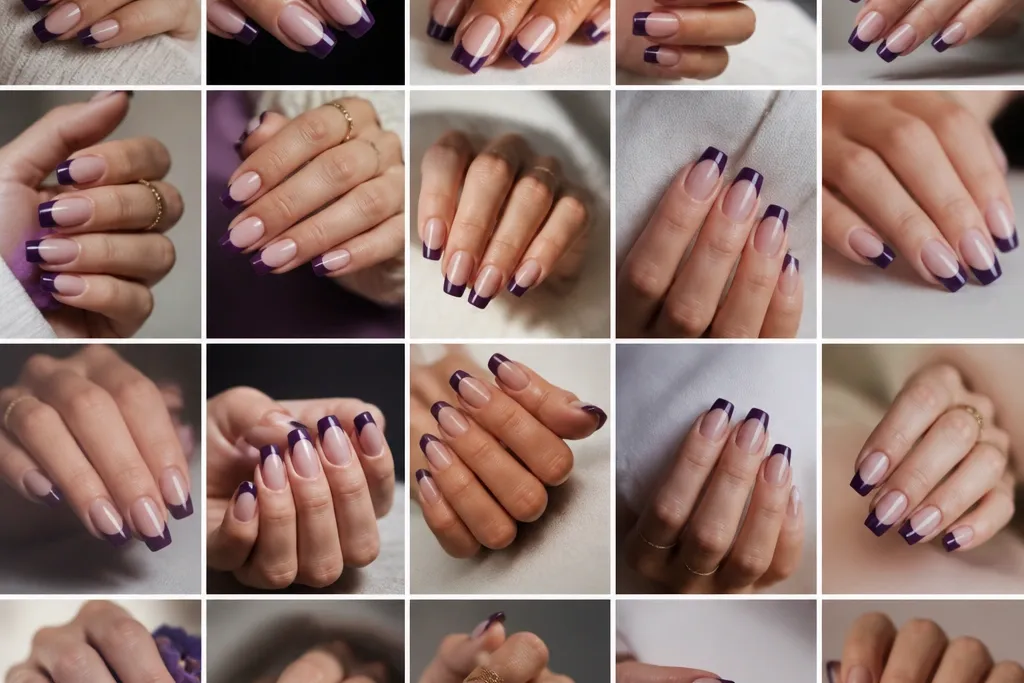
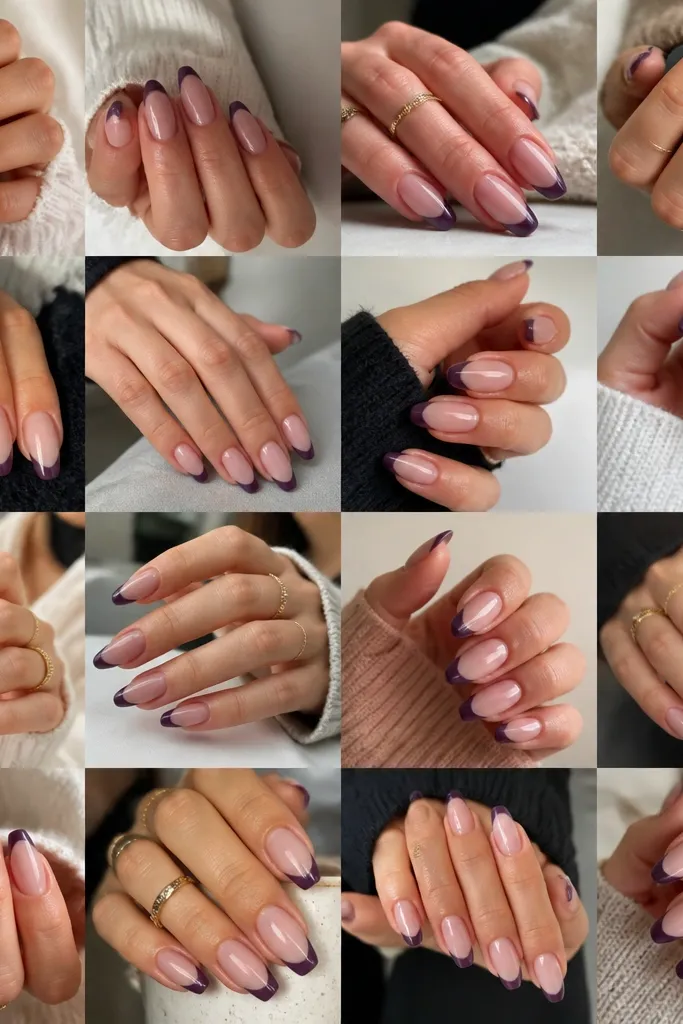
1. Plum Wine Classic French with Milky Nude Base
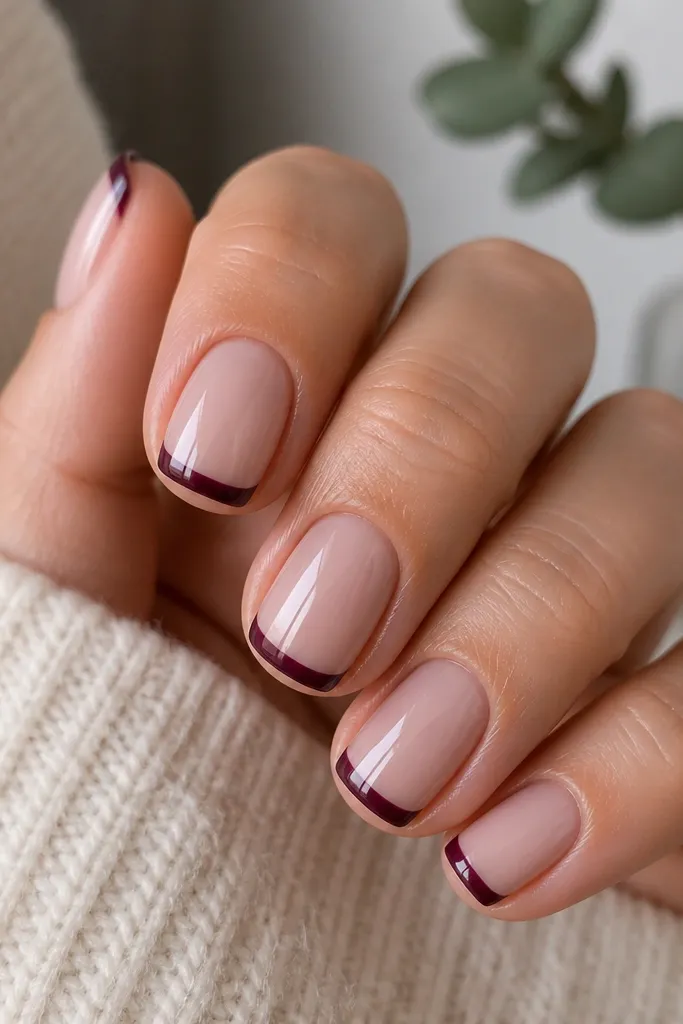
This set is the one I reach for when I want clean and flattering on every skin tone. The milky nude base softens the contrast so the dark purple reads classy instead of dramatic. Use a grape-plum tip that looks almost black in certain light; it stays modern because it doesn’t look bright or magenta. On shorter nails, this width keeps fingers looking neat and tidy, and the glossy top makes the tips reflect light like glass. It’s also the easiest version to repeat at home because there’s nothing to line up besides the French curve.
Start by prepping nails and pushing back cuticles, then apply a thin base coat. Paint one coat of milky nude, then a second for an even, creamy opacity. Next, place a thin guide line along the smile area using a liner brush dipped lightly in plum wine; let it set for a minute. Fill the tip to a width of about 1/8 of the nail length, keeping the center slightly fuller than the sides. Finish with two coats of high-gloss top coat, and cap the free edge on every nail.
If your purple looks streaky, do two thin coats on the tip instead of one thick one — it cures smoother.
Avoid making the tip too wide; wide dark tips make short nails look stubby.
2. Deep Grape Reverse French Half-Moon
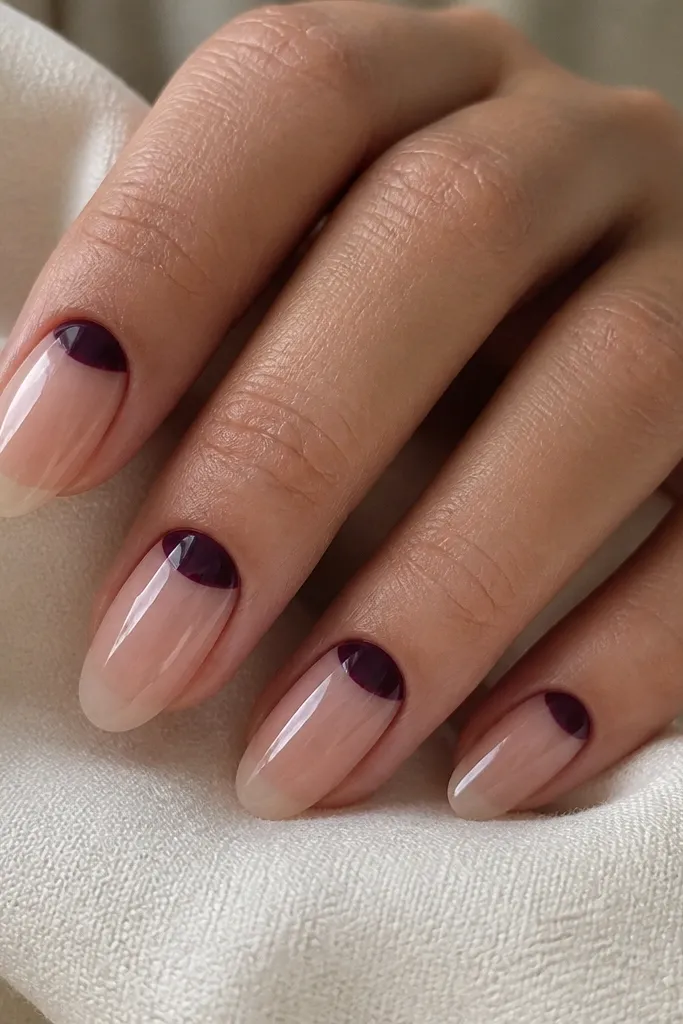
Start with a sheer nude base — one coat for a natural tint, then a second only if you see unevenness. Use a small brush or striping brush to paint the reverse French half-moon, leaving a tiny gap between the half-moon and the cuticle line so it looks intentional. Fill the half-moon with deep grape, keeping it centered and slightly thicker at the middle. Clean the edges with a flat brush dipped in acetone-free remover, then let it fully dry or cure. Seal with one or two coats of glossy top coat.
Reverse French is the “modern twist” that still counts as simple glam. The half-moon in deep grape frames your cuticle area and looks sharp even as it grows out because the shape is anchored at the base. A sheer nude base keeps it airy, which matters with dark purple because it can otherwise feel heavy. This design looks especially good on medium almond shapes and on hands with slightly longer nail beds. If you like a clean look but want something more interesting than a standard tip, this is the one.
Watch outDon’t paint right up to the cuticle — a flooded edge makes it look messy.
Editor's noteUse a stencil half-moon guide if you’re learning; removing the guide right after painting gives you a crisp edge.
3. Ultra-Thin Dark Purple Micro French
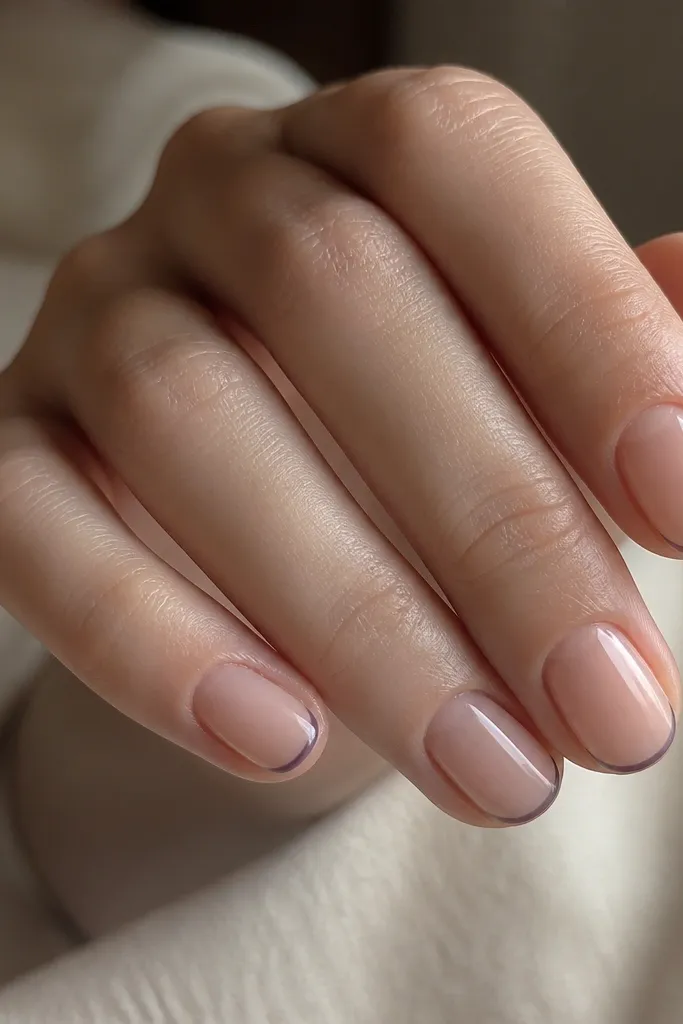
Apply a nude pink base in two thin coats so you get a smooth, opaque finish. Take a striping brush and load it with dark purple, then wipe most paint off on the bottle edge so the line doesn’t blob. Place the line at the very tip, about 1-2 mm thick, following your nail curve. Let it dry fully, then do a second pass if the line looks uneven. Finish with a glossy top coat and cap the tip with a light swipe across the free edge.
Micro French is subtle, but it reads expensive because the line is controlled. A thin dark purple tip works on short nails when you want your hands to look neat without adding visual bulk. I like this with a nude pink base that matches your natural lip color — it keeps the set wearable. The dark purple line is almost like a frame, so it looks flattering on both warm and cool skin tones. It’s also the most forgiving design if your smile line isn’t perfectly symmetrical because the thin line hides small differences.
Watch outAvoid thick micro tips; thick lines turn it into a regular French and lose the sleek effect.
Editor's noteIf the line breaks, don’t fix it by adding more purple — add top coat and let it level, then re-line after it cures.
4. Blackened Violet French with Sheer Rose Base
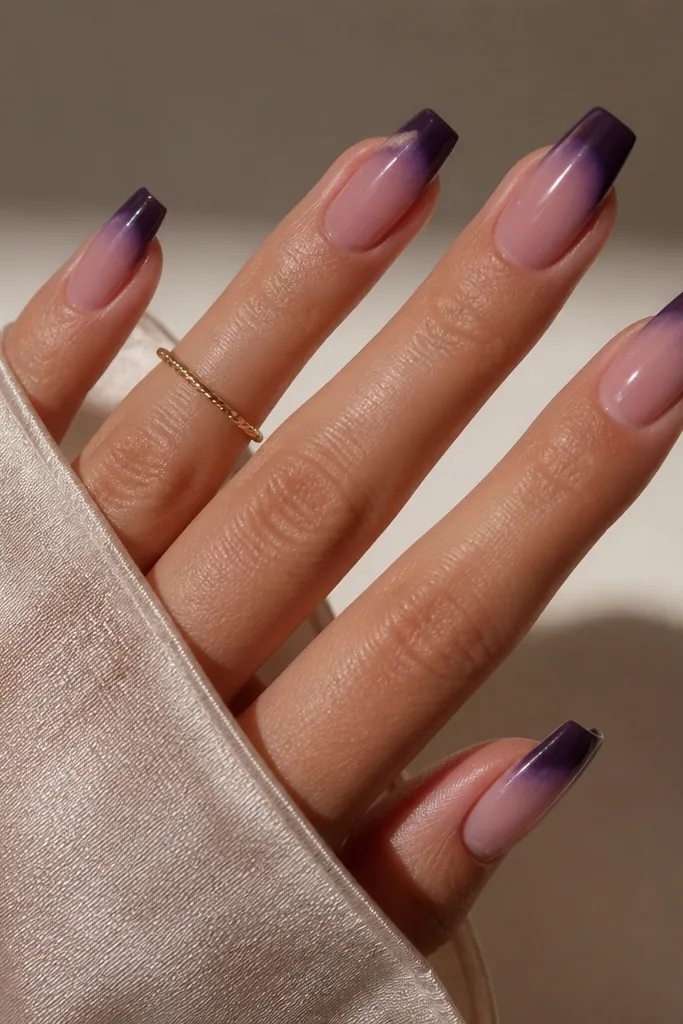
This is for when you want dark purple to feel more modern and a little edgy. The blackened violet reads darker than typical plum, so it looks great with cooler undertones and also makes warmer skin look polished. The sheer rose base keeps the nail from turning heavy, and the slight smoky fade at the outer edge makes the French feel soft instead of boxed in. Coffin nails show off the gradient best because the shape gives you a clean surface to blend. If you like a French tip but hate when it looks too “sticker-like,” this gradient version solves it.
Start with a sheer rose base in two coats, then apply a thin base gel or polish so the gradient blends smoothly. Paint the tip area in blackened violet, covering about 1/8 of the nail length, leaving the center slightly darker. For the smoky edge, use a makeup sponge or small blending tool to tap the outer corners lightly with the same purple, then stop before it turns muddy. Wipe the brush clean and refine the center line so it stays crisp. Top coat twice for a glossy, glassy finish.
Blend with tapping motions, not dragging, or the gradient will streak.
Avoid over-blending; muddy gradients look dirty on French tips.
5. Velvet Matte Dark Purple French
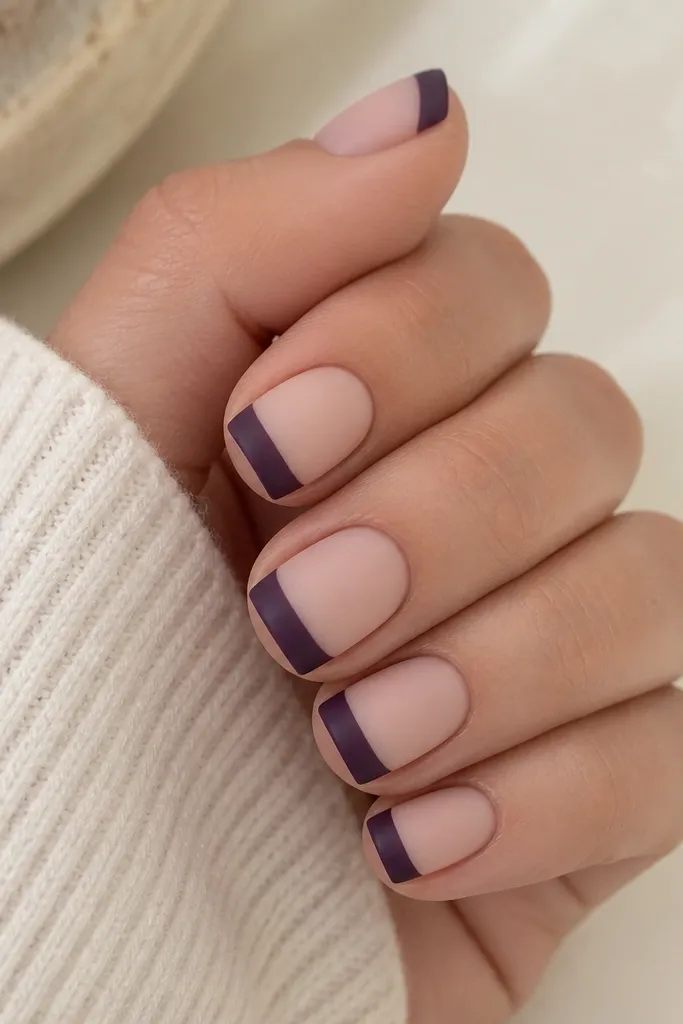
Matte French tips change the whole vibe. The dark purple becomes softer and looks like velvet, which is why this works even with short nails. I like a nude base that has a creamy finish under matte, because it keeps the set from looking flat. This is also a great option for people who get glare from gloss and hate how it looks in photos. On hands with dry cuticles, matte can hide small texture — but only if your base is smooth. The result is simple glam with a fashion-week feel.
Start with a nude base and two coats to get an even layer. Paint dark purple French tips in the classic width, then let them dry/cure completely. Apply matte top coat only on the nails, not on the surrounding skin, and make sure you cover the tip edges so they don’t look glossy by accident. If you want extra control, apply a regular glossy top coat first, cure, then matte on top for a uniform finish. Clean up the edges with a small brush dipped in remover.
If the matte looks patchy, it usually means the surface isn’t smooth — add one more thin nude coat before French next time.
Avoid applying matte over wet polish; it turns cloudy and uneven.
6. Dark Purple French with Tiny Gold Foil Flecks
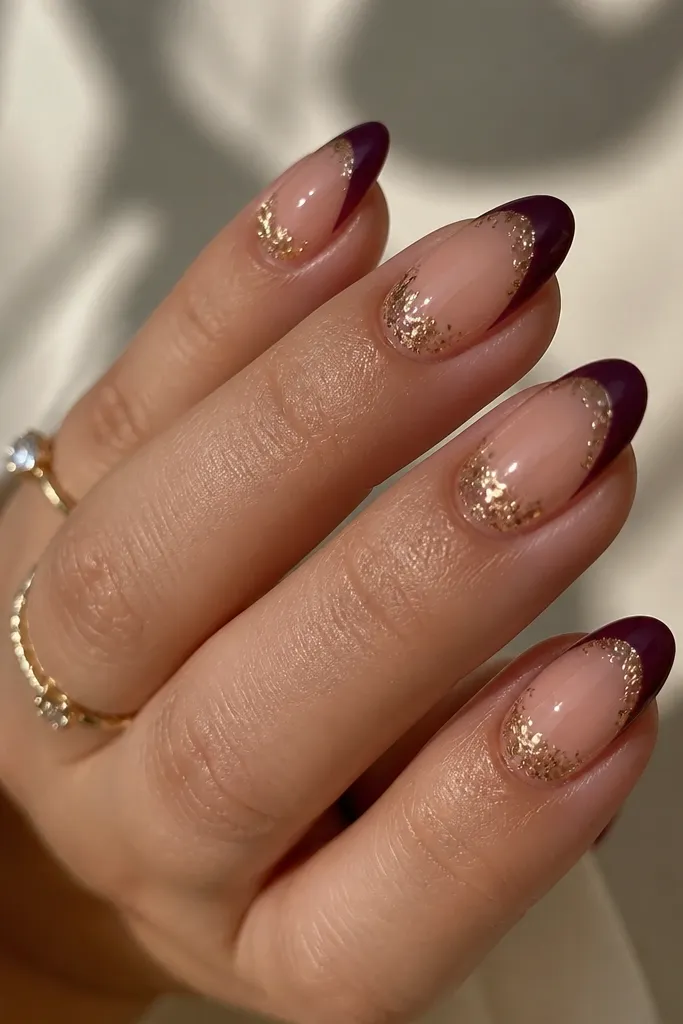
Apply a sheer nude base in two coats so the nail looks smooth. Paint the French tips in dark purple with a crisp guide line first. While the tip is still slightly tacky (after curing if you use gel, or quickly after polish sets if you’re using foil glue), dab tiny gold foil flecks right along the top edge of the purple. Use a dotting tool to place flecks, then press gently so they lay flat. Seal with two coats of glossy top coat, focusing on covering the foil edges so they don’t snag.
Gold flecks make dark purple look expensive without adding big gemstones. The flecks catch light near the smile line, so the French curve looks intentional and dimensional. This set flatters medium to long nail beds because the foil sits in a small band rather than covering the whole tip. If you have warm undertones, gold makes the purple look richer; if you have cool undertones, the contrast still reads luxe. It’s also wearable for evenings because the sparkle is controlled.
Watch outAvoid huge foil pieces; they lift and make the tips look chunky.
Editor's noteIf the foil flecks look too scattered, cluster them on two nails only and keep the rest plain.
7. Grape Ombré French Tip Fade
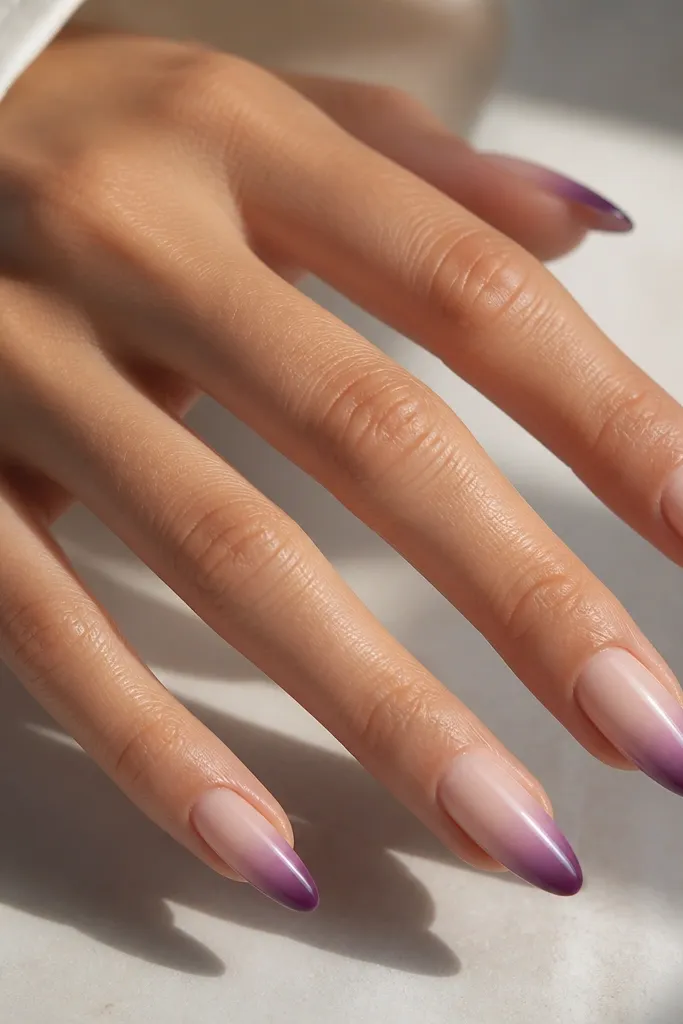
Start with a milky nude base and two coats for full coverage. Paint a solid dark grape band at the very tip, about 2-3 mm wide. Then, using a makeup sponge, lightly blend the same purple upward into the nail, stopping where you want the fade to end. Clean the outer edges with a liner brush so the sides stay neat. Finish with a glossy top coat, and do an extra thin top coat over the blended area so it levels.
An ombré French tip looks modern because it breaks the hard line while still reading as “French.” I like this on long almond nails because the fade has space to look smooth. A milky nude base keeps it soft and makes the purple gradient look intentional rather than accidental. Use a grape shade that’s darker at the very tip so it frames the nail. This design is flattering when you want your hands to look longer and more polished, especially for nights out.
Watch outAvoid blending too far up; if the fade reaches the base, it stops looking like French.
Editor's noteUse a sponge that’s already worn down — new sponges leave too much texture.
8. Dark Purple French with Micro Rhinestone Row
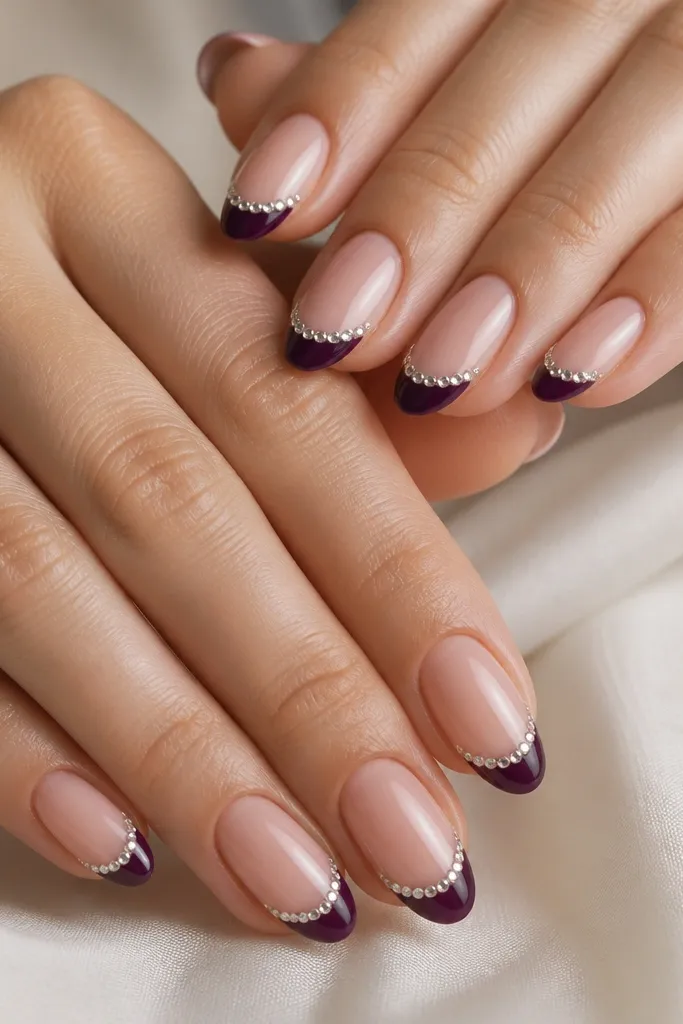
Apply a nude base in two coats. Paint dark purple French tips with a clean guide line. Place a thin line of rhinestone gel (or a small amount of clear nail glue) along the smile curve, then set tiny clear rhinestones in a straight line using tweezers. Press each stone gently and keep spacing tight but not touching. Cure and then seal with two layers of glossy top coat, using the brush to cover stone edges.
This is glam without going full bling. The rhinestones sit right on the curve, so your eyes catch the sparkle where the French line is — that’s why it looks neat instead of random. Clear stones work with any undertone, and tiny ones don’t overpower dark purple. Oval nails give the smoothest curve for the stones, but almond works too. Wear this for birthdays, dates, or any time you want the nails to look “special” without big art.
Watch outAvoid big stones; they make the French line look uneven and catch on hair.
Editor's noteDo two nails with stones, not all ten, if you want it to look classy rather than party.
9. Plum French with Negative Space Side Cutouts
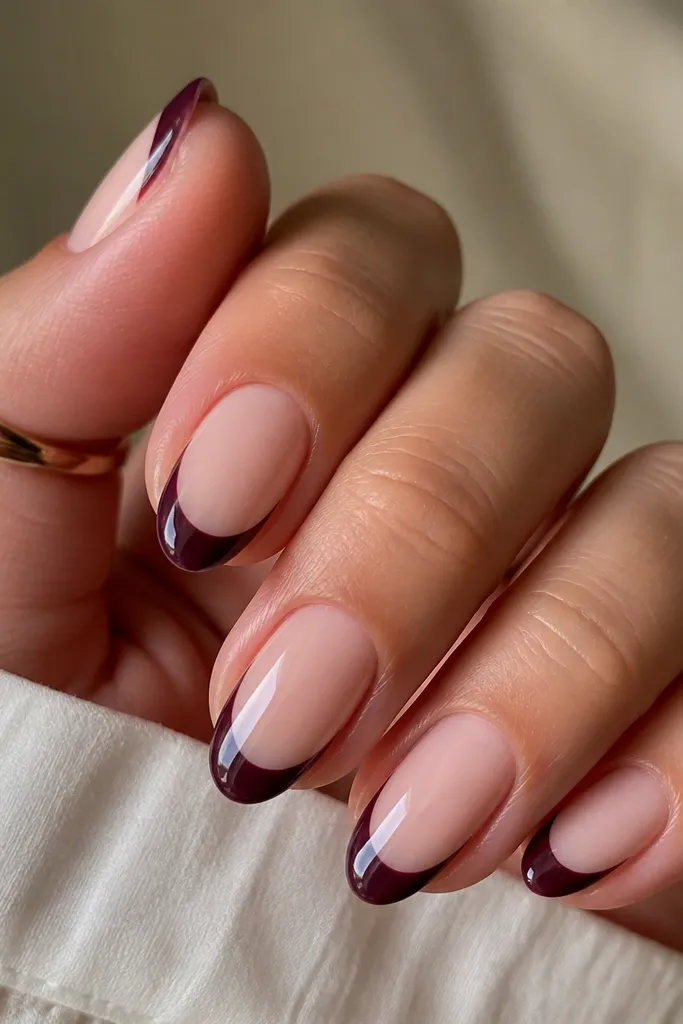
Negative space side cutouts make the French tip look architectural. The sheer nude base gives breathing room, and the cutouts keep dark purple from covering the entire tip width. This is flattering on hands with shorter nails because the negative space visually narrows the tip and lengthens the nail. It also looks good on both warm and cool skin tones because the purple stays framed. If you want simple glam that still looks custom, this design reads “I did this on purpose.”
Start with a sheer nude base, then let it look fully even. Paint the French tips in dark plum, but stop short on each sidewall by about 1 mm so you keep two thin negative-space gaps. Use a small liner brush to sharpen the inner edges of the cutouts so the lines look intentional. Clean up with a cotton swab lightly dipped in remover for crisp sidewalls. Top coat with two glossy coats, and cap the free edge so the purple doesn’t chip.
Mark the side cutout width with a small dot on your nail before painting — it helps keep them even.
Avoid wobbly inner edges; messy cutouts make the design look unfinished.
10. Dark Purple French with Matte Tips and Glossy Base
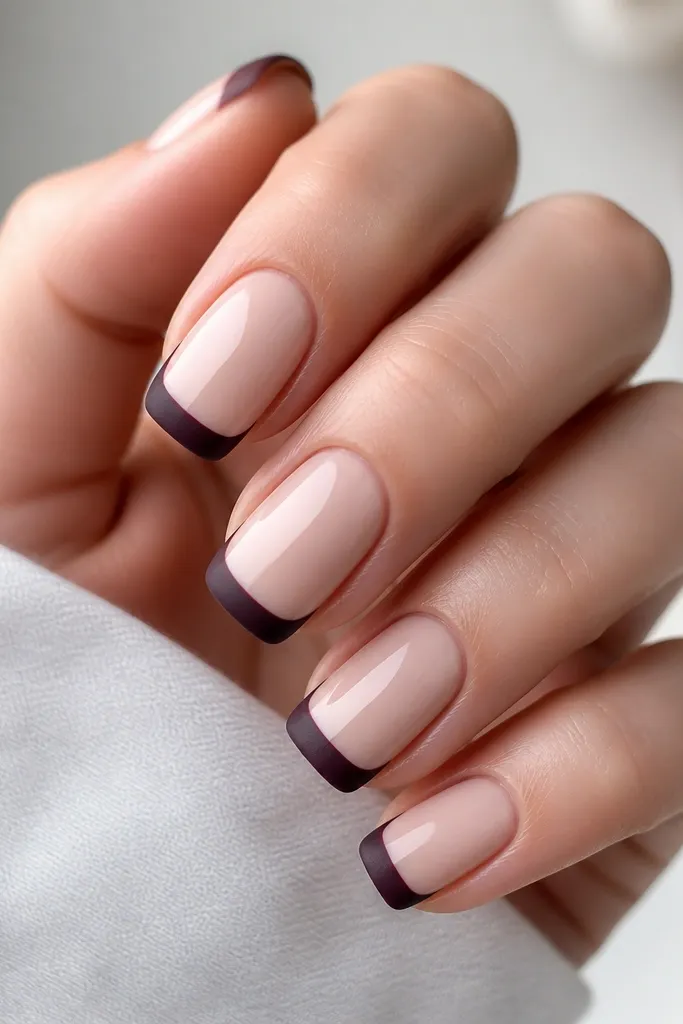
Apply a glossy milky nude base in two coats and cure fully. Paint dark purple French tips and make sure the edges are crisp. After curing, apply matte top coat only over the purple tips, keeping the nude area glossy by avoiding overlap. If you accidentally get matte on the base, wipe and clean quickly before it sets. Seal the tips again with matte top coat if you want extra velvet, then finish with a final glossy top coat on the nude area only.
Two-texture French tips look high-end because your eyes separate the layers. Glossy base keeps the nail healthy-looking, while matte tips turn the purple into a soft, fashion look. This combination is flattering on any nail length because it doesn’t add bulk — it just changes finish. I’ve worn it for office days and it still looks clean under fluorescent lights. If you hate full matte because it shows every texture, this hybrid gives you the matte effect only where you want it.
Watch outAvoid matting over uncured polish; it will drag and dull the line.
Editor's noteUse painter’s tape as a barrier for the first matte pass if you’re prone to smudging.
11. Grape French with Pearl Dot at the Smile Line
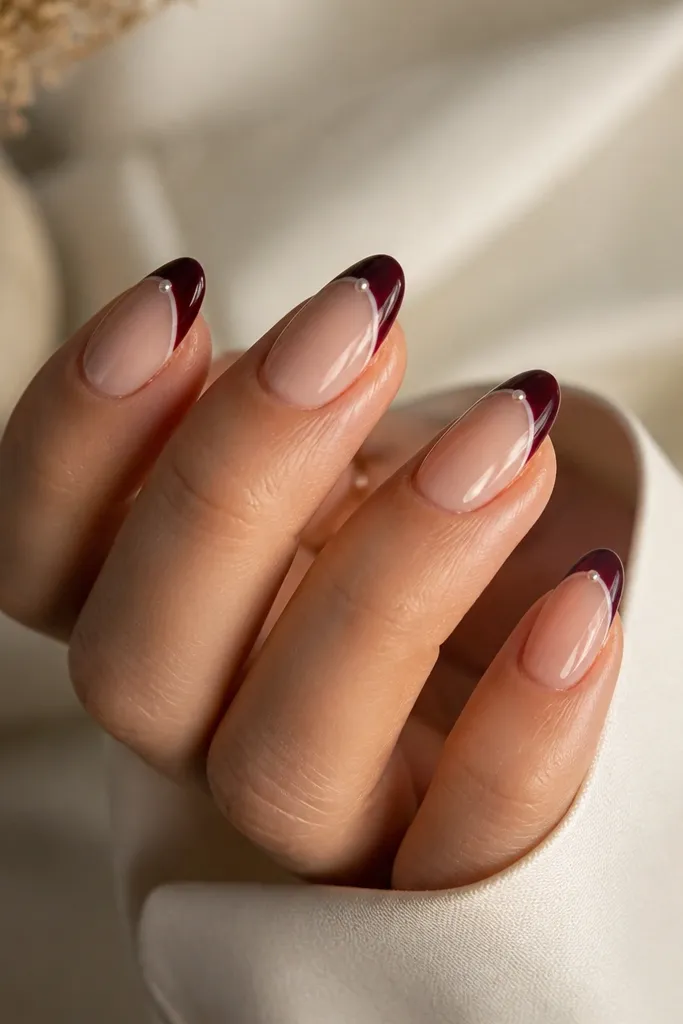
Start with a nude base, then paint dark grape French tips with a crisp guide line. Place one tiny pearl (around 1.5-2 mm) at the center of the smile line using rhinestone gel or nail glue. If you’re using gel, cure after placement so the pearl locks in place. Seal the top with glossy top coat, making sure you cover the pearl edges so it doesn’t snag. Keep the rest of the nail clean — no extra dots or glitter.
A single pearl dot turns a basic French into something bridal-adjacent. The pearl sits exactly where the French curve is, so it looks placed and balanced, not random. Dark grape keeps the pearl from looking too “wedding white,” especially if you choose a slightly off-white pearl. This design flatters oval and almond nails because the curve gives the pearl a natural resting spot. It also looks good on short nails if you keep the pearl small.
Watch outAvoid placing the pearl too far down the tip; it should sit near the smile curve.
Editor's noteIf pearls feel too heavy, use a pearl effect polish dot instead of a real gem.
12. Dark Purple French with Thin Silver Outline
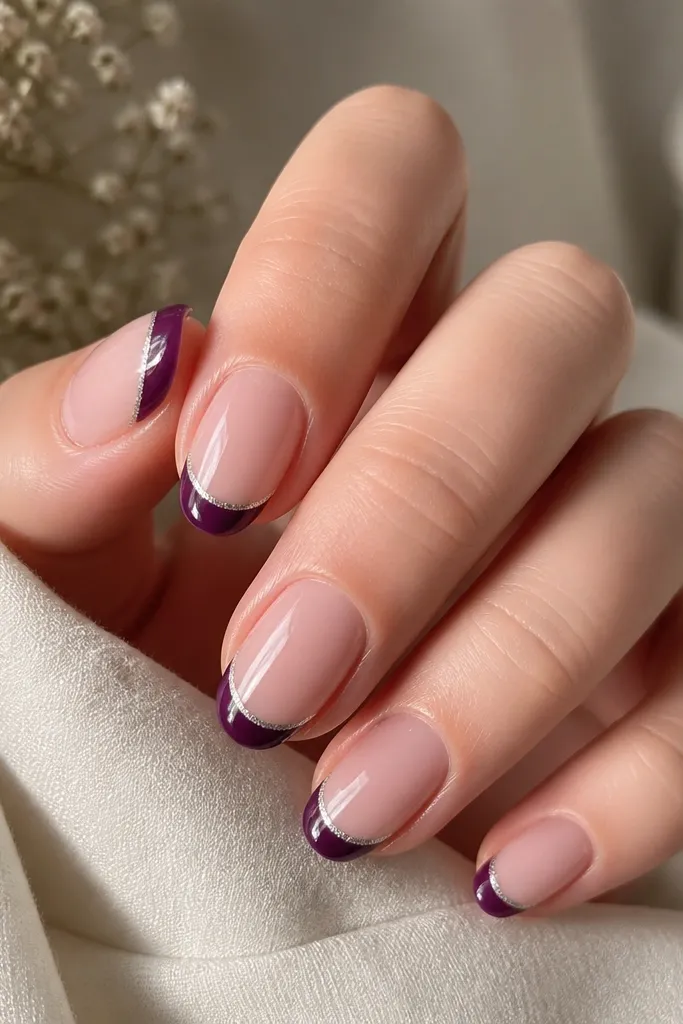
Apply a sheer rose base in two thin coats. Paint the French tips in dark purple, using a guide line so the top edge stays straight. After curing, take a thin striping brush and draw a silver line along the top edge of the purple tip — just one stroke, not multiple passes. Let it set, then apply glossy top coat carefully so the silver line stays sharp. For stability, cap the free edge with top coat.
The silver outline makes dark purple look crisp and clean, like a framed painting. It also gives the French line extra definition, which helps when your smile line isn’t perfectly symmetrical. I like sheer rose under this because it adds a soft warmth that silver and purple both play nicely with. This set looks great for events because it catches light without needing glitter. On short to medium nails, the outline keeps the whole design from feeling flat.
Watch outAvoid thick silver outlines; chunky lines make it look like tape.
Editor's noteUse silver gel liner if you have one — it stays smooth and doesn’t streak like loose metallic polish.
13. Plum French with Tiny Star Confetti
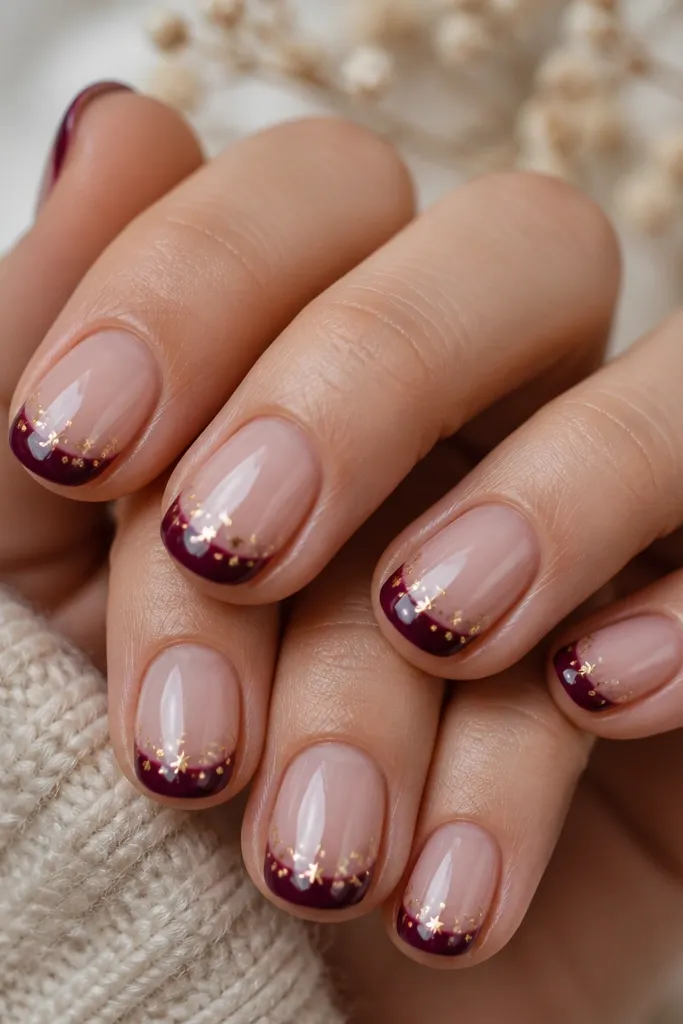
Tiny stars give you a fun glam vibe while still keeping the French tip as the main event. I choose star confetti that’s small and matte-ish, so it doesn’t overpower the purple. The design looks best when stars cluster near the center, not across the whole tip. It flatters hands that look good in playful details but you still want a clean nail shape. If you’re going to a party but want it to look “thoughtful,” this one does that.
Start with a milky nude base and cure fully. Paint dark plum French tips and keep them crisp. Dot a small amount of clear gel on the center of each tip, then pick up tiny gold star confetti with a dotting tool and place it just where the tip meets the smile line. Press lightly so stars sit flat. Seal with two coats of glossy top coat, checking around the stars for smoothness.
Use fewer stars than you think — three to five per nail looks intentional; too many looks busy.
Avoid placing stars right at the edge; they lift and catch on fabric.
14. Dark Purple French with Foil Fade Tips
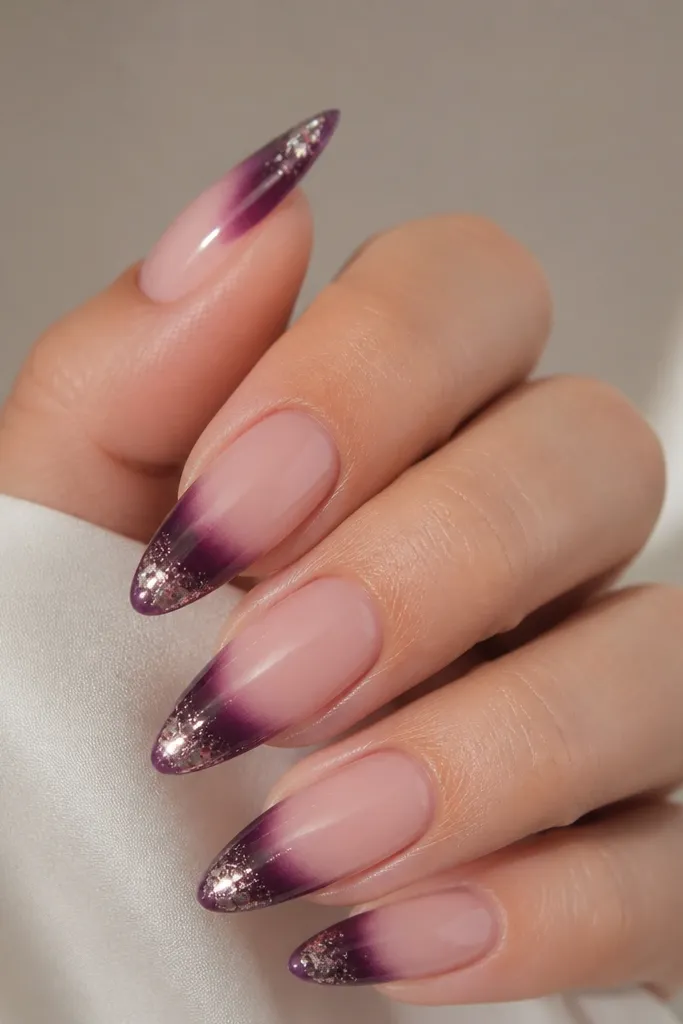
Apply a nude base in two coats. Paint the French tips in dark purple first, then keep the outermost 1-2 mm slightly lighter while it’s tacky. Tap metallic foil (champagne or pale gold) right at the tip edge using foil glue or a tacky gel layer. Blend the foil lightly by tapping, not dragging, so it fades into purple. Cure and then top coat twice to smooth the foil texture.
Foil fade tips look modern because the shimmer sits only at the tip boundary. The dark purple base anchors the look, and the foil adds motion when you move your hands. I like this for nights out because the foil catches flash photography. It’s also forgiving on growth because the sparkle doesn’t depend on perfect symmetry. This design works on medium almond and longer lengths where you have room for the fade.
Watch outAvoid stacking foil too thick; heavy foil causes bumps under top coat.
Editor's noteChoose foil in champagne or pale gold, not bright yellow — it complements dark purple better.
15. Purple Haze French with Soft Color-Shift Edge
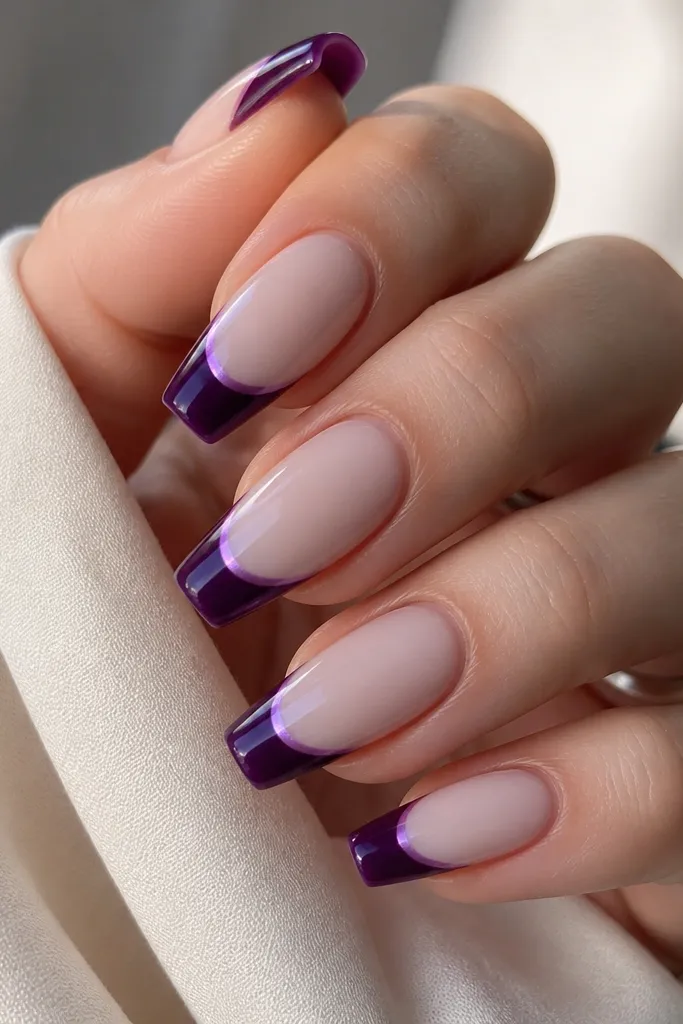
This is a “still French, but dreamy” look. The color-shift edge makes the tip feel like it has depth, not just one solid color. I like using a purple that has a slight shimmer or that shifts toward a cooler tone at the edge, so it looks different as your hands move. It flatters most skin tones because the base stays neutral and the tip does the talking. If you’re tired of flat French tips and want something that feels modern, this is the middle ground.
Start with a milky nude base and cure fully. Paint the French tips in dark purple, keeping the center solid. With a small sponge or brush, lightly buff the outer border of the tip with a shimmer purple that’s one shade lighter, just at the edge line. Clean the sidewalls with a liner brush so the border stays sharp. Finish with glossy top coat twice so the color shift looks smooth, not grainy.
Do the edge buff last, right before top coat, so it stays controlled.
Avoid using glittery purple over a matte base; it looks gritty instead of hazy.
16. Dark Purple French with Half-Gloss Topcoat Lines
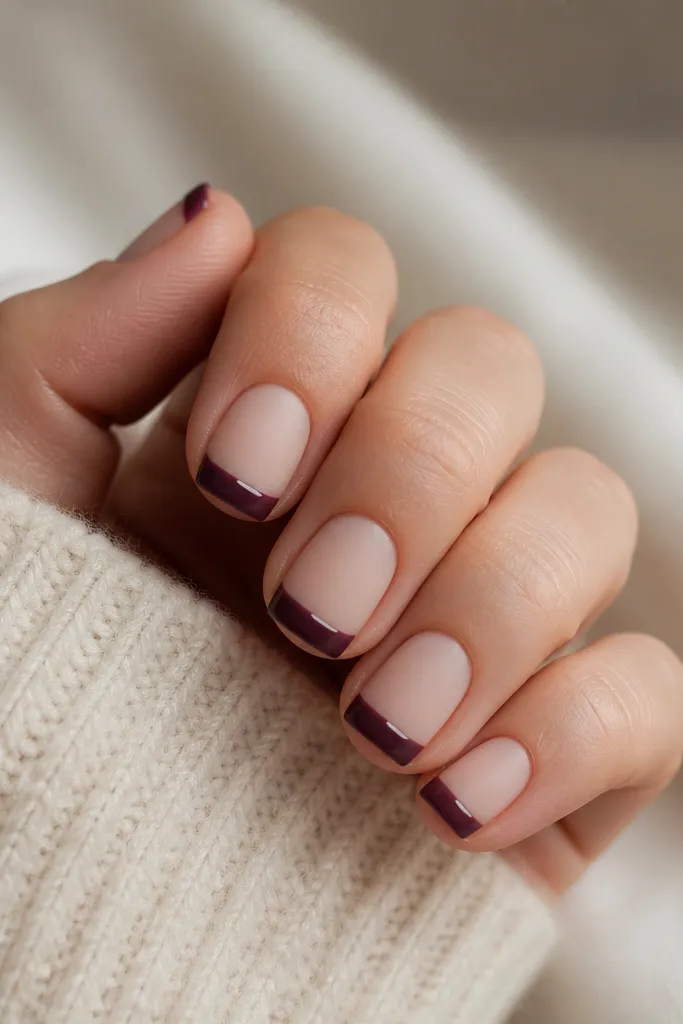
This one is for people who love texture but still want a crisp highlight. The matte base and matte tips hide tiny imperfections, while the thin glossy stripe inside the tip gives the design a modern, graphic vibe. Dark purple stays the star, and the glossy line adds dimension without rhinestones. This looks great on short square and short rounded nails because the graphic stripe makes them look intentional. It’s also a fun way to make a standard French feel new for everyday wear.
Apply a matte nude base (matte top coat over your nude polish) and cure fully. Paint dark purple French tips and let them cure. Then, after the matte layer is set, use striping tape to mask a thin vertical-ish stripe inside the tip area and apply glossy top coat only on that stripe. Remove the tape carefully once the gloss is tack-free. Seal the rest of the nails with matte top coat again so only the stripe stays shiny.
Use thin tape and press it down firmly; lifting tape leaves a jagged edge.
Avoid thick glossy stripes; they make the design look like a mistake.
17. Plum French with Double Line at the Tip
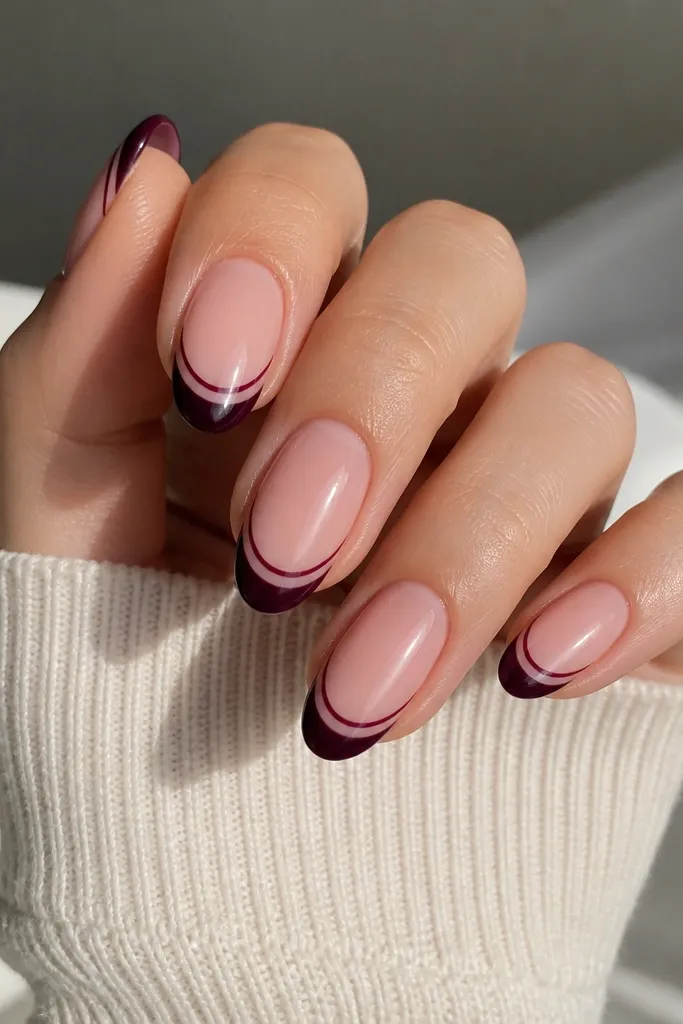
Start with a nude pink base in two coats. Paint the outer French tip in dark plum first, keeping it about 1/8 of the nail length. After curing, place a thin inner line using a striping brush and a slightly lighter plum or silver — keep it 1-2 mm below the top edge of the French. Clean up any overlap with a small brush dipped in remover. Top coat with a glossy layer twice to smooth the double line.
Double-line French looks modern because it adds a frame within a frame. The dark plum gives depth, and the thin second line makes your smile curve look extra tidy. I’ve found it flatters hands that have slightly wider nail beds because the inner line creates visual separation. Choose a second line color in a close tone like mauve-plum or a silver that matches your jewelry. This set feels polished for work and still looks special without extra gems.
Watch outAvoid double lines that are too far apart; wide gaps can look like accidental smudges.
Editor's noteIf you struggle with straightness, draw the inner line with the brush held sideways — it gives you a more even stroke.
18. Dark Purple French with Tiny Pearlized Dot Cluster
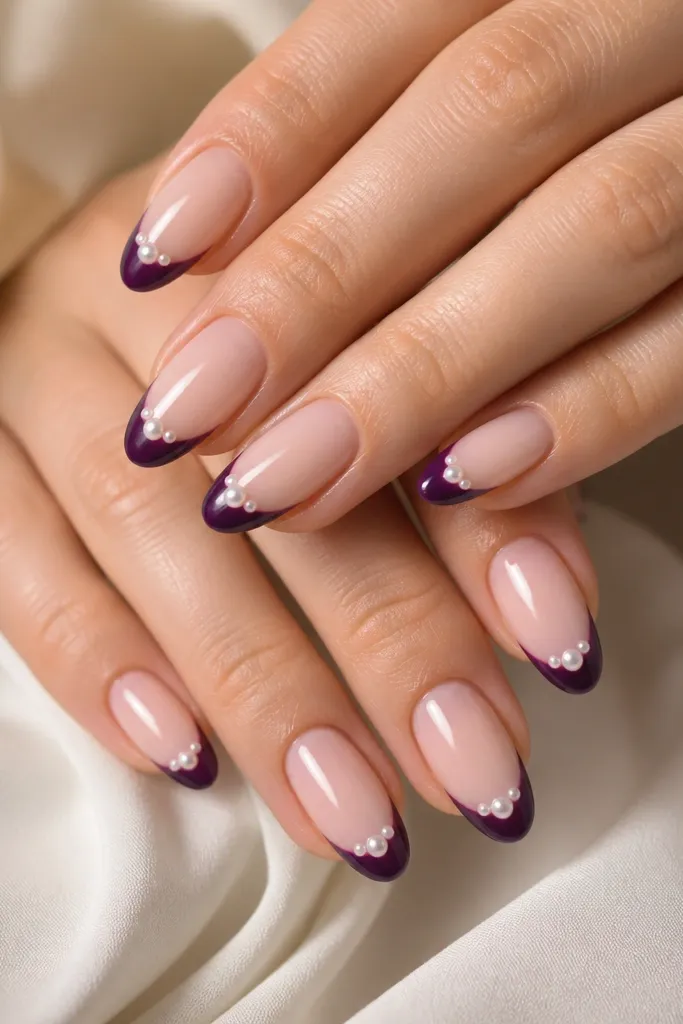
Apply a sheer nude base in two coats. Paint dark purple French tips with a crisp smile curve. Use a dotting tool to place a small cluster of three pearlized dots near the center of the tip, about 2-3 mm below the top edge of the purple. Cure and then cover with glossy top coat, making sure the dots are fully sealed. If the dots sit on top of the purple and feel raised, add one extra thin top coat after the first cures.
A dot cluster is a soft way to add detail without making the set look busy. The pearlized dots echo the glossy highlights of your nail and make the dark purple look smoother. I like three dots — one centered and two slightly off to the sides — because it looks balanced. This design flatters medium almond and oval nails since the tip has enough space for the cluster. It’s also great for birthdays because it reads cute but still grown-up.
Watch outAvoid dot clusters that go too close to the sides; they can look like smears.
Editor's noteUse pearlized polish or micro pearl gel that levels — raised dots snag and dull the look.
19. Grape French with Diagonal Micro Stripe Accent
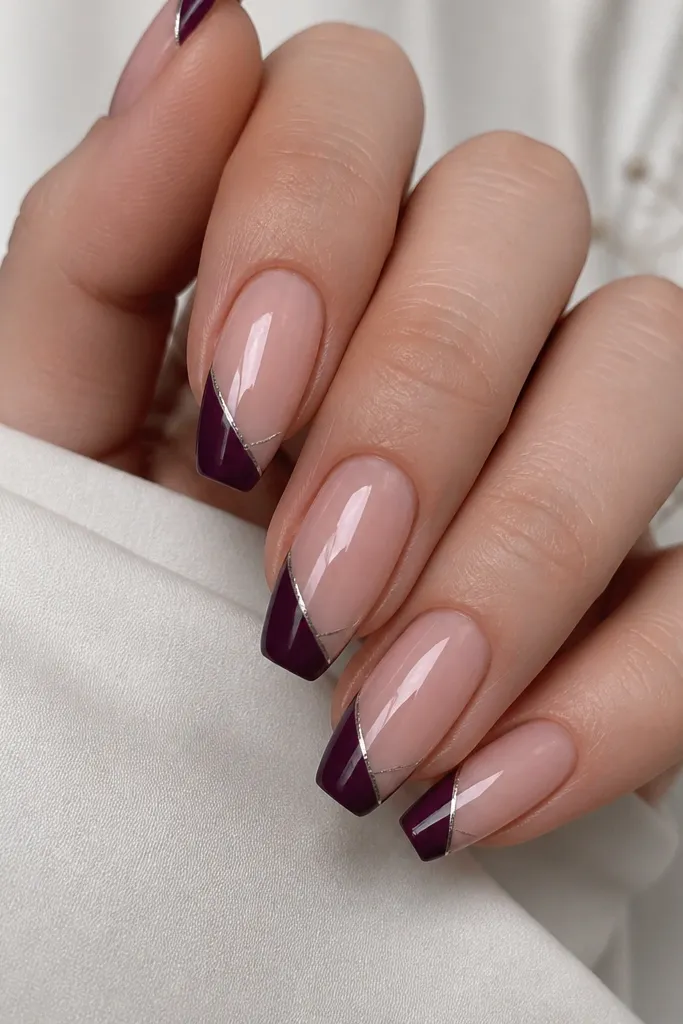
Diagonal accents make French tips feel modern because they break the horizontal line. The silver micro stripe adds movement and gives the dark purple a little “catch” when you walk. This looks best on short coffin and almond shapes where you have enough surface to draw a clean diagonal. It’s flattering because the diagonal line draws the eye up the nail instead of across. If you want simple glam but you’re bored of plain French, this is the smallest change with the biggest impact.
Start with a nude base in two coats. Paint dark grape French tips and keep the tip edge crisp. With a striping brush, draw a thin silver line diagonally across each tip, starting near the outer corner and ending near the center about 2-3 mm below the top edge. Let it dry/cure, then top coat twice to seal. Keep the stripe thickness consistent across all nails so it looks intentional.
Practice the diagonal on one nail first — your hand learns the angle quickly.
Avoid thick stripes; they overwhelm the French curve.
20. Dark Purple French with Matching Plum Cuticle Outline
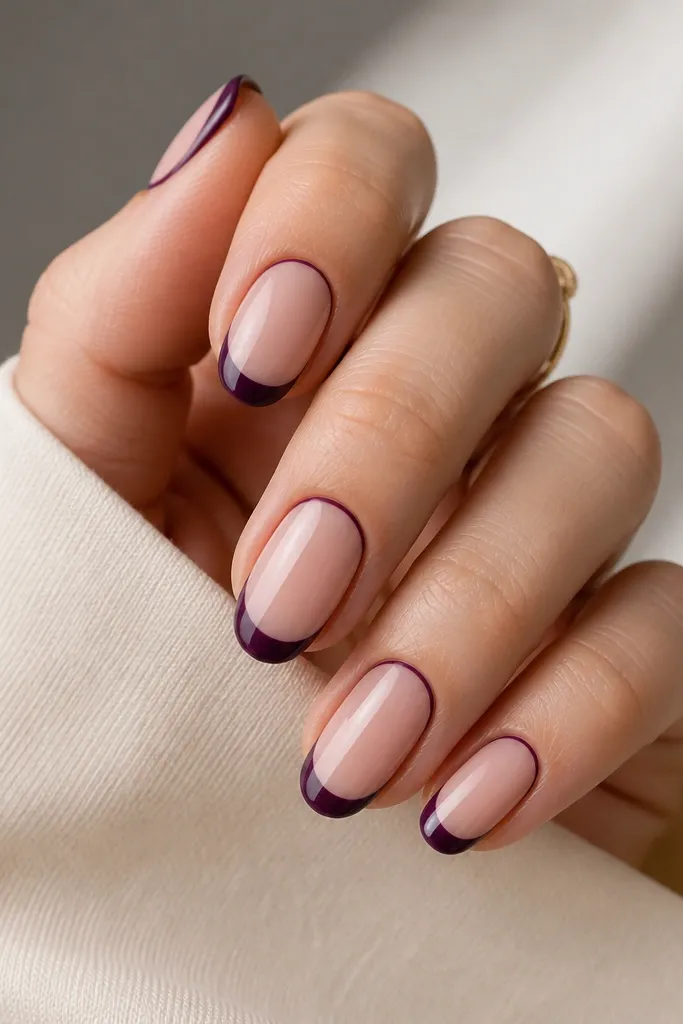
Apply a sheer nude base in two coats. Paint dark purple French tips with a crisp smile curve. Then, using a fine liner brush, draw a thin dark purple line following the cuticle curve — keep it about 0.5-1 mm away from the skin. Fill the outline with just enough color to look solid, not thick. Clean around the cuticle edge and top coat twice for a smooth, glossy finish.
Tracing the cuticle curve makes the set look cohesive and custom. The dark purple outline connects the French tip to the base, so the whole nail feels designed instead of two separate colors. This flatters hands with shorter nail beds because the outline visually lengthens the nail area, drawing the eye upward. I like sheer nude for the base so the outline doesn’t look too harsh. It’s a good choice for people who want drama but still want clean lines.
Watch outAvoid thick cuticle outlines; they look like a halo of polish and can flood the skin.
Editor's noteUse a liner brush that’s slightly worn at the tip; it glides and makes thinner lines.