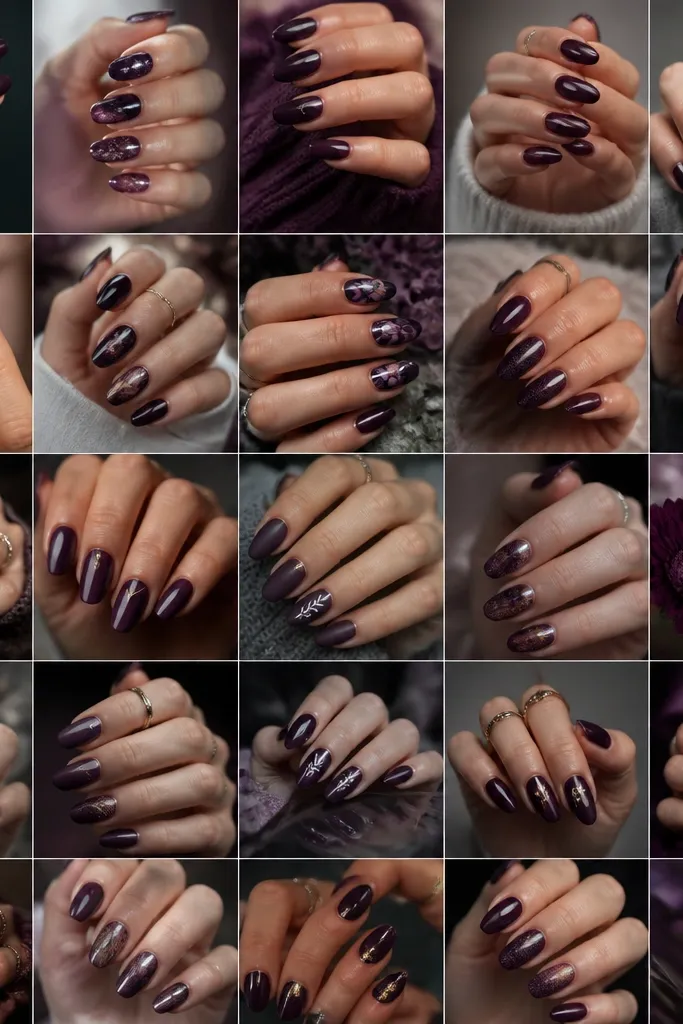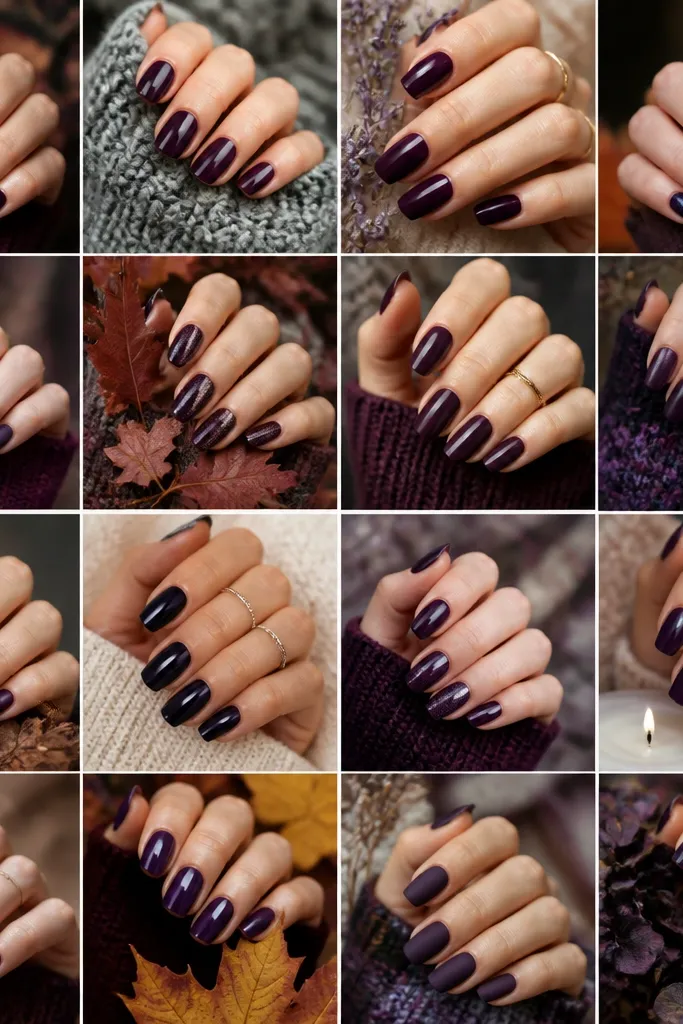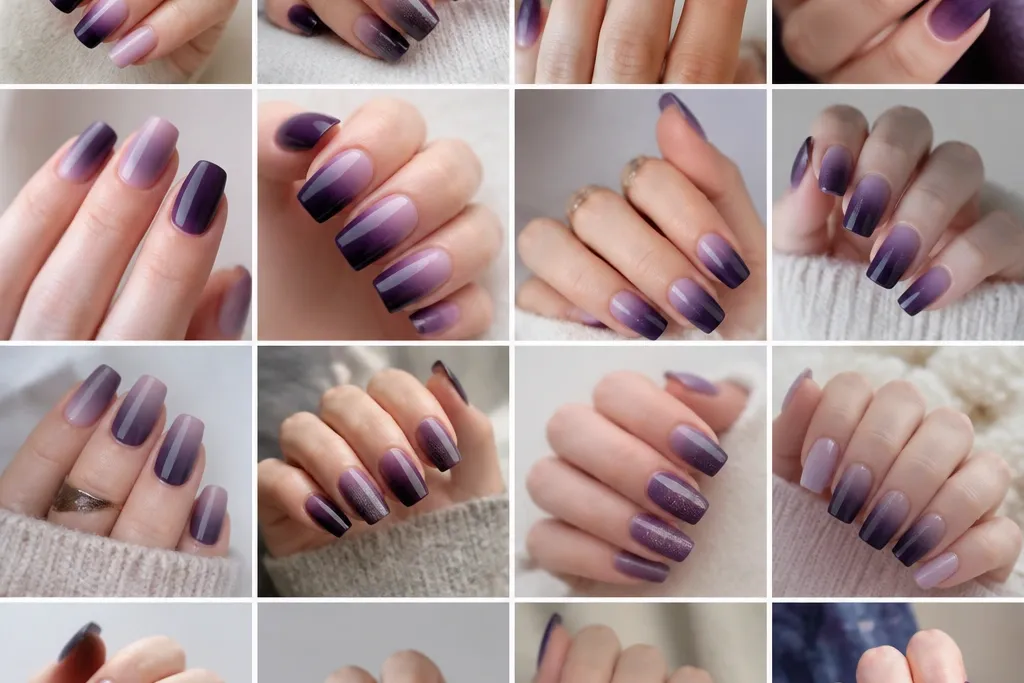
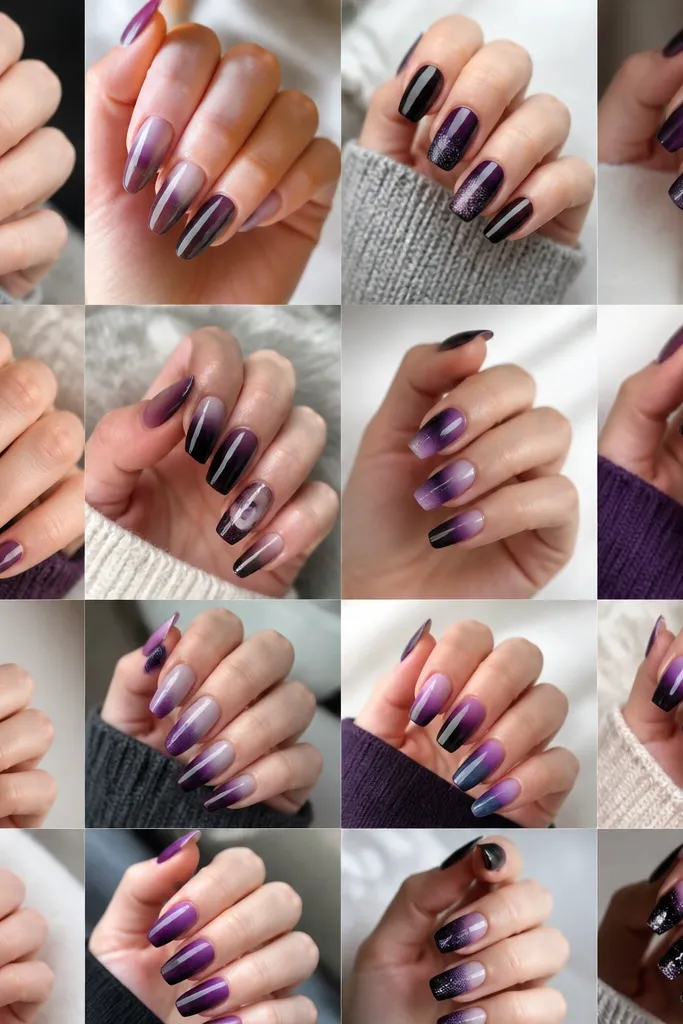
1. Plum-to-Grape Classic Ombre (Short Almond)
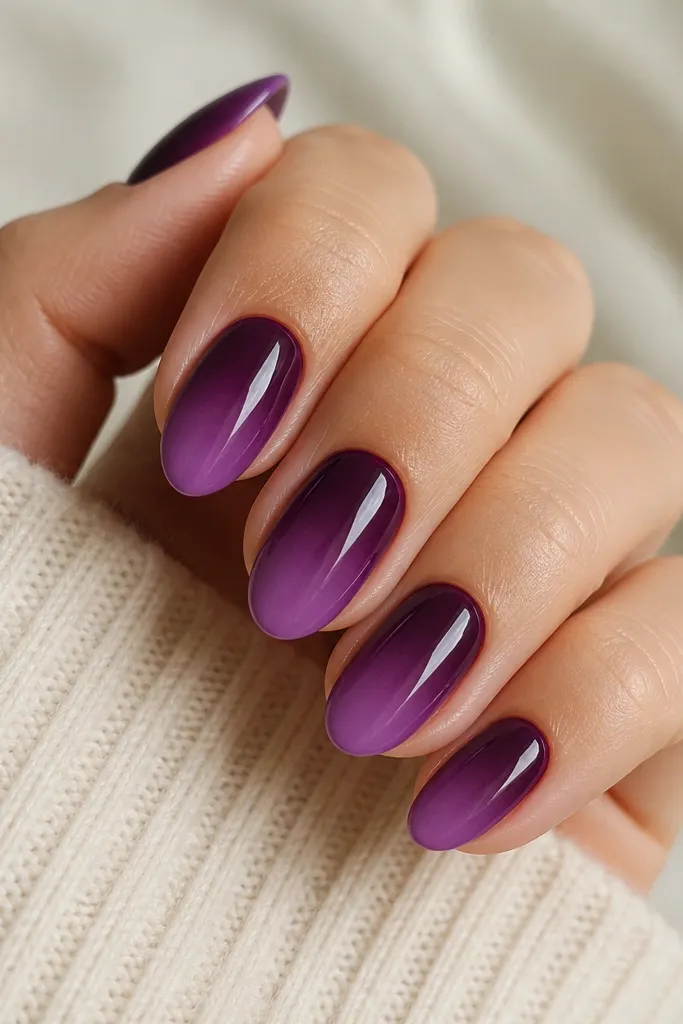
This is the ombre I reach for when I want “pretty and done” without fuss. Start with a near-black plum so the top stays rich, then fade into grape so the tips still look bright enough in daylight. On short almond nails, the gradient reads balanced because the fade occupies the center third of the nail. It flatters most skin tones, especially medium to deep tones, because the plum has enough contrast to look crisp even with less nail length.
Paint a base coat, then apply two thin coats of deep plum. Let the last plum coat dry until it’s tacky-dry, not wet. On a piece of foil, dab a small amount of grape polish next to the plum and lightly drag the sponge through both colors so you get a soft edge. Dab the sponge from the cuticle downward in 3-4 light taps, then stop before the tip so the light shade doesn’t overpower. Finish with two coats of glossy top coat, paying extra attention to the free edge.
If your sponge leaves dots, tap it once on tissue before touching your nail.
Don’t press hard — pressure is what turns ombre into blotches.
2. Wine Fade Ombre (Gel Look, No Airbrush)
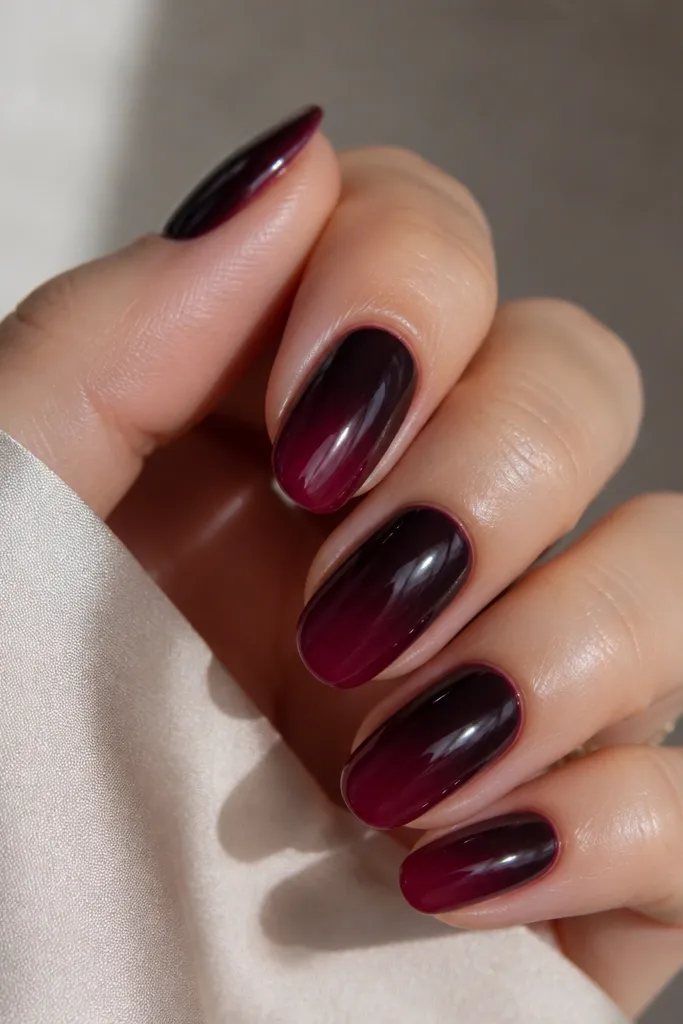
This one looks expensive because wine polish has a natural depth that hides minor sponge texture. The darkest shade sits right at the cuticle, then the fade moves downward slowly so the gradient has a clear direction. Ovals like this make the fade feel elongated, which flatters hands with shorter fingers. If you wear gold jewelry a lot, the wine tone pairs beautifully and makes your skin look warmer.
Start with gel base coat if you use gel, or a fast-dry base if you use regular polish. Sponge the ombre by loading the sponge with wine at one edge and a lighter burgundy-grape at the other edge. Dab near the cuticle first, then use one gentle swipe down the nail — just one — to blend. Cure or dry fully between layers if you’re building opacity, then seal with a thick top coat and cap the free edge. Do not skip the top coat thickness; it’s what smooths the gradient visually.
Add a tiny dab of darker wine on the cuticle area after the first sponge pass for extra dimension.
Don’t put top coat on a still-wet ombre — it smears the gradient.
3. Velvet Plum Ombre (Matte Top Coat + Gloss Tips)
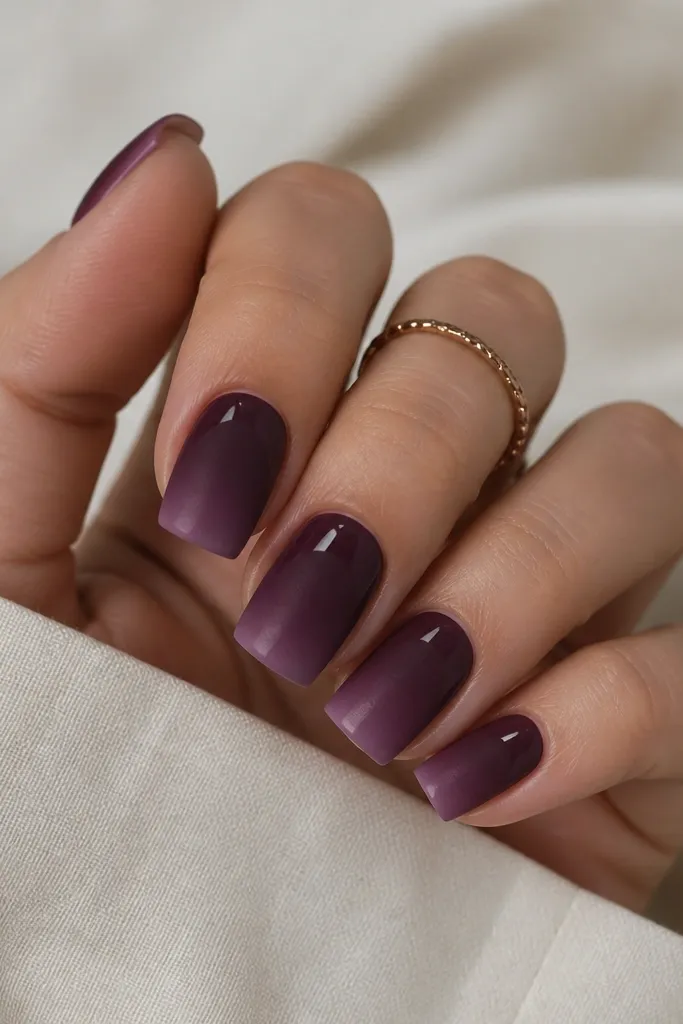
This is the “I did something different” version of dark purple ombre. The matte half makes the plum look velvety and hides tiny texture, while glossy tips catch light and keep the nails from looking flat. Square nails work great because the straight edges make the texture change look deliberate. It’s especially flattering on fair to light-medium skin because the contrast between matte and gloss makes the color pop.
Apply base coat, then sponge plum into a lighter purple exactly like a classic ombre. Let it dry completely, then apply matte top coat to the bottom two-thirds only, avoiding the last 2-3 mm at the tips. Use a small strip of tape or a steady hand to keep the tip area clean. Finally, paint glossy top coat only on the tip zone and cap the free edge. The matte-gloss boundary should be around the midpoint of the nail for the most polished look.
Use a makeup sponge with a firm texture for matte ombre; it transfers color more evenly.
Don’t matte the whole nail if your sponge left texture — the bumps will show.
4. Dark Purple Smoky Ombre (Smudge Blending)
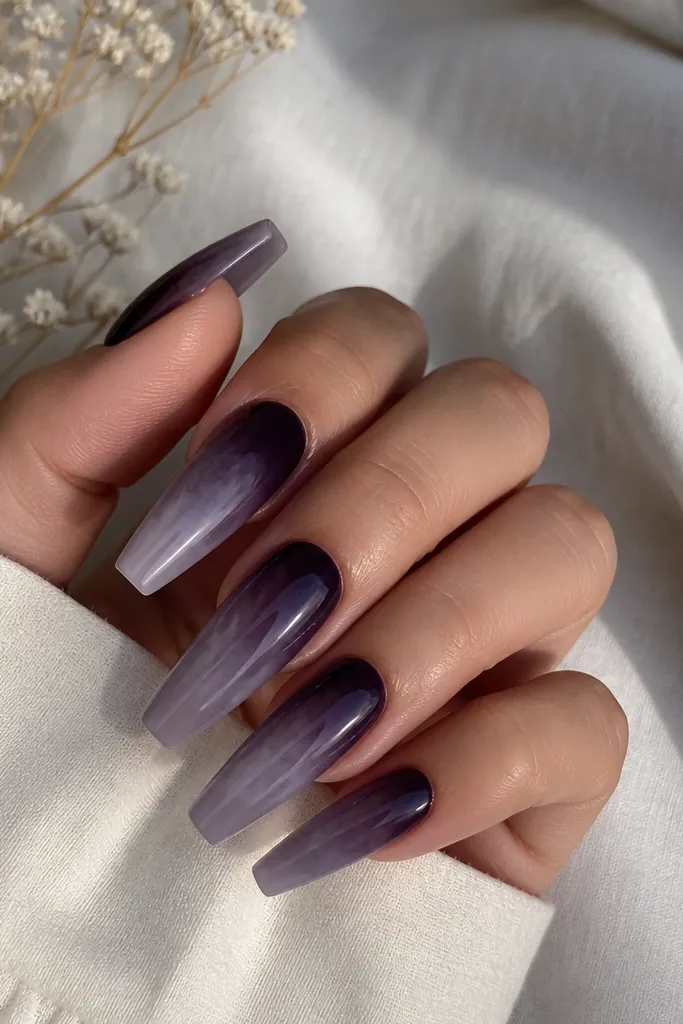
If you like moody nails, this smoky fade is my go-to. The trick is adding a slightly gray-leaning purple so the ombre looks like smoke instead of a straight color shift. Coffin nails handle this look well because the shape gives room for the haze to spread. It’s great for evening wear and looks extra good on hands with longer nail beds — the smoke effect fills the space without looking heavy.
Start with a dark plum base coat layer, then wait until it’s dry. Sponge a medium purple-gray starting at the mid-nail and fading upward slightly, then go back with a darker plum to reinforce the cuticle area. Use a small smudge brush or old eyeshadow applicator to lightly blur the transition — one direction only. Seal with a glossy top coat so the smoky color looks smooth. If you want more haze, add one more thin sponge pass at the center, then top coat again.
Keep the gray shade lighter than you think — smoky ombre works best when it still reads purple.
Don’t over-blur with a lot of back-and-forth strokes — it turns into muddy streaks.
5. Black-Purple Cuticle Fade (Drama Start)
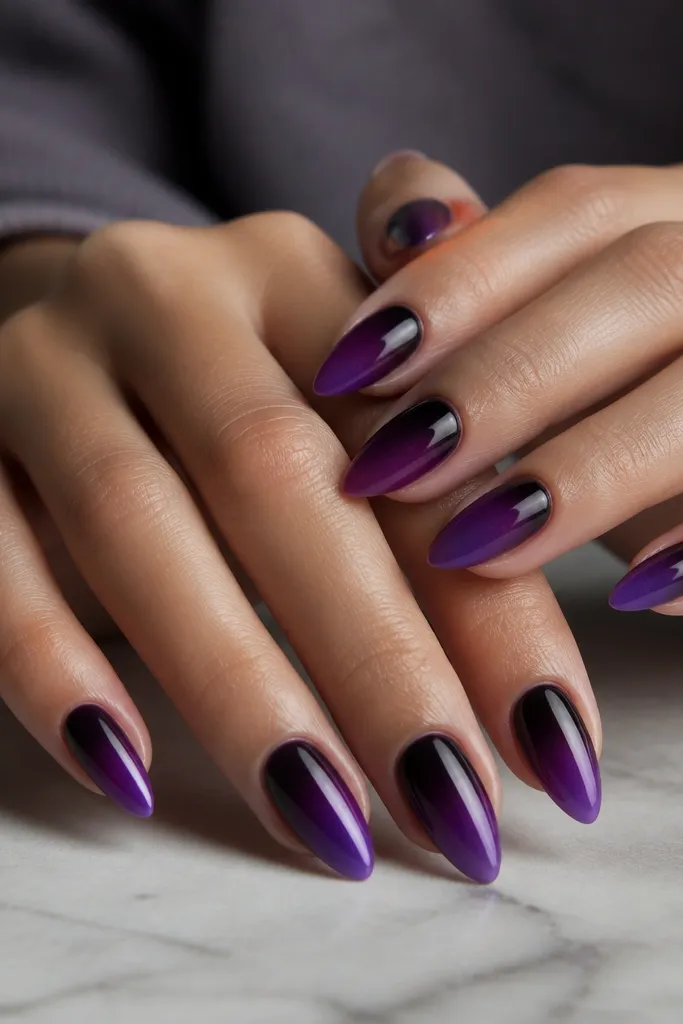
This is the version that looks dramatic even when your nails are short. The near-black purple at the cuticle creates a “lifted” look because the eye sees depth right where nail growth starts. Stiletto tips show more of the fade, so keep the light shade controlled and don’t go too pale. It flatters darker skin tones because the contrast stays bold, but it also looks striking on fair skin if you keep the top half very dark.
Paint base coat, then apply a near-black plum at the cuticle and mid-nail. Sponge a regular deep purple onto the middle, then sponge a lighter grape only on the last third. Use a thin brush to smooth the boundary between black and purple by dragging gently from cuticle to center. Let everything dry, then apply two top coats. Cap the free edge so the lighter tips don’t wear faster than the darker base.
If your fade looks too sharp, lightly tap the sponge straight down along the boundary.
Don’t make the tips too light — it can look like a half-finished dip instead of ombre.
6. Glitter Undercurrent Ombre (Hidden Sparkle)
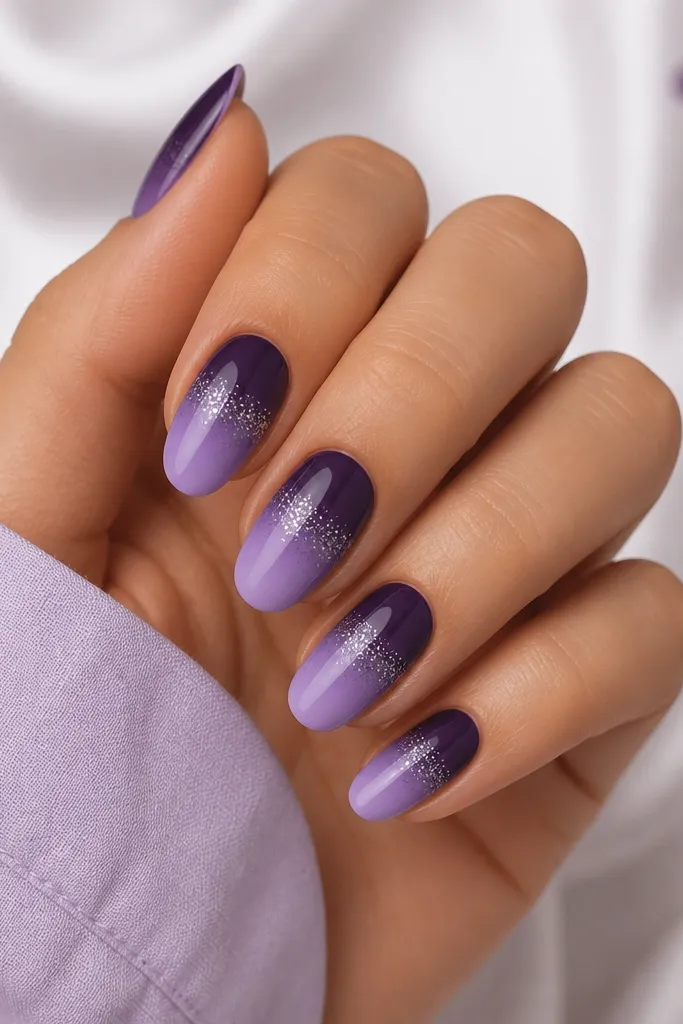
This one keeps the look wearable in daylight but turns heads at night. The glitter band sits in the middle so it looks like a shimmer wave traveling through the gradient. Medium oval nails are perfect because the curve makes the glitter line look smooth instead of chunky. I love this on medium to tan skin because silver glitter against purple looks crisp and clean.
Base coat, then sponge plum-to-grape classic ombre. While the ombre is dry, place a thin strip of fine silver glitter polish in the middle third using a nail liner brush. If glitter polish is too thick, mix it with a drop of clear polish on foil. Avoid glitter at the cuticle and tips so the ombre stays the hero. Seal with one coat of clear top coat, then a second thicker coat to lock down the glitter.
Editor's noteUse the smallest liner brush you own — a 1-2 mm band looks best.
Watch outDon’t flood glitter to the cuticle — it makes the transition look messy.
7. Purple Chrome Top Ombre (Mirror Fade)
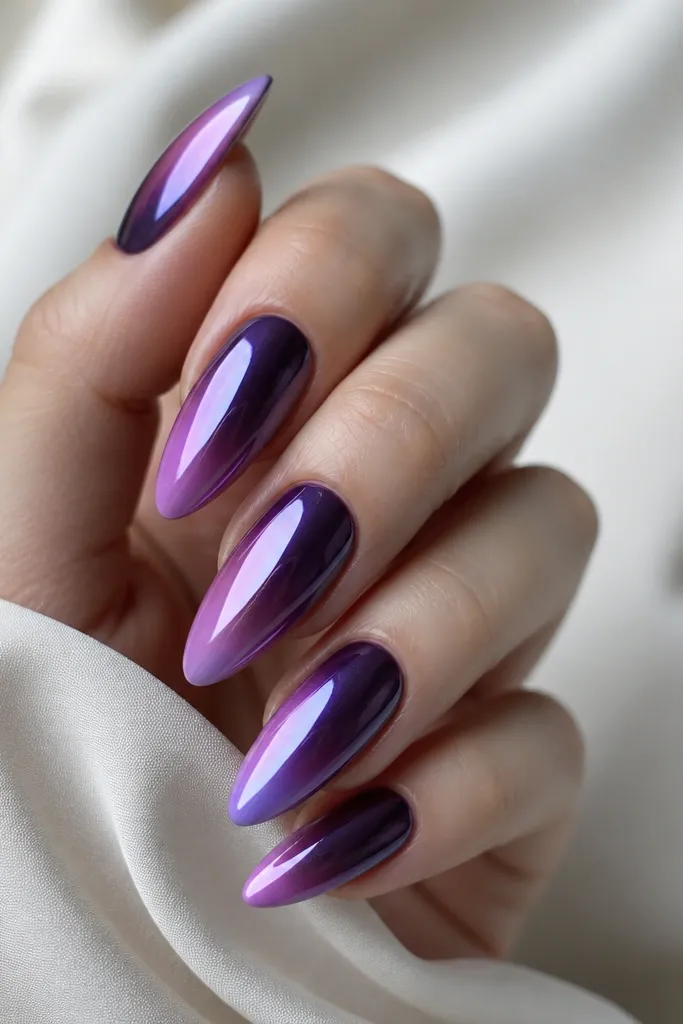
Chrome on ombre is a cheat code for looking polished fast. The purple chrome powder reflects light so the gradient looks smoother than it is underneath. Long almond nails show the fade best because you get enough nail surface for the chrome zone to catch light. This looks amazing on both fair and deep skin tones because the chrome adds a cool highlight that flatters your hand’s undertone.
Do your classic plum-to-grape ombre first and let it fully dry. Apply a thin coat of chrome gel or a tacky base only on the top third of the nail. Rub purple chrome powder onto that zone using an applicator sponge, then buff gently with a dry brush. Clean the cuticle, then seal with a top coat that’s safe for chrome (use the recommended type if you’re using gel). If the chrome dulls, add a second thin chrome layer before sealing.
Keep the chrome zone to the top third so it doesn’t overpower the ombre.
Don’t apply chrome directly over wet polish — it turns patchy.
8. Two-Sponge Ombre (Extra Smooth Blend)
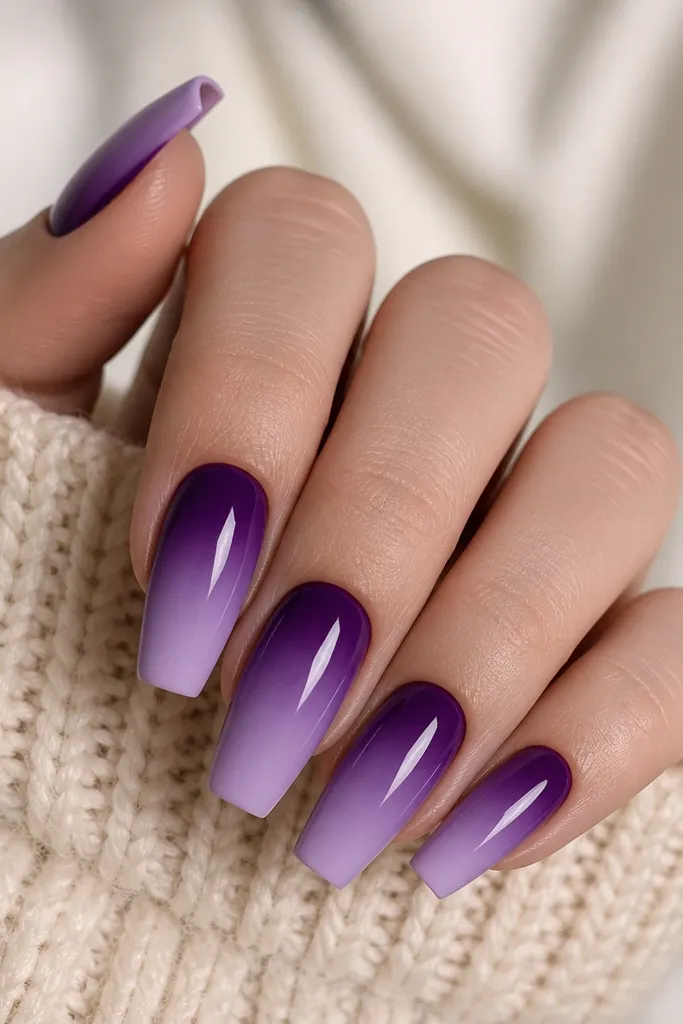
This method is how I get the smoothest beginner ombre without sanding or fancy tools. It uses two separate sponge loads so each pass adds a controlled amount of color. The result looks like a real airbrushed fade because the transition happens gradually. Coffin nails make the fade look intentional, and the smooth blend flatters hands because your eye doesn’t catch on rough texture.
Paint base coat, then apply a solid dark plum base and let it dry completely. Cut two small sponge pieces or use one sponge but clean it between steps. First sponge pass: load with dark plum and medium lavender, dab from cuticle to mid-nail. Second sponge pass: load with medium lavender and light grape, dab only from mid-nail to the tips. Lightly tap to blend at the center, then seal with two top coats.
Rinse the sponge piece in warm water and let it dry if you’re reusing it for multiple nails.
Don’t try to blend three colors on one sponge load — it usually gets speckled.
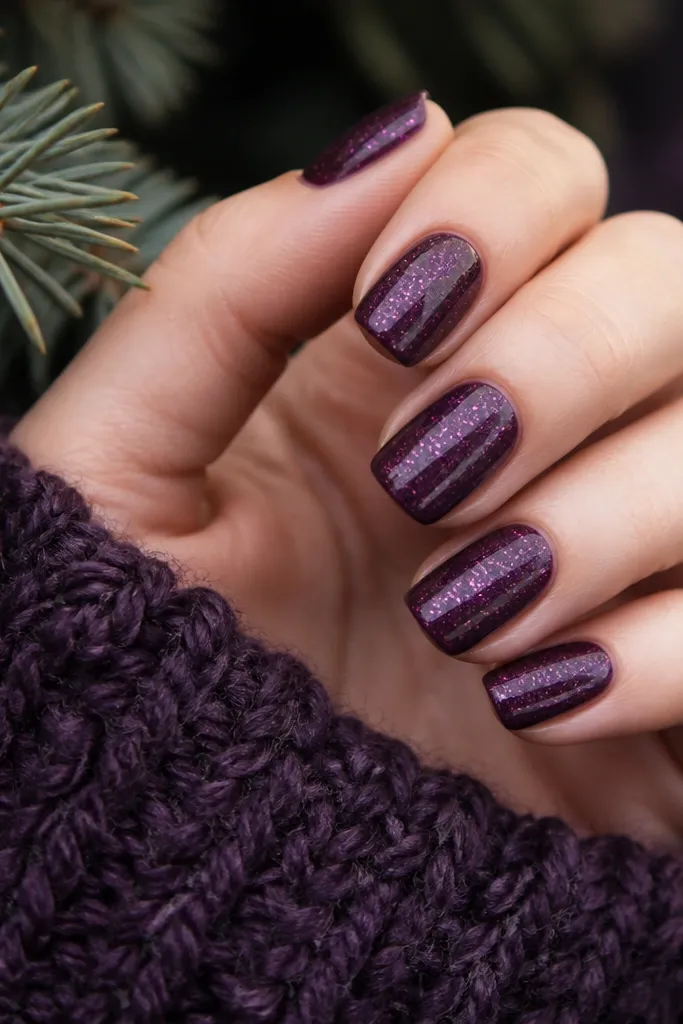
9. Striped Ombre Lines (Velour Stripe Look)
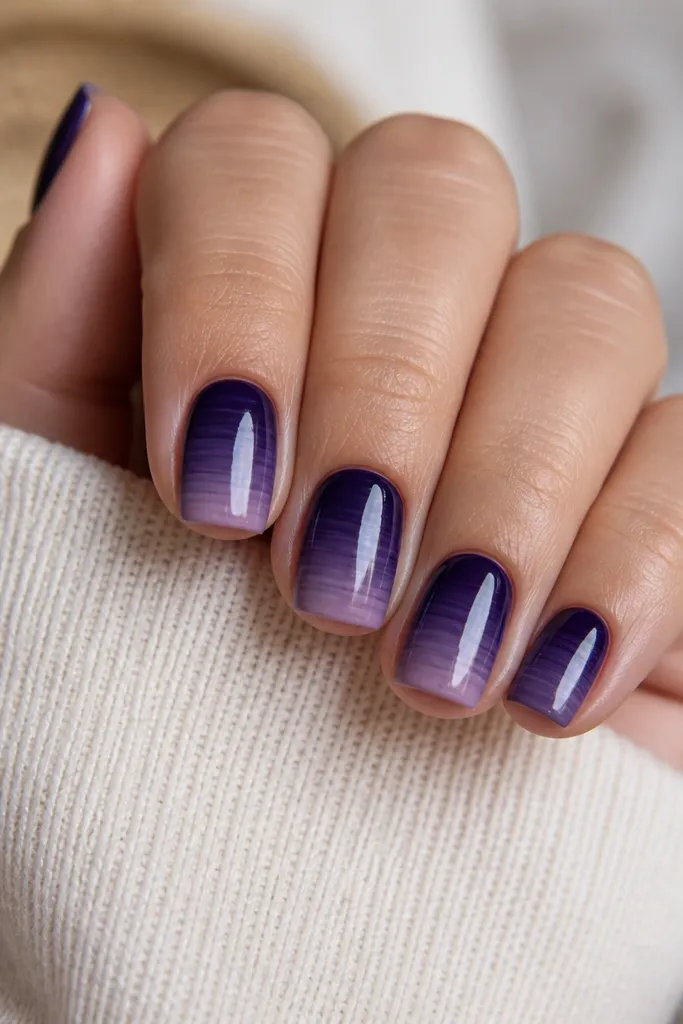
This is the ombre look that hides beginner mistakes because the striping makes the gradient look designed. If your sponge tends to transfer in bands, don’t fight it — shape it. Short square nails show striping clearly, and the straight sides keep the pattern neat. This works on fair through deep skin tones because the stripes are mostly within the same purple family, so it stays flattering.
Apply base coat, then sponge a dark plum-to-medium purple ombre as your first layer. After it dries, load a sponge with just medium purple and a lighter grape. Dab in thin horizontal taps across the nail, stopping at the tip edge. Keep the stripe height consistent by tapping at the same angle for each nail. Finish with a glossy top coat to smooth the look and reduce the appearance of any sponge texture.
Editor's noteUse a smaller sponge tip so the stripe width is about 1-2 mm.
Watch outDon’t use a wet sponge — stripes get muddy and bleed.
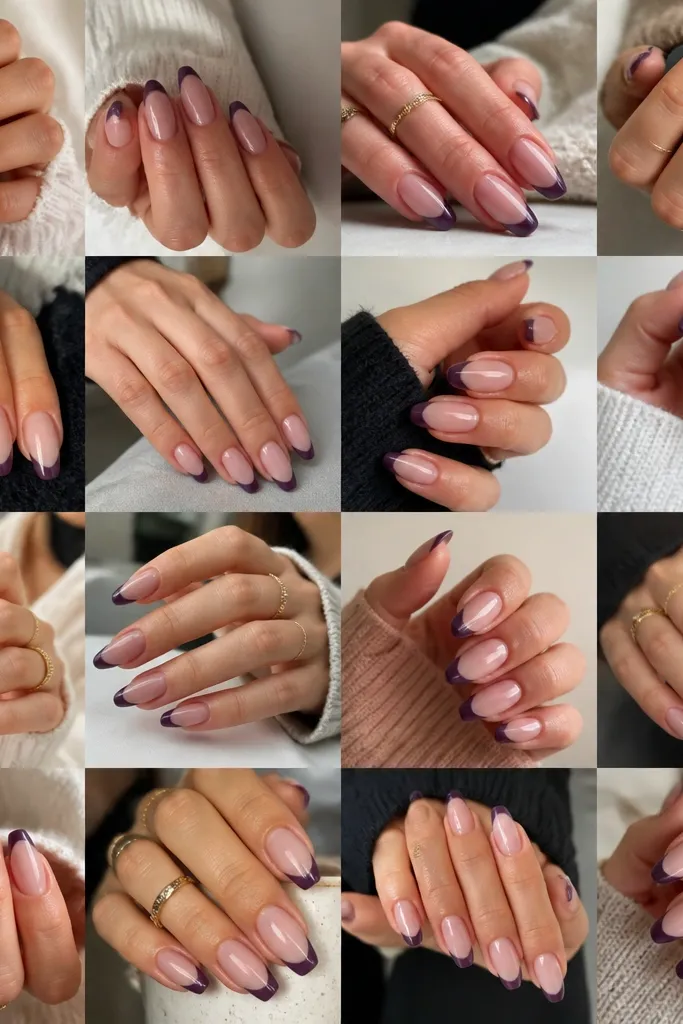
10. French Ombre Edge (Dark Purple Tips)
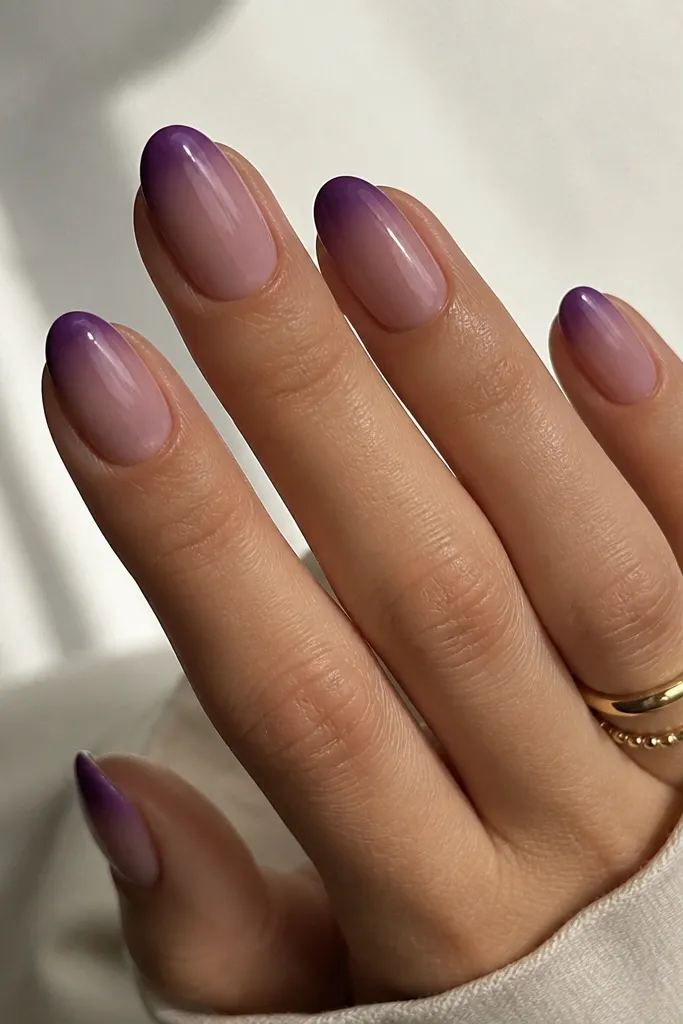
This is ombre that looks clean enough for work and still feels like a style choice. You keep the cuticle area natural with a sheer nude-plum, then you concentrate the ombre at the tips like a French fade. Oval nails make the tip fade look smooth and flattering. It’s especially good for people who hate color getting on the cuticle line because the fade is away from that area.
Paint a sheer nude base with a plum tint, then let it dry. Sponge only on the tip zone: load the sponge with dark purple and a lighter grape. Dab at the very edge first, then tap upward slightly to create the fade. Use a thin brush to clean the boundary where the ombre stops so it looks like a French line. Seal with top coat, and cap the tip edge so it resists chipping.
Stop the ombre fade about 1-2 mm before the center of the nail for a crisp French look.
Don’t bring the dark tip all the way to the cuticle — it stops looking French and starts looking messy.
11. Diagonal Dark Purple Ombre (Sideways Fade)
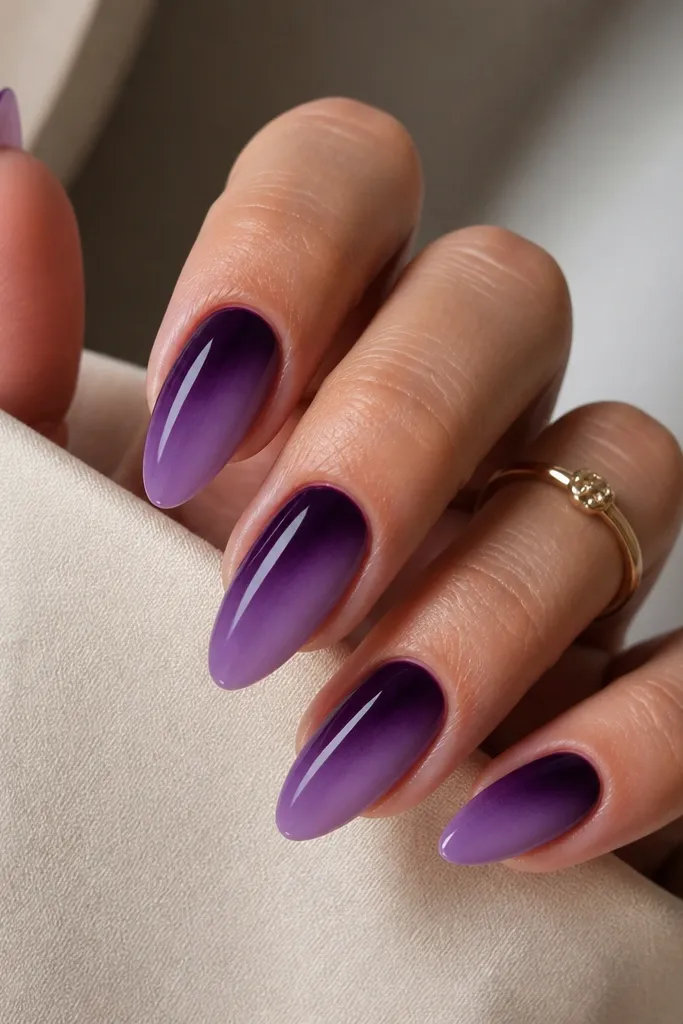
Diagonal ombre is my favorite when you want something different without adding nail art. The slanted fade makes nails look longer because it draws the eye across the nail in one direction. Almond shapes work best because the diagonal line follows the natural curve. It flatters hands with small nail beds because the diagonal spread adds visual length without needing extra width.
Start with a dark plum base coat, then sponge a lighter grape along one diagonal half of the nail. Reload the sponge with medium purple and lightly dab along the diagonal boundary to blend. Keep the darkest shade on one corner near the cuticle so it stays dramatic. For each nail, pick the same diagonal direction so your hands look coordinated. Finish with two top coats and clean the sidewalls with a brush dipped in remover.
Mark your diagonal direction on one nail with a tiny dot using nail polish before you sponge.
Don’t rotate the nail mid-sponge — that’s how you get uneven diagonals.
12. Matte Ombre + Glitter Cuticle Halo
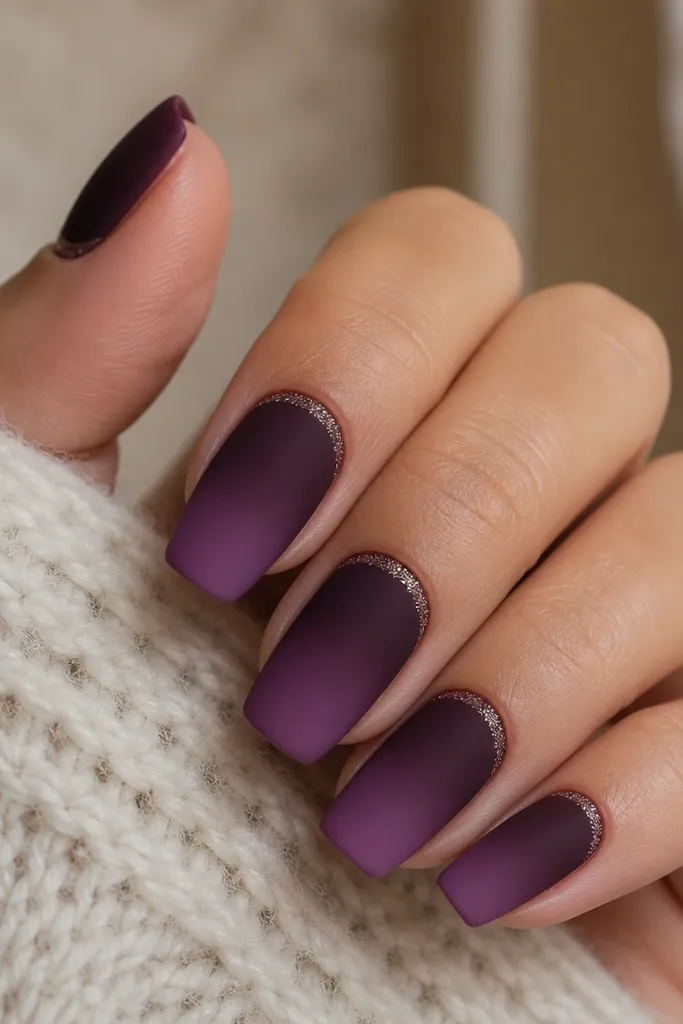
This is a cuticle-friendly ombre because the glitter halo gives structure near where beginners usually get messy. Matte finish makes the glitter look more like a decoration than a random sparkle. Squoval nails are forgiving, and the soft edges help the cuticle halo look intentional. It flatters nearly everyone because the glitter line draws attention upward and the grape fade stays gentle.
Sponge your ombre first: dark plum at cuticle, lighter grape at tips. Let it dry fully, then apply matte top coat over the whole nail. Using a liner brush, paint a thin ring of clear base around the cuticle and dip into fine purple-silver glitter. Press lightly with the brush so the halo is even, not thick. Seal with one more thin top coat — matte or satin depending on the glitter type.
Use a small amount of base for the halo so it doesn’t smear under the cuticle skin.
Don’t put glitter too close to the skin edge — it lifts and catches on fabric.
13. Ombre With Negative Space Half-Moon
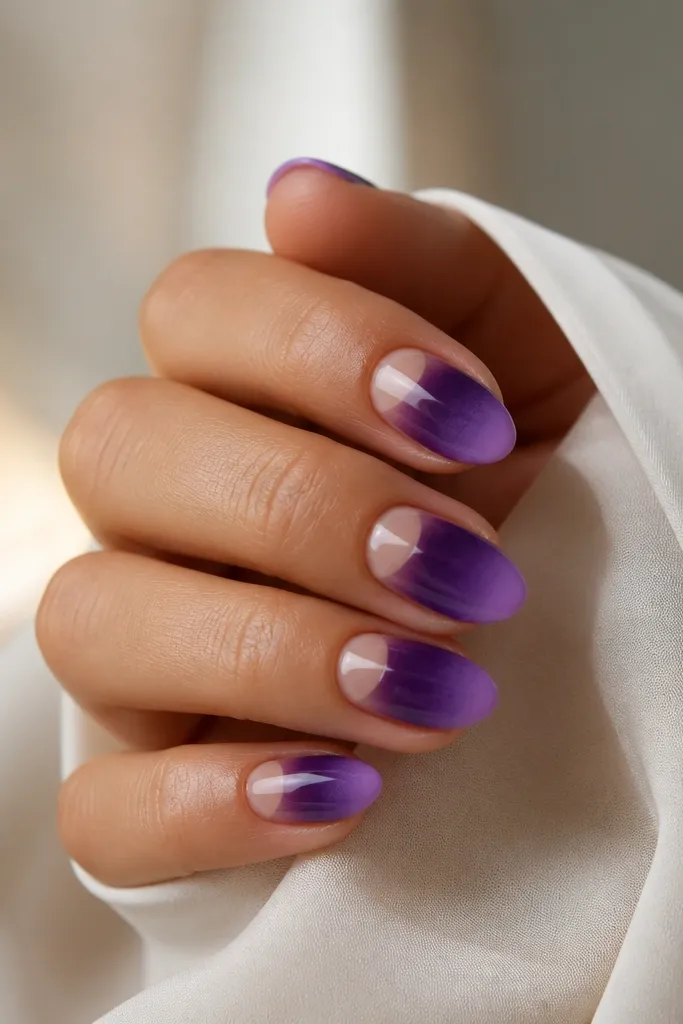
Negative space makes ombre look sharper and cleaner, especially if you’re still learning sponge control. The half-moon cutout keeps the cuticle area light and makes the dark purple fade feel intentional. Short almond nails look extra neat with this because the shape naturally frames the half-moon. It’s flattering because your nails appear more sculpted, and the lighter cuticle area balances the darker tips.
Start with base coat and paint a sheer nude layer only where you want color to appear. Use small half-moon nail stencils or cut a tiny curved stencil from nail vinyl to cover the cuticle zone. Sponge dark plum to lighter grape starting under the stencil, focusing color on the mid-to-tip area. Remove the stencil while the polish is still slightly tacky so edges stay crisp. Seal with top coat, and avoid flooding the half-moon gap.
If you don’t have stencils, use a small piece of tape and trim it into a curved edge with scissors.
Don’t wait until everything is fully hard before removing stencils — edges can tear.
14. Purple Ombre With Tiny Star Charm Accent
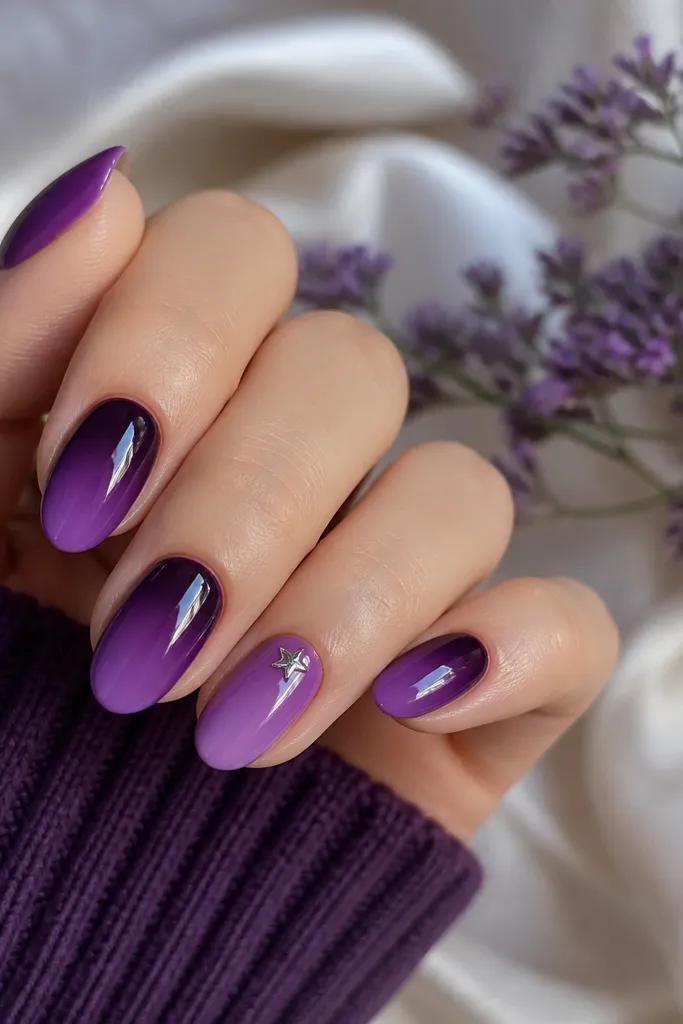
This is how you make beginner ombre feel “done” without painting complicated art. The star charm adds a focal point so your gradient doesn’t have to be perfect on every nail. Medium oval nails look best because the charm sits flatter and the nail curves catch shine. This works well for everyday wear because the charm is small, and the dark purple base keeps it from looking childish.
Paint and sponge your ombre on all nails, keeping the fade classic plum-to-grape. On the ring finger, apply a thin dot of clear gel or nail glue where you want the star. Press the tiny silver star down and let it set, then apply top coat carefully around the charm. Build top coat in thin layers so the star doesn’t lift. Cure or dry fully, then do a final glossy coat over the entire nail.
Editor's notePlace the charm slightly off-center toward the sidewall — it catches light more than a perfect dead-center spot.
Watch outDon’t use thick glue — it creates a bump that catches on sleeves.
15. Indigo Night Ombre (Purple-Blue Fade)
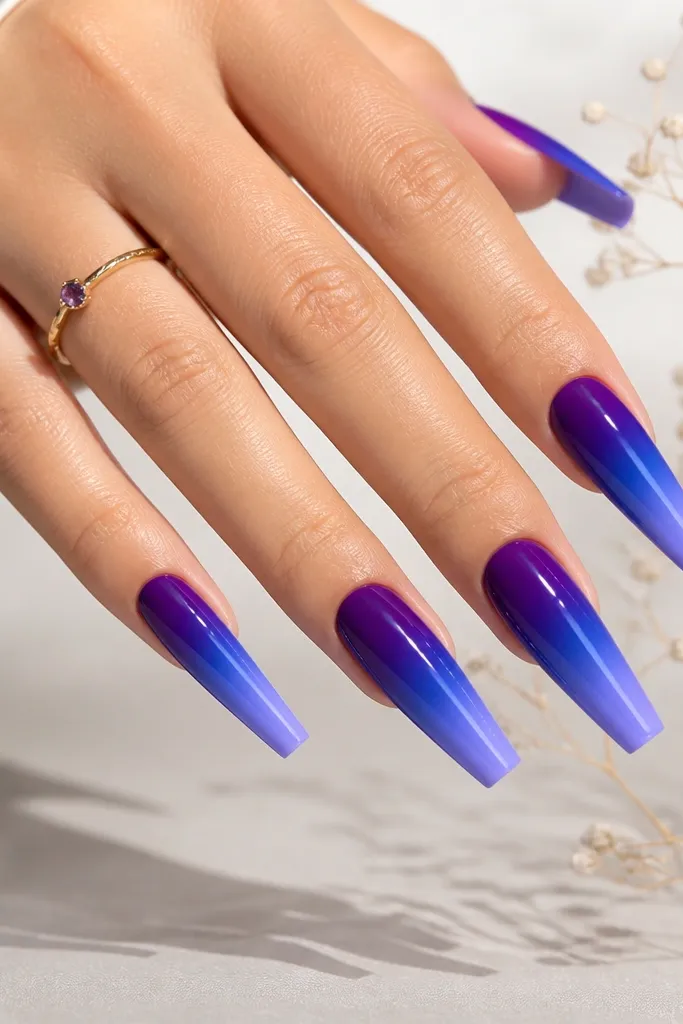
If you love dark nails that still look fresh, indigo night ombre does it. The purple-to-blue shift adds depth and makes the ombre look more “night sky” than flat purple. Coffin nails handle the three-tone fade well because you get enough space for the indigo band to show. It flatters cool undertones and also looks stunning with silver rings.
Base coat, then apply deep plum as the foundation. Sponge indigo blue in the middle third, then sponge a lighter periwinkle-purple on the tips only. Blend the transition areas with a few light taps — don’t swipe hard. Use a thin brush to smooth any edges where the sponge left texture. Seal with glossy top coat and cap the tip edge so the light periwinkle doesn’t wear first.
Keep the indigo layer thinner than the purple layer so it reads as a mid tone, not a full color change.
Don’t choose a blue that’s too bright — it can turn the gradient into a two-color split.