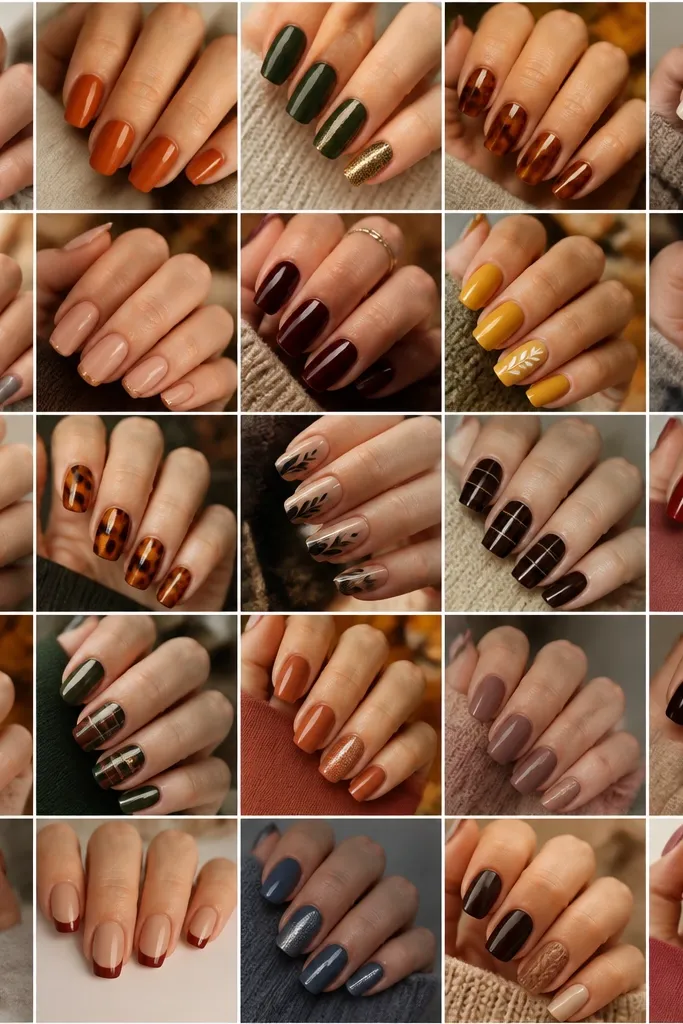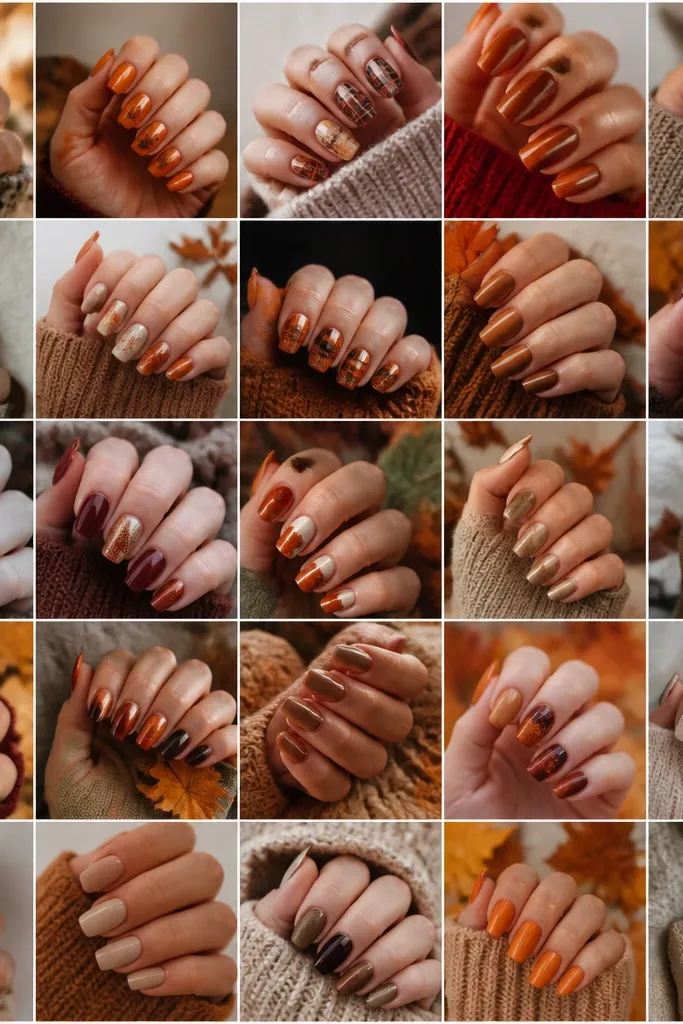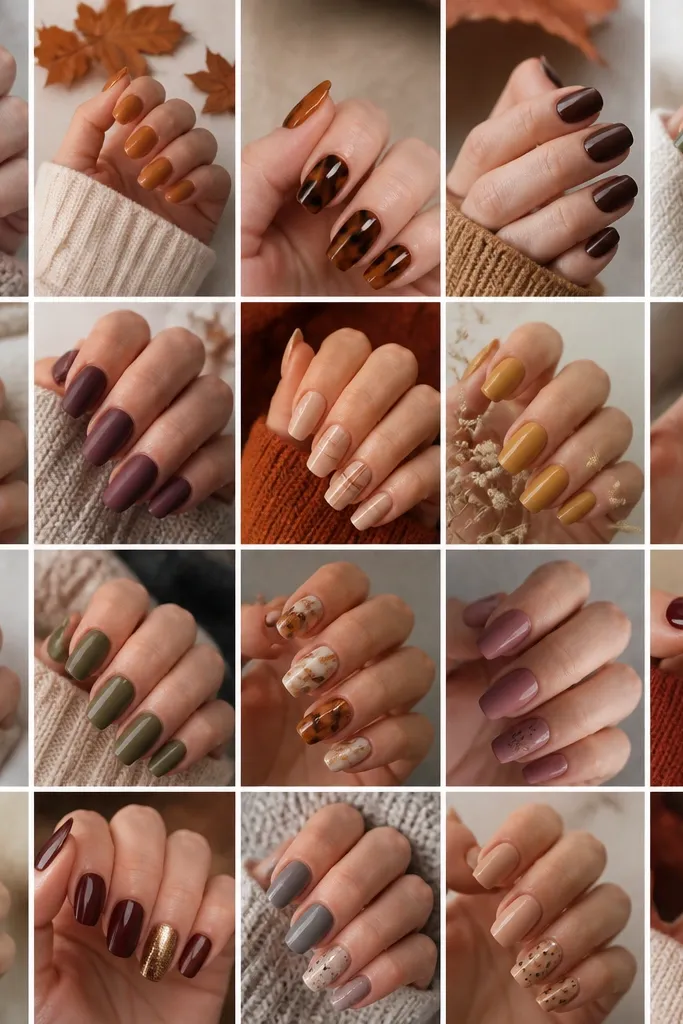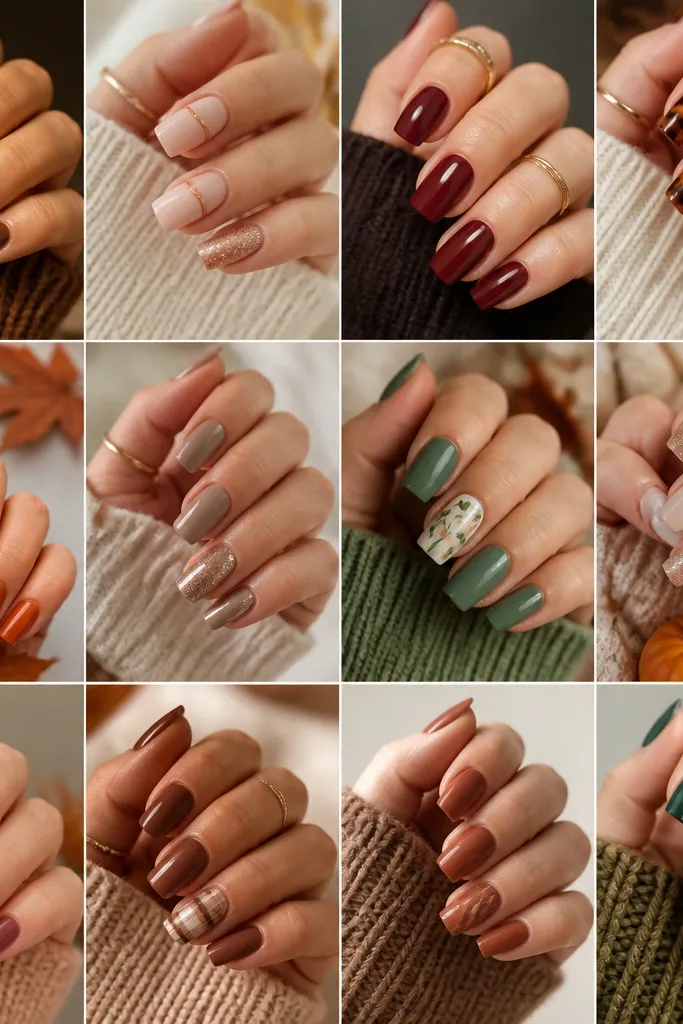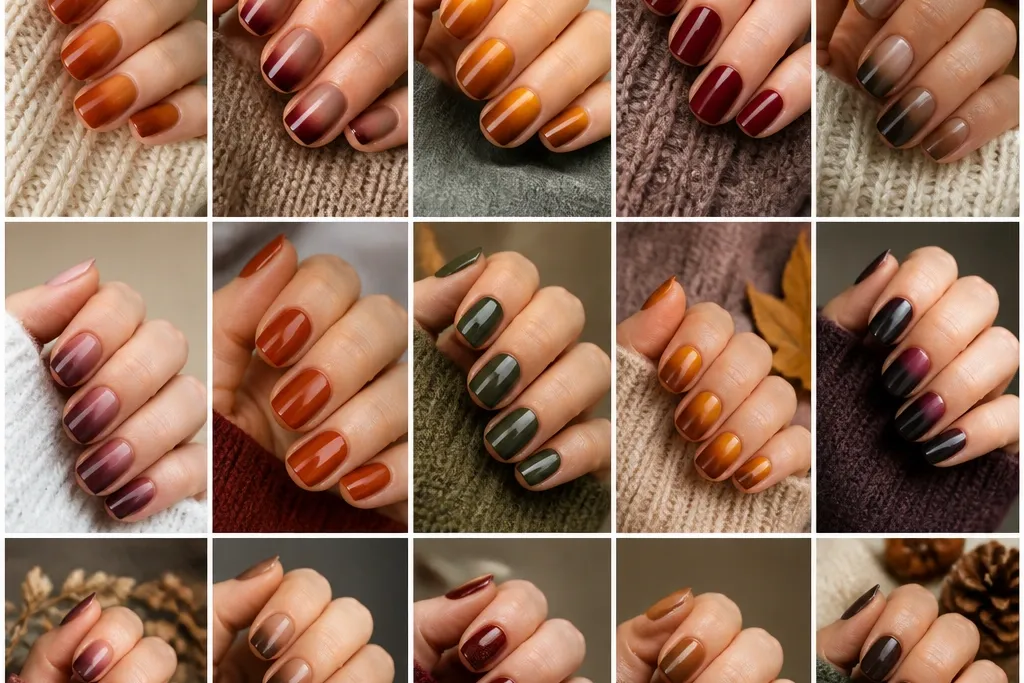
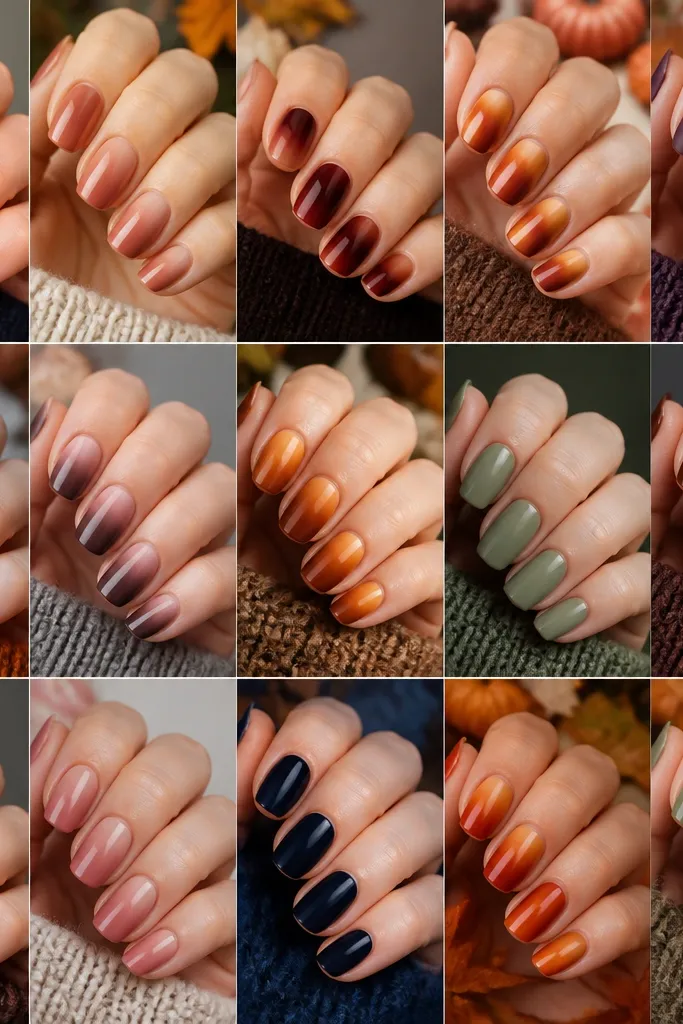
1. Cinnamon-to-Caramel Fade (short almond)
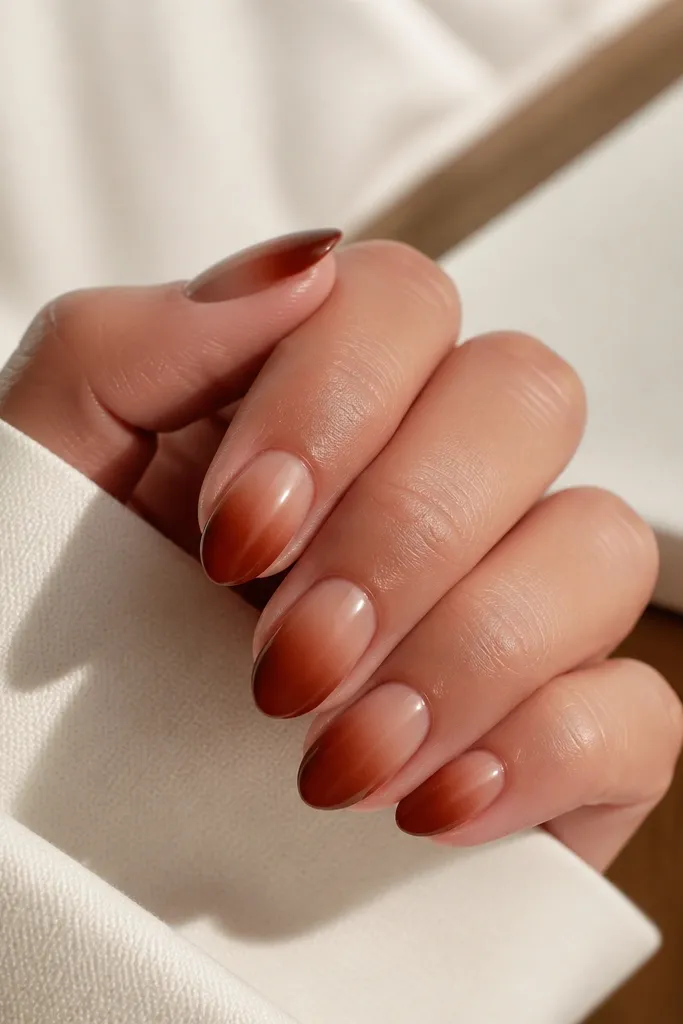
This one is my go-to when I want fall nails that look expensive but don’t demand nail art. The cinnamon brown at the tip reads warm and grounded, and the caramel beige keeps it soft so your short nails don’t look stubby. It flatters fair to medium skin tones because the caramel mid-tone warms up your hand. If you have cool undertones, the cinnamon still works because it isn’t brick red — it leans brown, so it doesn’t fight your skin. I’ve worn this to work and to dinners, and it always looks “put together” even when my cuticles look a little dry.
Start by painting a sheer nude base close to your skin tone, then let it dry fully. Sponge-blend a darker cinnamon polish at the tip area first, tapping lightly so the fade starts around the middle of the nail. Clean up the edges with a flat brush dipped in acetone, then repeat with a thinner second layer only where you need more depth. Finish with two coats of glossy top coat and lightly cap the free edge on the final coat. Keep the sponge off the center — the fade should look like it’s drifting upward, not like a stripe.
Editor's noteIf your fade looks muddy, use a slightly drier sponge and press for 1-2 seconds per tap instead of dragging.
Watch outAvoid thick polish on the sponge — it creates a grainy edge that looks like a failed gradient.
2. Terracotta Fade with Nude Center (square short)
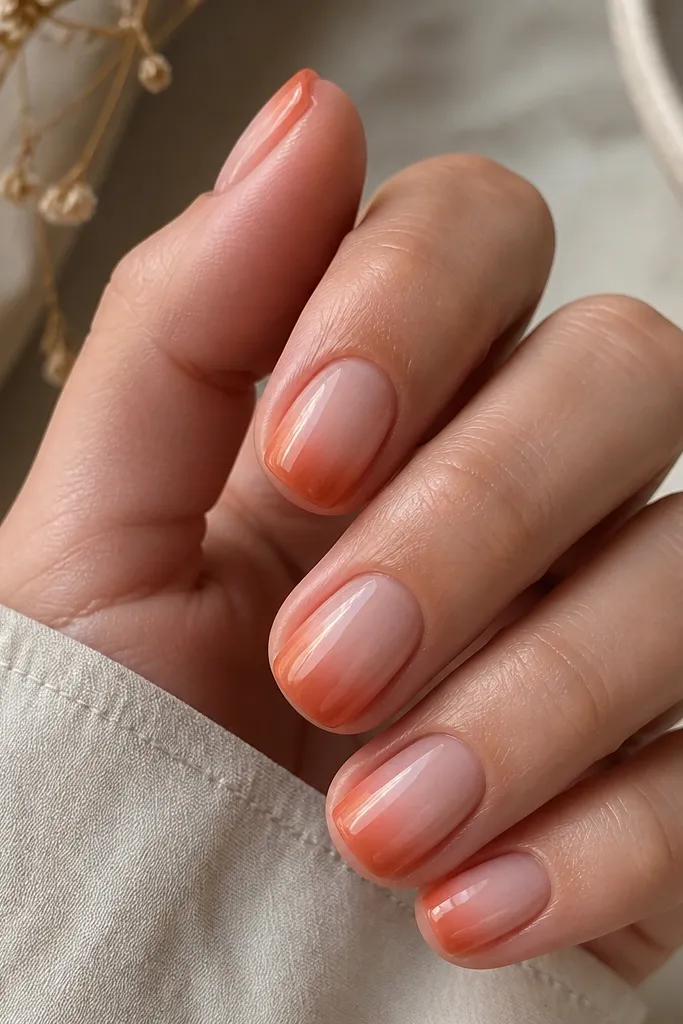
Terracotta-to-nude is the autumn version of a “your nails but better” look. The nude center acts like a visual pause, so the terracotta tip doesn’t overpower your hands — it’s especially flattering on short square nails, which can look blunt without contrast control. On light skin, it brings warmth without going too orange-red. On deeper skin tones, the nude center keeps the fade from looking like dark stains because it gives the eye a lighter anchor. This style also looks great if you prefer minimal nails but still want something more interesting than a single solid color.
Apply a sheer nude base first, then sponge a terracotta shade only on the top third of the nail. Tap so the terracotta stays concentrated at the tip corners and fades into the nude center. Add a second light sponge pass for more depth, keeping it focused — don’t spread the terracotta too low. Clean around the cuticle with a small brush and acetone, then seal with a glossy top coat. If you’re using regular polish, work in thin layers so the sponge doesn’t lift the base.
Use a nude base that matches your undertone (peachy nude for warm skin, rosy nude for cool skin) so the center looks natural.
Don’t choose a terracotta that’s too red — it can turn your fade into a harsh orange stripe on short nails.
3. Burnt Orange Ombre + Thin Gold Line (short round)
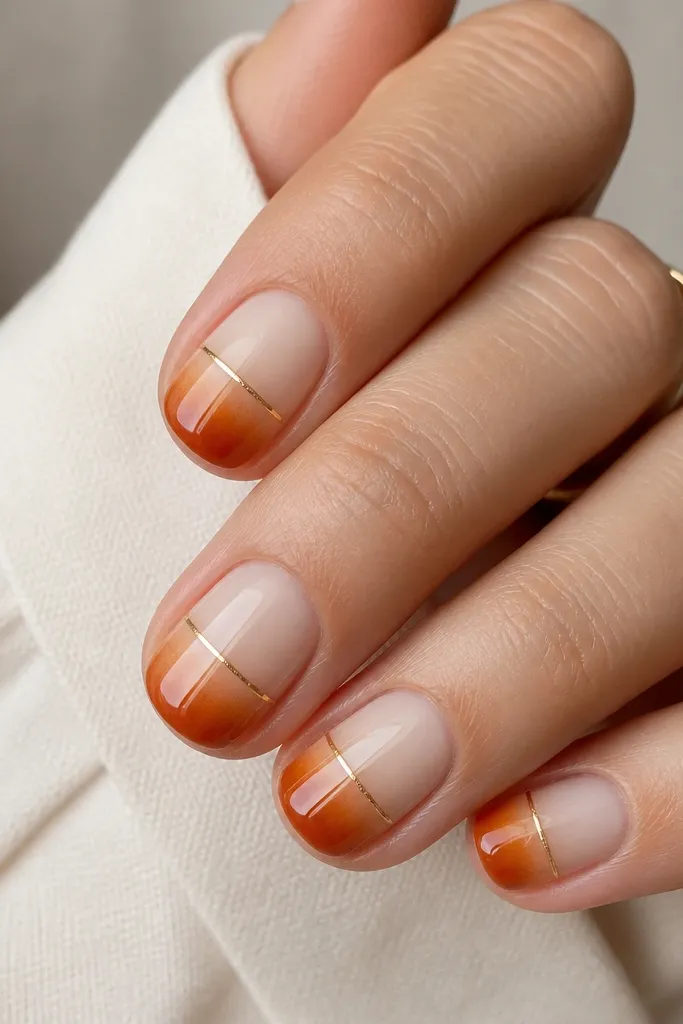
This is for when you want fall but you also want a little “spark” that doesn’t look like glitter glue. The burnt orange tip gives you that classic autumn punch, and the creamy beige middle keeps it wearable every day. The thin gold line near the midline makes the fade look intentional and adds structure, which is flattering on short rounds because it visually stretches the nail. I’ve worn this with sweaters and also with a simple dress, and the gold line makes it feel dressed up without needing rhinestones. It works on most skin tones because burnt orange is forgiving — it’s warm enough to flatter cool undertones and still bold on warm undertones.
Start with a creamy base polish, then sponge burnt orange from the tip up to about two-thirds of the nail. Let it dry enough that it won’t smear, then apply a thin gold strip using a striping brush or a small nail tape line. Place the line slightly above the center so your fade reads top-heavy. Seal with one coat of top coat, then add a second coat to smooth over the line and prevent snagging. Keep the gold line straight by resting your hand on a towel and using your pinky as a pivot point.
Editor's noteIf you don’t have gold striping tape, use a nail art pen — just swipe once and don’t go back over the wet line.
Watch outAvoid chunky glitter top coats over the gold line — they make the strip look uneven on short nails.
4. Chocolate Mocha to Milky Taupe (short oval)
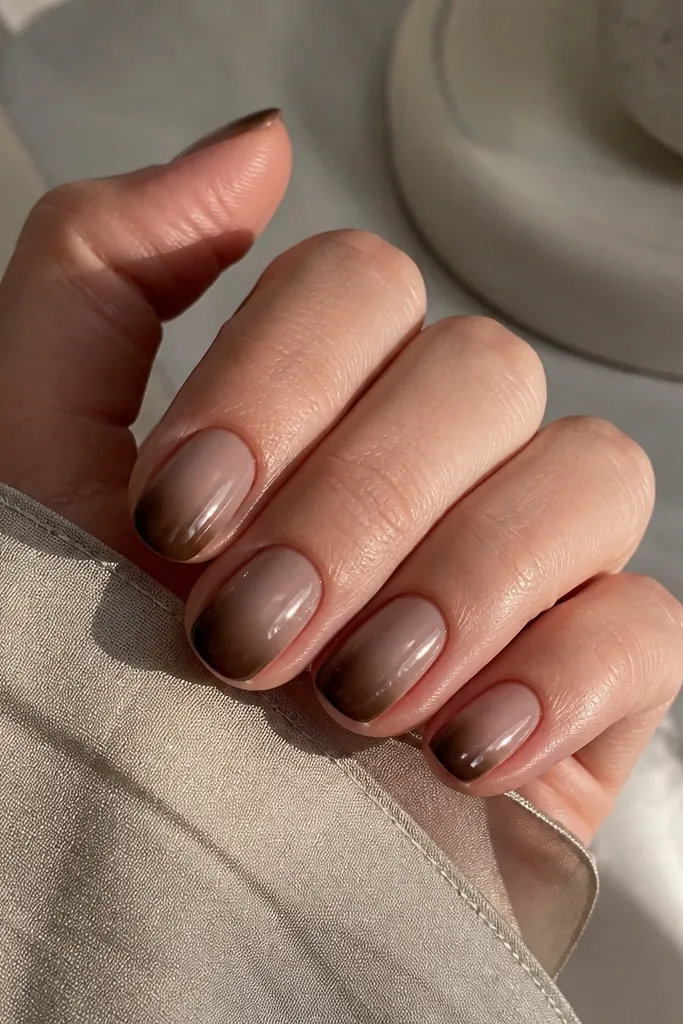
Mocha-to-taupe is the fall ombre that looks good even when your hands are bare. Chocolate at the tip gives depth, and milky taupe near the cuticle keeps it soft and classy. I like this on short ovals because the oval shape already elongates, and the gradient adds even more polish. It flatters medium to deep skin tones especially well because the taupe doesn’t wash out — it stays creamy. If you love neutrals but want something warmer than beige, this hits the sweet spot.
Use a milky taupe base and cure or dry it fully. Sponge chocolate at the tips, blending upward until it reaches around the middle of the nail. Add a second pass only where you want the chocolate darker, then clean edges with acetone on a detail brush. Finish with a glossy top coat and cap the tip edge on every nail. For the smoothest blend, sponge on small sections, not the whole nail in one go.
Editor's noteChoose a chocolate shade with a slightly warm undertone — cool brown can look gray on taupe fades.
Watch outDon’t let the sponge sit on the nail — it creates a hard border instead of a fade.
5. Olive-Khaki Ombre with Clear Sheer Middle (short squoval)
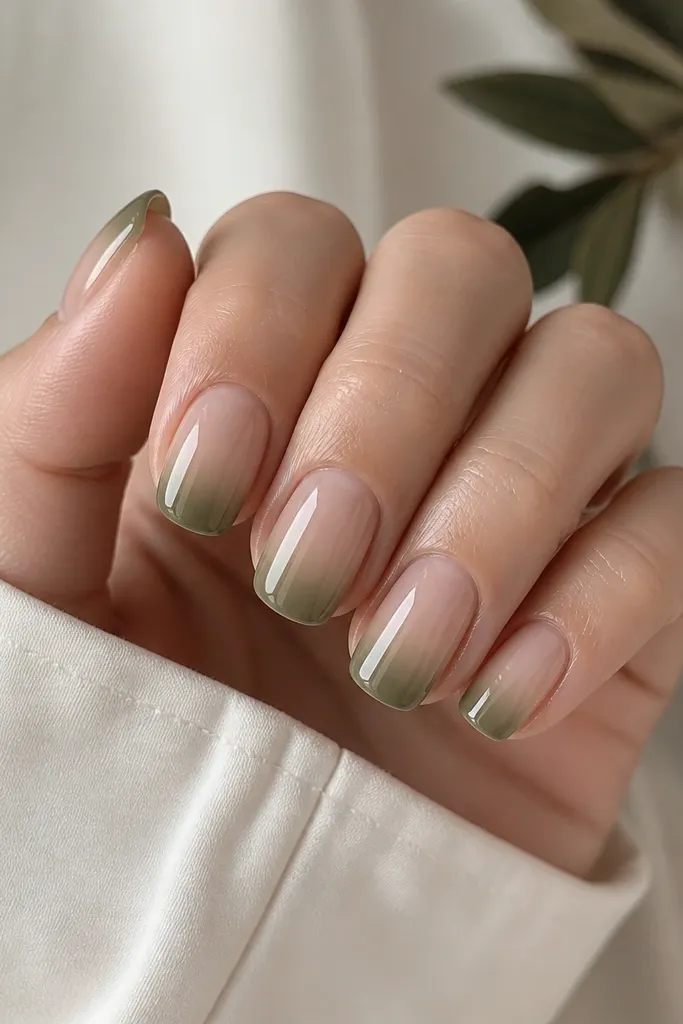
This is the fall ombre that looks different from the usual orange-brown. The olive-khaki tip gives you that cozy, outdoorsy vibe, and the sheer middle keeps it light so your nails don’t look heavy. It’s flattering if you wear lots of earth tones like olive jackets and camel bags. On fair skin, the sheer middle prevents the green from looking too intense. On deeper skin, the olive still pops without turning neon. I love it for casual weekends because it looks stylish even with minimal jewelry.
Start with a clear or sheer nude base, then sponge olive onto the top third of the nail. Blend upward lightly, aiming for a fade that reaches the middle but stays translucent in the center. Add a second olive layer only at the tip to deepen without making it opaque everywhere. Clean up around the cuticle, then seal with a glossy top coat that gives the sheer area a smooth glassy look. If you’re using regular polish, wait for full drying between sponge layers.
Use a sheer middle on purpose — it makes the ombre look modern on short nails.
Avoid opaque green over the whole nail — it turns into a solid that chips and looks harsh on short lengths.
6. Deep Burgundy Solid with Micro-Gloss Top Coat (short round)
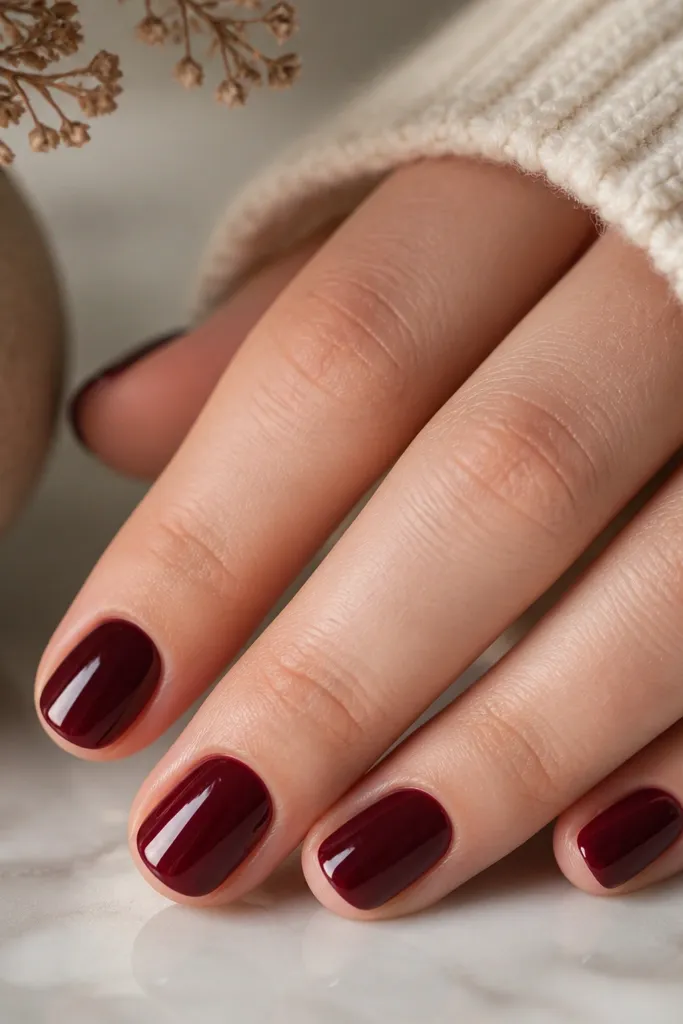
If you want solid to look worth it, burgundy is the shade that never looks boring. It’s dark enough for fall, but it still reads flattering because it’s not black. On short round nails, a solid coat looks sleek and neat, and burgundy makes your skin look warmer. I’ve worn this in cold weather when I’m not in the mood for nail art, and it still looks “finished” because the color is dense and even. This is a great choice if you want a quick manicure you can do at home without blending.
Start with a base coat, then apply two thin coats of burgundy. The first coat should look a little streaky — that’s fine; the second coat smooths it out. After the second coat dries, use a lint-free wipe if your polish is tacky and then apply your top coat. Cap the free edge on each nail so chips start less quickly at the tip. Do not flood the cuticle — keep a tiny gap so it doesn’t peel around your growth line.
Editor's noteIf you’re seeing streaks, rotate your hand and paint in one direction — don’t keep going back and forth over the same spot.
Watch outAvoid thick first coats — they stay soft longer and pull away at the edges.
7. Cocoa Brown Solid with Soft Matte Finish (short almond)
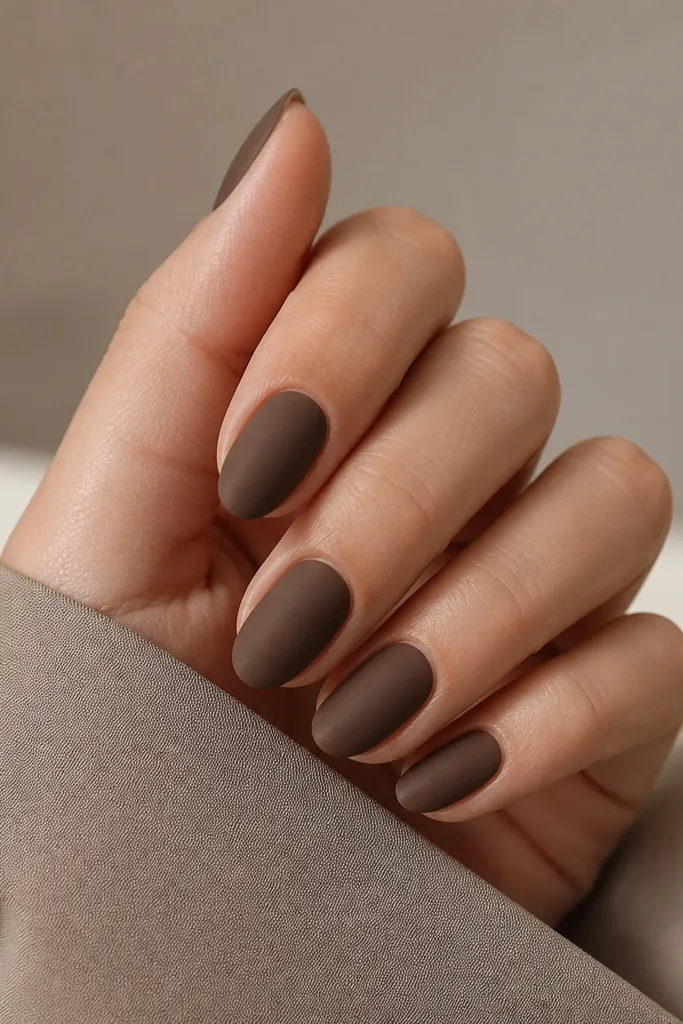
Matte cocoa brown is the solid option I reach for when I want fall nails to look cozy instead of shiny. The brown reads warm and grounded, and the matte finish hides small imperfections and tiny ridges. On short almond nails, matte makes the shape look smoother, not glossy and “flat.” This one flatters medium to deep skin tones because matte brown adds depth without looking as stark as black. If you hate the look of glossy chipping, matte can hide it better for a few days — until the matte starts to wear unevenly.
Paint a base coat, then apply two thin coats of cocoa brown. Let the color coats dry completely before you switch to matte top coat, or you’ll get a patchy texture. Apply matte top coat in one steady pass per nail and avoid going over the same area repeatedly. If you want extra smoothness, do one thin matte coat and then a second light coat after it sets. Keep your edges clean with a small brush dipped in acetone to remove any top coat that touches your cuticle.
Use matte top coat that’s designed for color stability — cheap matte formulas can look gray on brown.
Avoid matte on a freshly filed nail that’s dusty — it grabs dust and shows specks.
8. Pumpkin Spice Ombre with Micro-Glitter Tip (short square)
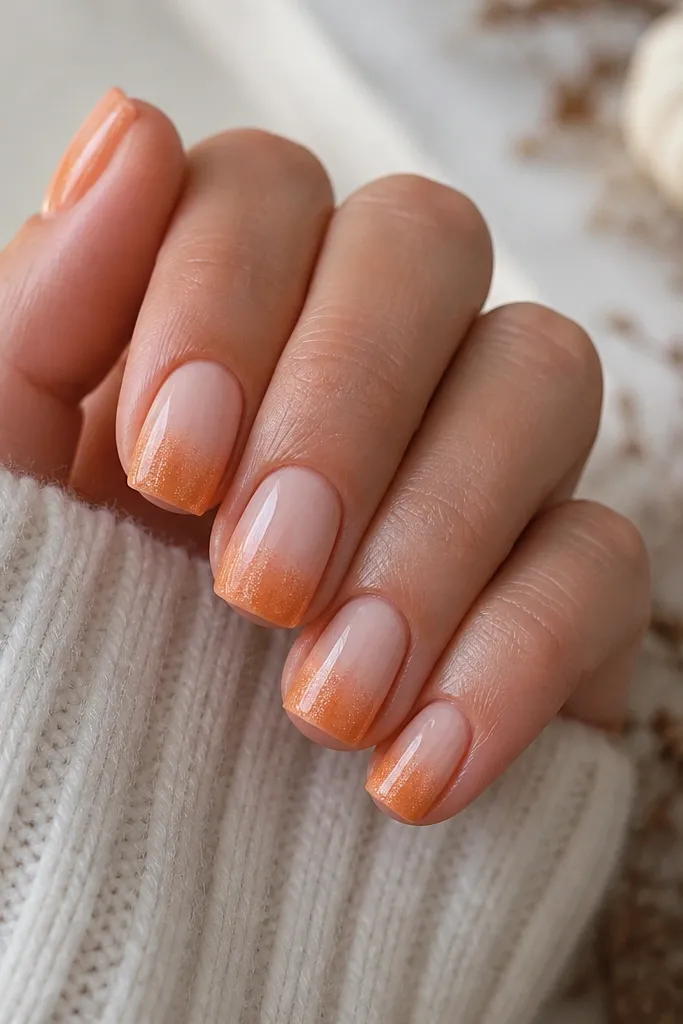
This is the fall ombre I wear when I want “seasonal” without going full Halloween. The pumpkin orange tip feels bright and warm, and the nude center keeps it wearable. Micro-glitter only at the extreme tip makes the nail catch light when you move, which looks good on short nails because it doesn’t spread across the whole nail. It flatters fair to medium skin tones because the nude center stays light, and the glitter tip adds dimension instead of heaviness. If you want sparkle but you hate when glitter feels gritty, this is the sweet spot.
Start with a nude base, then sponge pumpkin orange from the tip up to about half the nail. While it’s still dry, dab a tiny amount of fine micro-glitter gel or polish only at the very tip — think 1-2 mm band. Seal with a glossy top coat, making sure you cap the glitter so it doesn’t snag. If you’re using gel, cure after each step; if regular polish, wait for full dry before top coat so the glitter doesn’t smear. Keep the glitter band thin so the ombre still looks like the main feature.
Use a small cosmetic sponge for the glitter dab — it keeps the glitter concentrated at the tip instead of spreading.
Avoid chunky glitter — it makes short nails feel bulky and chips look worse.
9. Rosewood Solid with One Sheer Layer for Depth (short oval)
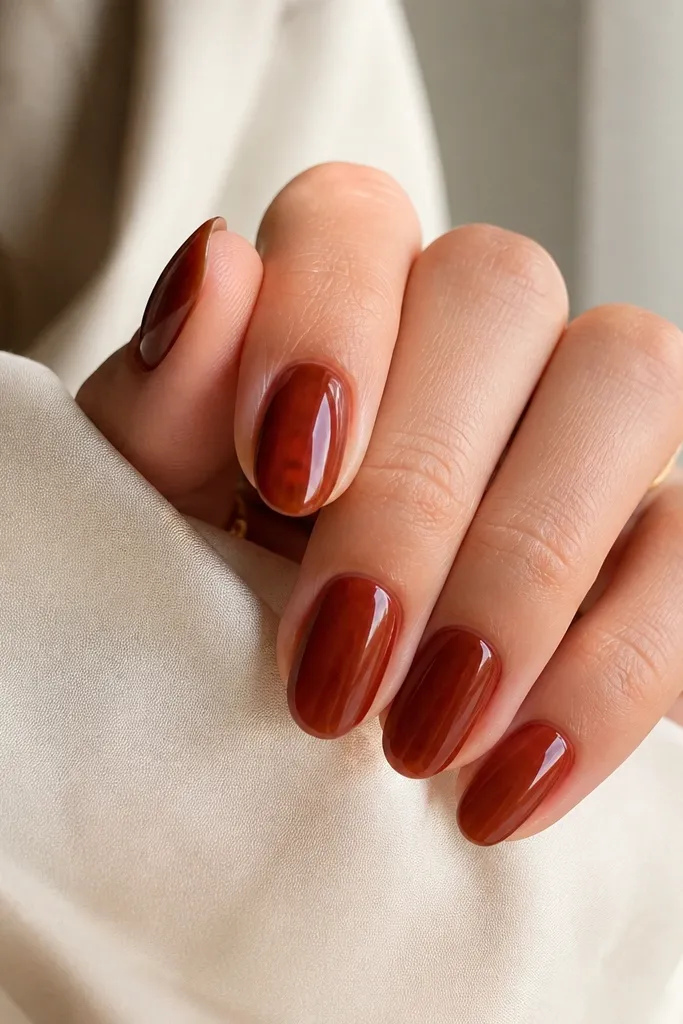
Rosewood solid is the solid option that looks like you layered colors, even when you didn’t. The trick is adding a single sheer layer over a deeper base so it looks dimensional instead of flat. It’s flattering on most skin tones because it sits between red and brown — it reads warm without being too bright. On short ovals, it makes your nails look smooth and polished, and the gloss makes the color look freshly applied. I like it for fall dinners because it looks rich in low light without needing glitter.
First paint a deeper rosewood base, then let it dry. Add a sheer rosewood glaze (or mix a drop of sheer nude into the rosewood) and apply it as a thin second layer for depth. Keep the second layer slightly lighter near the center so the nail doesn’t look too heavy at the cuticle. Finish with two coats of glossy top coat and cap the free edge. If you want extra smoothness, do a quick top coat cure/dry and then check for any bubbles around the cuticle.
Editor's noteIf your rosewood looks too dark, add a tiny amount of sheer pink to the glaze layer — it brightens without turning orange.
Watch outAvoid skipping the sheer glaze — straight solid can look flat and chalky when the polish dries.
10. Classic Nude-to-Caramel Ombre (short squoval)
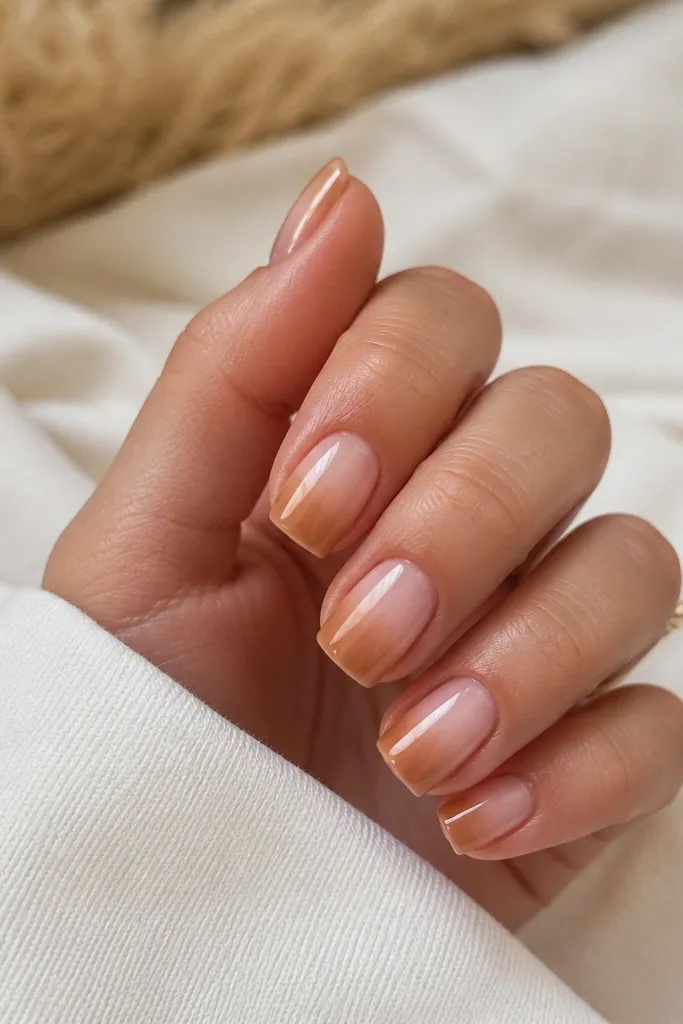
This is the ombre that looks clean even when you don’t have time to perfect your cuticles. The nude base is close to your natural nail tone, and caramel at the tip gives you that fall warmth without going dramatic. On short squovals, it makes the nail look longer because the tip color is concentrated and the middle stays light. It flatters fair, medium, and deep skin tones because you can match the nude base to your undertone. I wear this when I want “office nails” that still feel seasonal.
Pick a nude base that matches your skin undertone and paint two thin coats. Sponge caramel only at the tips, blending upward just to the halfway mark. Keep the gradient subtle — the goal is softness, not a strong two-color look. Clean the sides, then apply one glossy top coat and a second coat if the sponge texture shows. If you’re using regular polish, let each sponge layer dry before sealing so you don’t blur the fade.
Editor's noteTest the caramel on one nail first — some caramel shades turn too yellow, and you’ll spot it immediately.
Watch outAvoid using a nude base that’s too pale — it creates a stark line at the cuticle.
11. Smoked Plum Solid with Darker Tip Color Pop (short almond)
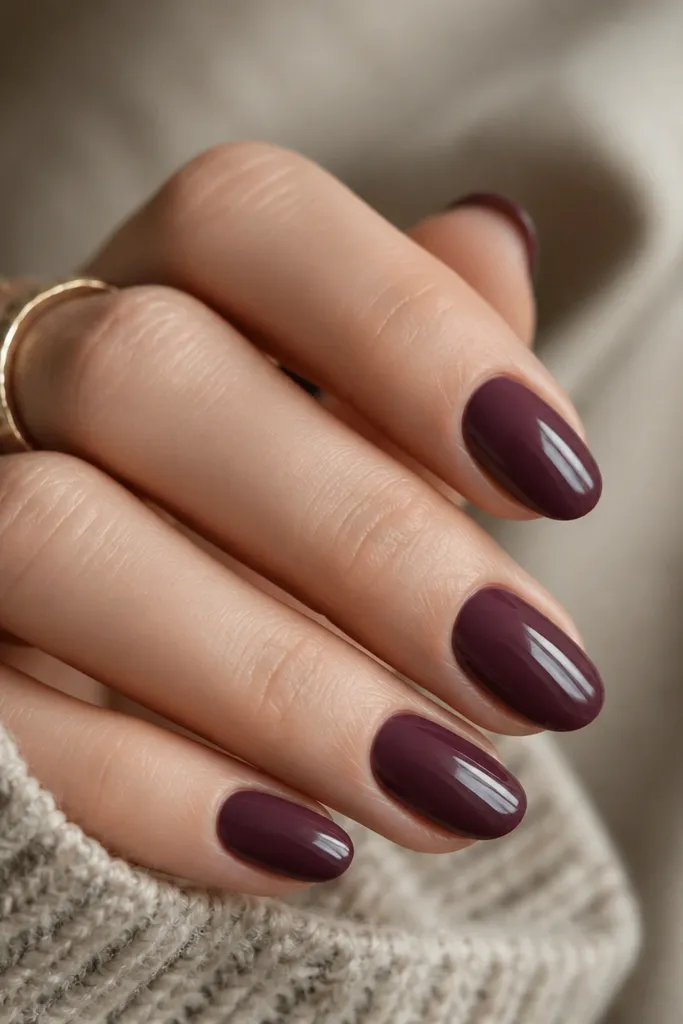
This sits between ombre and solid, and it’s the compromise I like when I want the solid speed without losing the smoother regrowth look. The smoked plum base gives you that moody fall vibe, and the slightly darker tip adds depth so the nail doesn’t look flat. On short almond nails, that tiny depth shift makes the shape look more tapered. It flatters cool undertones because plum doesn’t fight your skin the way orange-red can. I’ve used this when I was rushing and didn’t want to sponge, but I still wanted the nails to look more “designed” than one flat shade.
Paint the smoked plum base in two thin coats. After it dries, use a small brush to paint a darker plum shade only on the last 1-2 mm of the tip. Blend it lightly by tapping with the brush — don’t smear across the nail. Seal with glossy top coat and cap the tip edge. This works best when the darker tip shade is close in tone, not a totally different color.
Use a flat detail brush so the darker tip line stays tight and doesn’t spread during top coat.
Avoid a big contrast tip — if the dark plum is too different, it looks like a chip instead of a design.