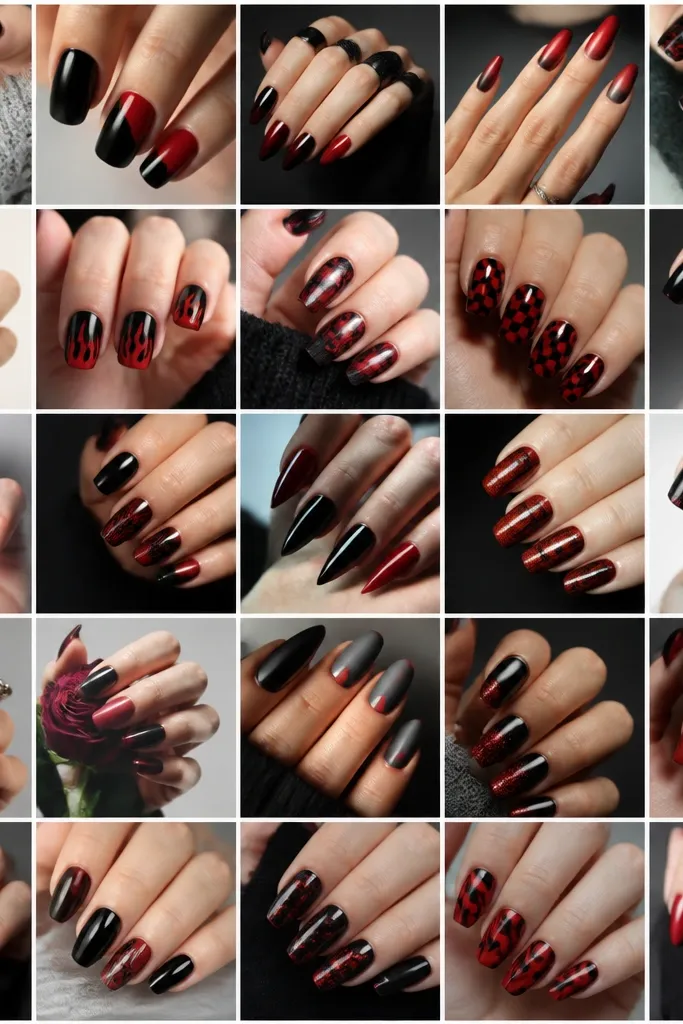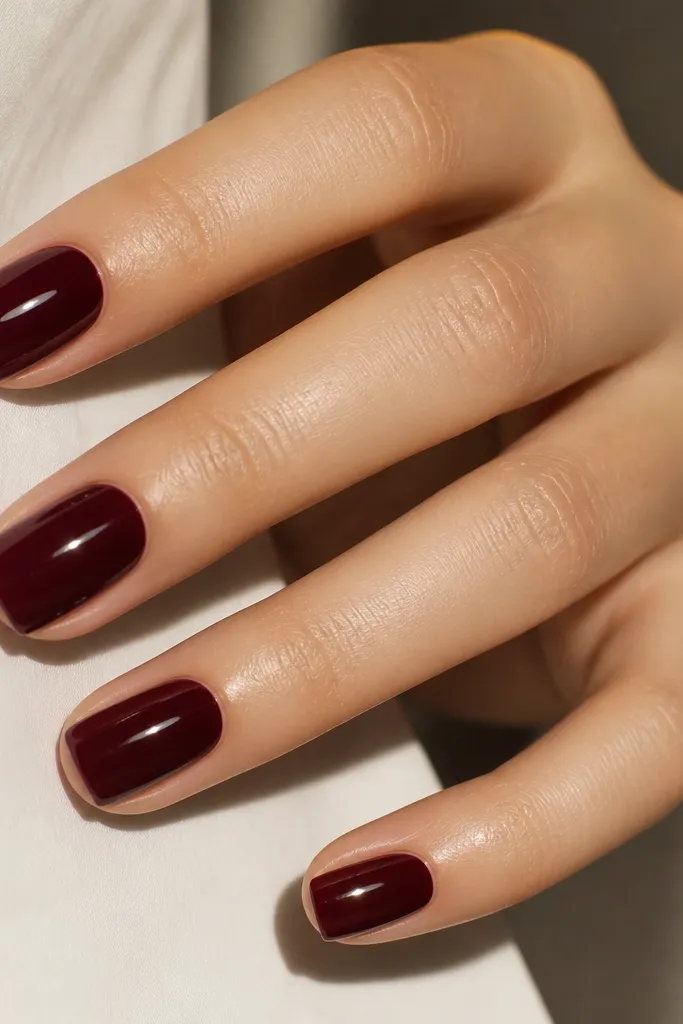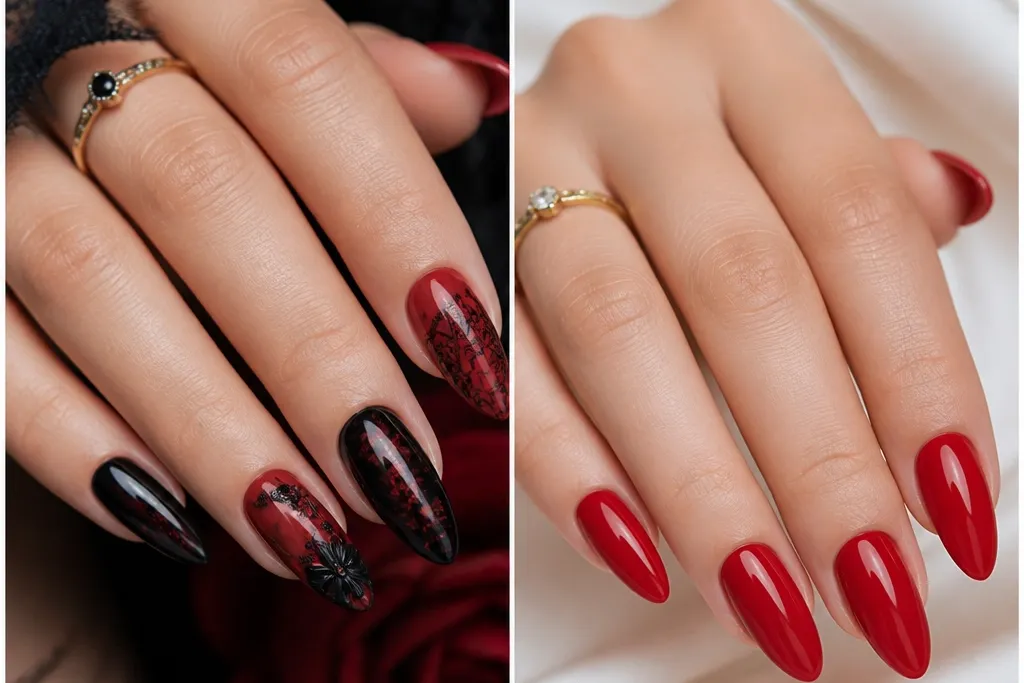
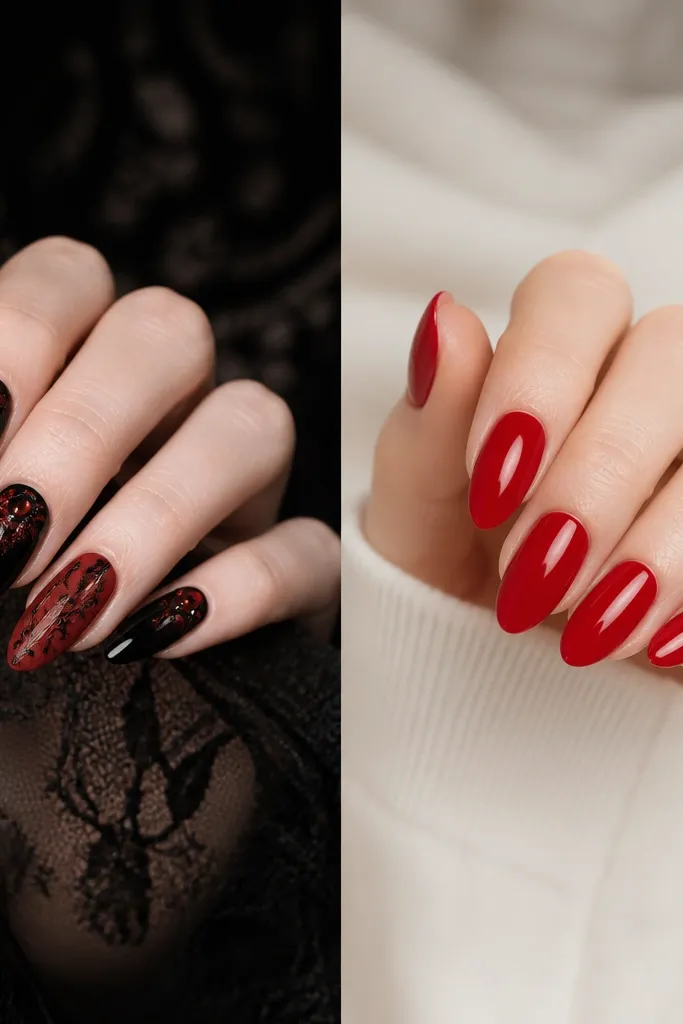
1. Cherry Red French with Micro-Black Tips
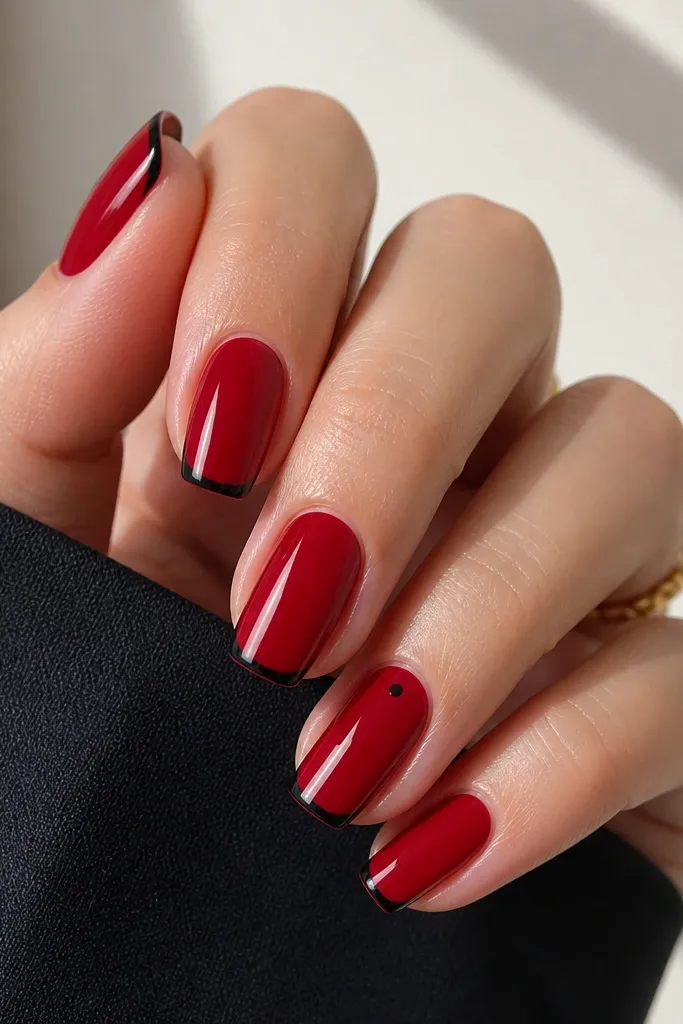
This is classic-red energy with a sharper edge. Start with a saturated cherry-red (not tomato red) so it reads rich in photos, then keep the black tip line thin so it doesn't turn heavy. The look flatters medium to long almond or coffin shapes because the French line has room to sit cleanly. On warmer skin tones, cherry red makes your hands look brighter; on cooler skin tones, it still looks bold because the red has a blue-leaning pigment. I like it most with satin dresses and silver jewelry because the black tip gives you a crisp "frame" like eyeliner.
First, paint a smooth cherry-red base in two coats and let it level for a full 60 seconds before curing. Then use striping tape or a thin liner brush to place a micro-black French line about 1.5-2 mm from the edge, keeping the line straight across each nail. Remove the tape while the polish is still slightly tacky (or after curing if you're using gel and you want ultra-sharp edges). Finally, seal with a thick, high-gloss top coat and cap the free edge so the tip doesn't chip first. Wear it with a silver or black cuff bracelet so the black tip matches the vibe.
Editor's noteUse striping tape for the black tip even if you can freehand - it keeps both hands looking identical.
Watch outDon't make the black tip too wide or it turns into a blunt block that looks bulky, especially on short nails.
2. Black Negative Space Checker on Red Base
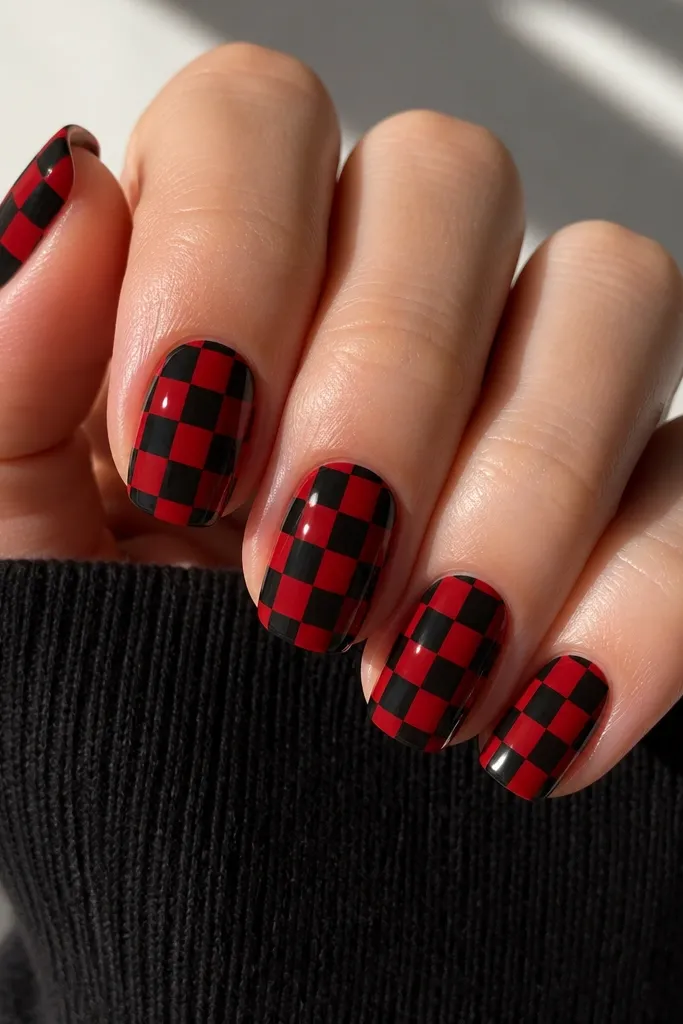
Checker nails look fun but still prom-appropriate when the lines are sharp and the red stays glossy. This design works best when your red base is even and the black squares are consistent in size, because that's what makes it look designed instead of messy. It flatters short to medium nails because the pattern fills space without needing long length. If your skin is fair, the contrast makes your nail bed look longer; if your skin is deeper, the deep red keeps the set looking rich rather than washed out. I wear this when my dress has black straps or a black belt, since the pattern visually repeats the outfit's structure.
Start with a deep, opaque red base in two coats, then cure fully if you're using gel. Next, mark a simple grid on one nail using a dotting tool to place four corner points, then connect them with a thin black striping brush or nail vinyl stencil. Fill the alternating squares with black polish and keep the edges clean by wiping the brush on a lint-free wipe between squares. Finish with a thick top coat so the checker lines look slightly raised and glossy. If you're using press-ons, choose ones with a pre-painted red base so you're not trying to paint a perfect checker on raw nail.
Editor's noteKeep the checker squares the same size across all nails, even if you change the pattern on one accent nail.
Watch outSkip the "freehand random squares" look - uneven square sizes read cheap fast.
3. Black Outline Hearts on Classic Red
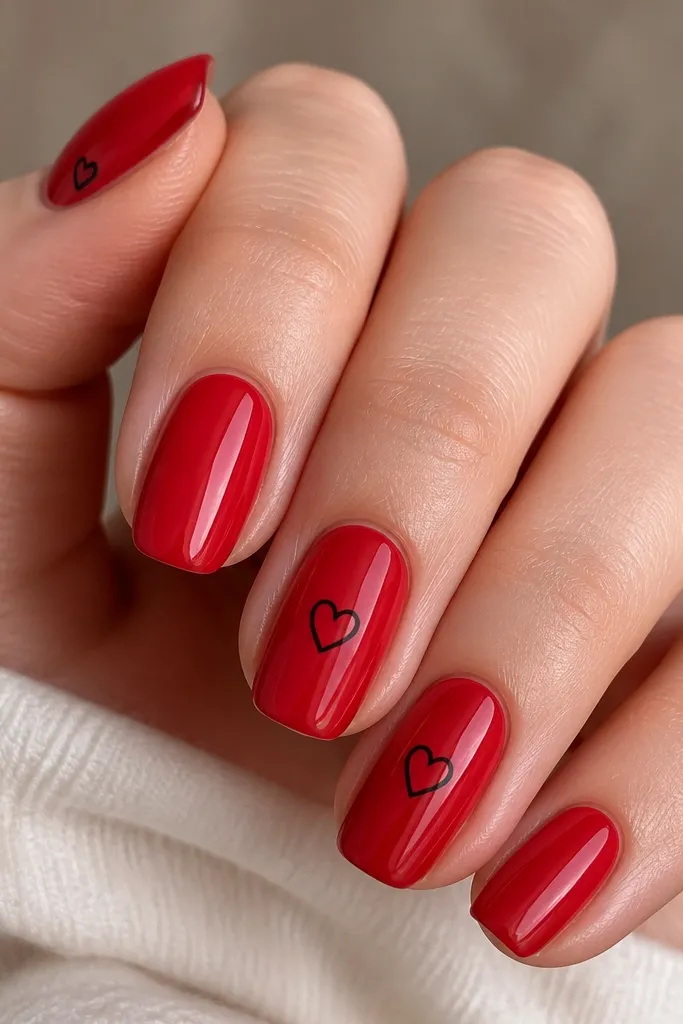
If you're choosing between 15 Red And Black Prom Nails vs classic and you want the classic red to stay in charge, this is the sweet spot. The outline hearts give you the red-and-black contrast without covering every nail in heavy art. It looks flattering because the hearts are small and spaced, so your nail shape still shows. On hands with shorter nail beds, the centered outline heart draws the eye vertically and makes the nail look longer. I like it for people who want "romantic" but still want black to match dark accessories.
Paint classic red in two smooth coats and let it dry fully (or cure if gel). Use a fine liner brush or heart nail stamp to place one small heart outline on the center of the accent nails. Keep the line weight thin - 0.5 mm is enough - and leave the inside of the heart red (don't fill it black). Then add one tiny black heart at the side of a single nail near the cuticle if you want extra detail. Seal with top coat, and press the brush along the free edge to prevent tip peeling.
Editor's noteDo the heart outline with a slightly tacky top coat first if your lines keep breaking - it helps the black flow.
Watch outDon't fill the hearts black - it makes the set look heavier than prom should.
4. Velvet Matte Red with Glossy Black Bands
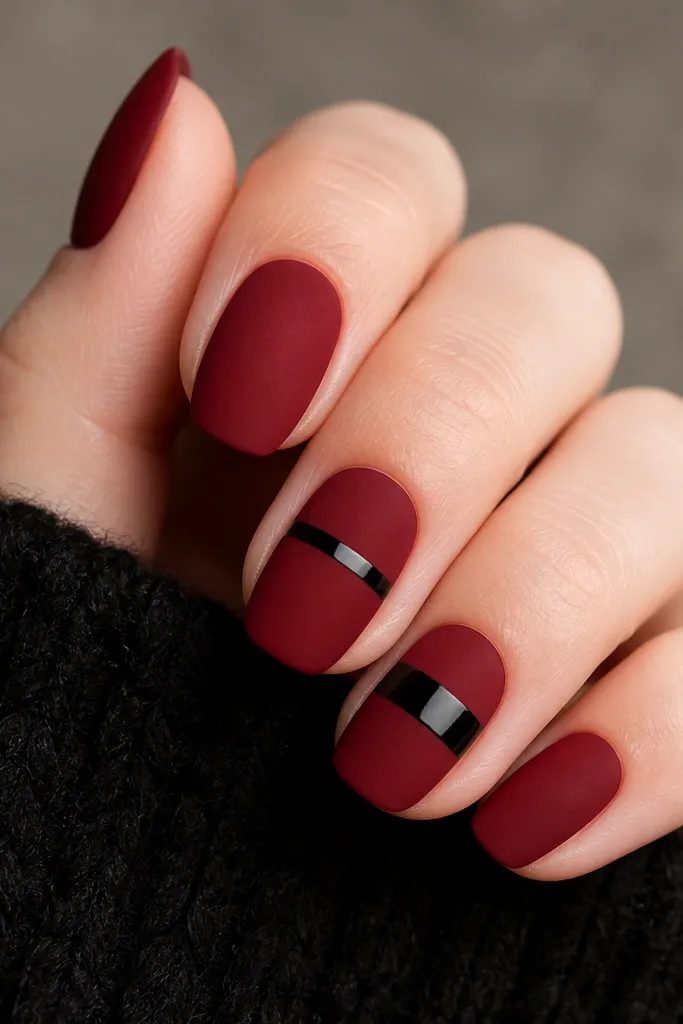
This one is for when you want the classic red look but with a grown-up twist. Matte red reads expensive when it's truly matte (not dusty), and the glossy black bands snap the look into focus in photos. It flatters short nails because the horizontal bands visually break up the nail and create a tidy shape. For medium to deep skin tones, velvet red looks especially flattering because the matte finish softens contrast. Pair it with a satin clutch or a black strap bag so the glossy bands match your accessories.
First, apply a velvet-matte red base in two coats, making sure the coverage is even near the cuticle. Let it cure or dry fully, then use striping tape to place straight black bands at the middle of each nail. Paint the tape band area with glossy black polish or gel and cure until it's mirror-smooth. Remove tape slowly to avoid pulling matte edges. Finish with a matte top coat on the red areas only, and keep the black bands glossy by not applying matte over them.
Editor's noteMark the band height with a tiny dot on a scrap nail first, so every nail lines up.
Watch outDon't put matte top coat over the black bands or they lose the contrast that makes this look work.
5. Black Base with Red Ribbon Negative Space
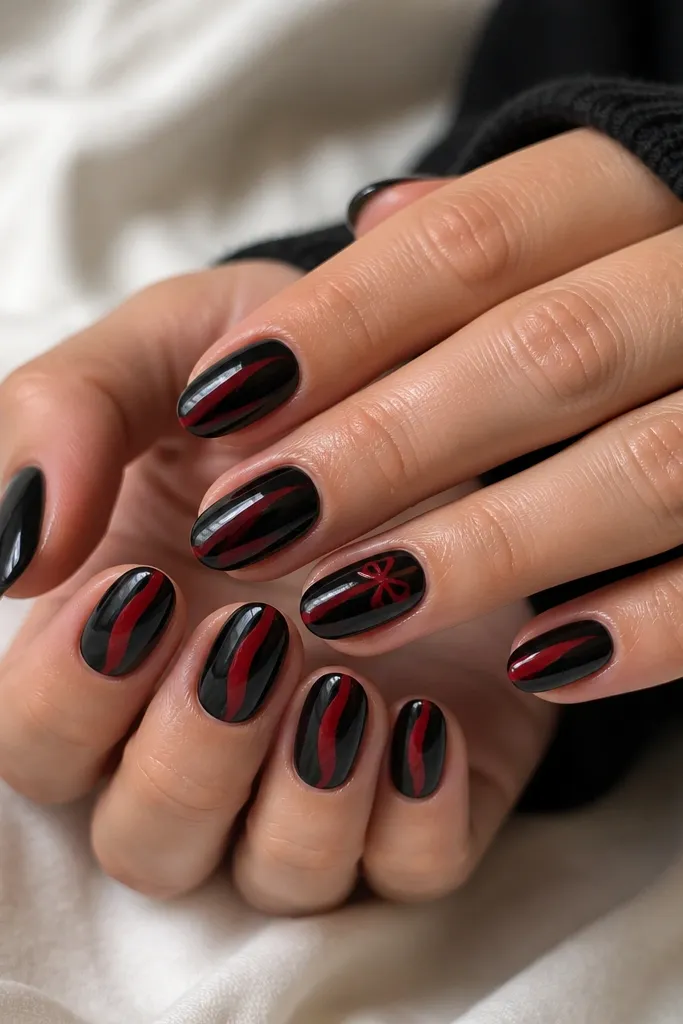
This is the bolder cousin of classic red because the black is the background and the red is the "moment." The ribbon shape is forgiving because curved lines hide small imperfections. It looks great on almond and coffin shapes, and it's especially flattering on hands with wider nail beds since the black base visually narrows. On fair skin, the red ribbon looks bright and clean; on deeper skin, it reads bold without looking harsh. I wear this with black dresses that have a red lip moment, because the nails match the whole styling plan.
Start with a glossy black base in two coats so you don't see streaks. Then use thin vinyl strips or a curved nail stencil to outline the ribbon path where you want red negative space. If you're doing this with gel, cure the black first, then remove the stencil and carefully clean the exposed area so it stays perfectly clean. Finally, paint the exposed ribbon area with glossy red gel and cure again, then cap with top coat across the whole nail. Add the tiny bow on one accent nail using a dotting tool for the loops and a small line for the knot.
Editor's noteDo one nail as a test for your ribbon curve before you commit to all ten.
Watch outDon't over-thicken the ribbon - wide negative-space shapes can look like accidental paint gaps.
6. Red Chrome with Black Foil Tears
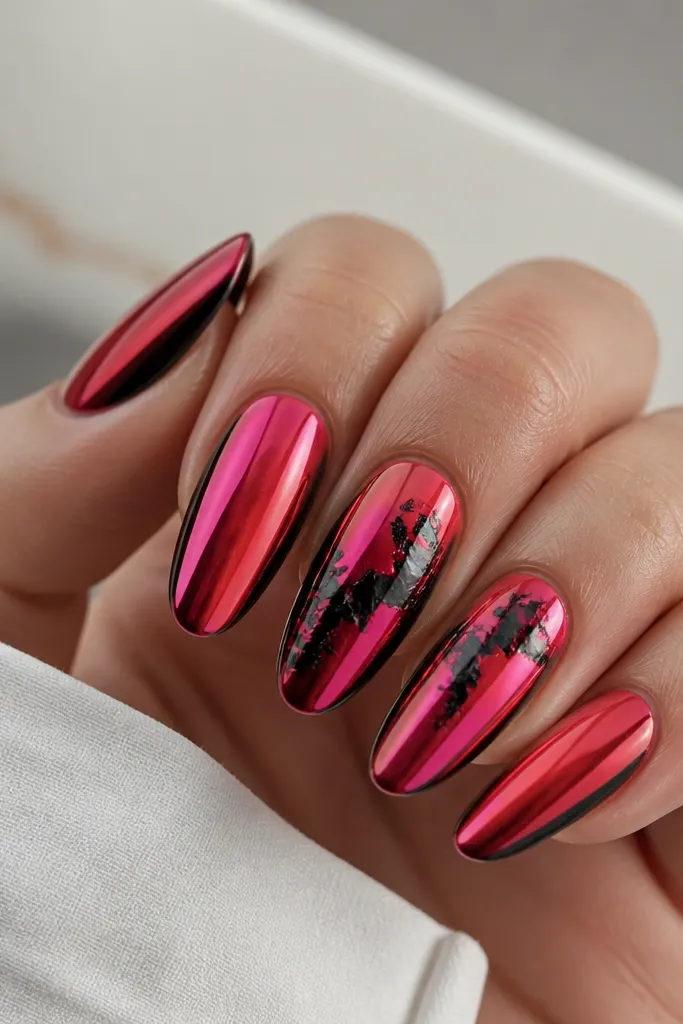
This is where you steal the "expensive" look without needing fine brush art. Chrome gives you that high-reflection glow under venue lighting, and black foil tears add texture so the set doesn't look flat. It flatters longer nails because chrome shows every contour of the nail plate, and the foil tears guide attention down the center. If you have fair skin, the red chrome makes your nails look like they're lit from within; if you have deeper skin, the red still reads strong and doesn't turn orange. I like it for formal proms with dim lighting and lots of camera flashes.
Apply a red chrome base system in thin, even layers and cure or dry per your brand instructions. Then rub the chrome powder/foil in small sections so it lays smooth and you don't get patchy shine. For the black foil, press torn pieces onto tacky gel in the center and cure so the foil locks down. Use a clean makeup sponge to remove loose foil edges so the tear look stays intentional. Finish with a gel top coat that doesn't dull chrome too much; cap the free edge with extra top coat.
Editor's notePress foil with a fingertip wrapped in a lint-free pad so you don't leave fingerprints.
Watch outDon't use heavy top coat right away - it can mute the chrome if you don't cure it correctly.
7. Classic Red with Black Pinstripe and One Gem
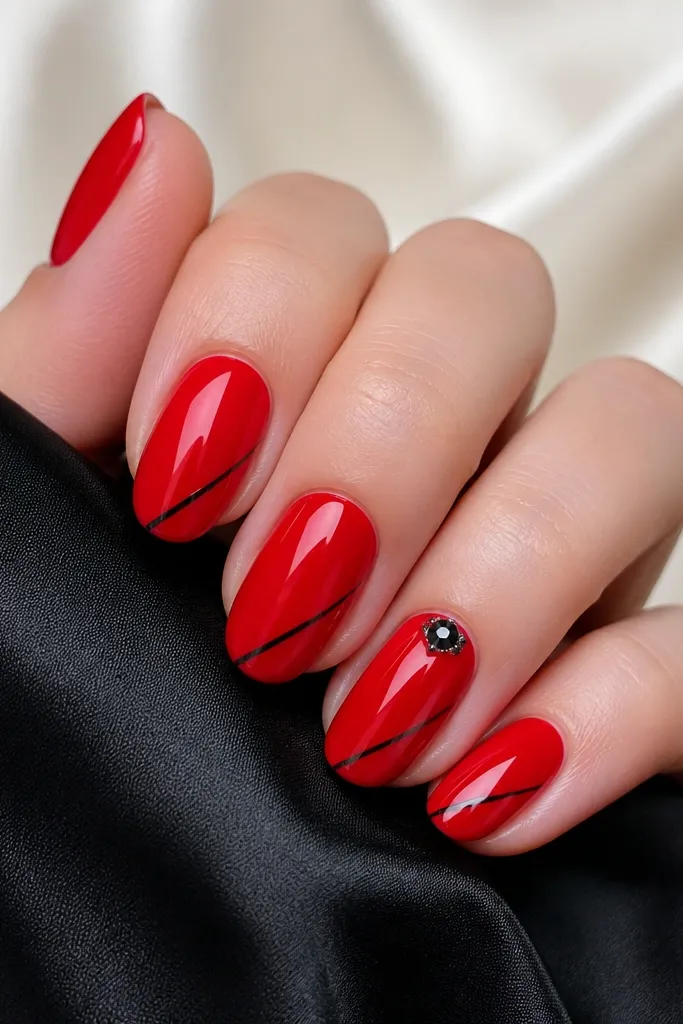
This is the best option when you want classic red but you're tired of it looking like every other red manicure. The black pinstripe gives you a clean design line that makes your nails look sharper and more intentional, even if you keep the rest simple. It works on short, medium, and long nails because the stripe is narrow and doesn't take up the whole nail. On hands with small nail beds, the diagonal stripe makes the nail look longer and slimmer. I'd pair it with simple earrings and a bold red lip, since the nail detail is the one "extra" you're adding.
Paint classic red in two coats, then cure fully. Take a striping brush or a pre-made nail vinyl pinstripe and place it diagonally so it ends around the center of the nail, not the tip. Paint over the stripe with black gel or polish, then remove the vinyl carefully for crisp edges. Add one tiny black gem on one accent nail near the cuticle using nail glue, then cure again if gel. Seal everything with top coat, focusing on the edges around the gem so it doesn't lift.
Editor's noteIf your stripe looks shaky, use a thin strip of tape to guide the diagonal, then paint and remove after curing.
Watch outDon't add gems on every nail - one gem looks classy, five looks like costume jewelry.
8. Red and Black Half-Moon Cuticle Pop
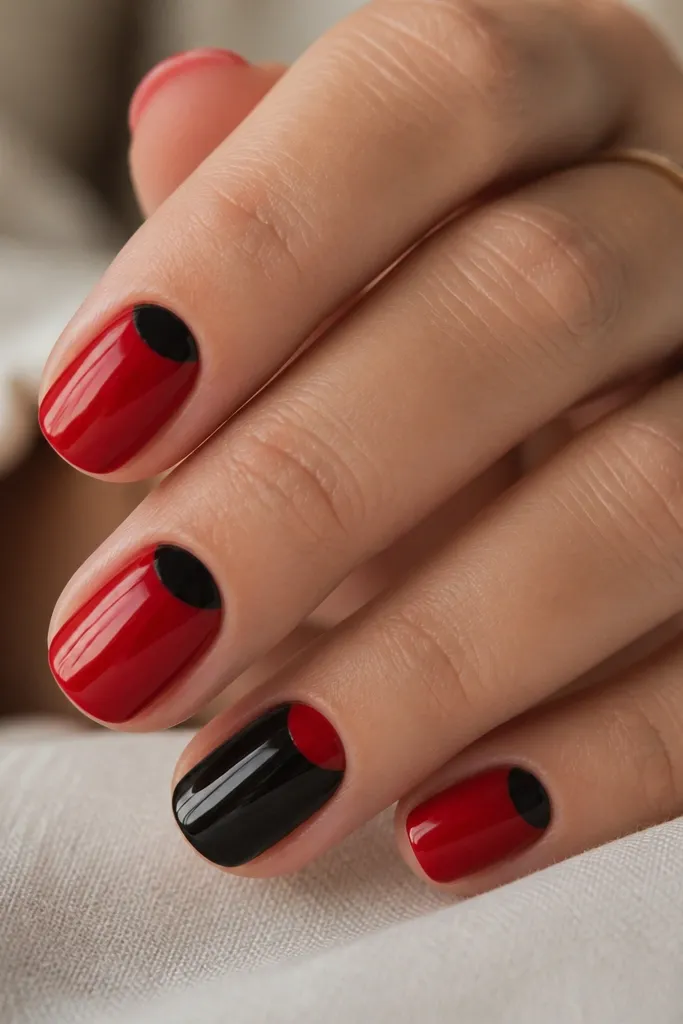
Half-moons look clean, modern, and they flatter a lot of nail shapes because they follow your cuticle curve. This design is great if you want red-and-black without full coverage nail art. It also makes hands look neat because the pattern starts at the cuticle, where you can control the shape. On fair skin, the black half-moon reads crisp; on deeper skin, it still pops because black is a strong contrast color. I wear this when my outfit has structured lines, like a tailored bodice or a sharply cut dress.
Start with a glossy red base in two coats. Use a half-moon nail stencil at the cuticle and paint the half-moon area with black gel, then cure. Remove the stencil carefully while the gel is fully cured for the cleanest edge. For one accent nail, switch it: apply a black base, then stencil the red half-moon and fill it with red gel. Finish with top coat and cap the free edge so the cuticle area doesn't lift.
Editor's noteMatch the half-moon width to your cuticle - if it's too wide, the nail looks squat.
Watch outDon't smear black onto the cuticle line - messy edges turn the whole look into "grown out" instead of "designed."
9. Black and Red Diagonal Skew Stripes
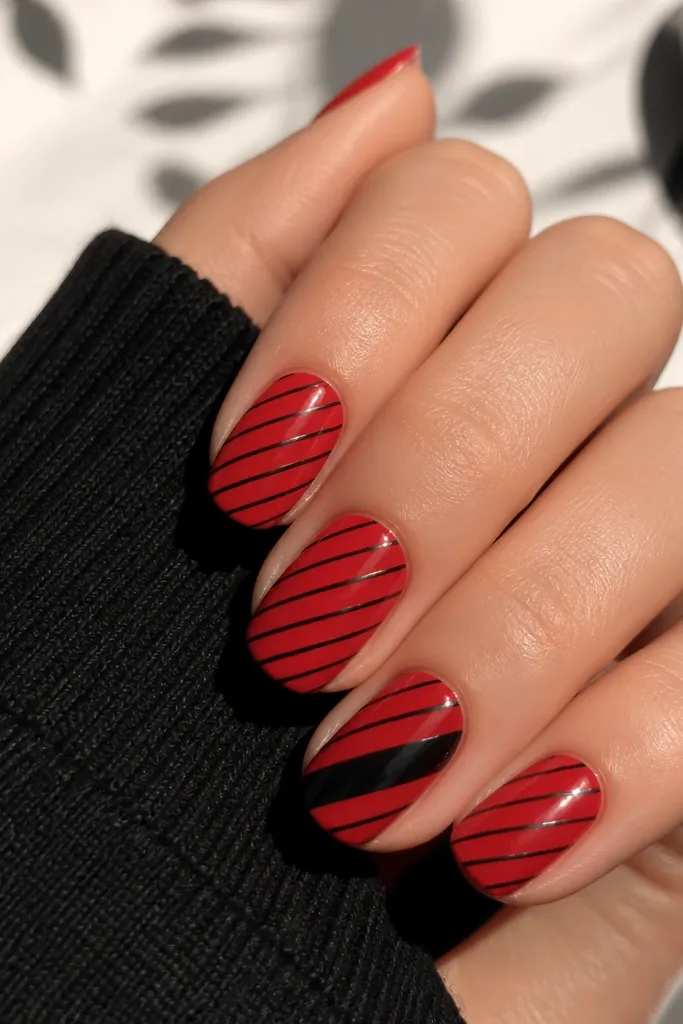
Diagonal stripes are the fastest way to make nails look like prom nails instead of "just polish." The reason it works is the direction - diagonals create a slimming, lengthening effect that works on most nail shapes. Keep the stripes evenly spaced and you'll get that clean salon look even if you do it at home. It flatters hands with rounder nail beds because the diagonal pattern gives the nail a longer visual line. If your dress has geometric prints or a fitted silhouette, this design matches the structure.
Paint a glossy red base in two coats and cure fully. Apply striping tape diagonally across the nail at a consistent angle and spacing, then paint black over the exposed tape gaps. Cure and remove tape to reveal crisp red-and-black edges. Use a slightly thicker stripe on one accent nail so the set has variation without looking random. Finish with a top coat that levels smoothly, and cap the free edge to protect the stripes.
Editor's noteUse the same tape angle on every nail by lining it up against your thumb nail first.
Watch outDon't let stripes drift - if the angle changes nail to nail, it looks sloppy.