1. Classic Black Base With Red Half-Moons
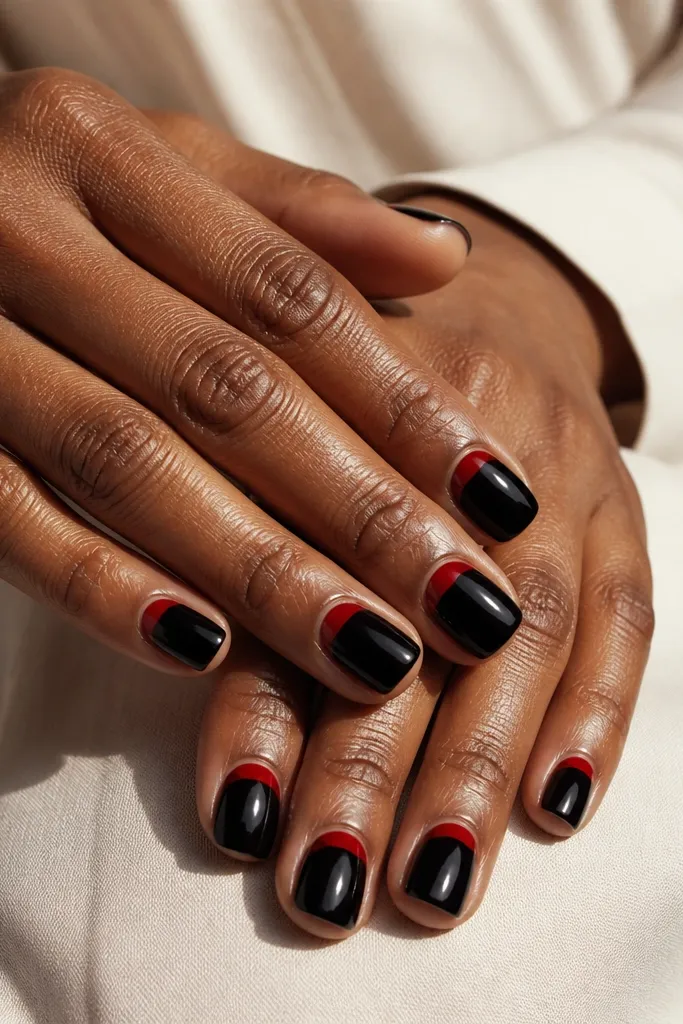
This one looks clean because it uses one big block of color and one simple shape. A glossy black base makes the red half-moon pop without needing extra art. I like it on short square nails because the half-moon sits right at the cuticle line and frames the nail bed. If your skin tone runs warm or cool, red still reads bright against black, so it doesn’t wash out. It’s also forgiving if your cuticle has a little variation since the half-moon is a forgiving curve.
Start by painting two thin coats of glossy black on all nails. Let it dry fully, then place a small strip of striping tape around the cuticle to mask the arc area. Paint the exposed curve with red polish in one steady pass and remove the tape while the red is still slightly tacky. Finish with a thick topcoat over the whole nail, especially at the edges where the tape line would otherwise catch.
Use a small silicone dotter dipped in red to touch up the curve at the center so it looks symmetrical.
Skipping a thick topcoat over the edges makes the half-moon line lift and chip faster.
2. Red French Tips Over Black Stamping Accent
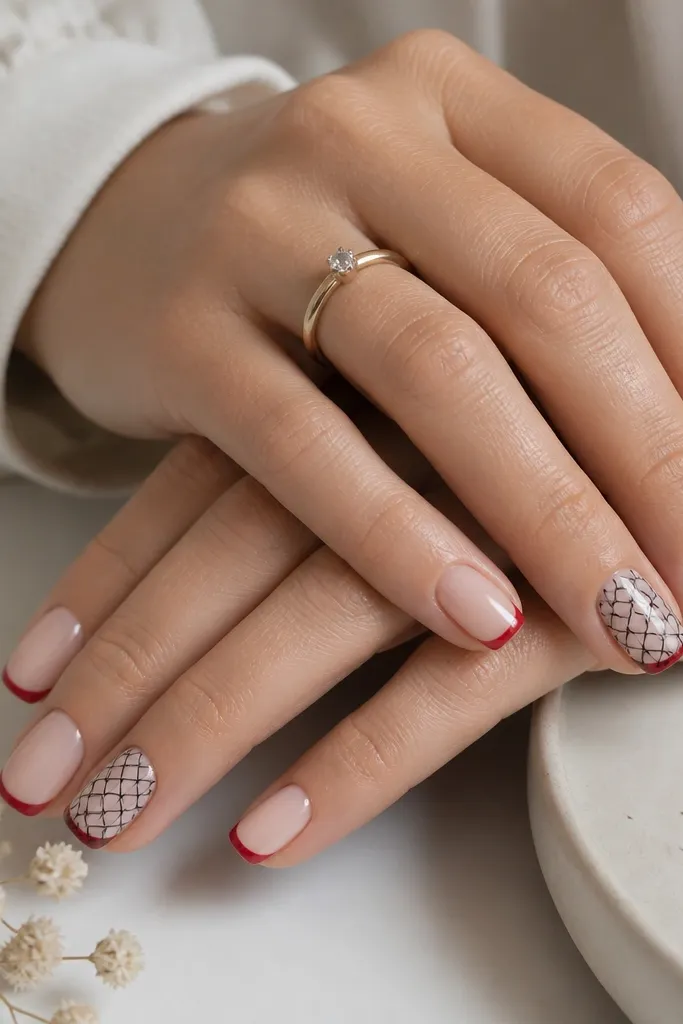
Paint your nails with a sheer nude base or a pale pink that matches your skin tone. Apply red French tips using French stencil guides, keeping the line about 1-2 mm wide at the side edges. On the ring fingers, stamp a black pattern using a stamping plate and black stamping polish, then seal it with topcoat. Finally, topcoat all nails to unify the shine and smooth the stamped texture.
This design looks polished because the French tips create a neat frame, and the accent nail adds interest without clutter. The red tips feel bold but controlled since they’re only on the edge. I like it for beginners because you can use a guide sticker for the French line and your job is mostly straight. If you have shorter nails, thin French tips make them look longer. For medium-length nails, the red edge looks sharp and a little dramatic.
Watch outMaking the French tip too wide can swallow short nail beds and make the red-black look heavy.
Editor's noteMake the French line slightly higher on the index and middle fingers for a more “lifted” look.
3. Black Glitter Base With Red Micro-Stripe Center
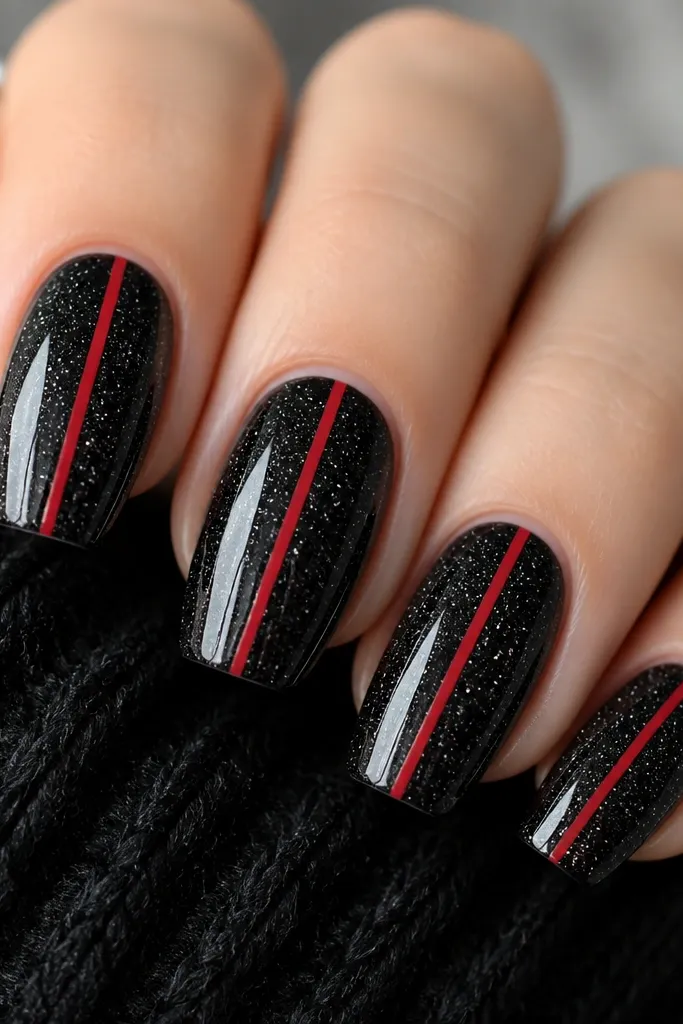
This one is bold but still beginner-friendly because it uses one stripe instead of lots of small details. The black glitter gives depth so the red stripe looks like it’s floating on top. I like it on almond nails because the stripe visually lengthens the nail bed. On darker skin tones, the glitter reads extra dimensional, and on fair skin it still pops without turning gray. It’s also great for nights out because glitter catches light fast.
First, apply black glitter polish in two coats for full coverage, letting each coat dry between layers. Use striping tape or a striping brush to place a single center line about 1 mm wide. Paint the line with red polish and remove tape immediately if you used it. Seal with a glossy topcoat that smooths the glitter so the stripe looks crisp rather than raised.
If your stripe looks slightly uneven, add a second tiny pass with the liner brush to widen it just at the middle.
Rushing the glitter coat causes gritty texture that ruins the sharpness of the stripe line.
4. Red Gloss Base With Black V-Shape Tips
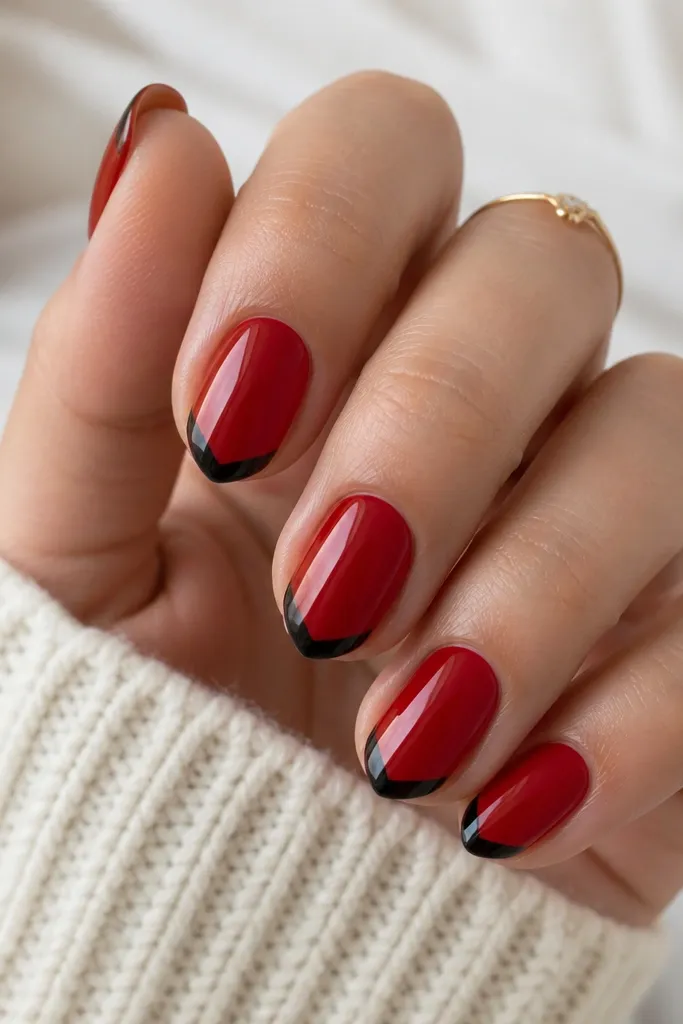
Paint two glossy coats of red on all nails and let it dry completely. Place a small piece of striping tape at each side edge of the nail to mask the angles, leaving a V-shaped gap at the tip. Paint the gap with black polish and remove the tape carefully. Finish with topcoat, and use extra topcoat on the V point so it doesn’t chip first.
The V-tip looks aggressive in a good way — like a graphic design poster on your nails. It also makes the nail look longer because the point goes toward the center. I love red gloss here because it makes the black look crisp and not muddy. This flatters hands with shorter nail beds since the V creates a vertical illusion. If your hands are on the warmer side, the red looks rich; if you’re cooler-toned, it still reads bright and not orange.
Watch outMaking the V too wide makes it look like a smudge instead of a deliberate shape.
Editor's noteUse a toothpick to clean the edges around the V point while the black is still wet.
5. Black And Red Diagonal Skew Lines
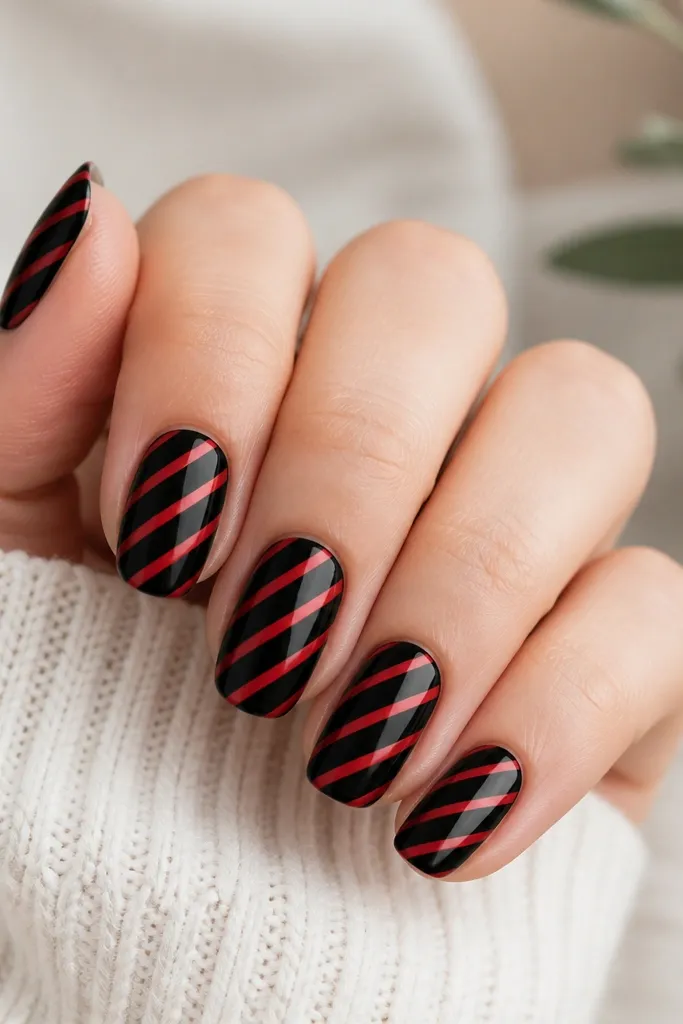
Diagonal lines are the fastest way to look “designed” without doing nail art that takes forever. The contrast is high, and the spacing is what makes it look expensive. I recommend this when you want a bold look but you don’t want to cover your whole nail with busy art. It works on any nail shape, but short almond looks especially clean because the lines have room to breathe. This is also a good choice if you’re working with slightly uneven nail beds since the pattern draws the eye away from the cuticle.
Start with a fully opaque glossy black base in two coats. Apply striping tape diagonally across the nail, using a ruler or nail guide if you have one, then paint over the exposed strip with red polish. Remove tape once the polish is tacky so you get sharp edges. Repeat for one or two additional diagonal lines, then seal with topcoat.
Keep the red gaps consistent by measuring tape widths once and repeating across all nails.
Overlapping tape or changing spacing nail-to-nail makes it look accidental.
6. Red Marble Swirl Over Black Base
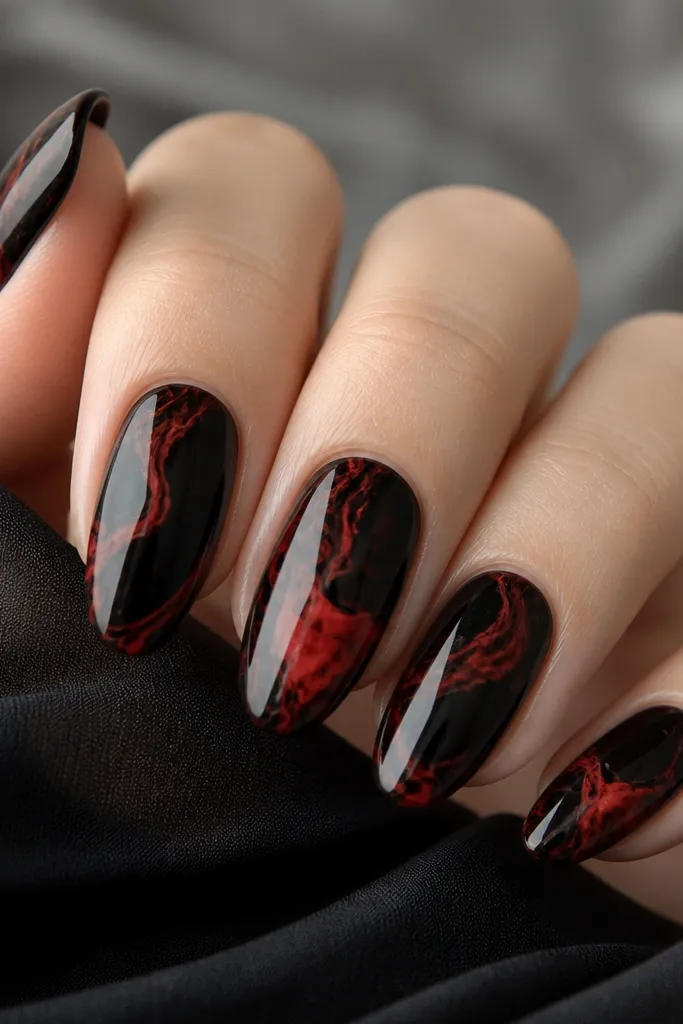
Marble looks hard, but this version is beginner-real because you’re not drawing curves perfectly. A black base makes the red swirls look like hot ink, and it hides tiny mistakes in the red lines. I like it on medium length almond because marble swirls have space to move. On fair skin, the black keeps the design grounded; on deeper skin tones, the red stays vivid and doesn’t fade into the background. It’s a great option for everyday wear because it looks artsy without needing extra gems.
Paint a solid black base and let it dry. Add red polish to a small palette, then use a thin liner brush to drag tiny streaks through the red onto the black, creating swirls. Use a clean brush dampened with remover to soften a couple edges so the marble looks blended, not outlined. Seal with a glossy topcoat in two layers to smooth the surface.
Do marble on only 8 nails and keep the ring fingers solid black for extra contrast.
Using thick red blobs makes marble look like paint smears.
7. Black Lace Accent With Red Base
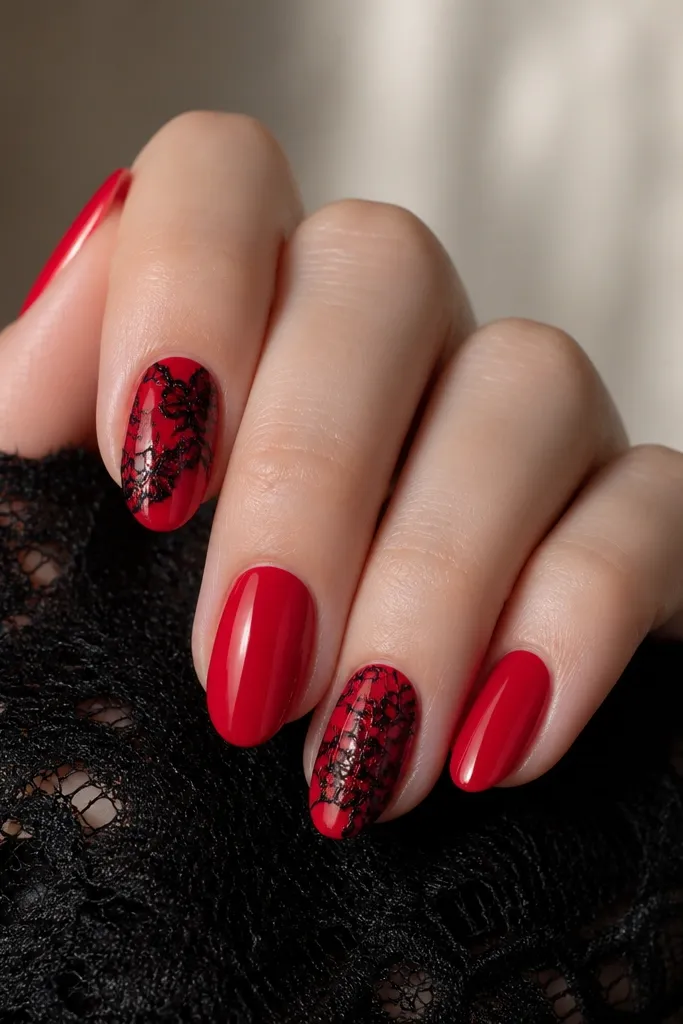
Lace line art looks delicate on top of a strong red, which is why this combo works. You get a bold color story from the red, then the black lace adds texture without turning the nails into heavy 3D clutter. I like it when you want something romantic but still dark. It flatters medium to long almond nails because the lace pattern has room to sit in the middle. If your nail shape is short, keep the lace area smaller so it doesn’t crowd the cuticle.
Paint all nails with two glossy coats of red. On two accent nails, apply black lace using either a lace stamping plate or a lace nail sticker pressed flat. If you’re using sticker art, trim the edges so it fits the curve of your nail. Seal with a topcoat that goes over the sticker edges so it doesn’t lift.
Choose lace art that has thin lines; thick lace looks like a sticker instead of linework.
Trying to draw lace by hand on every nail — it turns messy fast.
8. Red And Black Checkerboard On Two Nails
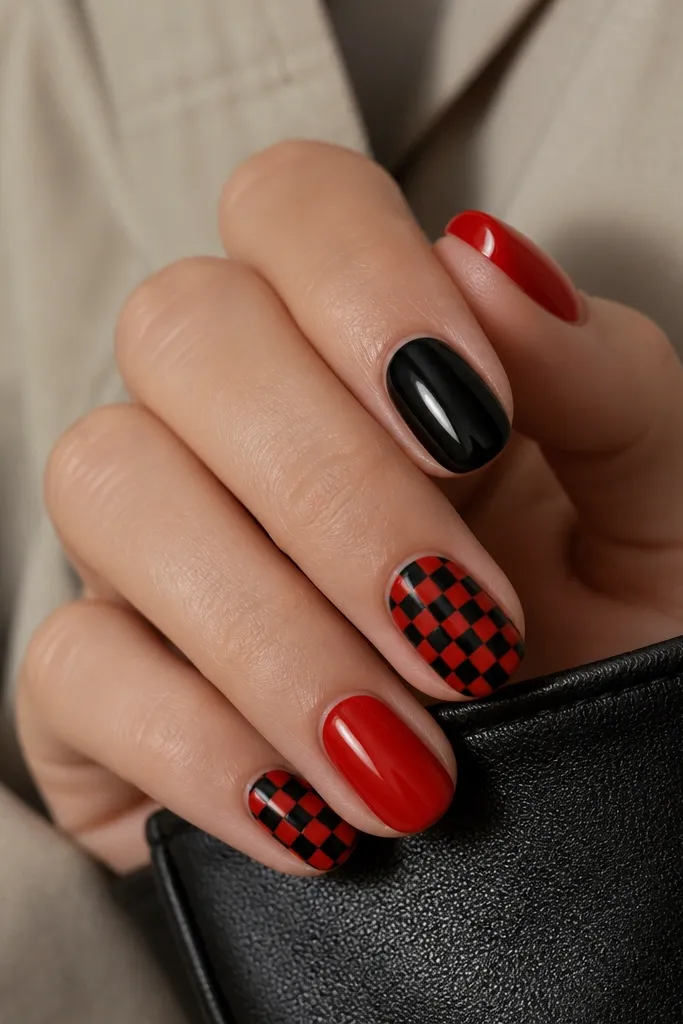
Checkerboard looks like you tried hard, but you can keep it simple if you limit it to one or two nails. The trick is square consistency, and that’s easy when you use nail tape to section the grid. This flatters short nails because the pattern is compact and doesn’t require long lines. It also looks great on hands that have shorter fingers because the grid adds structure. For skin tones, checkerboard reads equally bold — the black keeps the red from looking too sweet.
Paint the base color on all nails, like glossy red for most and glossy black for one or two. On the accent nails, lay down striping tape to create a grid, starting with vertical strips then horizontal strips. Paint the exposed squares alternately red and black, letting each color dry before removing tape. Finish with topcoat to lock in the crisp grid lines.
Make the squares about 1.5 mm wide so they look neat instead of chunky.
Freehanding squares without tape — they end up uneven and the pattern loses its snap.
9. Black Half-Nail With Red Outline Border
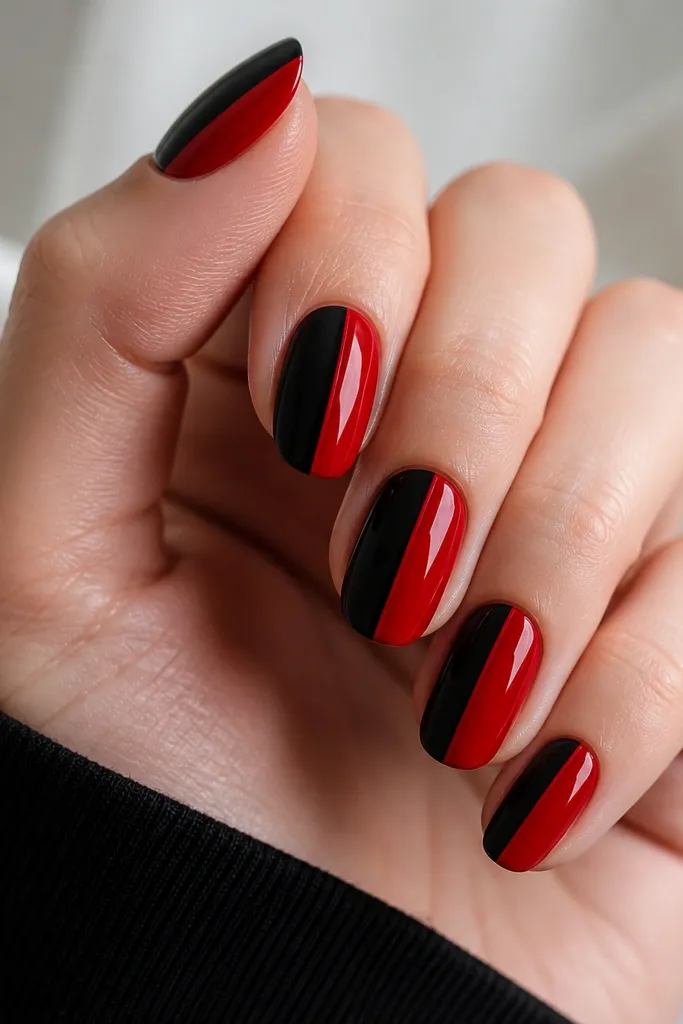
Paint one side of the nail black and one side red using a small angled brush or striping tape as a guide. Let each side dry enough to avoid bleeding. Use a liner brush dipped in red to trace a thin line right on top of the center seam where the colors meet. Seal with topcoat, and add a second thin topcoat after the first dries to smooth the seam.
A clean split-color nail looks modern and strong, and the outline makes it look intentional. The red outline adds a “border” effect that’s easy to do with a liner brush. I like this on medium coffin because the vertical split looks sleek. It also works for short square because the split makes fingers look longer. If you’re pale, the red keeps it from going too goth; if you’re deeper-toned, the black gives the red contrast without dulling it.
Watch outPainting both sides too wet at the same time — the colors bleed into each other.
Editor's noteIf the seam looks thick, use less polish on the liner brush and go slower.
10. Red Galaxy Specks On Black With Star Dotting
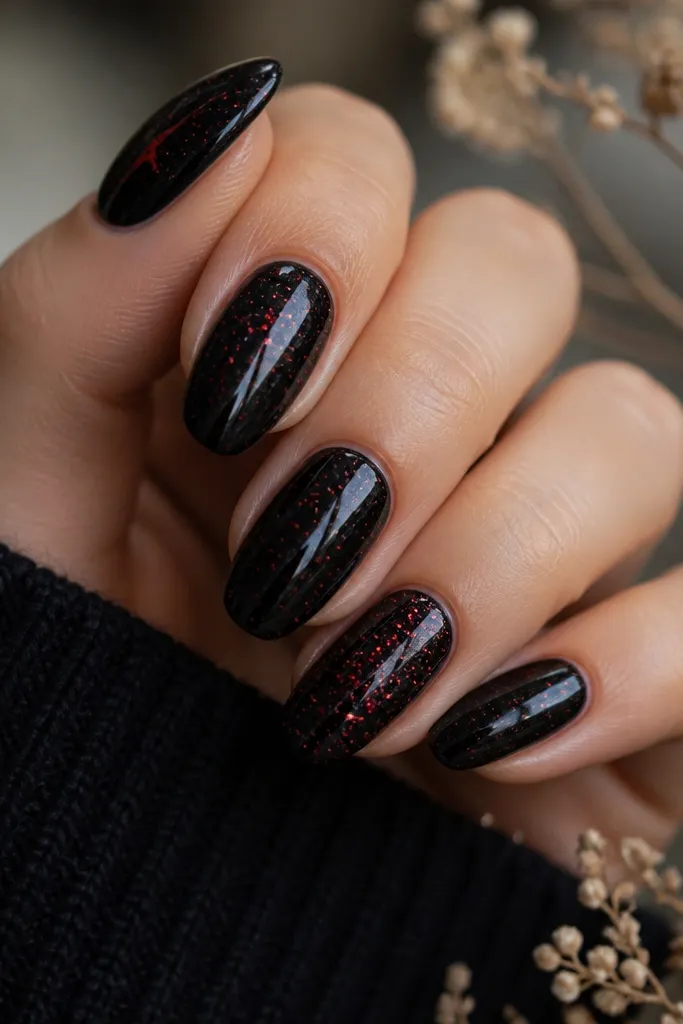
Paint a solid glossy black base. Use a toothpick or dotting tool dipped in red polish to place small dots — start with fewer dots near the center and add a few at the edges. For extra depth, add a couple tiny red streaks by dragging the toothpick just once. Seal with topcoat in two layers so the dots look smooth, not raised.
This looks like a mini night-sky without needing a full galaxy background. Black gives you the night, and red specks feel bold rather than sleepy. I like it for beginners because dotting is easier than drawing shapes, and you can keep it random. It’s flattering on almond nails because the nail surface feels like a tiny canvas. On any skin tone, the red specks look like they’re glowing when the topcoat is shiny.
Watch outOverdoing the specks until the nail looks red-gray — stop while you still see black space.
Editor's noteTap the dotting tool lightly so the dots stay round instead of smudged ovals.
11. Matte Black Base With Glossy Red Accent Stripe
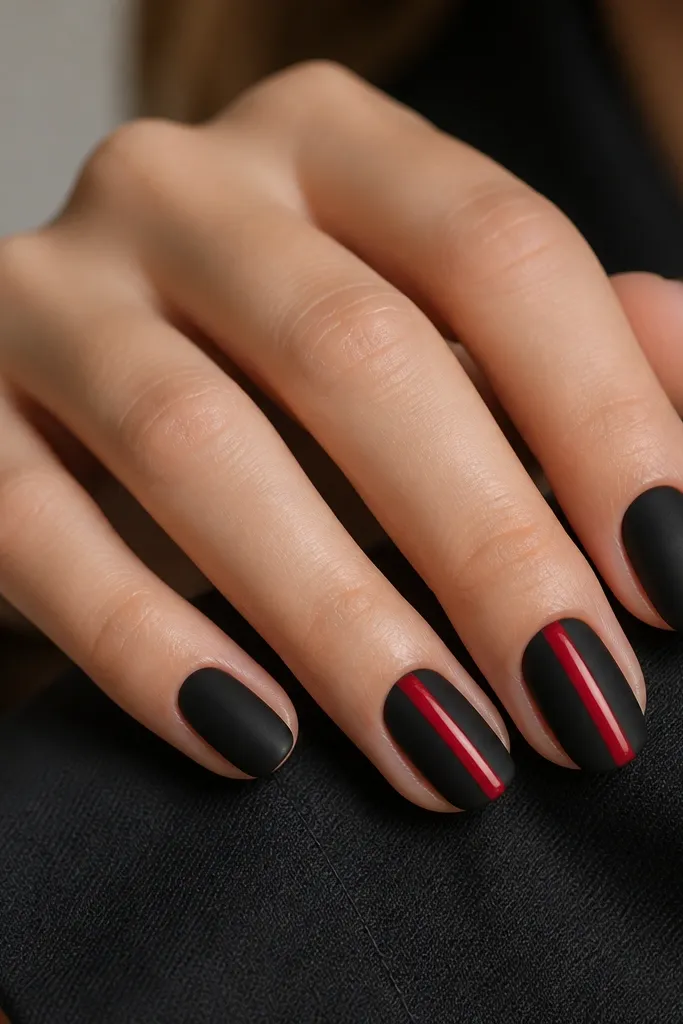
The matte-black and glossy-red contrast looks expensive because the texture difference does the work. You don’t need tiny art — one stripe is enough. I love this for office days because matte hides small surface imperfections, then the glossy stripe adds personality. It also flatters hands that look dry since matte can make the nail surface look uniform. For fair and medium skin tones, the red stripe looks bright without needing sparkle.
Paint your nails with black polish and let it dry, then top with a matte topcoat. Choose one or two accent nails and remove the matte shine by painting a glossy red stripe over the topcoat area only on those nails. Apply red polish in one center pass, then seal with a glossy topcoat over the stripe. Keep matte nails matte by not getting glossy topcoat onto them.
Use a striping brush so the glossy stripe stays razor-straight on matte.
Trying to make glossy stripe on fully wet matte — it can smear and look cloudy.
12. Red Outline Hearts On Black Background
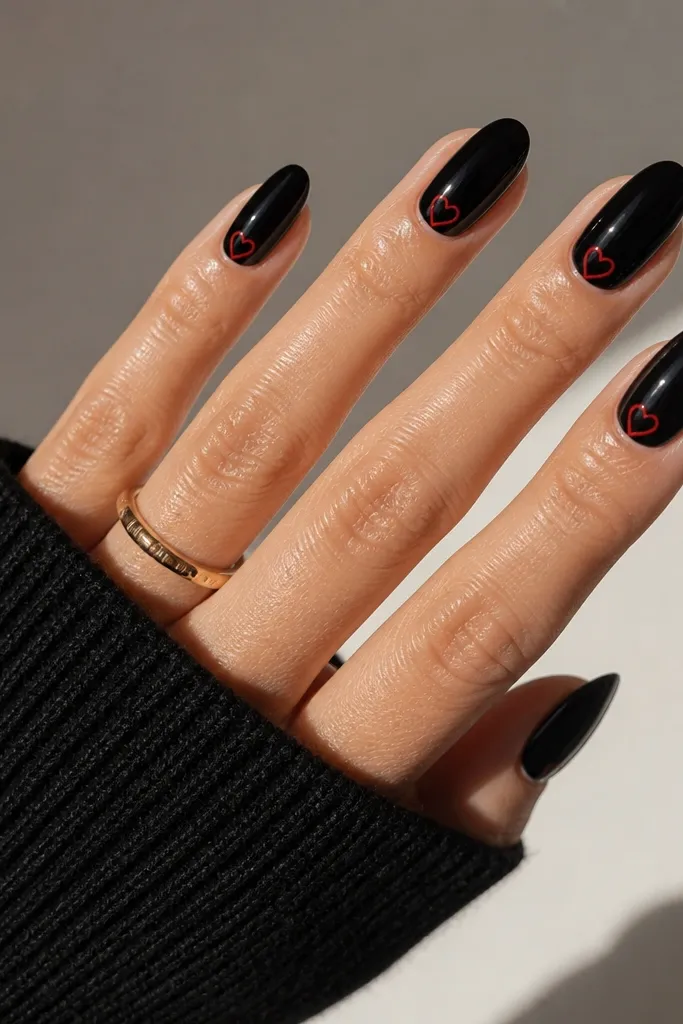
Outline hearts keep it flirty without turning it into a cartoon. The red lines look sharp on black, and because the heart is small, you can place it consistently even as a beginner. This flatters short almond nails because there’s room near the cuticle without covering the whole nail. It also looks great for Valentine season without committing to full red. The outline style works for all skin tones because it’s linework, not heavy color blocks.
Paint all nails glossy black with two coats. Use a nail heart stencil or freehand with a thin liner brush to draw one small heart outline near the cuticle, about 2-3 mm wide. Let the red lines dry completely, then add a second thin outline pass if you want it darker. Finish with glossy topcoat so the lines look smooth and sealed.
If your heart tips look uneven, add a tiny dot at the end of each lobe to sharpen the point.
Filling the hearts in too thick — the edges get messy and the heart loses its clean look.
13. Red Chrome Tips Over Black Base
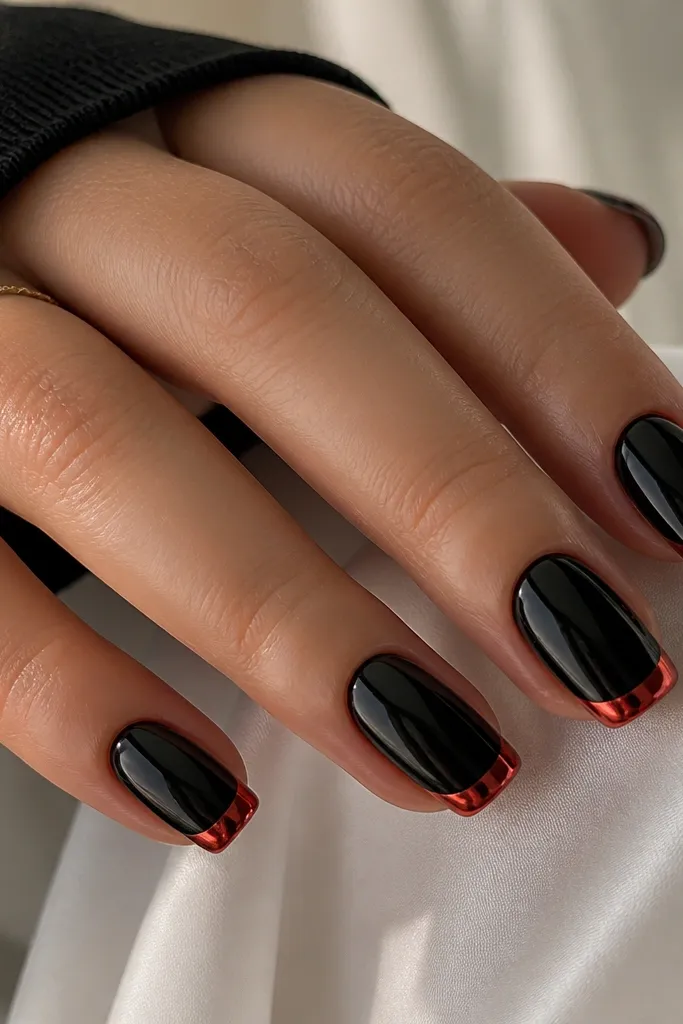
Chrome tips look like you got a salon finish because the light reflects in a metallic curve. The black base makes the red chrome look cooler and more dramatic. I like this on medium coffin because the tip area is bigger and the chrome catches more light. If you have shorter nails, keep the chrome tip narrow so it doesn’t overpower the nail bed. This is a killer choice for events because chrome reads well in photos and under indoor lighting.
Start with a glossy black base in two coats. Apply a French tip guide and paint the exposed tip area with a red chrome base coat (or a sticky gel layer if your chrome system needs it). Apply red chrome powder with an applicator sponge, then buff off excess gently. Seal the whole nail with topcoat, but don’t overbuff the chrome area.
Press the chrome powder for 3-5 seconds at the tip center so it looks denser at the light-catching point.
Skipping the chrome base coat — the powder won’t stick and you’ll get patchy shine.
14. Black Brushstroke Over Red Gradient
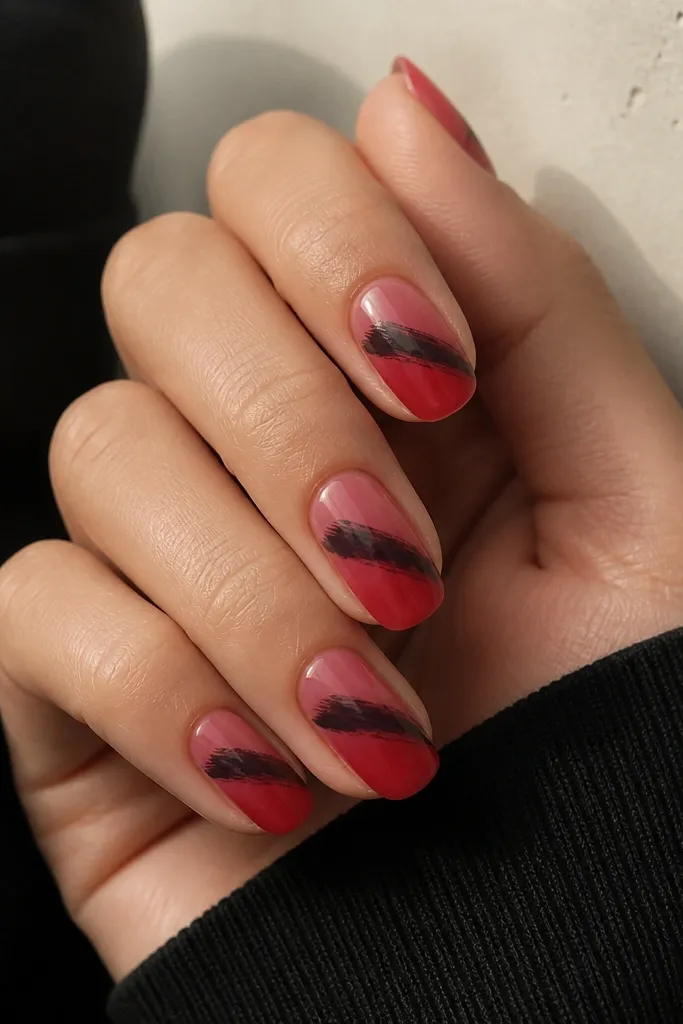
Paint a red gradient using a makeup sponge: deeper red at the tip, then blend upward with lighter red or a touch of clear polish near the cuticle. Let it dry enough to handle. Place striping tape at an angle where you want the brushstroke, leaving a diagonal gap. Paint the gap with glossy black, remove tape to reveal a sharp edge, then topcoat.
This design looks artsy because the black brushstroke has movement, and the red gradient keeps it from feeling flat. I like it on almond nails because the gradient naturally follows the nail’s curve. It flatters hands with longer fingers because the diagonal stroke adds direction. On fair skin, the gradient looks rosy and not harsh; on deeper skin, the gradient still reads clearly because the tip stays dark. If you’re new to nail art, use a brushstroke guide by placing tape first.
Watch outTrying to blend the black stroke into the gradient — keep it as a bold separate shape.
Editor's noteUse a thicker brushstroke than you think — thin strokes look like a mistake on gradient.
15. Red And Black Polka Dots On Alternating Nails
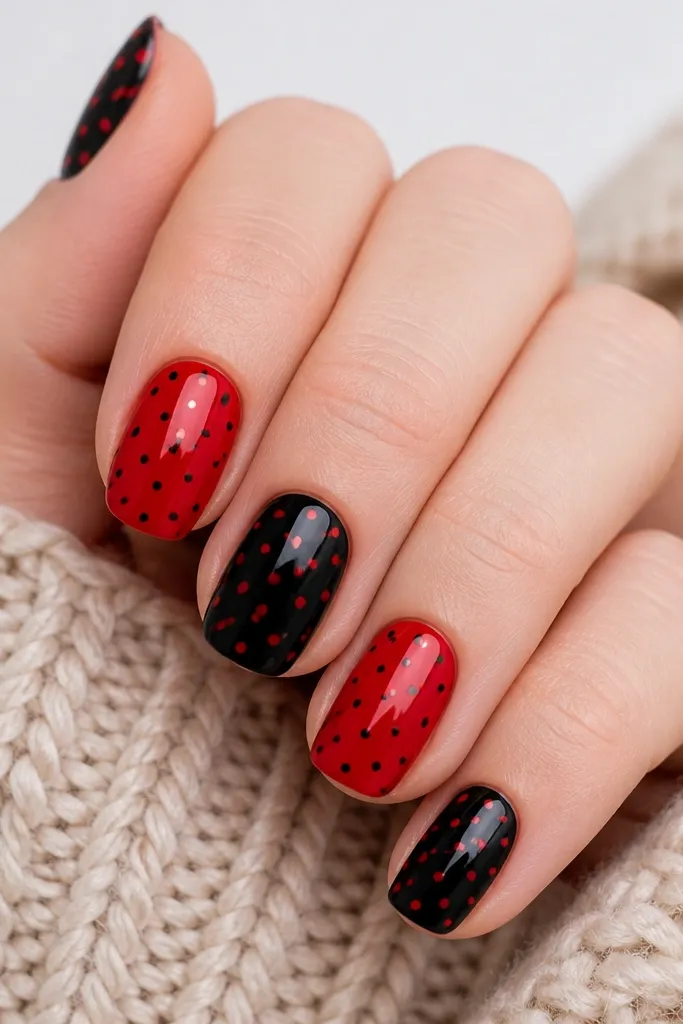
Polka dots are the easiest pattern to repeat, and they look cute but still bold because red and black contrast hard. I like alternating nails because it keeps the set balanced and stops you from overworking one nail. This is perfect for beginners who want a clean look with minimal tools. It flatters short nails because the dots are small and don’t crowd the cuticle. For any skin tone, the color contrast looks crisp and playful.
Paint half your nails glossy red and half glossy black. Let each base coat dry fully. Use a dotting tool to place small dots in the opposite color — for red nails use black dots, for black nails use red dots. Keep spacing even by doing a line of dots across the center first, then fill the sides. Finish with glossy topcoat to lock in dots and stop them from catching on fabric.
Start with 9 dots per nail as a baseline, then stop when it looks balanced.
Using too much polish on the dotting tool — it makes blob dots that smear.
16. Black Base With Red Reverse French (Half Top)
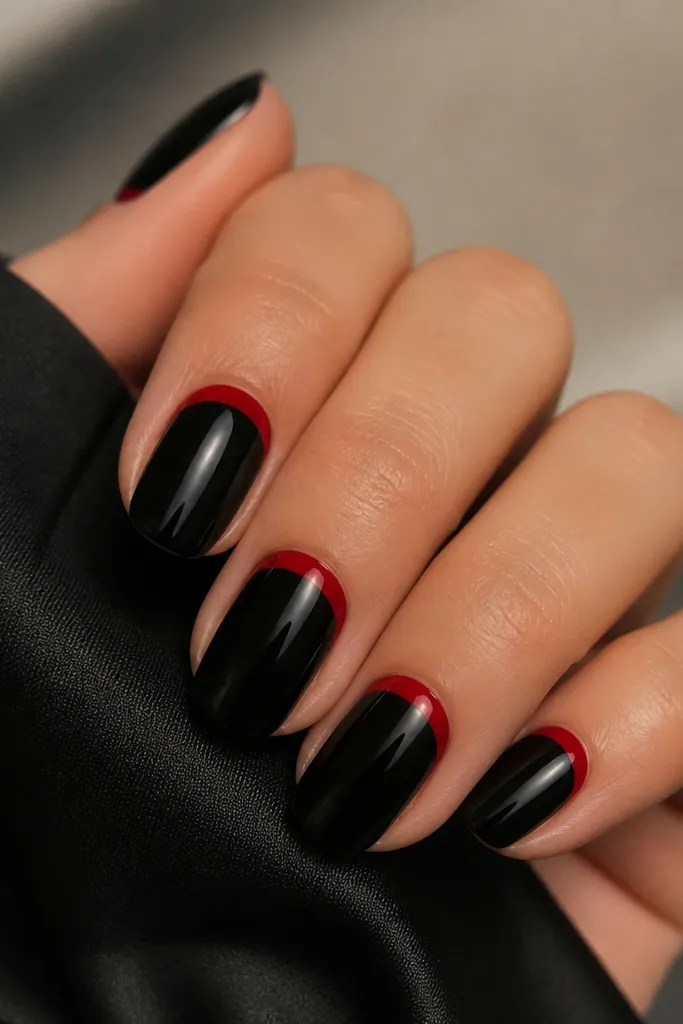
Reverse French makes your nails look neat and tidy because it frames the cuticle instead of the tip. The black base makes the nail look grounded, and the red arc adds that bold hit. I like this on short nails because it visually lifts the nail bed and makes the cuticle area look intentional. If you’re prone to dry cuticles, the reverse arc can make the boundary look cleaner. It also works for both casual and dressy outfits because it looks like a manicure design, not random art.
Apply two coats of glossy black to all nails. Use a reverse French guide sticker or a thin strip of tape to mask an arc along the cuticle, leaving a smooth curved gap. Paint red into the gap with a steady brush, then remove the guide while the red is still slightly tacky. Topcoat everything, and run a little extra topcoat over the arc line so it doesn’t peel at the cuticle edge.
If the arc is too high, adjust by placing the guide 1 mm lower on your next nail.
Painting the red arc too close to the cuticle so it floods the skin — it will lift.
17. Red And Black Striped Tape Wrap Accent
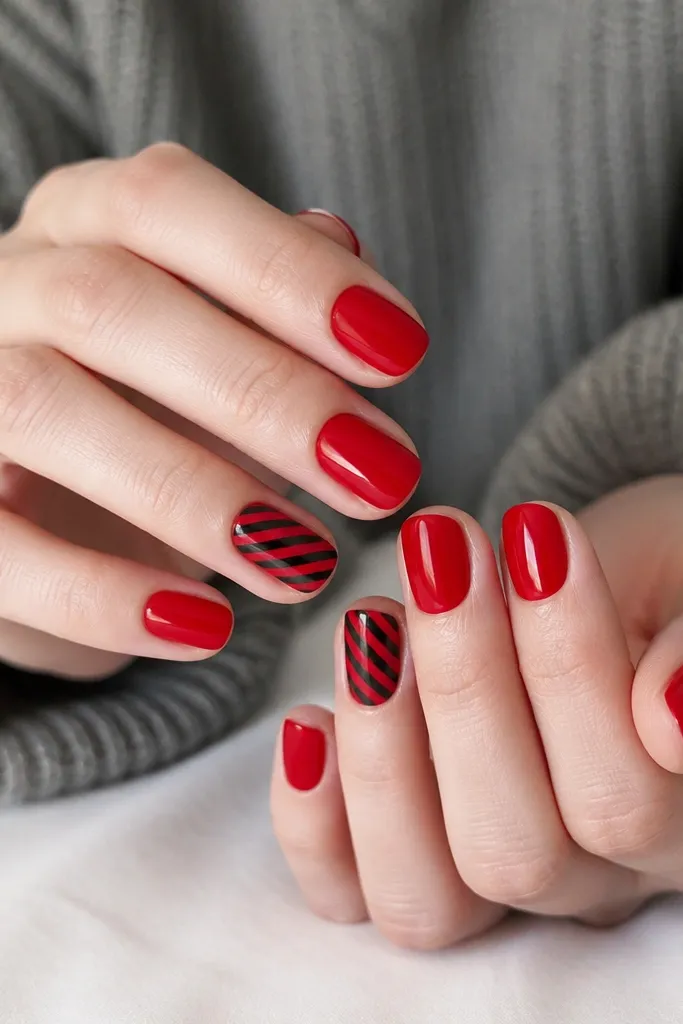
Start with a glossy red base on all nails. On accent nails, apply striping tape in alternating bands — black then red — in a diagonal direction, leaving tiny gaps. Paint over the exposed sections with black polish, then remove tape after it’s tacky. Repeat if you need a second stripe pass, then seal with topcoat so the tape pattern looks smooth.
Tape-wrap stripes look like you did advanced nail art, but the tape does the hard part. Using it only on one or two accent nails keeps it beginner-friendly and stops the set from looking chaotic. I like it on short square nails because the stripes look graphic and clean. On fair skin, the red base makes the pattern bright; on deeper skin, the black stripes keep the red from overpowering. This is also great if you want something that looks different from plain French tips.
Watch outWrapping tape too loosely — it creates wavy stripes that look messy.
Editor's notePress the tape down firmly at the sidewalls so the stripe edges stay crisp.
18. Black Rosebud Look With Red Center Dots
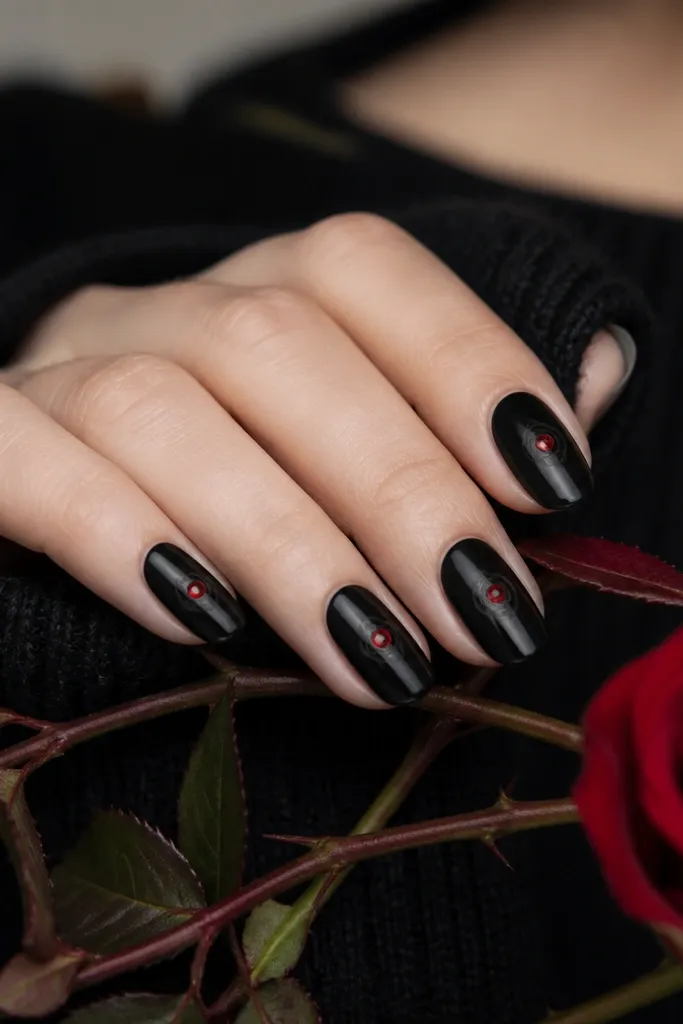
Paint a solid glossy black base in two coats. Use a dotting tool to place a small red dot in the center of each nail. With a thin liner brush, draw 4-6 short petal-like lines around the red dot, keeping them tight so they look like a bud. Let it dry, then seal with a glossy topcoat that covers the petal edges without flooding them.
This is a beginner-friendly “rosebud” look because you’re not painting full petals. The black base does most of the work, and the red center dot gives the flower a focal point. I like it on medium almond because the center sits nicely and looks like it’s blooming. It flatters hands that want a little romance but still want a dark vibe. On any skin tone, the red center reads like a highlight, which makes the design feel intentional.
Watch outSpreading the petal lines too far — it turns into random scratches instead of a bud.
Editor's noteMake the red center dot slightly larger than you think — it anchors the whole design.
19. Red Gloss Ombré Into Black Tip
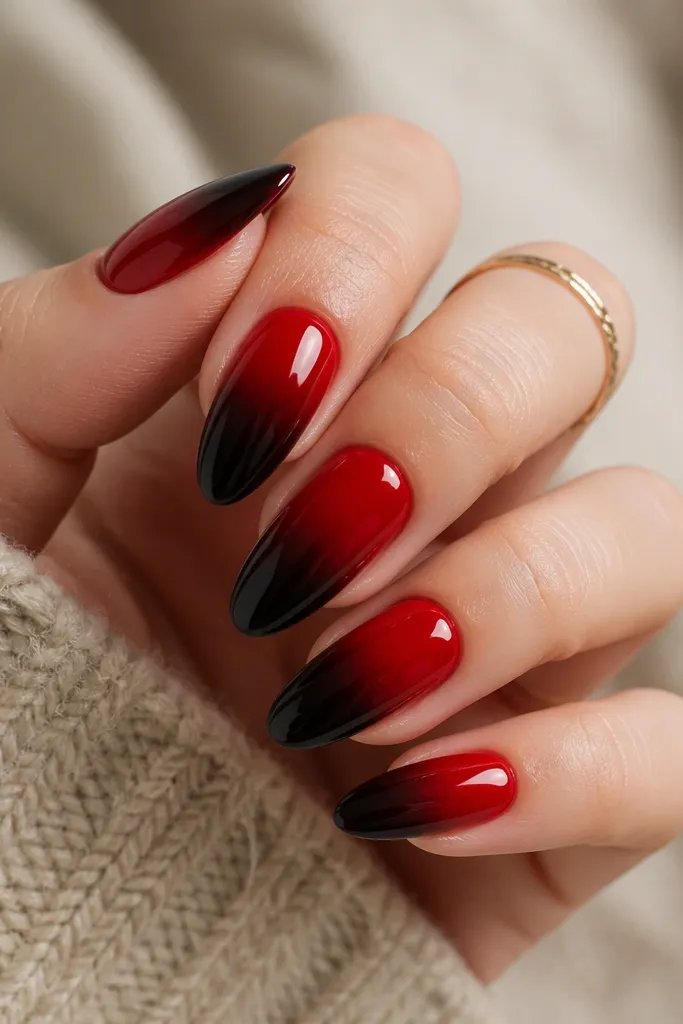
Paint a base layer of red near the cuticle and fade downward using a makeup sponge with red and a tiny bit of black mixed at the bottom. Work in thin layers so you don’t get muddy edges. Build the black intensity only at the tip area, roughly the last 20-25% of the nail. Let it dry, then apply glossy topcoat in two layers to smooth the gradient.
A red-to-black ombré looks clean and expensive because it has smooth color transitions instead of hard lines. It’s also great when you want red and black but don’t want pattern placement issues. I like it on almond nails because the gradient follows the nail shape and looks continuous. This works on fair and deeper skin tones because red stays dominant near the cuticle, and black anchors the tip. If your hands are slightly dry, the glossy finish makes nails look healthy.
Watch outDoing one heavy sponge pass — it creates harsh bands instead of a smooth ombré.
Editor's noteUse a fresh sponge section for each nail to avoid dragging old pigment and creating streaks.
20. Black Frame Lines Around Red Center
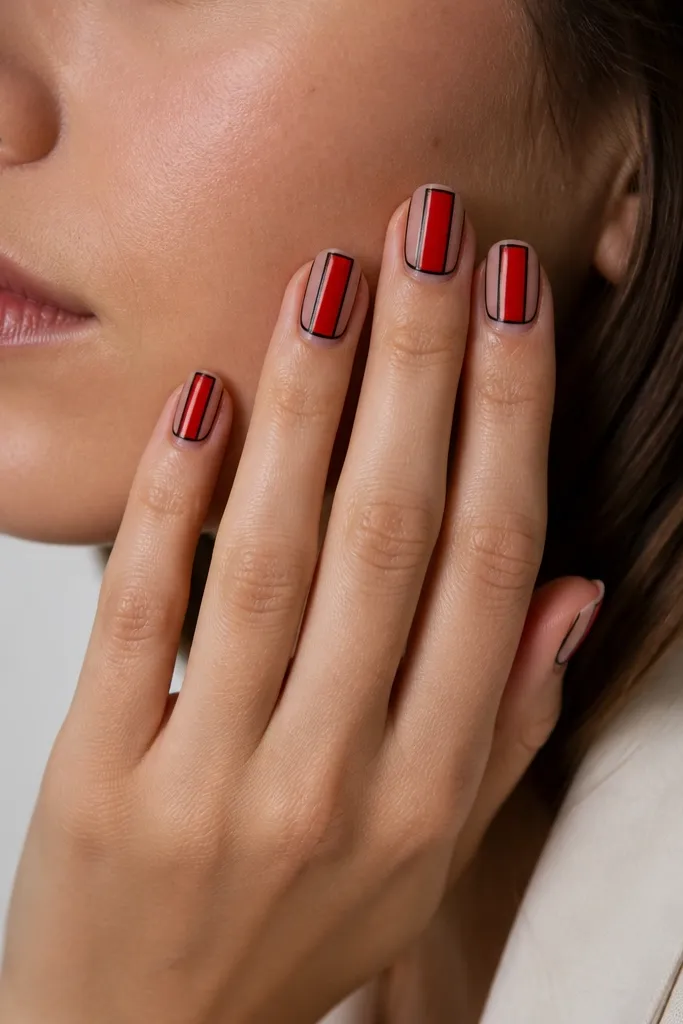
Apply a sheer nude base or a clear builder gel base and let it level. Paint a red panel centered on the nail, leaving a small margin on each side. Use a thin liner brush dipped in black polish to draw two vertical lines on each side of the red panel, then add a top and bottom line to make a frame. Clean up edges with a small brush dipped in remover and seal with topcoat.
This looks modern because it treats the nail like a mini poster. The red center gives the bold color, and the black frame makes it look structured instead of flat. I like it on short square nails because straight lines fit the shape and the frame makes the nail look tidy. It’s also beginner-friendly because you’re only drawing a rectangle-ish outline, not complex art. On any skin tone, the red center pops, and the sheer base keeps it from feeling too heavy.
Watch outOverloading red under the frame — it makes the frame look like it’s floating on a blob.
Editor's noteKeep the frame lines thin; thick lines make it look like nail wrap stickers.
21. Red And Black Side Swirl On One Accent Nail
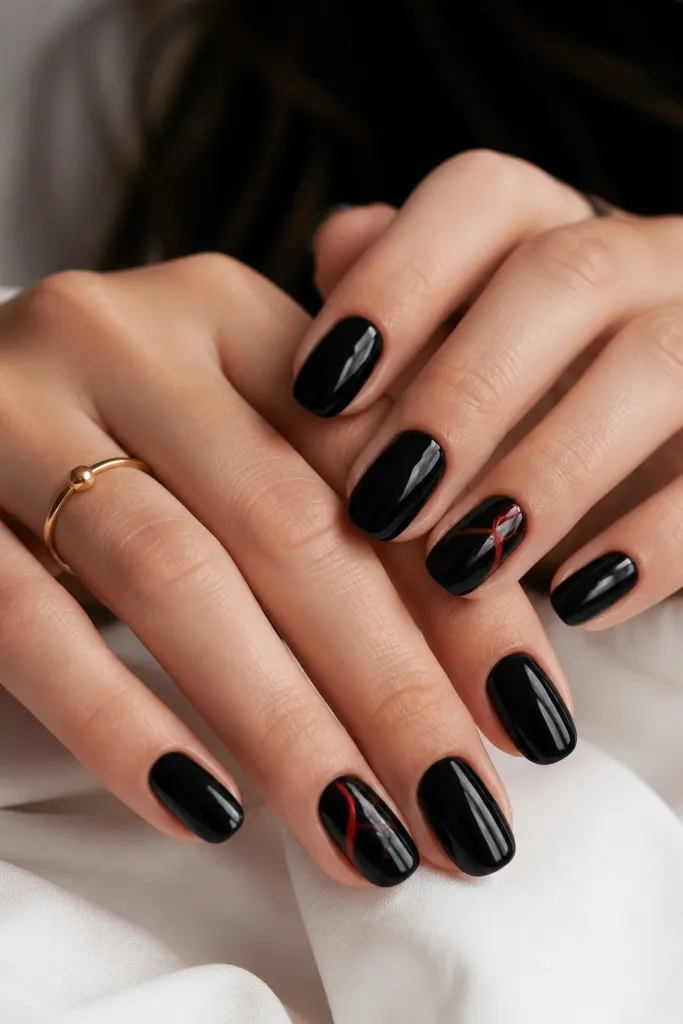
Side swirls look like movement, and keeping them to one accent nail keeps the manicure wearable. The black base makes the red line feel clean and bold, while the counter-swoop adds a little balance. I like this on short almond because the curved line follows the nail curve. It also flatters hands with wide nail beds since the swirl sits off-center and draws attention to the shape. You get that “done at a salon” look without painting full scenes.
Paint all nails glossy black in two coats. Choose one accent nail and use striping tape to mark the start and end points of your swirl — one near the lower side, one near the upper side. Paint a thin red curved line between the points and add a tiny black counter swoop inside the red curve with the liner brush. Remove tape carefully and seal with topcoat to lock in the thin lines.
Do the swirl line first, then only add the counter-swoop after it dries so it doesn’t bleed.
Making the swirl too thick — it turns into a streak instead of a design.
22. Black And Red Half-Matte With Glossy Line Divider
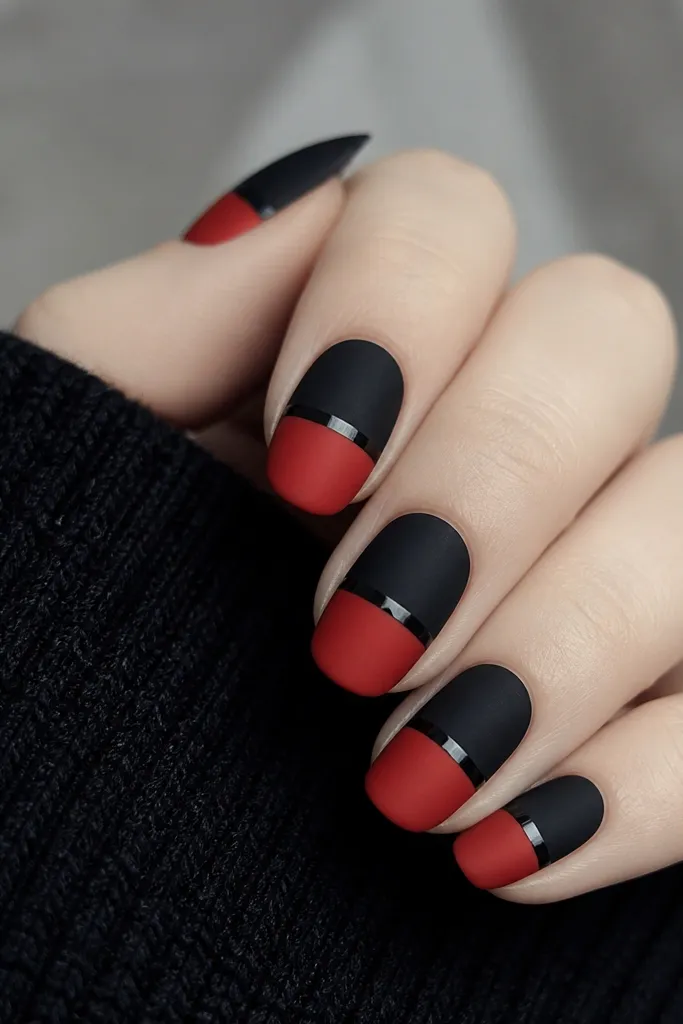
Half-matte looks like a modern fashion manicure because texture does half the design. The glossy divider line keeps it from looking flat and helps your eye read the two halves clearly. I like it on medium coffin because the split feels intentional and the divider line looks sharp. For beginners, the horizontal split is easier than diagonal art because you can line it up with the nail’s natural midline. It also flatters hands that need a tidy look since matte hides tiny surface bumps.
Paint the entire nail with black and red halves using striping tape to mask a straight horizontal line across the middle. Apply matte topcoat over both colors, then let it dry. For the divider, remove any tape residue and paint a thin glossy line right at the separation using a liner brush and glossy topcoat mixed with a little black polish. Seal lightly with glossy topcoat just over the divider so it stays shiny.
Use a steady hand and anchor your wrist on a table; the divider line is the whole point.
Skipping matte topcoat — the halves won’t read as two distinct textures.
23. Red Velvet Effect With Black V-Tip
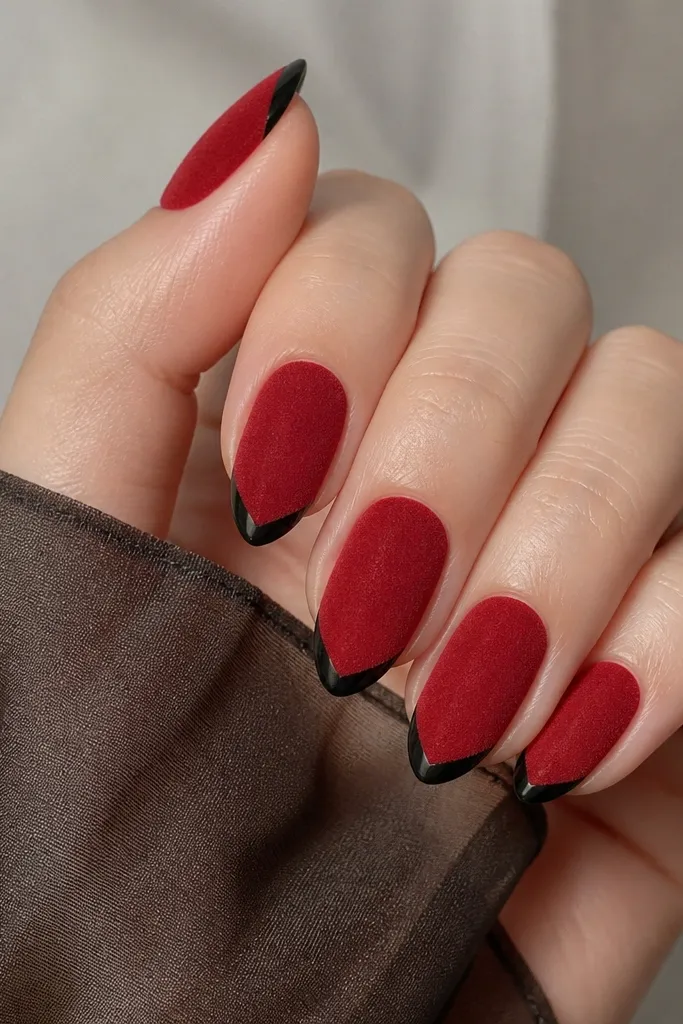
Velvet-effect nails look different from normal polish because they catch light in a soft, diffused way. Pairing that with a crisp black V tip gives you high contrast without needing gems or complex art. I like it when you want something bold but not shiny, especially for daytime. It flatters short to medium almond nails because the velvet texture makes the nail surface look smooth. On any skin tone, the black V looks graphic and the red stays rich even in indoor lighting.
Start with a red velvet powder system or a velvet-effect polish over a base coat. Apply it in two layers so the texture is even, then avoid touching the surface too much. Mask the tip with striping tape to create a centered V gap. Paint the gap with glossy black polish and remove tape after the black is tacky. Finish with a topcoat over everything except the velvet area if your system requires it; follow your velvet product instructions so it doesn’t flatten the texture.
If your velvet looks patchy, rub the powder gently in one direction before sealing.
Using a standard glossy topcoat over velvet — it ruins the fuzzy effect.
24. Black Background With Red Studded Cuticle Dots
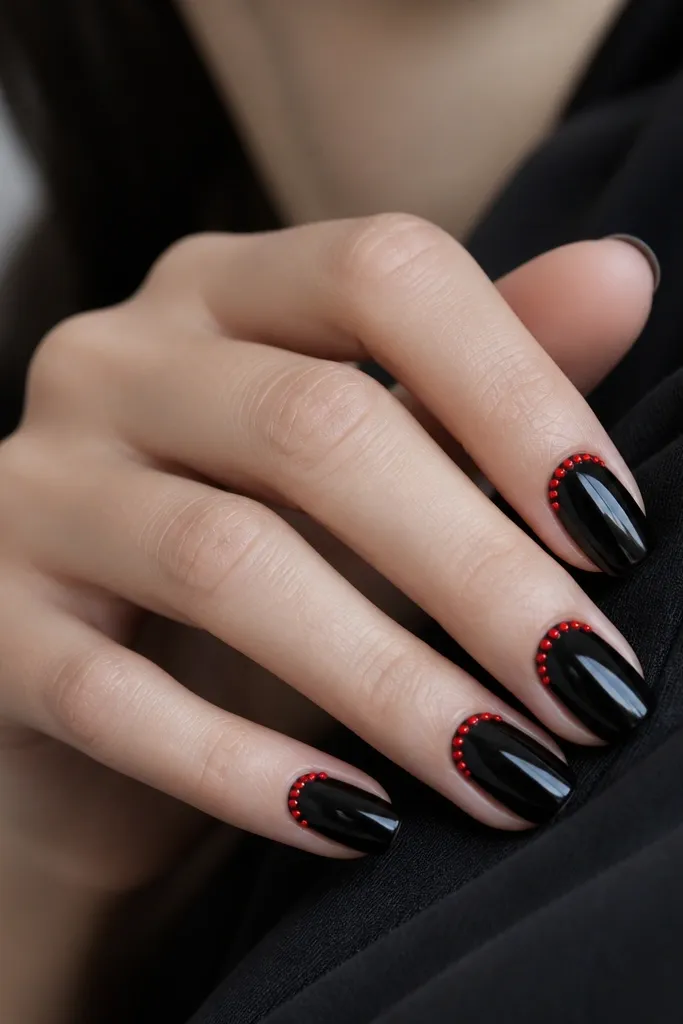
Paint nails glossy black and let them dry fully. Place tiny red studs or red rhinestones along the cuticle line using nail glue, keeping the row about 1 mm away from the skin. If you don’t have studs, use a dotting tool with red gel and cure it to create raised dots. Cure again if needed, then seal with a topcoat that goes over the studs without flooding them.
This looks like jewelry for your nails, and it’s easier than it sounds. The red studs sit right where your eye already goes, so it looks intentional even if your dots aren’t perfectly identical. I like this on short square nails because the cuticle line gives the curve structure. It’s flattering for all skin tones because the studs create a strong focal point against black. For beginners, you can keep it to one row of dots and skip extra art.
Watch outOverloading glue — it pushes studs up and makes the manicure feel bulky.
Editor's noteSpace the studs with a toothpick — touch the toothpick to the glue area, not your nail surface.
25. Red And Black Nail Wrap Look Using Two Strips
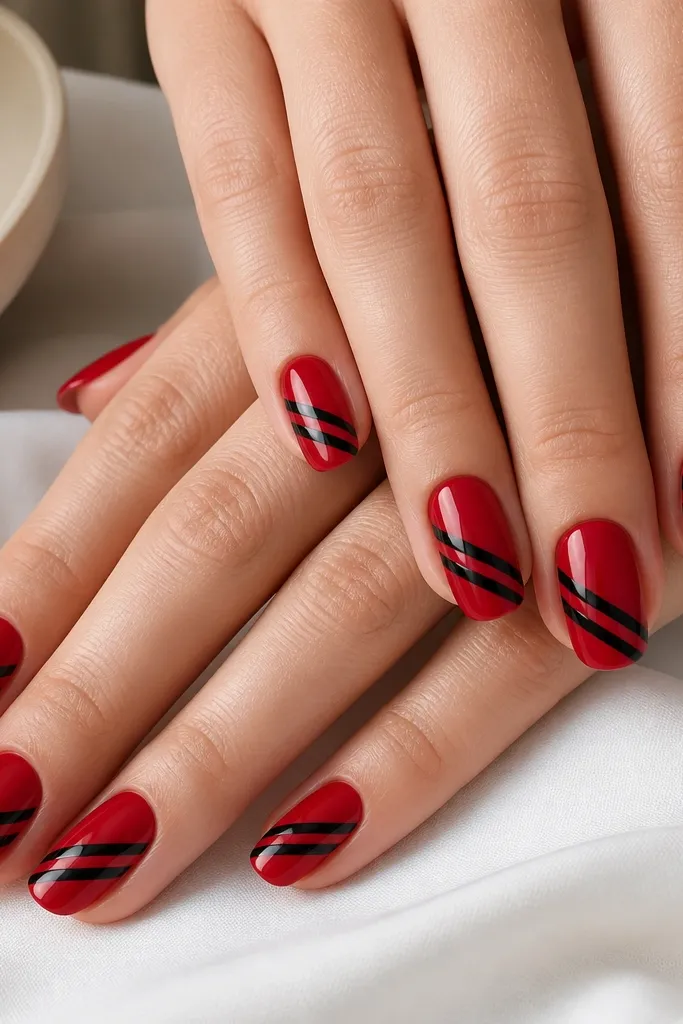
This wrap look gives you that “trend” vibe without doing multiple tiny details. Two diagonal strips are enough to create motion, and you keep the design simple. I like it on medium almond because the wrap lines hug the nail curve and look sleek. It’s also a good option if your freehand skills are still shaky; tape does the straight work. Red stays the main color, and black just frames it so the set looks bold instead of heavy.
Paint two coats of glossy red on all nails. Apply striping tape diagonally across the nail, then place a second strip parallel with consistent spacing. Paint over the exposed areas with black, let it dry slightly, and remove tape to reveal clean black lines. Seal with topcoat, then check the sidewalls for any edge lift and patch with a tiny dot of topcoat.
Choose tape width once (like 1.5 mm) and stick to it across the whole set for a uniform look.
Changing tape width per nail — it looks inconsistent and less polished.