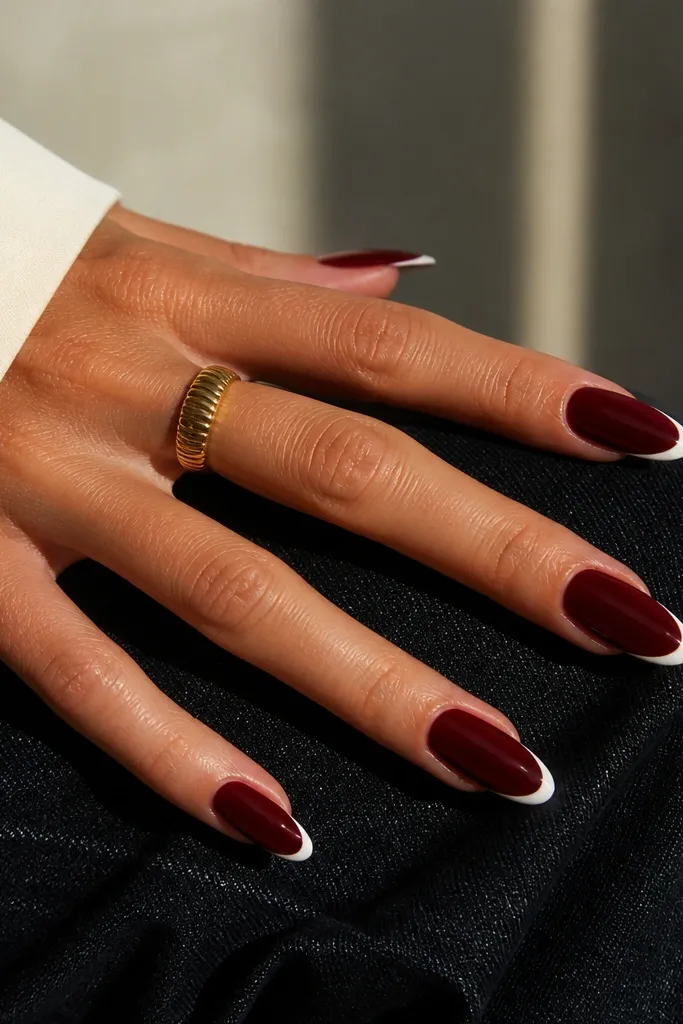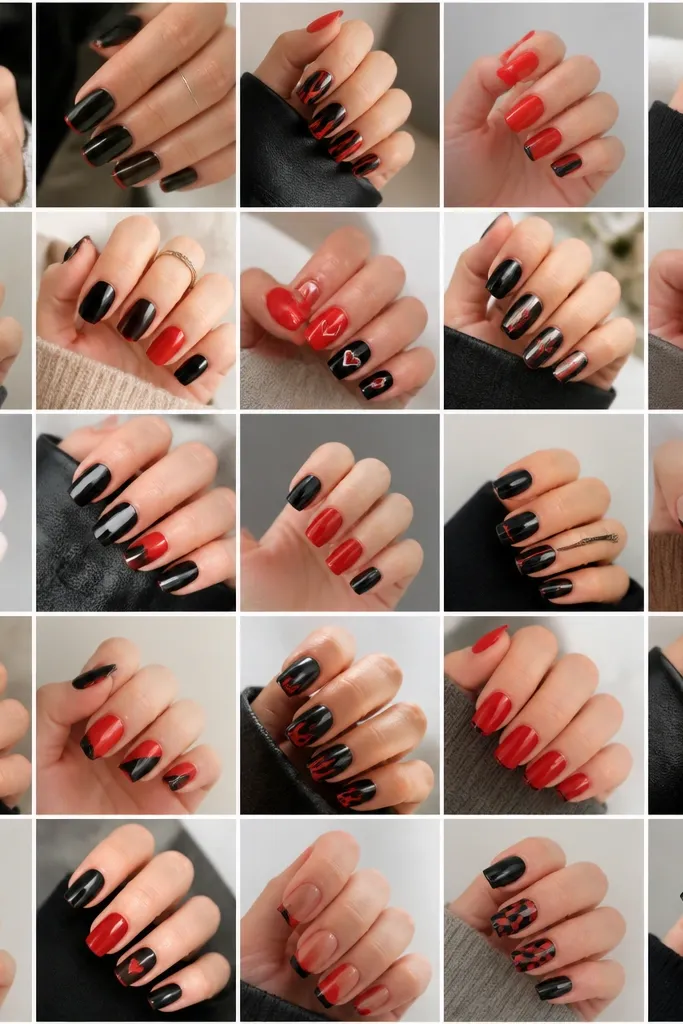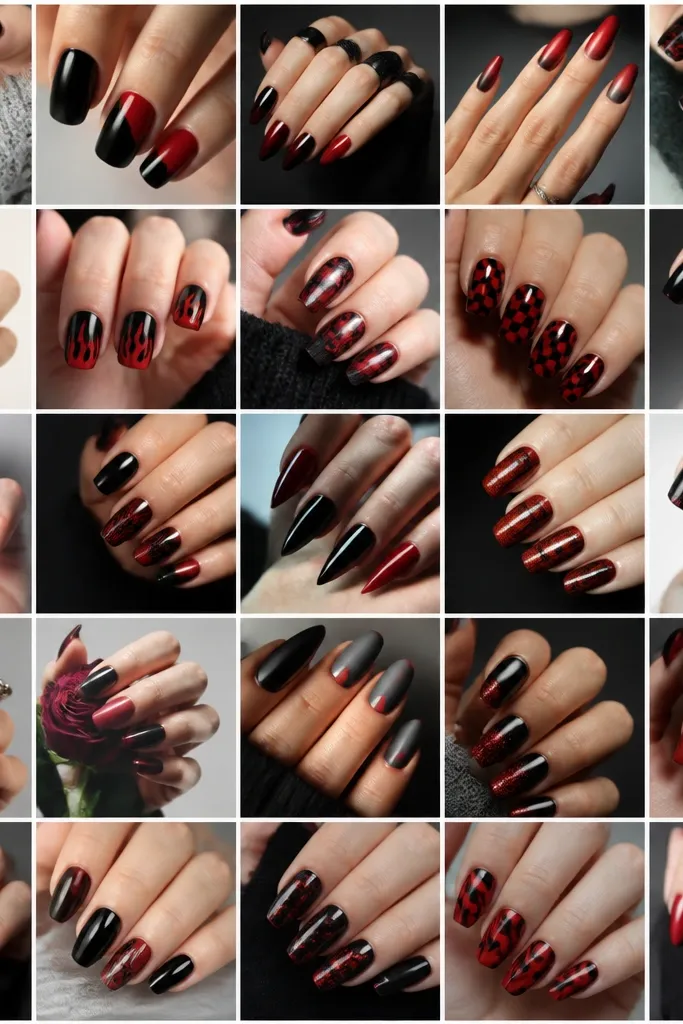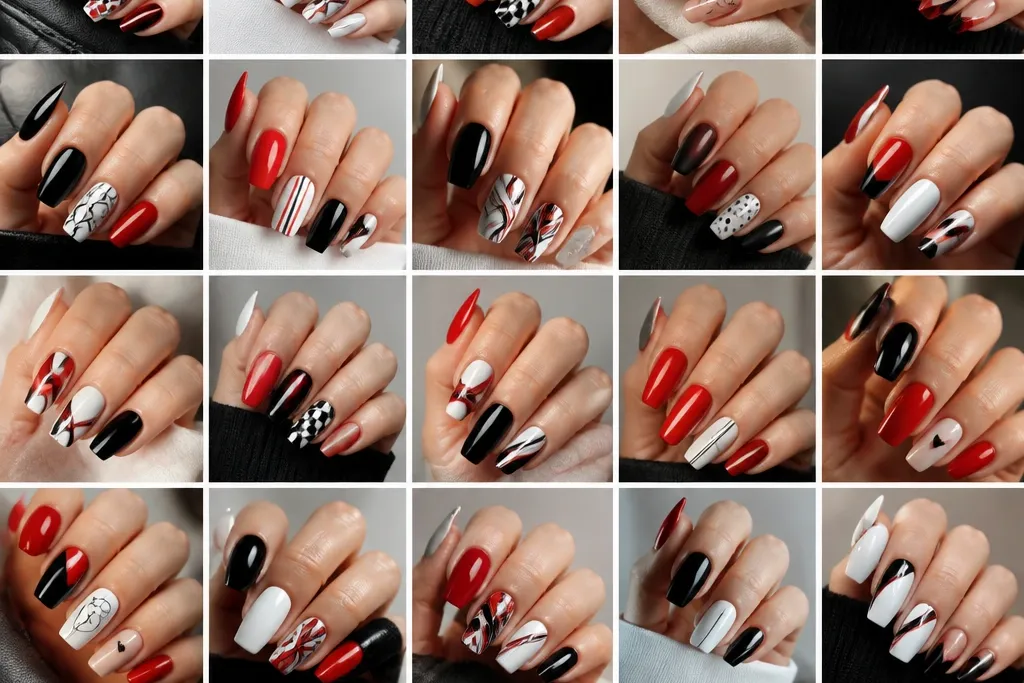
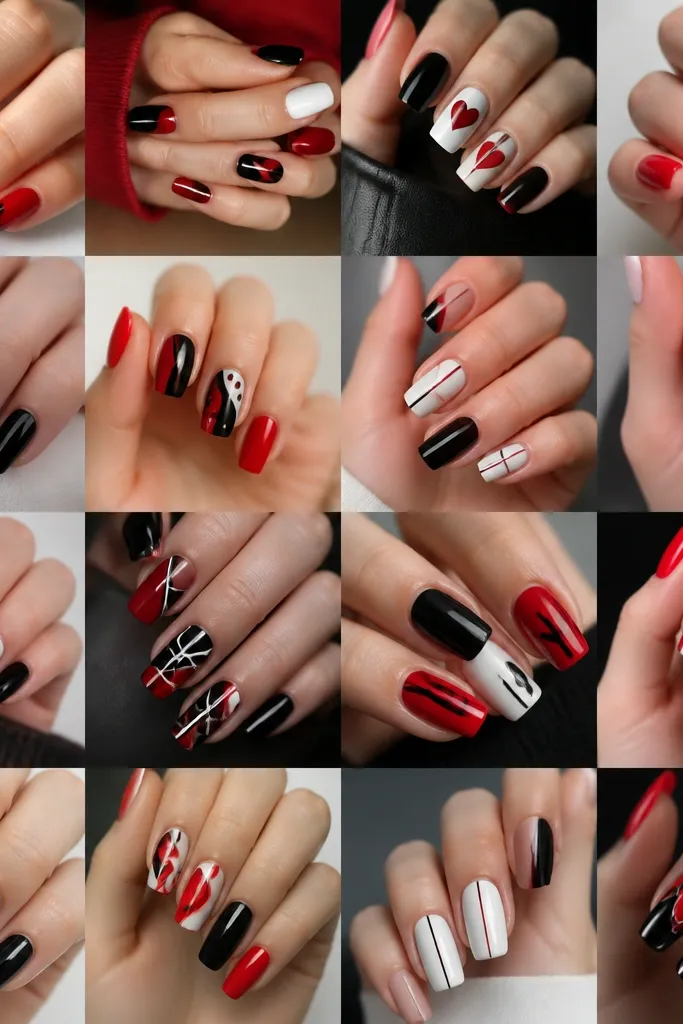
1. Cherry Red Half-Moons On Glossy Black
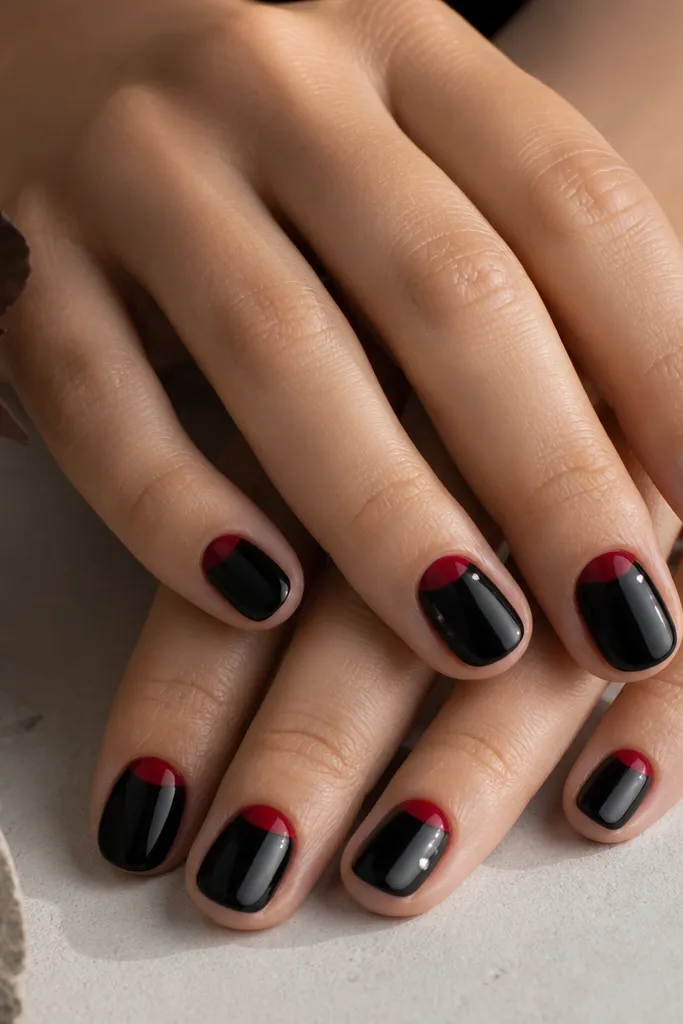
This one looks polished because the red is only in the half-moon shape, so it reads graphic instead of heavy. The glossy black base gives you that high-contrast frame, and the red cuticle arc makes the nail look slightly longer by pulling attention upward. I've worn this on medium tan and fair skin tones and it always looks intentional because the red doesn't have to compete with busy patterns. It's also a good choice for work since the design stays neat even as nails grow out.
Start with a glossy black base on all nails and cure or dry fully. Use striping tape to mask a curved cuticle area, then paint the half-moon in cherry red and remove the tape before fully setting so the edge stays sharp. Clean up the sides with a small brush dipped in acetone or polish remover. Add a tiny white dot on two accent nails - place it near the lateral edge of the half-moon so it looks like a highlight, not a sticker. Finish with a thick top coat and cap the free edge.
Editor's noteIf your half-moon curves never look even, use a half-moon stencil made for nails - it's faster than freehand and the edge stays consistent.
2. White Micro-Tips With Red And Black Skater Lines
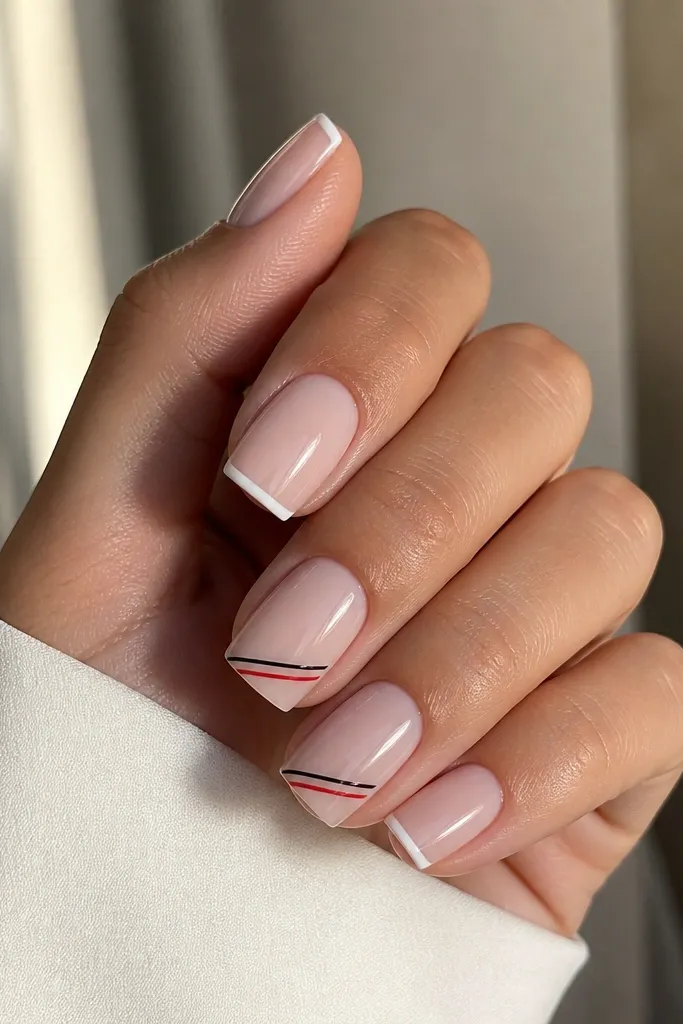
Micro-tips look modern because they keep the design small and sharp, and the nude base prevents the set from feeling too dramatic. The thin white tip acts like a visual frame, while the red and black skater lines add attitude without covering the whole nail. This flatters hands with shorter nail beds because the nude base gives you breathing room and the tip stays narrow. It's also a great option if you want red-black-white but you don't want loud coverage on every nail.
Paint a sheer nude base and let it look even - I aim for a soft, milky nude that still shows nail health. Tape off a very thin French tip width (about 1 mm) and apply white. On two accent nails, use a thin striping brush to draw a diagonal black line from the outer tip corner toward the center. Then add a red diagonal line 1-2 mm below it, keeping the two lines parallel. Seal with two coats of glossy top coat, pressing the brush over the tip edge.
Editor's noteUse gel striping paint for the lines. It levels into straighter edges better than regular polish.
3. Black Marble Veins Over Milky White
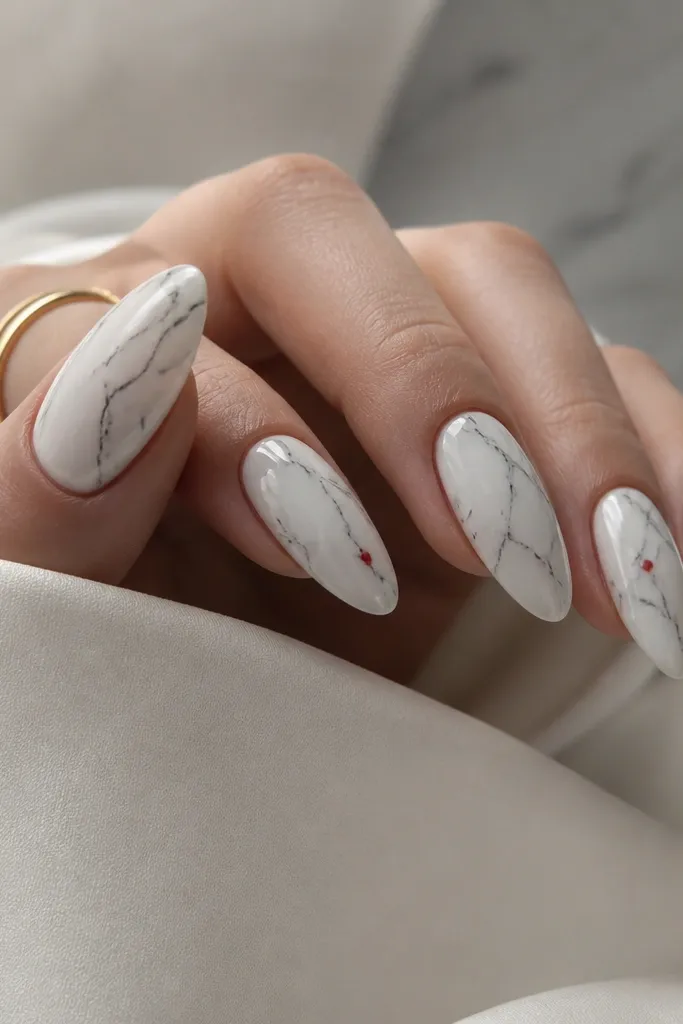
Marble looks modern when it's controlled and thin, not cloudy. Milky white gives you the clean canvas, and black veins keep the contrast crisp instead of grayish. I like this for fair to medium skin tones because the white brightens the hand and the black lines add structure. Red accents keep the marble from reading too monochrome, especially under indoor lighting where white can look flat.
Apply milky white as a solid base - I go for a semi-opaque milk so it looks smooth under the light. With a fine liner brush, drag black gel in wispy lines across the nail, then pull it slightly into streaks so it looks organic. Use a toothpick or dotting tool to add one or two tiny red flecks - keep them small so they look like stone undertones. Cure and then sponge a very light transparent top coat layer if the veins look too raised. Finish with a high-gloss top coat for that glassy marble look.
Editor's noteDon't overwork the veins. Make 3-5 main lines per nail and stop - that's what keeps it modern.
4. Red-White Checker With Matte Black Frames
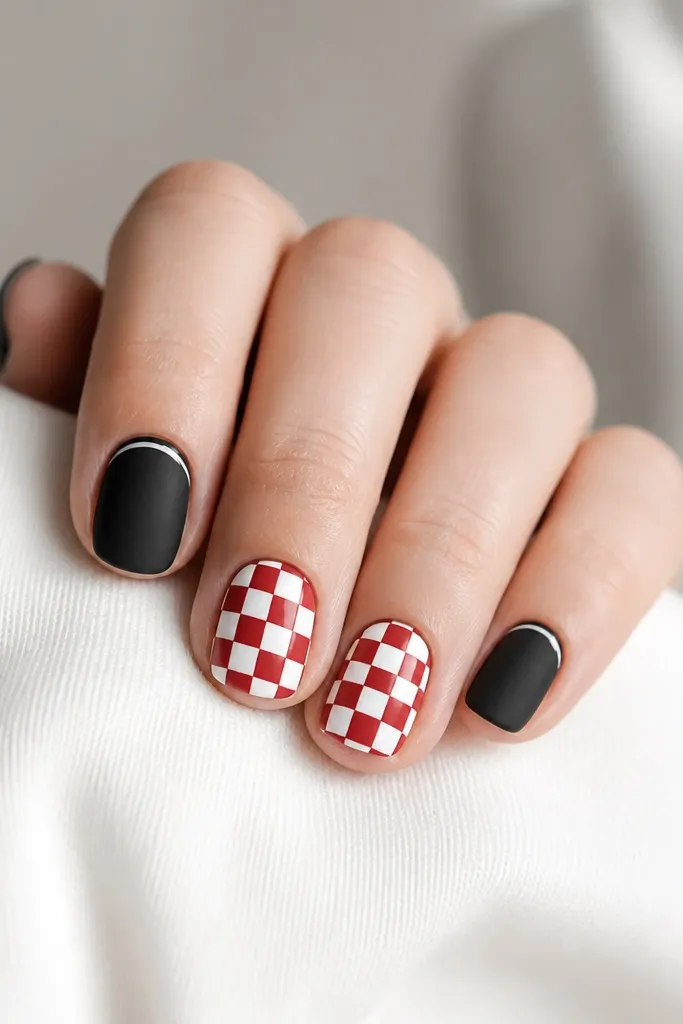
Checker patterns look playful but can still be modern if the squares are small and the frames are clean. Matte black makes the red-white checker feel more graphic because matte absorbs light and the checker pops. This works especially well on shorter nails because the pattern stays centered and doesn't overwhelm the shape. If you love red-black-white but hate full glossy drama, matte black is the fix.
Paint matte black on most nails using a matte top coat or a matte polish. For the checker nails, start with white as the base, then use nail tape to create a grid of small squares (about 2-3 mm). Fill alternating squares with red. Remove tape carefully while the polish is still tacky so the edges stay crisp. Add a thin glossy white border line on matte nails using striping polish - cure/dry and then seal with matte top coat over matte nails only (glossy over the checker ones).
Editor's noteUse nail tape cut into short strips. Long strips tug and distort the line edges.
5. Black Outline Hearts With Red Fill On White Base
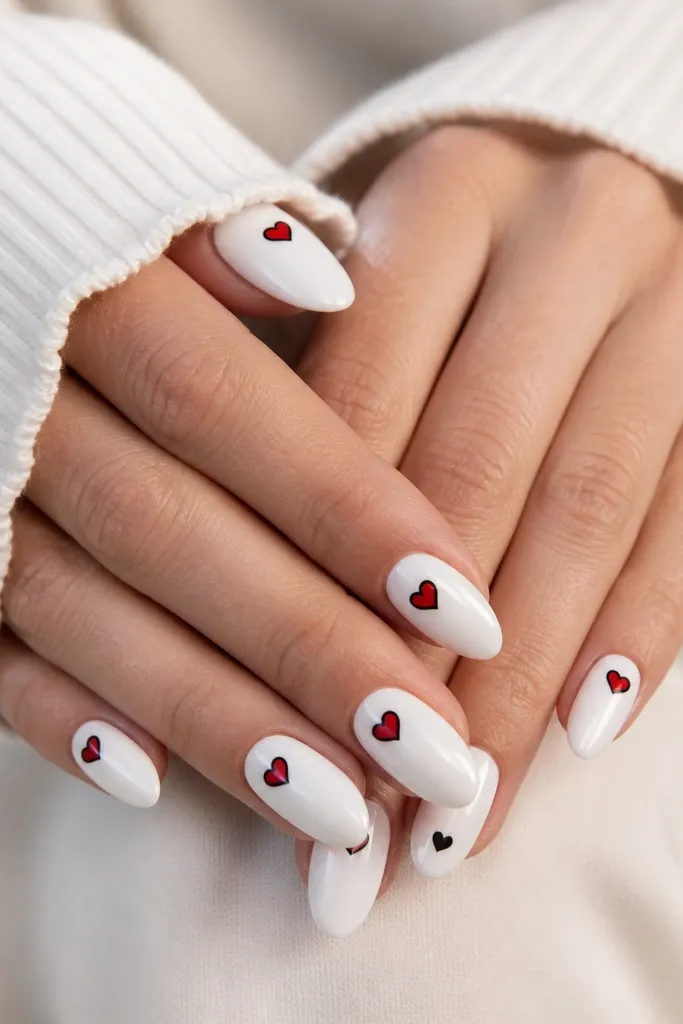
Hearts can look childish, but outlined hearts on a glossy white base look clean and adult. The black outline does the heavy lifting, keeping the heart shape crisp and readable. Red fill brings the contrast, and the small placement near the cuticle makes your nail look tidy rather than cluttered. I've worn this to Valentine events and also just as a fun everyday set because the white base makes it feel fresh.
Start with glossy white polish or gel. Place a heart near the center of each nail, using a dotting tool to form the two top curves, then connect them with a fine liner brush for the bottom point. Outline the heart in black and let it dry or cure. Fill the heart with red, staying inside the outline lines. Add a tiny white highlight dot on one side of the heart if you want extra sparkle - but keep it minimal. Seal with a glossy top coat.
Editor's noteIf your hearts wobble, draw half the heart first, cure, then mirror it with the same brush pressure.
6. Reverse French In Black With Red And White Corner Pop
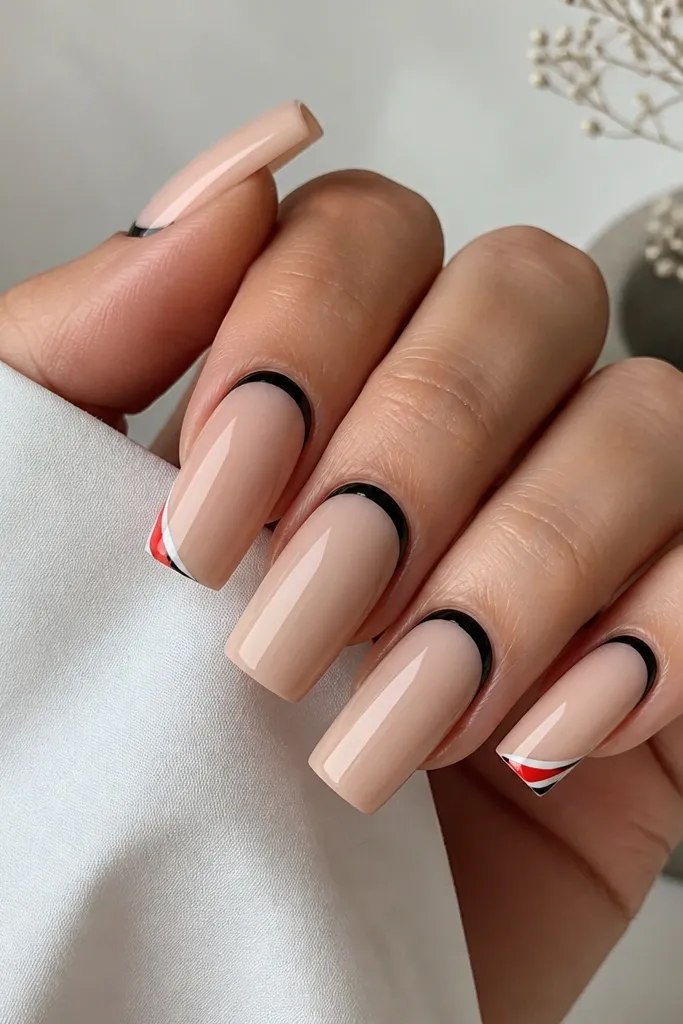
Reverse French looks modern because it changes where the contrast sits - at the cuticle instead of the tip. A black cuticle arc frames your nail and makes the nail bed look longer. The nude base keeps it wearable, and the corner pop adds a playful accent without covering the whole nail. This flatters most hands because it doesn't rely on a perfectly even tip; your cuticle line is the star.
Apply a nude base that matches your skin tone - I like a sheer pink-nude so it warms up the hand. Use a French brush to paint a thin black curve at the cuticle, then slightly extend it down the sides for a clean arc. For the accent nails, paint a small triangle or corner shape at the outer tip edge using white first, then add a red triangle beside it. Keep the corner shape small, about 2-3 mm wide. Finish with glossy top coat and cap the free edge.
Editor's notePractice the curve on one nail using plain polish first. Once the curve is right, use tape for the next nails.
7. Diagonal Red Stripes Over Black With White Negative Space
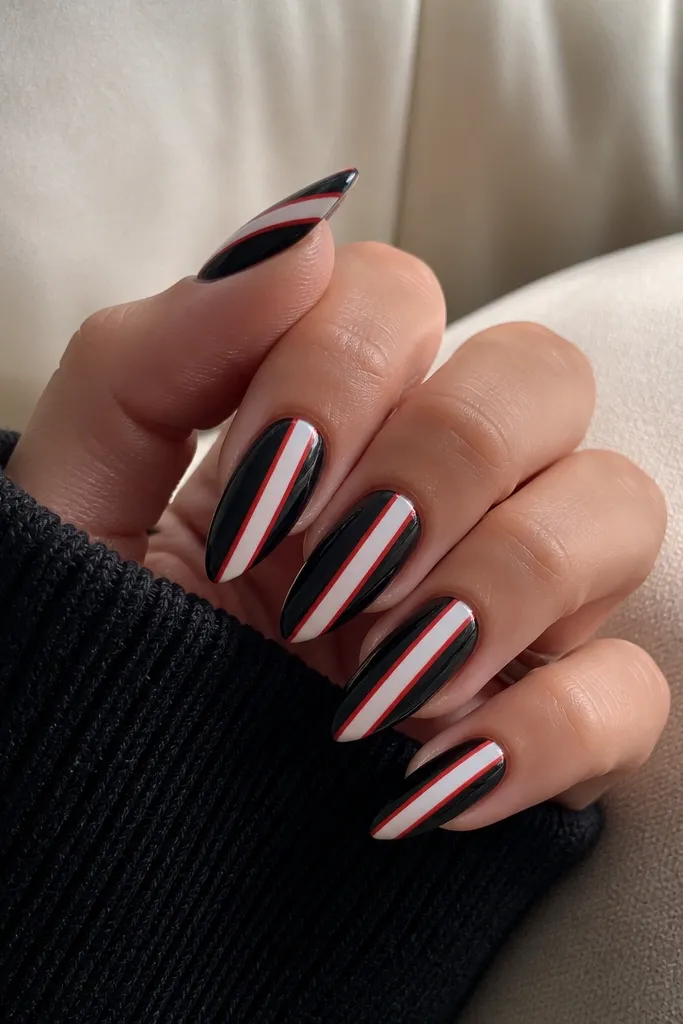
This design looks sharp because it uses negative space as a design element, not as a mistake. The diagonal stripes create movement, and the white band keeps the set from feeling too dark. I love it on medium almond because the diagonal lines follow the nail's natural length and make fingers look longer. It also works for deeper skin tones because the white band stays bright and readable.
Paint a glossy black base on all nails. Apply striping tape diagonally to create two red stripe lanes and one white negative lane. Paint the exposed lanes red, then remove tape to reveal the white band (or paint the white band first and then tape over it). If you're using gel, cure the red before removing tape so the edges stay clean. Add a second thin coat of red if needed for full opacity. Seal with top coat and smooth the nail surface.
Editor's notePress the tape down firmly with a cuticle stick. If the edges lift, you get fuzzy lines.
8. White Swoosh Lines On Red Nails With Black Dots
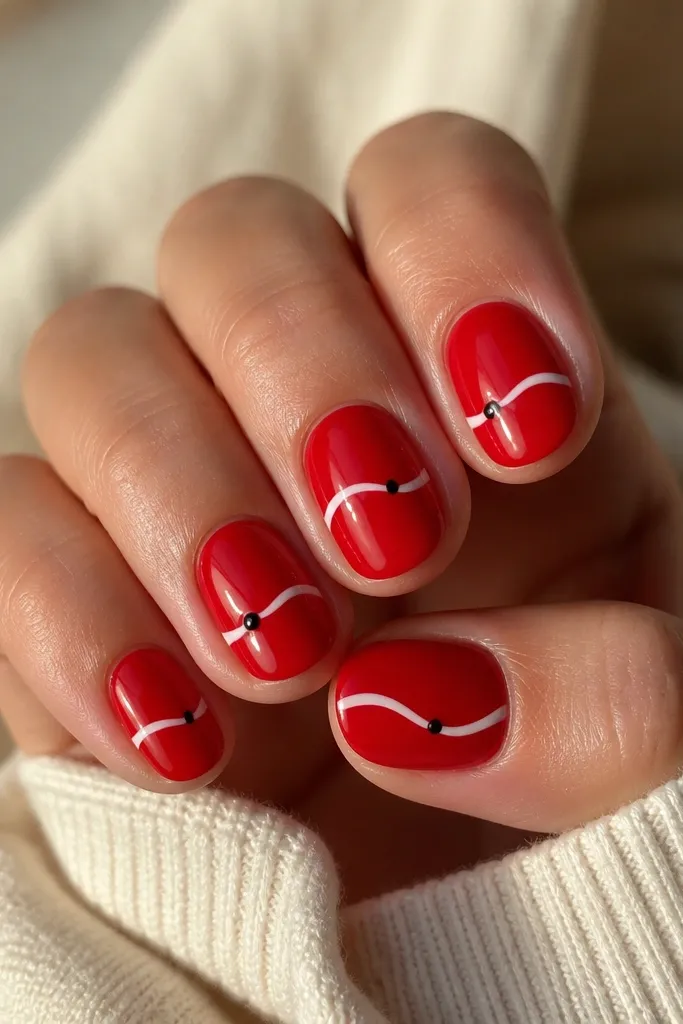
Swoosh lines look modern when they're single and confident, not layered. A solid red base makes the white line pop, and the black dots add a tiny graphic anchor. This looks great when your nails are short because the design runs horizontally across the center and keeps the nail looking full. It's also a good choice if you want something that looks "done" without needing long nail length.
Paint solid red on all nails in two thin coats. Use a thin liner brush to draw one sweeping white curve across each nail, starting near one side and ending near the other. Keep the swoosh about 1 mm thick so it doesn't look like a stripe sticker. On two accent nails, place a black dot at the swoosh's end - one dot per accent nail. Let dry/cure and finish with glossy top coat.
Editor's noteIf your white line looks streaky, do a quick second pass while the first coat is tacky.
9. Black And Red Half-Skull Accent On White Background
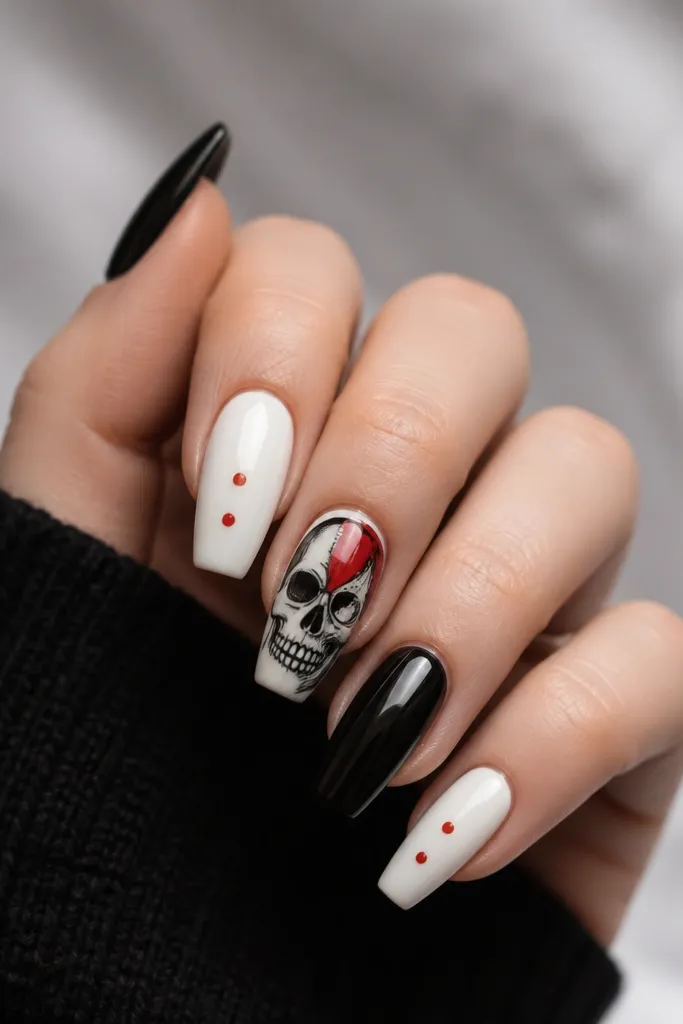
Skull art can look heavy, but keeping it to one or two accents keeps the set wearable. Glossy white makes the graphic feel crisp, and the red highlight adds a modern edge without turning it into full goth. I like this on medium coffin or almond because the shape gives the graphic room to look intentional. If you wear darker outfits a lot, this set gives you a bright hand highlight.
Paint glossy white on most nails. On accent nails, outline a simple skull using black liner paint - start with the eye sockets first, then add the cheek lines and the nose triangle. Color one small section of the skull in red (like part of one cheek or the nose area) so you get the red-black-white contrast. Keep the rest of the nail clean. Finish with a glossy top coat and avoid flooding the design edges.
Editor's noteUse a fine nail art brush that still has a sharp tip. Blunt brushes make skull lines look messy.
10. Black French Tips With Red Underline And White Dot
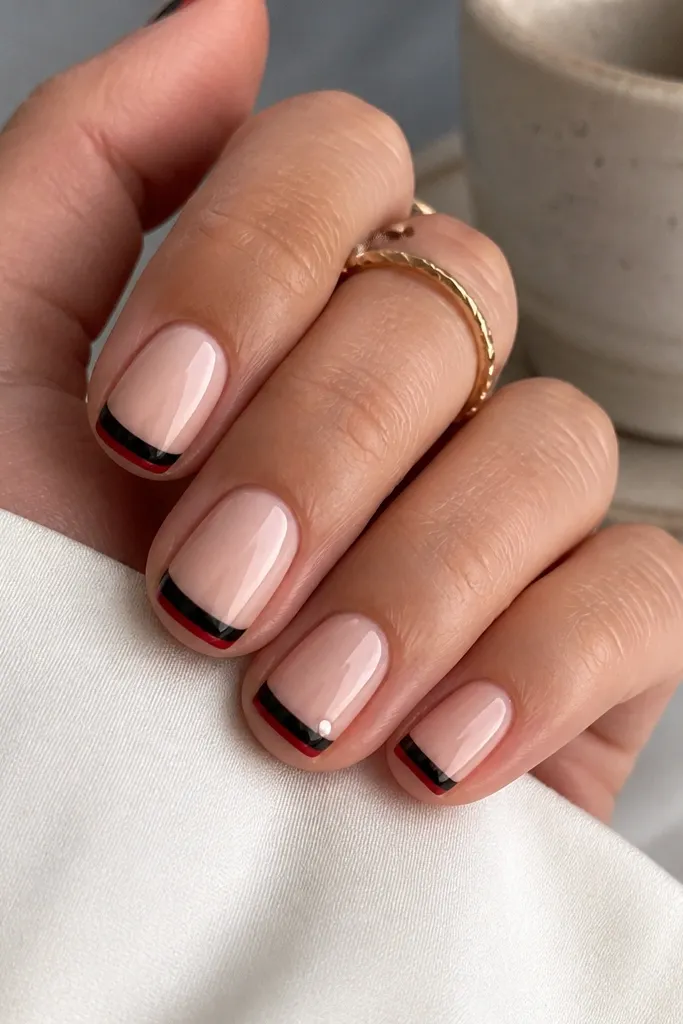
This is the version of French that looks "designer" without being complicated. Black tips give strong contrast, the red underline adds a second layer so it looks intentional, and the small white dot gives the set balance. It flatters hands because the nude base keeps the nail bed visible and the tips stay controlled. I've worn it for photos and it reads clean even when the camera flash hits.
Start with a nude base and let it dry/cure completely. Paint black French tips, then add a thin red line just inside the tip boundary - the red line should be about half the thickness of the black tip. Use a striping brush for the red so it stays straight. On one accent nail, place a single white dot aligned with the center of the red underline. Seal with glossy top coat and cap the tip edge.
Editor's noteMake the red underline slightly shorter than the tip width so it looks like a deliberate accent, not a full border.
11. Red And White Vertical Blocks On Black Negative Base
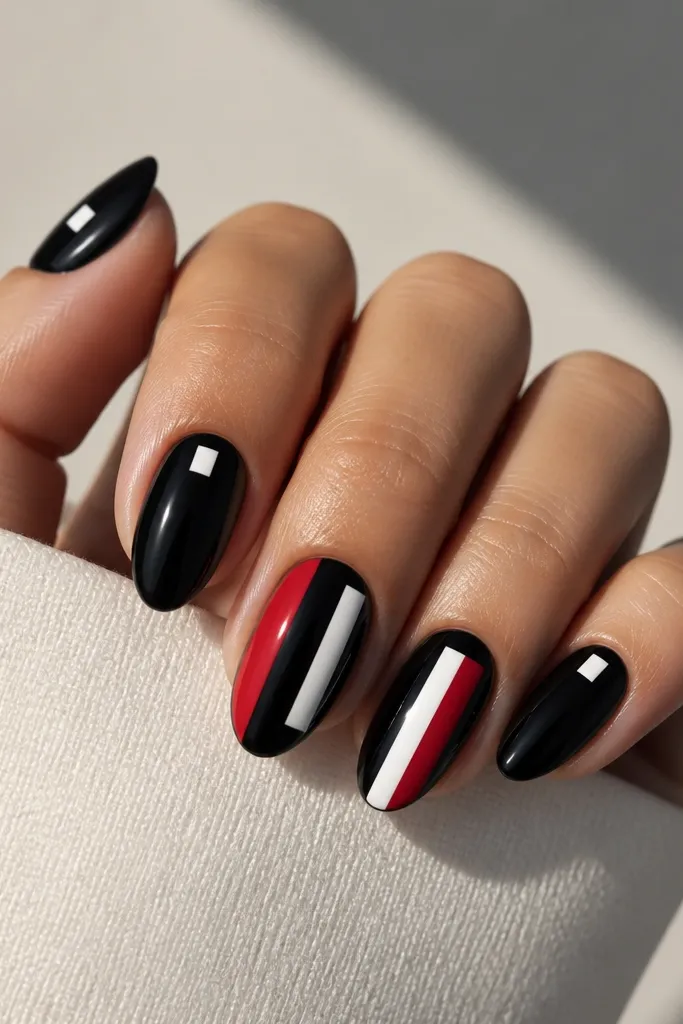
Vertical blocks make fingers look longer because the shapes pull the eye up and down. The black negative space between red and white keeps it modern, like a minimal poster. This is flattering on short to medium nails because you don't need extra length to make the shapes look balanced. If you're tired of swirling nail art, blocks feel fresh and clean.
Paint glossy black on all nails. For the block nails, tape two vertical sections - keep the blocks narrow, about 3-4 mm wide each. Paint one section red and the other white, then remove tape while the polish is still slightly tacky. For the remaining nails, add one small white block near the side of the nail, centered vertically. Cure/dry and apply a smooth glossy top coat to remove any tape edges.
Editor's noteKeep the blocks the same height on every nail. Consistency is what makes it look modern.
12. Satin Black With Red Bow And White Dot Centers
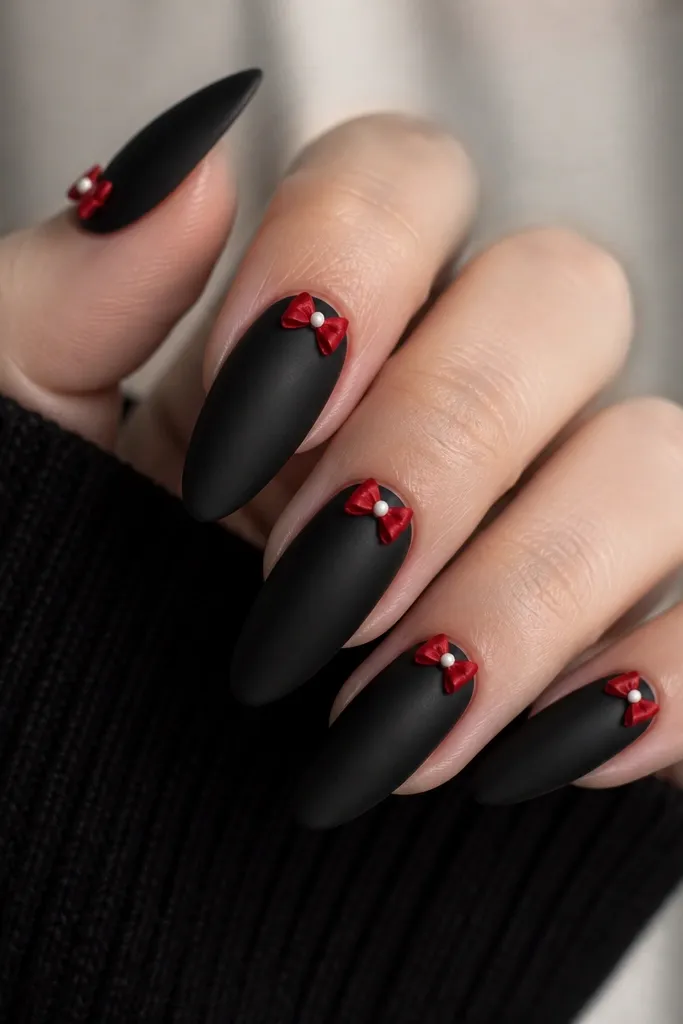
Satin black looks expensive in real life because it doesn't glare like full gloss. The red bow gives you a cute focal point, but the small placement keeps it grown-up. White dot centers act like highlights, so the bow looks crisp instead of flat. This set looks great if you like nail art that's visible up close but still clean from a distance.
Apply satin black (either satin polish or a matte polish with a satin top coat) on all nails. Create the bow using striping gel or a nail art liner: two curved loops and a small center knot. Use a dotting tool to place a tiny white dot exactly in the bow center. Cure and then seal with a satin or soft-gloss top coat so the black stays velvety. Keep the bow size about the width of your cuticle line so it fits naturally.
Editor's noteIf your bow looks lopsided, add a thin black outline around the bow edges to sharpen the silhouette.
13. Red Gloss Dip Over White Base With Black Edge
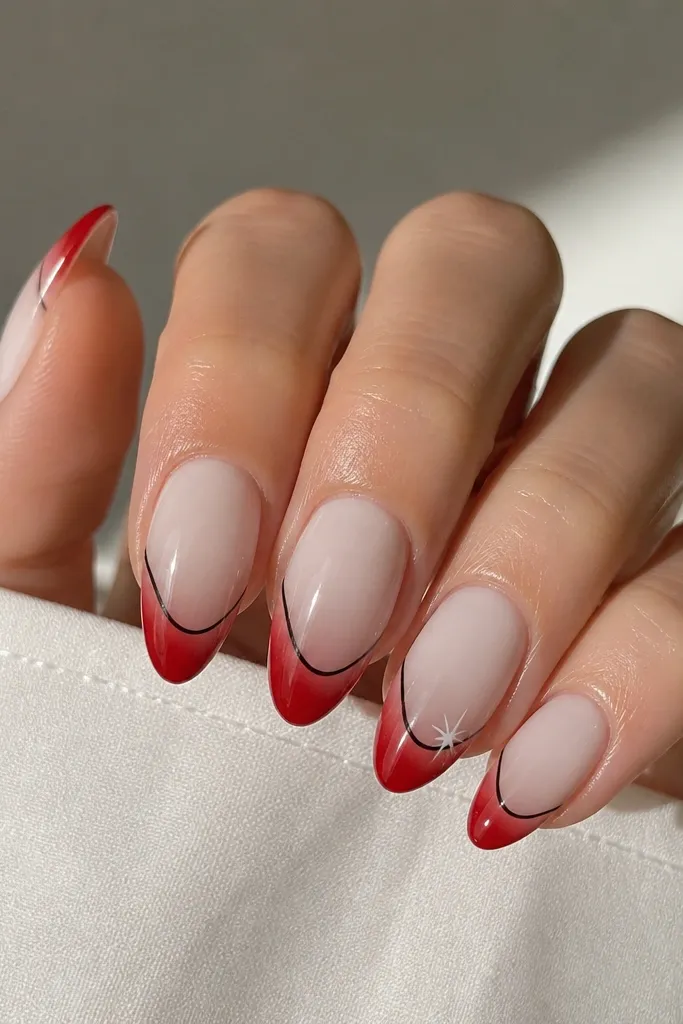
A dip gradient keeps the design sleek because it creates a smooth transition instead of hard blocks. The thin black edge line is what makes it modern - it separates white from red so it doesn't blend into pink. This looks especially good on medium almond because the curve makes the gradient look intentional. It's also flattering if your nails have slight ridges since the gradient and line draw attention to shape, not texture.
Paint milky white as your base and cure fully. Sponge a red gradient at the tip - start with red at the tip edge and blend upward with fewer sponge dabs. Clean the blend by wiping the sponge edge so the fade stays smooth. Add a thin black line along the top boundary of the red dip using a fine liner brush. Add a tiny white star on one accent nail near the outer side of the nail. Seal with glossy top coat.
Editor's noteUse a makeup sponge cut into a small wedge. It gives you more control than a round sponge.
14. Black Dot Grid Over Red With White Starbursts
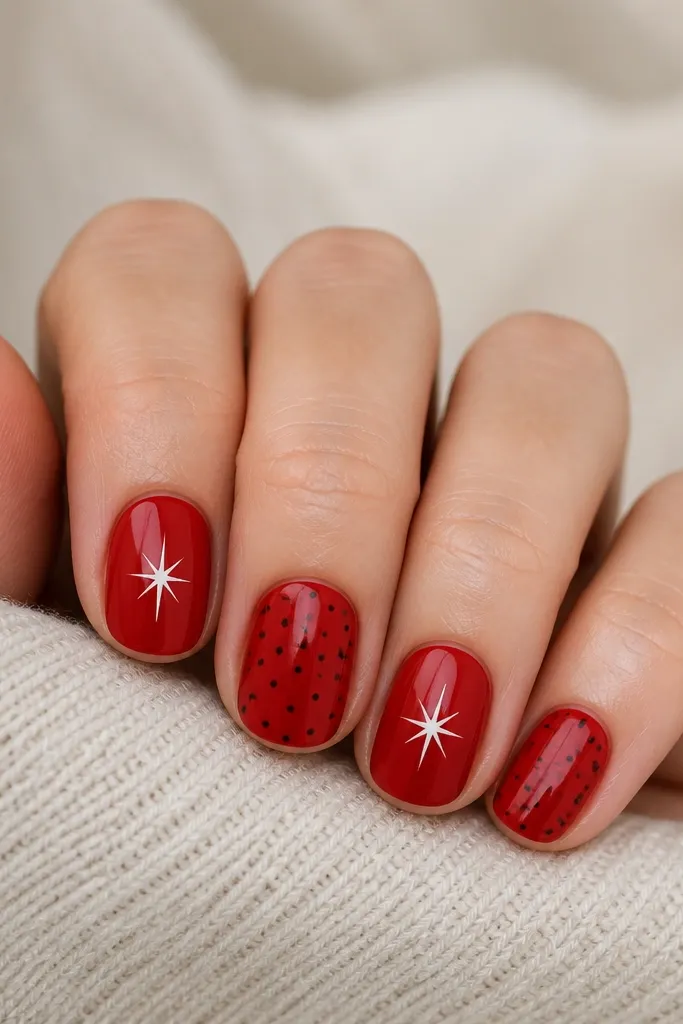
Dot grids look modern when the dots are tiny and evenly spaced, not chunky. Red gives the background energy, black dots add structure, and white starbursts bring a little pop without turning into cartoon art. This is a great everyday set because you get visual interest without needing long lines. It flatters most hands because the pattern stays centered and doesn't fight your natural nail curve.
Paint glossy red on all nails. For the grid nails, use a dotting tool and place dots in neat rows, spacing them about 1 mm apart. Keep the grid only on the top half of the nail so it doesn't feel too busy. For the starburst nails, draw a small white burst using a dot at the center and 6-8 short lines radiating outward with a fine brush. Add one black dot near the starburst edge on one nail for balance. Finish with a thick glossy top coat.
Editor's noteIf your dots get too big, switch to a smaller dotting tool. Scale is the difference between modern and messy.
15. Classic Red And White Stripes With Black Side Border
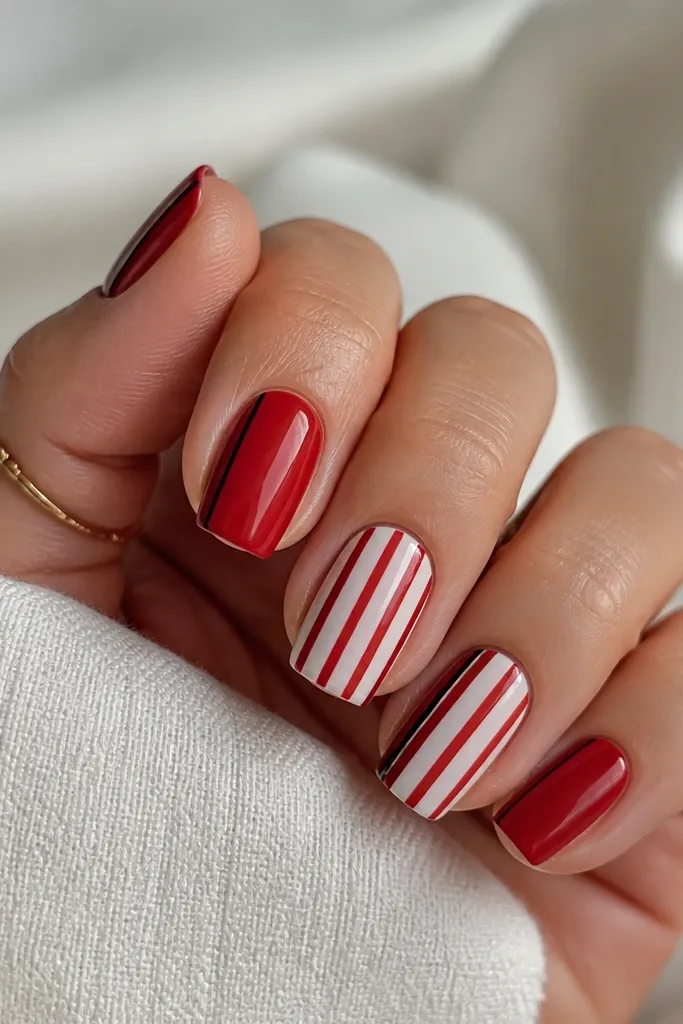
Vertical stripes look crisp because they add length and create a clean rhythm. The black side border keeps the stripes from looking like a sticker - it frames the nail like a design element. I like this for medium square because the flat sides make stripe placement easier. It also works on fair and deeper skin tones because the red and white stay bright against the black border.
Start with a sheer nude base so the stripes look sharp. For the stripe nails, tape thin vertical lines to create alternating lanes, then paint red and white in alternating sections. Remove tape carefully. Add a thin black border line on the side of each nail - place it either left or right consistently across the set so it looks intentional. Let everything cure/dry fully, then apply glossy top coat in two thin layers so stripes stay smooth.
Editor's noteUse the same brush angle for every stripe. Your hand will naturally repeat the thickness.
16. Black Outline Roses On White With Red Petal Tips
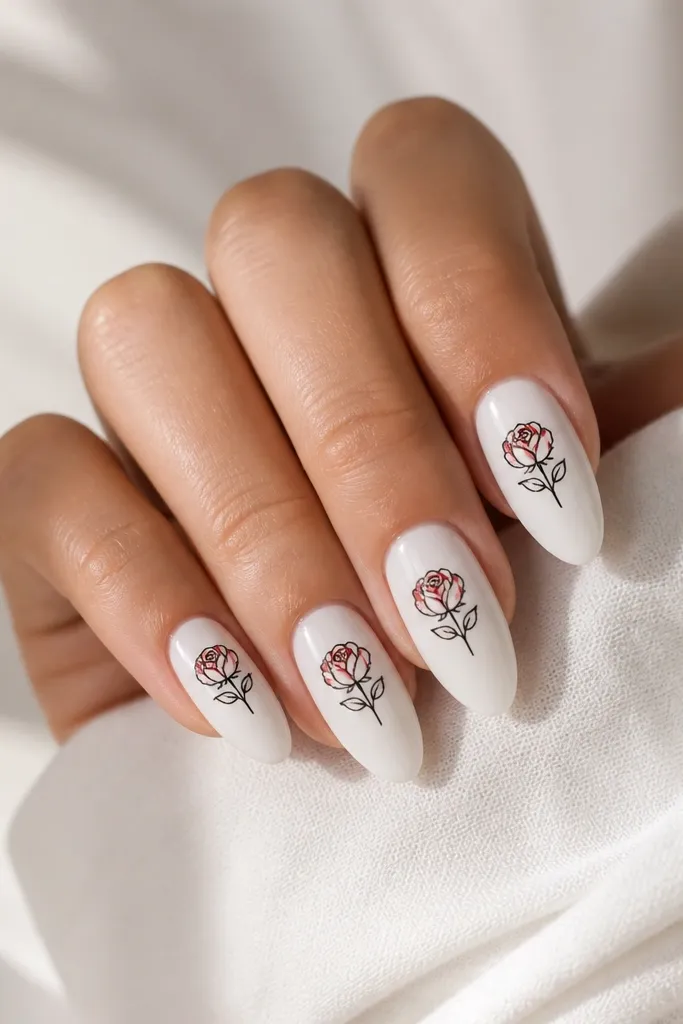
Line roses look modern when they're drawn as outlines, not filled with heavy shading. The black outline gives you crisp structure, and the red petal tips add just enough color to keep it from looking like plain line art. This set looks great for date nights and also works for bridal events if you keep the design small. It flatters hands because the rose sits vertically and doesn't cover the whole nail surface.
Paint glossy white on all nails. Use a liner brush to draw a simple rose outline: start with a small spiral center, then add teardrop petals around it. Keep the lines thin so the rose doesn't feel bulky. Color only the outer petal tips in red - use a small brush or dotting tool and stop before the red reaches the center. Add a tiny black dot near one petal if you want a highlight. Seal with glossy top coat and cap the edges carefully.
Editor's noteIf the rose looks too big, shrink it to the size of your cuticle width. Smaller art reads more modern.
17. Red Glitter Cuticle Halo On Black Base With White Line
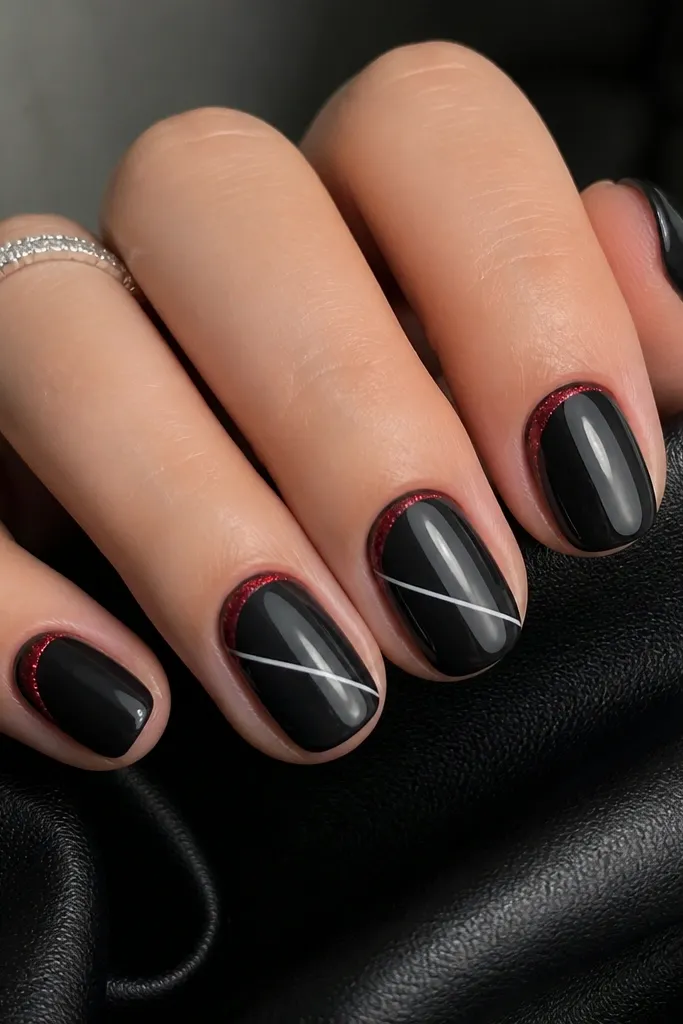
A cuticle halo looks fancy without taking up the whole nail. The red glitter sits right where your eye goes first, and the black base makes the glitter look sharper instead of dusty. The thin white diagonal line adds movement and keeps it modern. This flatters fingers because it visually frames the nail bed and makes the nail look neat even if you haven't had time to file perfectly.
Paint glossy black on all nails. Use a small brush to apply red glitter gel around the cuticle area, keeping it in a thin ring that doesn't flood onto your skin. Cure/dry as directed. On two accent nails, draw a thin diagonal white line across the center using striping polish - keep it about 1 mm thick. Clean the line edges with a tiny cleanup brush. Finish with a glossy top coat, using a careful amount over glitter so it stays smooth.
Editor's noteUse a red glitter that is fine, not chunky. Chunky glitter lifts and catches on everything.
18. White Marble Tips With Black Base And Red Accent Dot
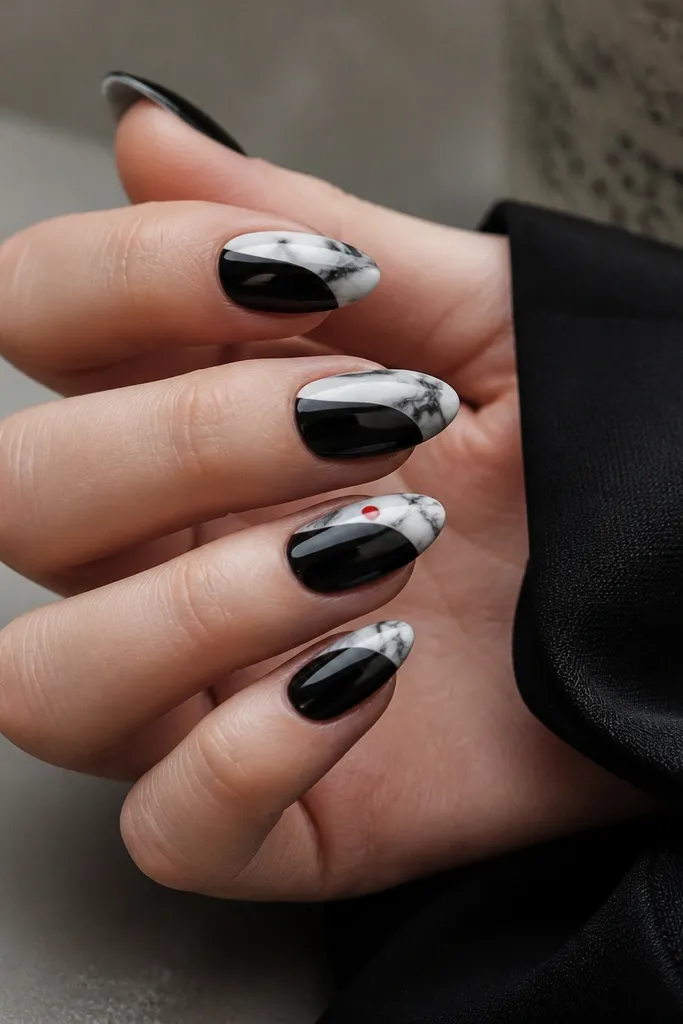
Marble tips feel modern because they're placed at the end of the nail, like a French tip but more artistic. The black base keeps the set bold, and the white marble tips bring in brightness so the red accent has something clean to sit on. I like this design when your nail beds are a bit uneven because the tip detail draws attention away from the base area. It also looks good on both fair and deeper skin tones because black gives you a consistent contrast frame.
Paint glossy black on all nails. For the marble tips, sponge or brush white onto the top third, then add thin black veins on top with a liner brush. Keep the veins mostly inside the white area so the transition stays clean. On one accent nail, place a single red dot at the side where the marble meets the black - about halfway up the nail. Cure fully and seal with glossy top coat. If the marble looks too flat, add a second top coat layer to deepen the shine.
Editor's noteDon't try to marble the entire nail. Tips only look cleaner and less messy.
19. Red Black And White Geometric Triangles On Nude
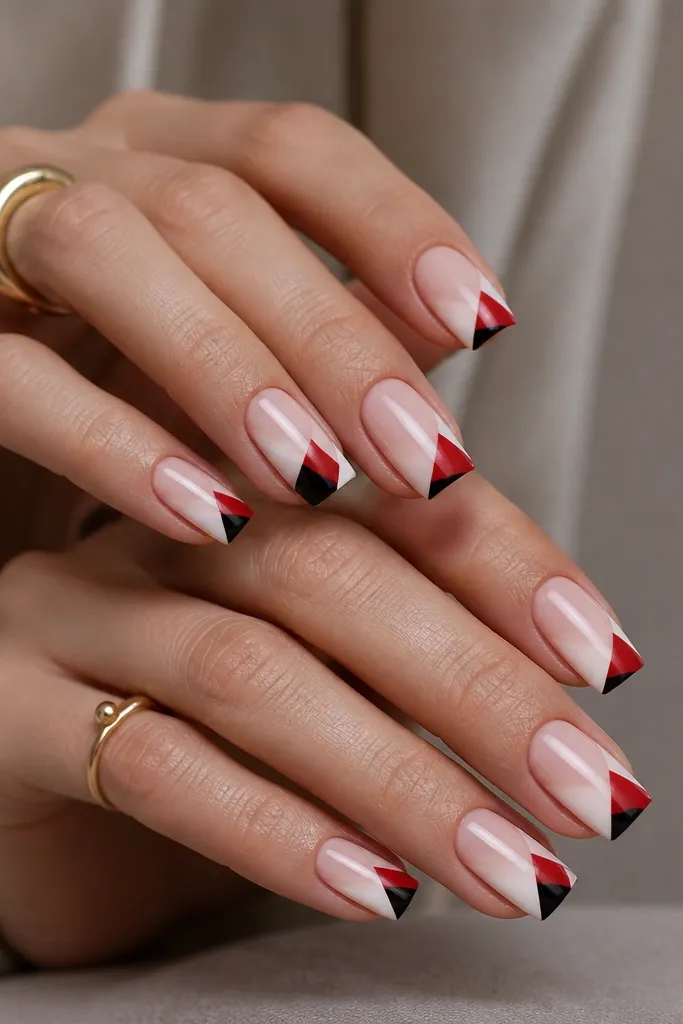
Geometric triangles look modern because they're structured and they create a strong diagonal path across your nail. The nude base keeps the set wearable, while the red, black, and white triangles give you that graphic contrast without covering the whole nail. This flatters hands with shorter nails because the triangles guide the eye upward and make the nail look more "designed" than "covered." If you want a statement set that still looks clean, this is the one I reach for.
Start with a nude base and let it dry/cure evenly. Use nail tape to block out triangle shapes - I place the main diagonal from upper left near the cuticle to lower right near the tip. Paint the top triangle red, the middle triangle white, and the bottom triangle black, keeping each triangle separated by a hairline of negative space or tape edges. Remove tape slowly and clean edges with a thin brush and remover. Seal with glossy top coat, then do a second thin top coat so the tape lines disappear.
Editor's notePress tape down on one nail first and test the edge. If the tape is too old, it pulls polish and ruins the triangle corners.
20. Blood-Red Chrome Tips With Black Smoke Gradient And White Drip Detail
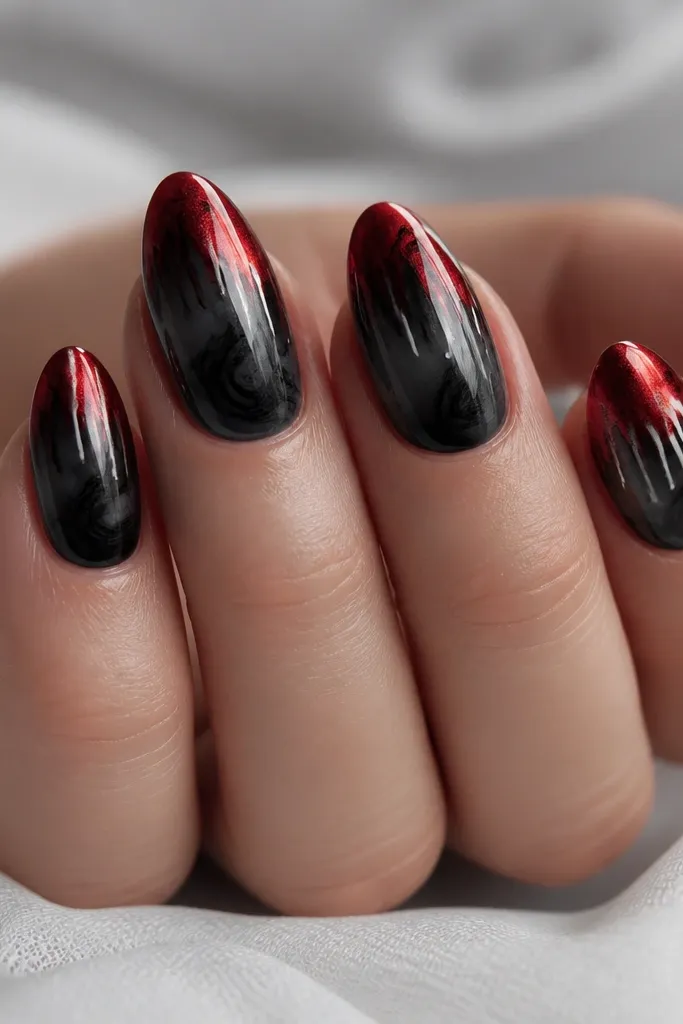
This look mixes three textures on purpose: a soft, smoky black fade, a high-shine blood-red chrome tip, and crisp white drip lines. The contrast is modern because the chrome tip is clean and reflective, while the smoke gives it movement and depth. The white drips add a graphic, slightly messy edge that reads creative instead of random. I wore this on a night out and got compliments because the red tip flashes under lights while the black haze keeps it from looking too loud.
Start with a black base that you blend, not paint. Sponge black gel (or black polish for a quick test) onto the lower third, then use a clean makeup sponge to fade it upward into a smoky gradient; cure each layer so the fade stays smooth. Apply a red chrome powder only on the tip area - I keep it to about 2-3 mm from the free edge for a sharp boundary, then seal with a glossy top coat. For the white drip, use a liner brush with thick gel paint or acrylic paint mixed with a tiny drop of clear gel. Place one drip at the center of each nail, then drag it downward in uneven lengths - mine were about 2-6 mm long - and let the edges look slightly tapered. If you want it to look more like paint, add one smaller side drip on just two nails, then cure and top coat over everything carefully so the drips stay raised and glossy.
Editor's noteRub chrome powder with a firm, short stroke and wipe off excess before curing - it keeps the red mirror-bright instead of patchy.
Watch outSkip a thin, watery white drip paint - it spreads into gray streaks on top of chrome.