
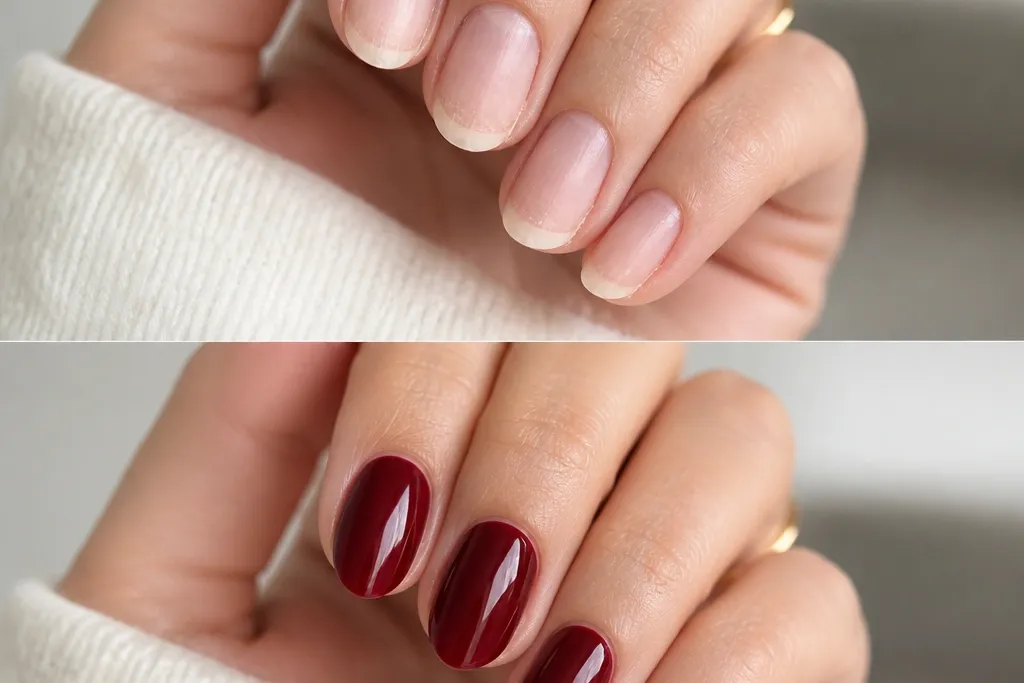
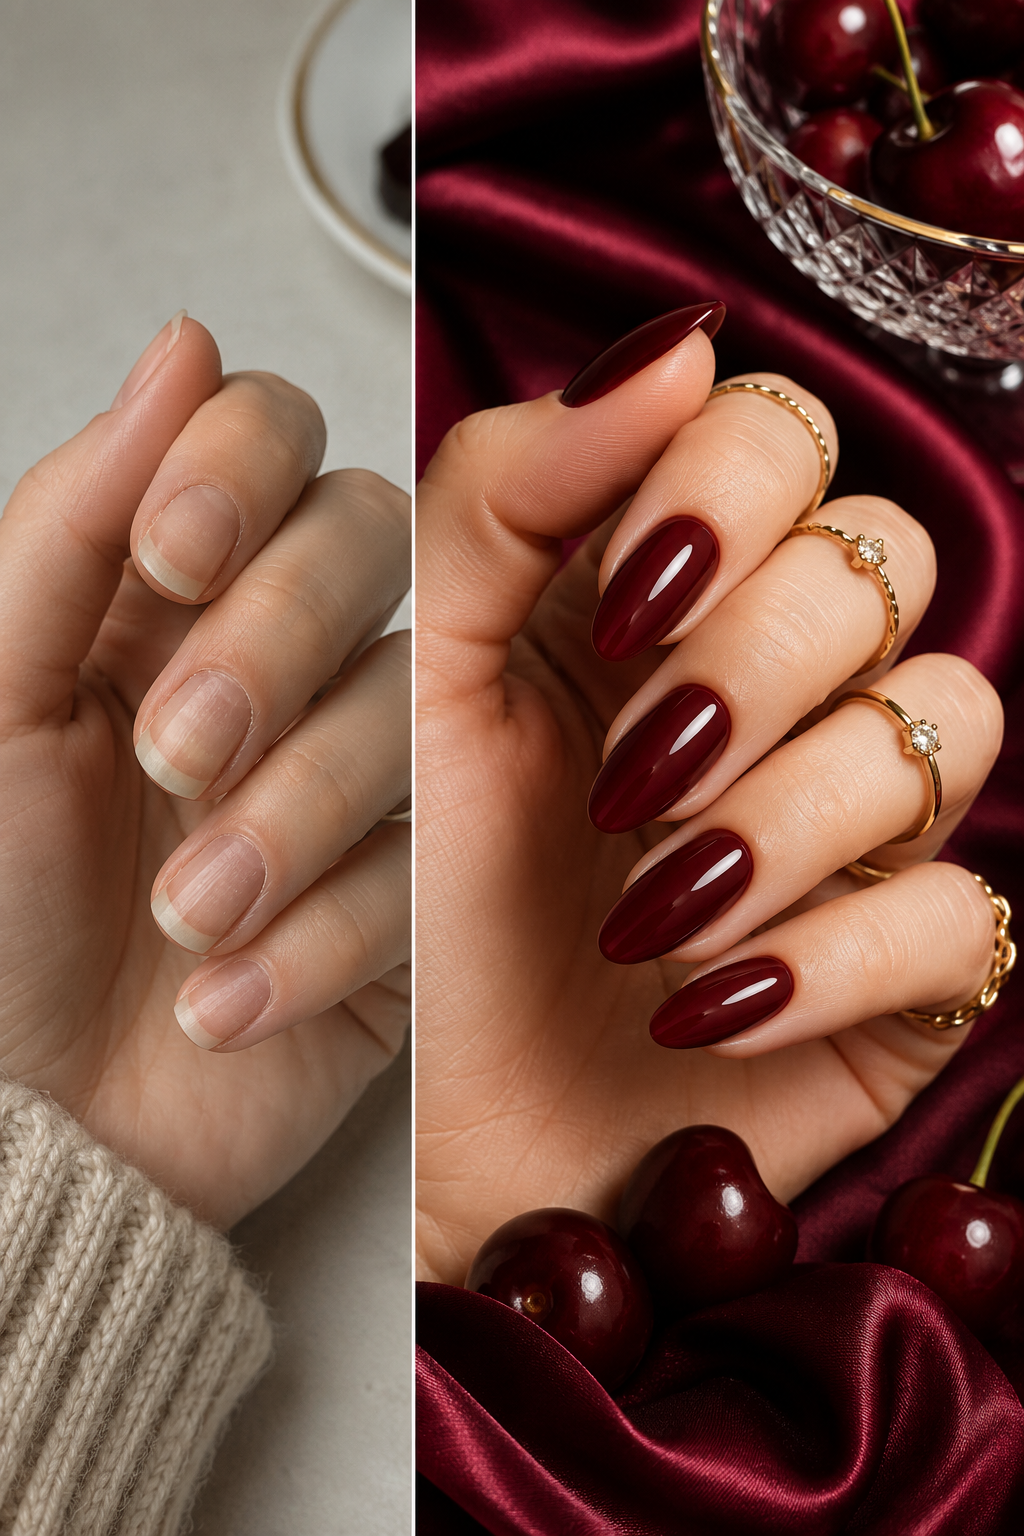
1. Glossy Wine-Cherry Solid on Short Rounded Nails
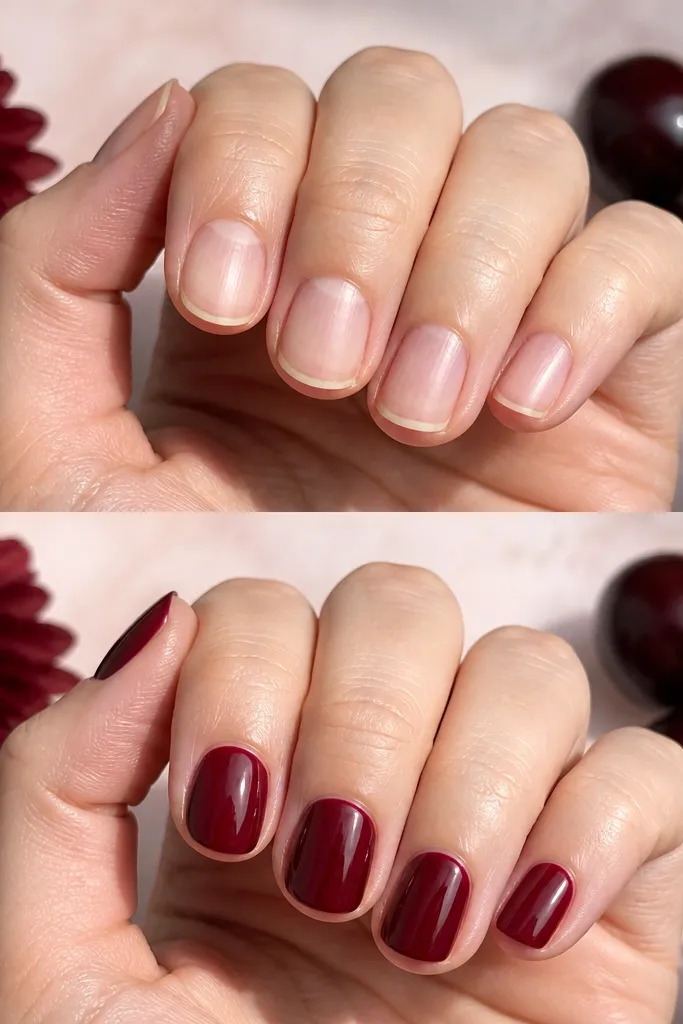
This is the version of Dark Cherry Red Nails Before After Transformation that works even if your nails are short and your hands look a little dry. The solid wine-cherry red sits dark but not black, so it makes skin tone look smoother instead of harsh. I like it on fair to medium skin because the cool undertone keeps it from turning brown. On deeper skin tones, the same shade looks almost jewel-toned in sunlight. The reason it works is simple: solid coverage plus a thick-looking gloss top coat makes the color look dense, not patchy.
Start by pushing back cuticles gently and buffing the nail plate with a soft 180-grit buffer for 5-8 light passes. Wipe with alcohol or gel cleanser until there’s zero slip, then apply a thin base coat and cure if you’re using gel. Paint two thin coats of the wine-cherry shade, letting each coat self-level for 60 seconds before curing; keep the brush centered and avoid flooding the sidewalls. Finish with a glossy top coat, cure fully, then cap the free edge with a tiny swipe of top coat so it stays shiny longer.
If your red looks streaky, do a slightly thicker second coat but keep it off the cuticle — shine comes from the top coat, not from flooding.
Avoid one thick coat. It looks lumpy at the edges and dries uneven.
2. Dark Cherry Red Almond with Micro-Glitter Fade
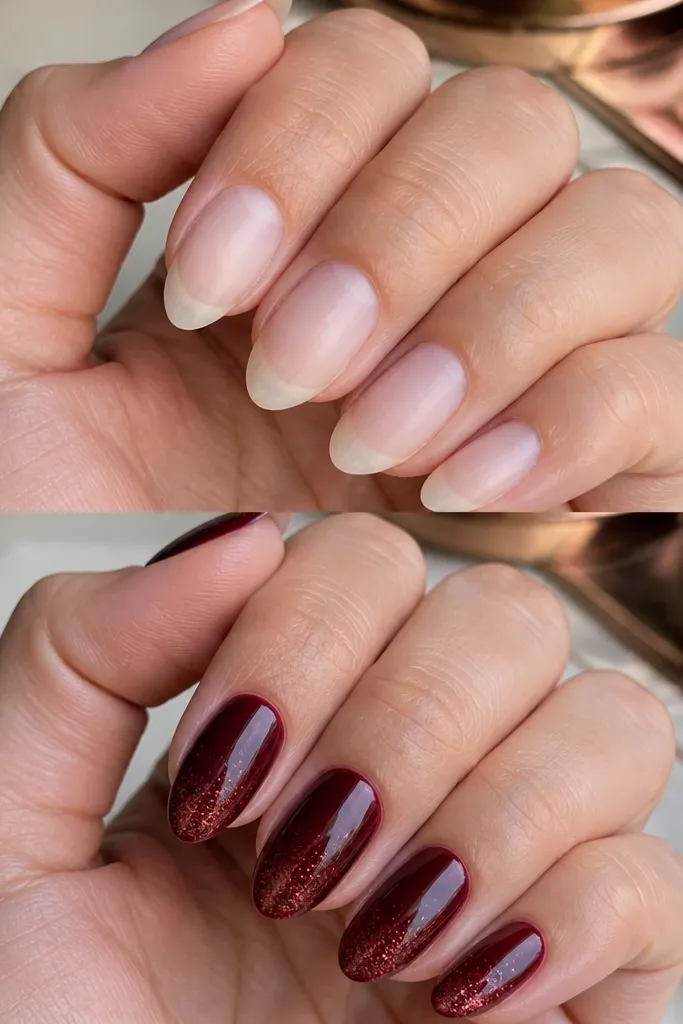
This look takes the same Dark Cherry Red shade and turns it into something that reads “after” even if your nails are already painted. The micro-glitter fade at the tips gives a lift — your eyes see the sparkle at the free edge first, which makes nails look longer. I’ve worn this on medium olive and warm beige skin and it still looks cool and wine-like, not orange. The sparkle is small enough that it doesn’t snag on clothes or feel gritty. It works best when the glitter is concentrated at the tip and kept sheer as it fades upward.
Editor's noteUse a top coat that’s thick enough to level — thin top coat leaves glitter texture visible.
Start with two solid coats of dark cherry red on almond-shaped nails, then cure fully. For the fade, use a small fan brush or a glitter brush to apply micro-glitter only across the last 2-3 mm of the nail tip. Blend upward with a light touch so the transition is soft, not a hard line. Seal everything with a glossy top coat in two thin layers, curing each, and cap the very tip so the glitter stays smooth.
Watch outSkip big chunky glitter. It makes the dark cherry base look messy instead of refined.
3. Cherry Red French Tips on Nude Base
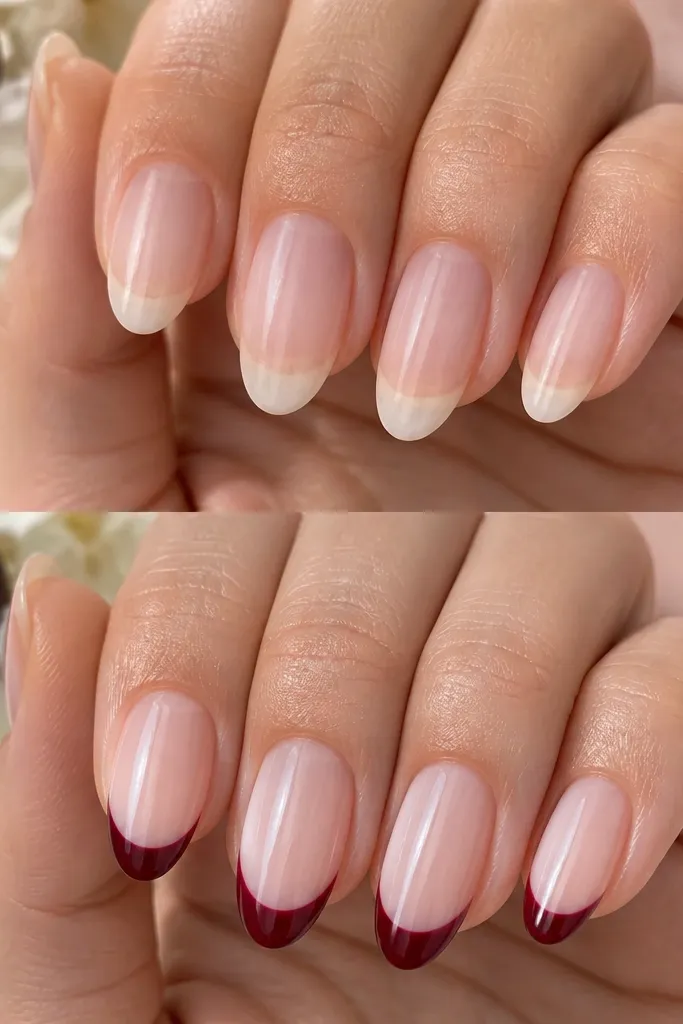
If your before nails look dull because your red is too dark over the whole nail, French tips fix that fast. The nude base keeps the look airy, and the cherry-red tips add that deep color pop only where your eye expects it. I like this on short to medium nails because it visually lengthens without making your hands look heavy. On fair skin, the nude looks pinky and fresh against the cool cherry tips. On deeper skin tones, choose a nude that matches your skin depth so the tips stay the star.
Editor's noteIf you struggle with symmetry, do one hand first, then match the second hand by measuring the tip width from sidewall to sidewall.
Start with a nude base that matches your skin tone — I use a sheer pink-beige that looks natural in indoor light. Apply two thin nude coats, then cure. For the French tips, use a striping brush or French guides and paint a narrow cherry-red line at the tip, keeping it about 1-2 mm wide for short nails and 2-3 mm for medium. Clean the edges with a brush dipped in cleanser before curing, then seal with a glossy top coat and cap the free edge.
Watch outDon’t paint the tip too close to the cuticle. That makes it look like a grown-out manicure.
4. Dark Cherry Red Cat-Eye with a Dark Magnetic Shift
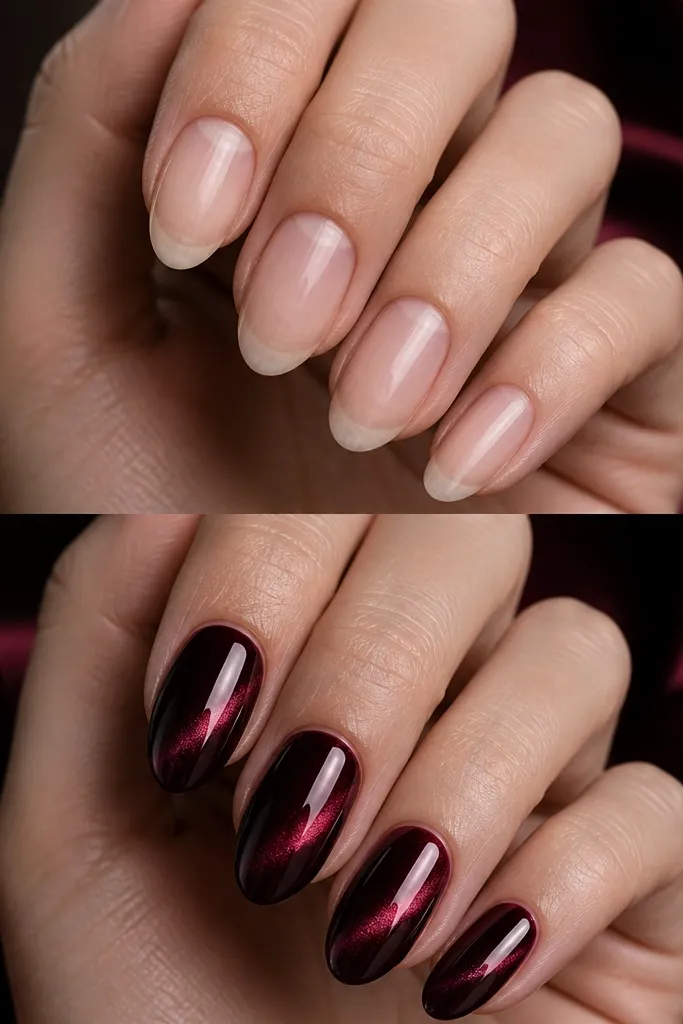
This is the “after” glow-up when you want depth without adding extra art. The magnetic cat-eye stripe makes the cherry red look dimensional, like velvet under light. I’ve done this on medium almond nails and it makes fingers look longer because the stripe pulls the eye down the nail. It works across skin tones because the effect is created by light reflection, not by a bright color. The key is using a dark cherry cat-eye gel that shifts subtly rather than turning neon.
Editor's notePractice magnet timing on one nail. If you move the magnet too late, the stripe looks fuzzy.
Start with a base coat and cure, then apply one thin coat of the dark cherry cat-eye gel. Hover the magnet over the nail at the right distance (usually 2-3 mm from the surface) for 10-20 seconds while the gel is still wet, then cure. Add a second thin cat-eye coat if you want more opacity, repeating magnet placement for each nail so the stripe lines up. Finish with a glossy top coat that doesn’t kill the magnetic effect — cure fully and wipe any tacky residue.
Watch outAvoid shaking the cat-eye gel bottle. It can create uneven particles and a broken stripe.
5. Cherry Red Glass Nails with Clear Builder Gel Overcoat
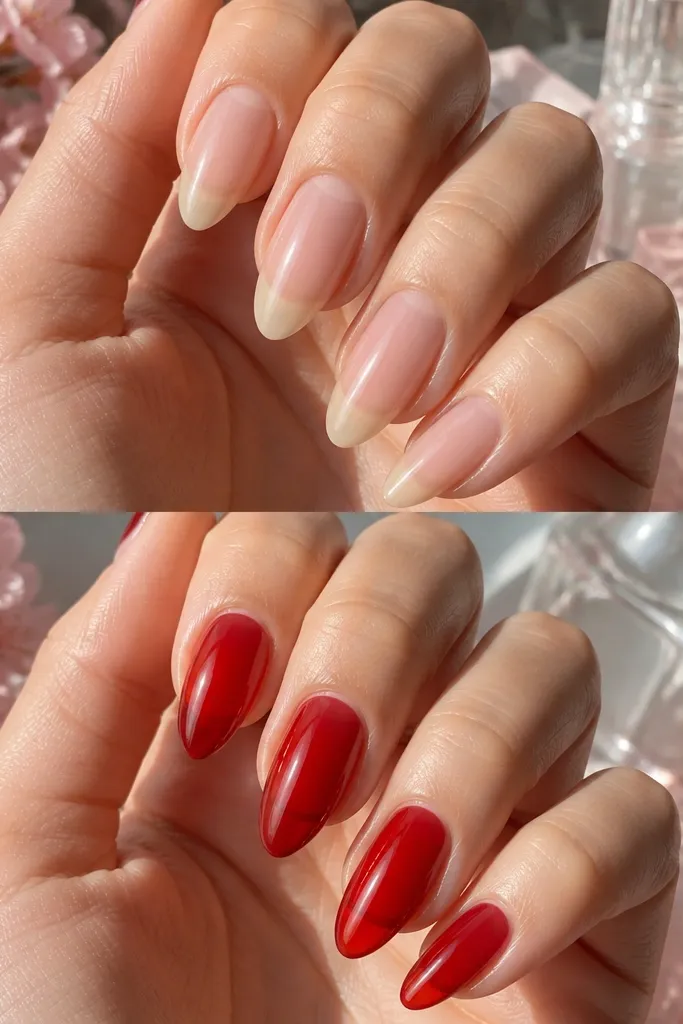
This one looks like you paid extra even when you just did good prep. Trapping dark cherry red under a clear builder gel creates that glass depth — the color looks suspended, not painted on top. I love it for special events because it stays glossy and doesn’t show brush strokes. On my hands, it also makes the nail bed look fuller, which is great if your nails have ridges. It works best with medium lengths because the dome catches light without feeling bulky.
Editor's noteWhen you cap the builder gel, run it right along the free edge so the color stays sealed and doesn’t chip at the tip.
Start by filing the nail shape and removing shine with a gentle buff. Apply a thin base and cure, then paint one to two coats of dark cherry red gel, keeping the brush strokes flat and smooth. Mix or apply clear builder gel over the colored layer, shaping a gentle dome that’s slightly higher at the center. Cure, then file and buff lightly for a smooth top surface, wipe, and finish with a final glossy top coat.
Watch outDon’t skip light filing after curing the builder gel. Without it, the top can feel rubbery and uneven.
6. Dark Cherry Red with One Skinny Gold Line
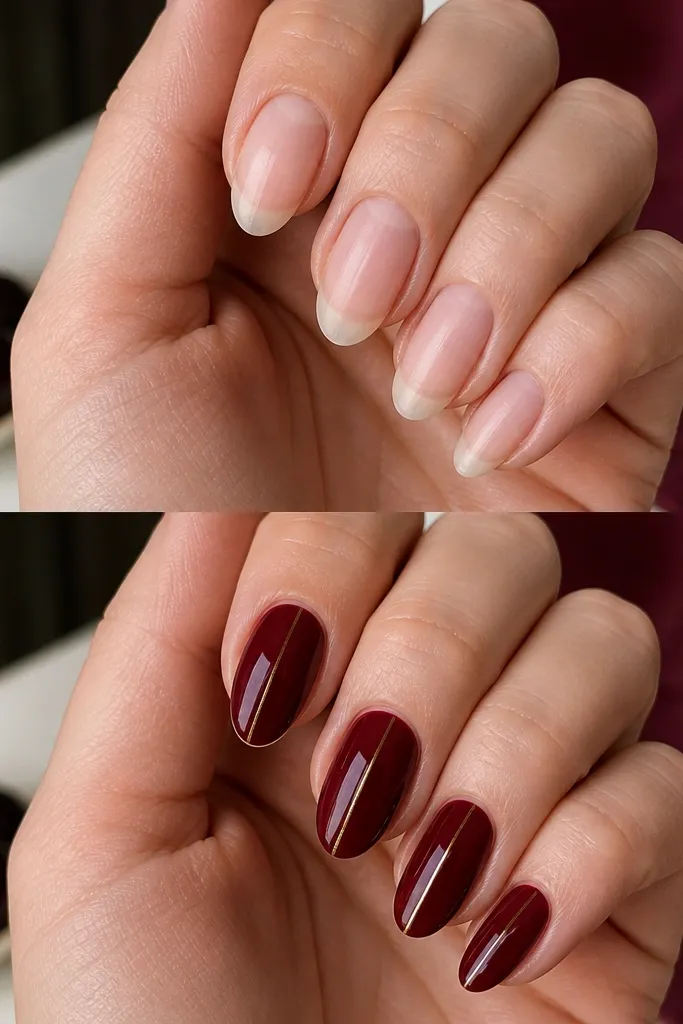
If you want “before and after” contrast without looking busy, add one skinny gold line. It makes the cherry red look sharper and more tailored, like a tailored sleeve instead of a loud print. I’ve worn this to work on days when I wanted something polished but not flashy, and it always gets compliments because it looks intentional. On fair skin it adds warmth without turning the red orange. On deeper skin tones, gold against dark cherry reads extra clean in indoor lighting.
Editor's noteIf your line wobbles, fix it before curing by cleaning the brush with cleanser and re-drawing the edge.
Paint two thin coats of dark cherry red and cure completely. Use striping tape or a liner brush to apply a gold foil gel line down the center — keep it hair-thin, about the width of a single strand of hair. If you use tape, press it lightly, paint over with gold gel, cure, then remove tape before top coat. Seal with glossy top coat in one smooth layer, cure, and wipe any tacky residue.
Watch outAvoid thick gold stripes. They turn the look into a chunky accent instead of a sleek one.
7. Dark Cherry Red Velvet Matte with Glossy Edge
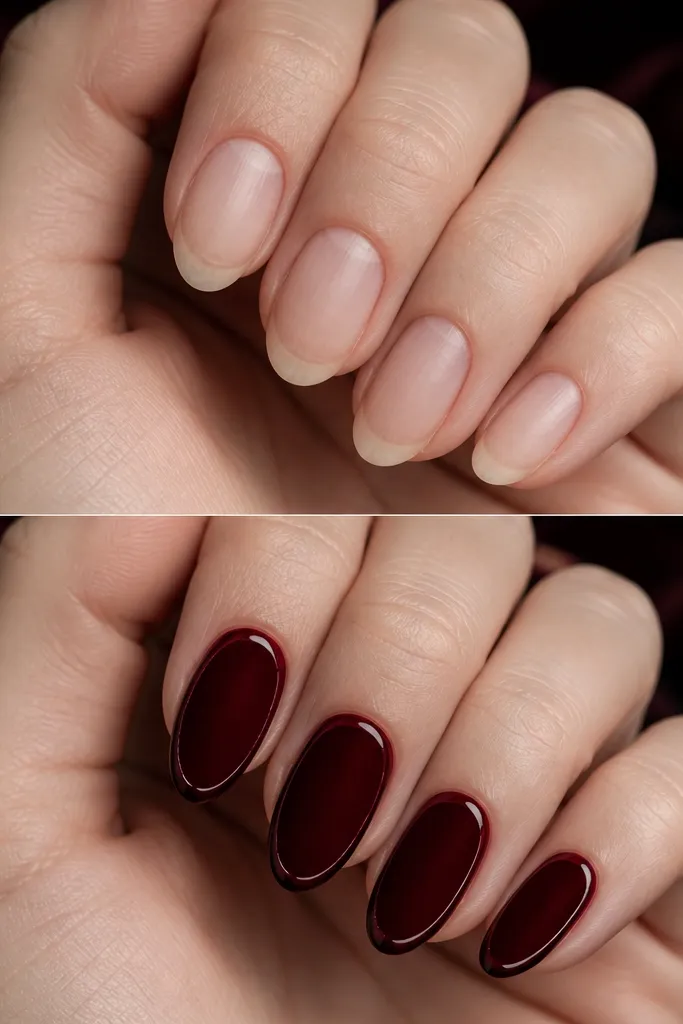
Matte dark cherry red looks like lipstick for your nails. The velvet finish kills glare, so the color looks deeper and more velvety instead of shiny and flat. The glossy edge trick keeps your nails from looking heavy — light catches the tip and makes the shape look crisp. I like it on short nails because matte can hide tiny surface imperfections, and the gloss line gives definition. It works on both fair and deeper skin tones since the tone stays consistent; it’s the finish that changes the vibe.
Editor's noteUse a steady hand and small brush. The glossy edge should be a thin band, not a wide stripe.
Start with your dark cherry red gel in two thin coats and cure. Apply a velvet matte top coat over the whole nail and cure, then wipe if your brand requires it. For the glossy edge, use a striping brush to paint a 1 mm line of glossy top coat right at the free edge, then cure again. Finish by checking the sidewalls — if any matte got onto the edge, buff it lightly and re-add the glossy line.
Watch outDon’t put matte top coat over glitter or chrome without testing. Some finishes get dull in a way you can’t reverse.
8. Dark Cherry Red with Tiny Black-Dotted Cuticle Constellations
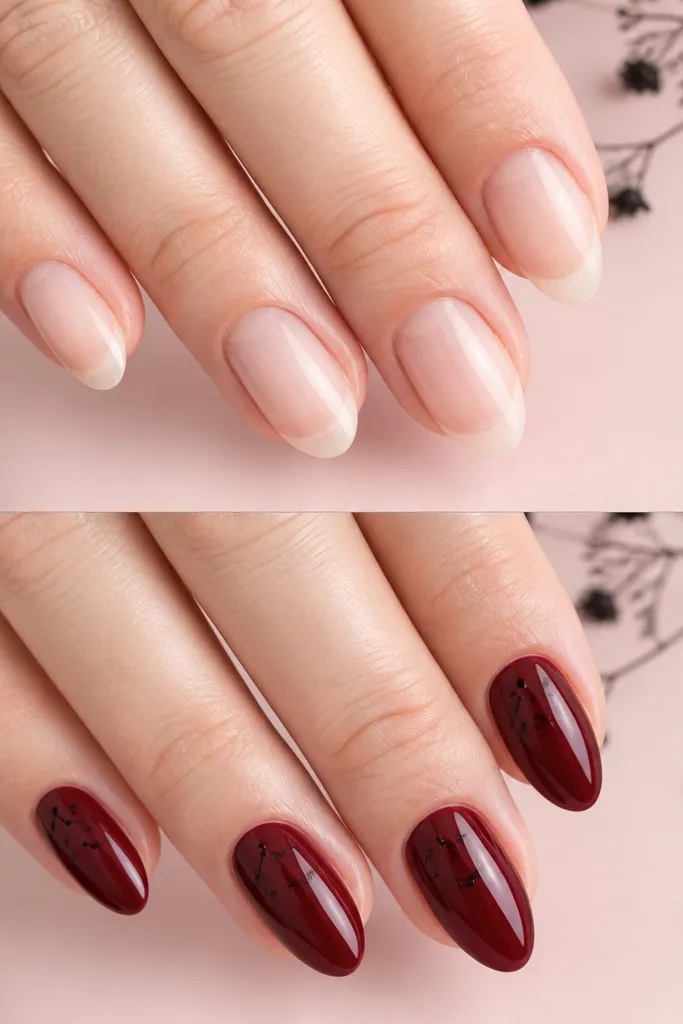
This is my favorite “after” trick when your nails need something but you don’t want full nail art. Tiny black dots near the cuticle make the dark cherry red look intentional and slightly gothic without turning into Halloween. I’ve done this on medium almond nails and it makes the nail bed look longer because the dots sit high, close to where your eyes start. It looks good on fair skin because the dots add contrast, and on deeper skin tones because black stays crisp against the wine color. The dots also hide minor cuticle line imperfections because the eye focuses on the pattern.
Paint two thin coats of dark cherry red gel and cure. Use a dotting tool with black gel polish or black acrylic paint mixed with a drop of gel to keep it glossy. Place 3-5 tiny dots near the cuticle line, staying 1 mm away from the skin — I angle the dots slightly toward the center of the nail. Cure, then seal with a glossy top coat, making sure the top coat covers each dot so it doesn’t look like raised paint.
If your dots look too big, reload the dotting tool less often. Small dots read more expensive.
Don’t drag the dot after placement. Dragging smears the cherry and makes the dots look messy.



