
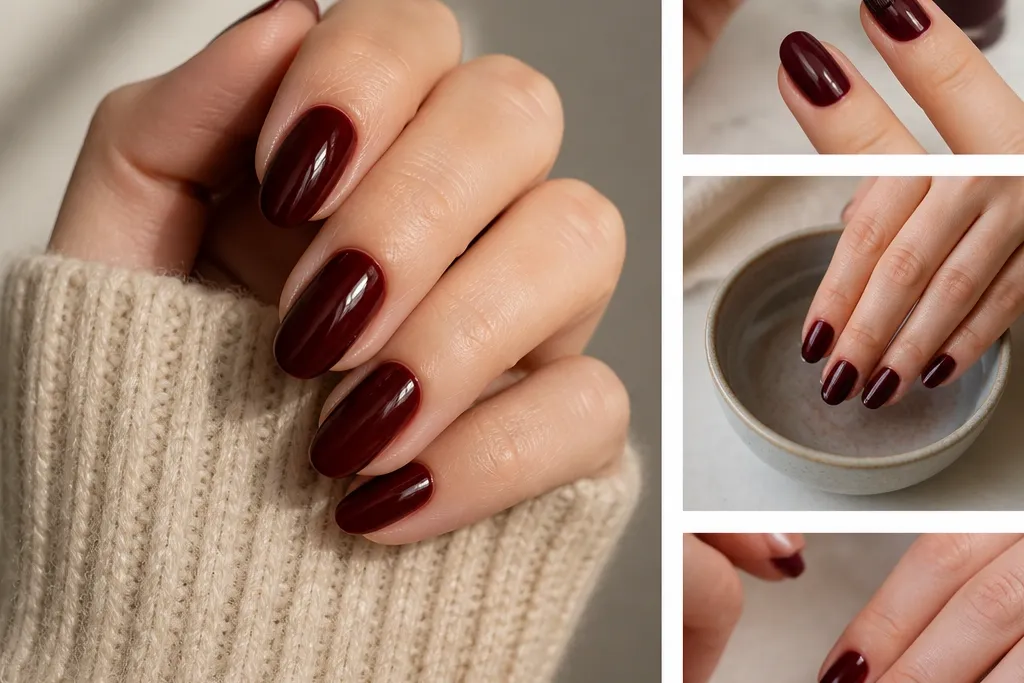
1. The Purple-Leaning Cherry Rule
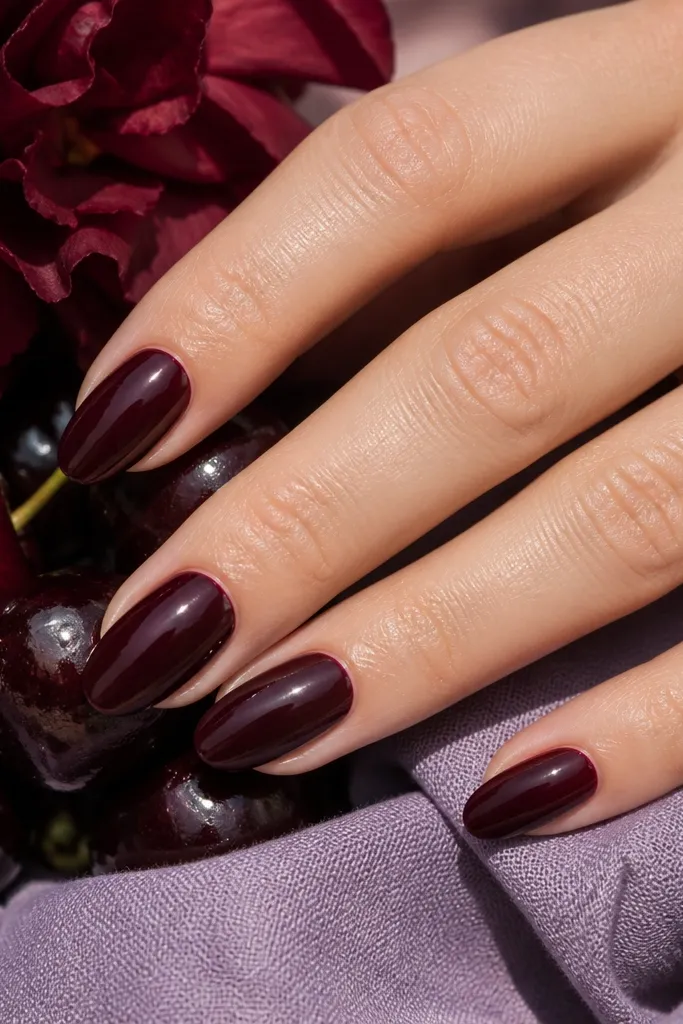
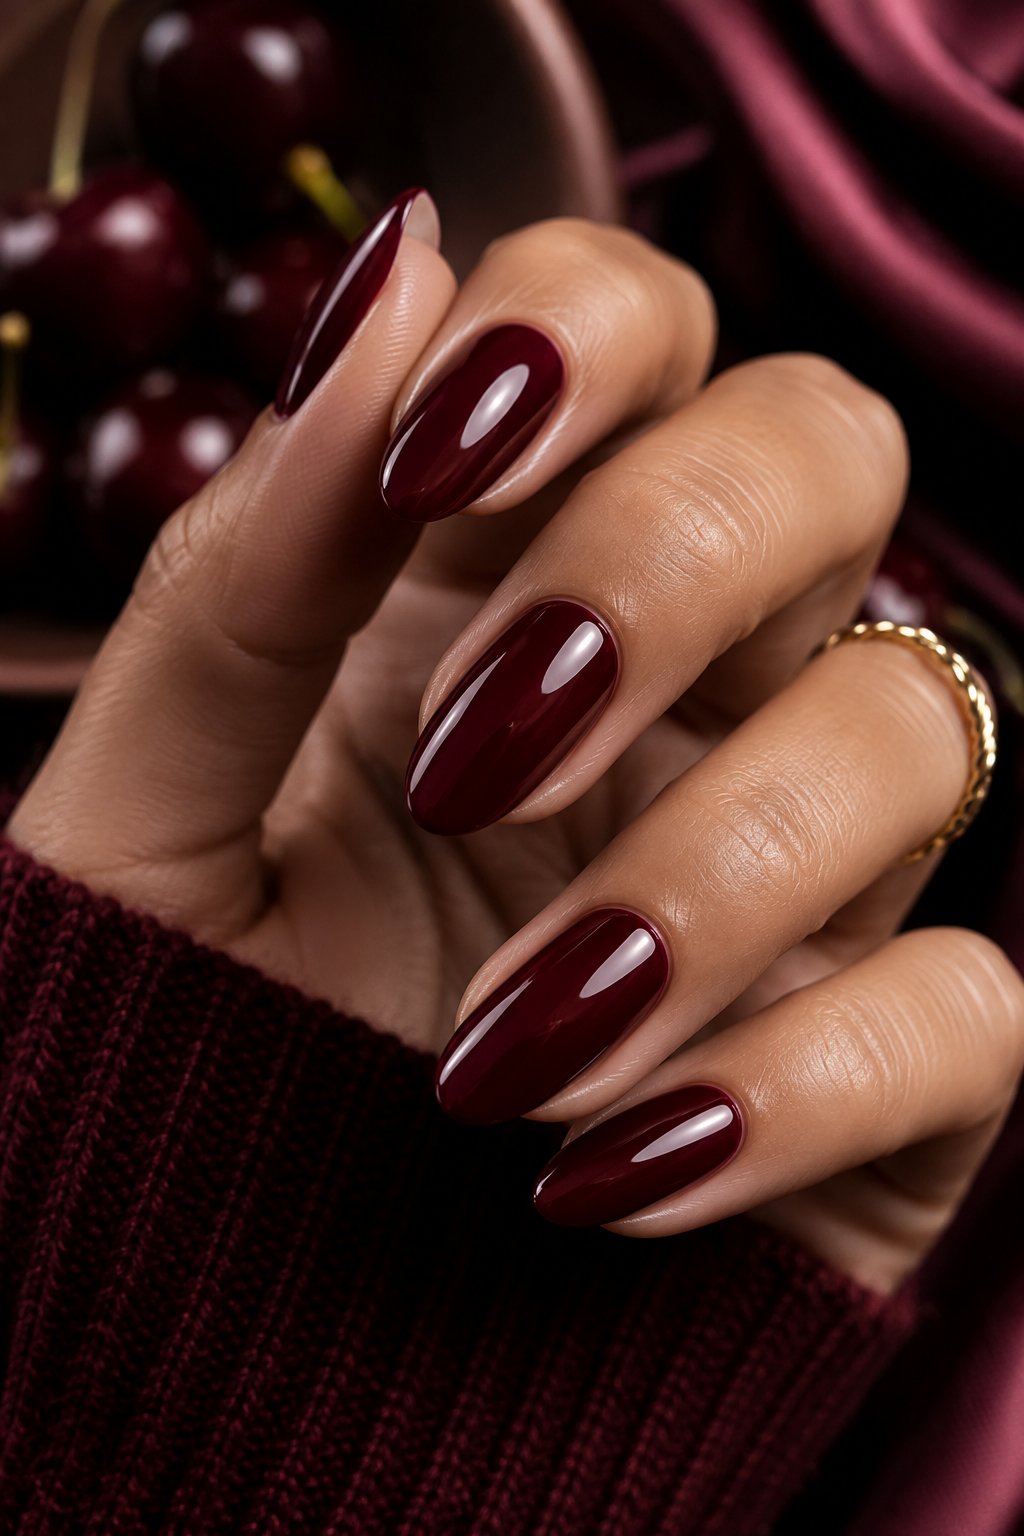
Dark cherry red turns flattering when the shade reads “red with a hint of plum,” not “red with orange.” I’ve worn both, and the purple-leaning version looks richer against most skin tones without turning muddy on deeper complexions. It also hides application flaws better because the undertone absorbs light smoothly. If you pick an orange-leaning cherry, every streak and uneven edge shows up like a stripe on a dark sweater. For short nails, that plum-leaning tone keeps the color looking intentional instead of heavy.
Start by comparing two bottles in daylight — hold them side by side on your skin and watch how they look at a 45-degree angle. Choose the one that looks more wine-plum than tomato-red when you move your hand. Paint a single test nail in two thin coats and check it after it dries fully or after curing. If it looks like it’s turning brown or brick, switch to a more purple-leaning cherry before you commit to all nails.
If your polish looks different on the bottle than on your nail, do a two-coat swatch on your ring finger first and decide from that.
Avoid orange-leaning cherry shades — they make streaks and cuticle flooding look worse.
2. Thin-Coat Ladder (3 Layers, Not 1 Thick Pour)
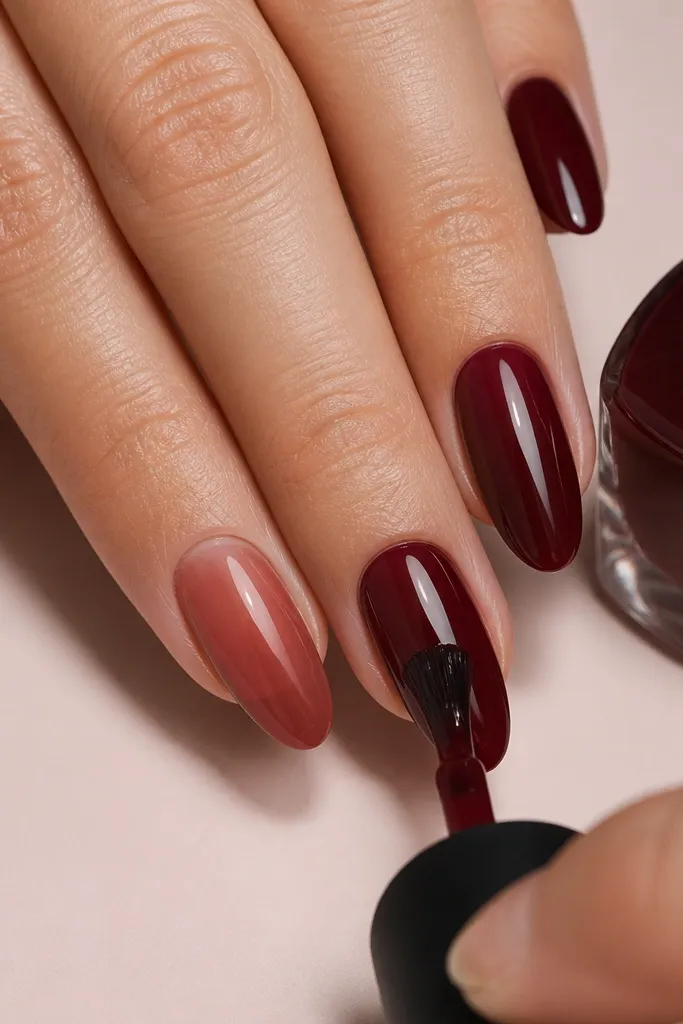
With dark cherry, thickness is the enemy. Thick polish pulls away from the cuticle and then shrinks slightly as it dries, which creates that annoying crescent gap near the skin. Thin coats level out and keep the color even, so your nails look smooth instead of bumpy. I use this when I’m painting gel or regular polish because both show the same problem with deep shades. The result looks best on almond or coffin nails, but it also makes short nails look cleaner.
Start by applying base coat and curing it fully (or letting it dry until it feels dry to the touch). Then apply coat one — load the brush, wipe excess on the bottle rim, and paint a thin center stripe first, followed by side strokes. Cure or dry until it looks even and not shiny-wet. Apply coat two the same way, cure longer than you think you need for dark shades, then finish with coat three only where you still see patchiness.
Editor's noteIf you see pooling near the cuticle, you used too much polish — wipe the brush and do a second pass with a lighter hand.
Watch outAvoid one thick coat because it shrinks and creates cuticle gaps.
3. The 1mm Cuticle Border Technique
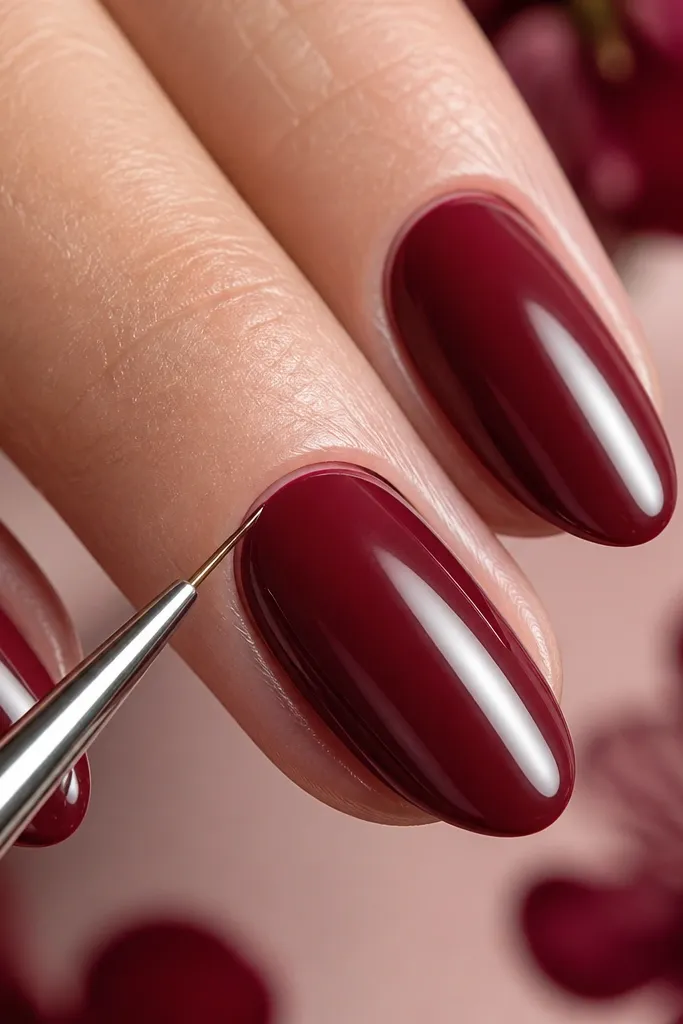
Dark cherry red makes the cuticle area the first thing people notice. I aim for a consistent 1mm border — close enough that it looks sharp, far enough that polish never floods into the cuticle. When you leave that tiny gap, the color stays crisp as your nails grow out, and you don’t get that crusty raised line. This is also the easiest way to keep your nails looking expensive without using nail art tricks. It flatters hands because it visually lengthens the nail plate and keeps edges looking tidy.
Start by pushing your cuticles back gently the day before, or skip cuticle pushing and just remove surface oil on the nail plate. Paint a thin center stripe, then stop your brush tip about 1mm before the cuticle line. Use the side of the brush to drag polish toward the cuticle without touching it. If you accidentally touch the cuticle, clean the border immediately with a small brush dipped in acetone or alcohol — don’t wait for it to dry.
Editor's noteUse a flat cleanup brush kept in acetone so you can fix the border in 10 seconds instead of repainting the whole nail.
Watch outAvoid letting polish sit on the cuticle — it peels faster and looks messy.
4. Tip-Seal Like You Mean It
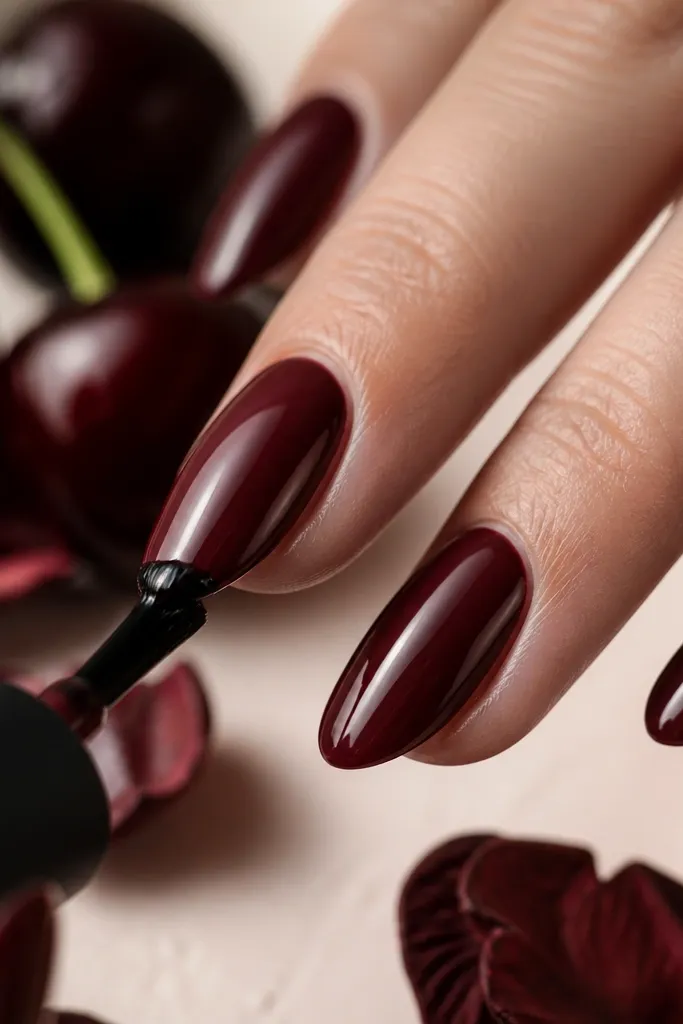
The free edge is where dark cherry sets fail first. When you don’t seal the tip, the polish chip line shows up in two or three days, and the shine dulls fast. I seal the tip by coating the top and then lightly brushing the underside of the free edge so water and friction don’t get in. Dark cherry shows chips more than lighter colors because the chip exposes a lighter nail tone. This makes a huge difference on short square and squoval nails where edges get bumped.
Start with your final color coat and keep it thin so the tip doesn’t look thick. After you paint the tip, rotate your finger and brush the polish lightly across the underside of the free edge for one quick pass. Cure or let it dry fully, then apply topcoat and repeat a light tip seal with the topcoat brush. Don’t flood the tip — if it’s thick, it can feel rough and catch on fabric.
After curing, run a fingertip across the edge once. If it catches, your tip seal is too thick — file lightly and add one thin topcoat.
Avoid skipping the underside seal — that’s where early chipping starts.
5. No-Bubble Base Prep for Dark Shades
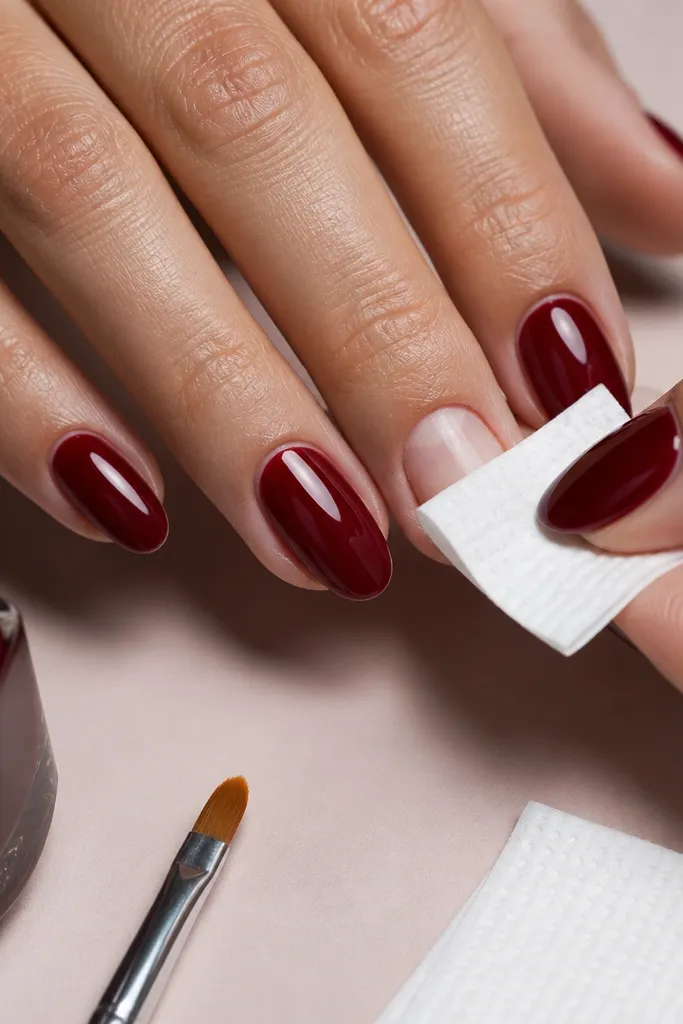
Dark cherry polish highlights bubbles and tiny bumps like a spotlight. I learned this the hard way when I tried to rush prep and ended up with crater-like spots that topcoat couldn’t hide. The fix is boring but effective: dry prep, no oily residue, and a base coat that spreads evenly. A smooth base makes the cherry color look like it’s dyed into the nail instead of sitting on top. This works for everyone, especially if your nails get oily around the cuticle.
Start by wiping nails with 70% isopropyl alcohol, then wait 30 seconds before you apply base. If you use gel, lightly buff only the shine off the nail plate — stop as soon as it turns matte, or you’ll thin your nails. Apply a thin base coat and cap the tip with the same thin layer. Cure fully, then inspect under a bright lamp; if you see bubbles, pop them early by gently pressing with a clean microfiber cloth before curing.
Editor's noteIf your polish bubbles when you paint, stop shaking the bottle and roll it between your hands instead.
Watch outAvoid skipping alcohol wipe — oils cause bubbles, lifting, and uneven leveling.
6. The "Wipe the Brush" Color Control
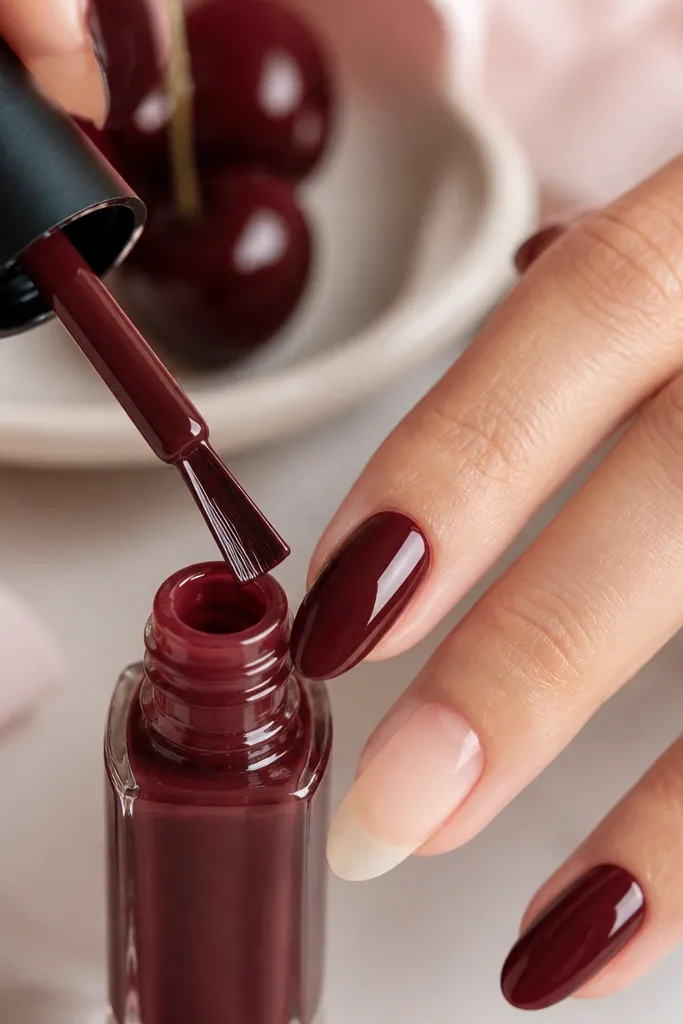
When people say dark cherry is hard to apply, it’s usually because the brush is too loaded. Too much polish floods the cuticle and makes streaks that you can’t fix without repainting. Wiping the brush on the bottle rim gives you that sweet spot: enough pigment for opacity, but not enough to pool. I use this even with my favorite thick polishes because deep shades show every mistake. The payoff is a smoother color field that looks even in photos and in real life.
Start by dipping the brush and then wiping excess on the bottle rim for 1-2 firm strokes. Paint a center stripe first, then one side stroke on each side — keep the brush flat so it lays down pigment. If you see streaks after the first pass, do not add more polish right away; let it settle for a few seconds and then do a light second pass with a slightly drier brush. Cure or dry fully before your next coat.
If your polish drags or looks streaky, reload the brush once, wipe again, and do one smooth sweep — not multiple back-and-forth strokes.
Avoid repainting over wet streaks — you smear pigment and create thicker ridges.
7. Gloss-First Topcoat Choice
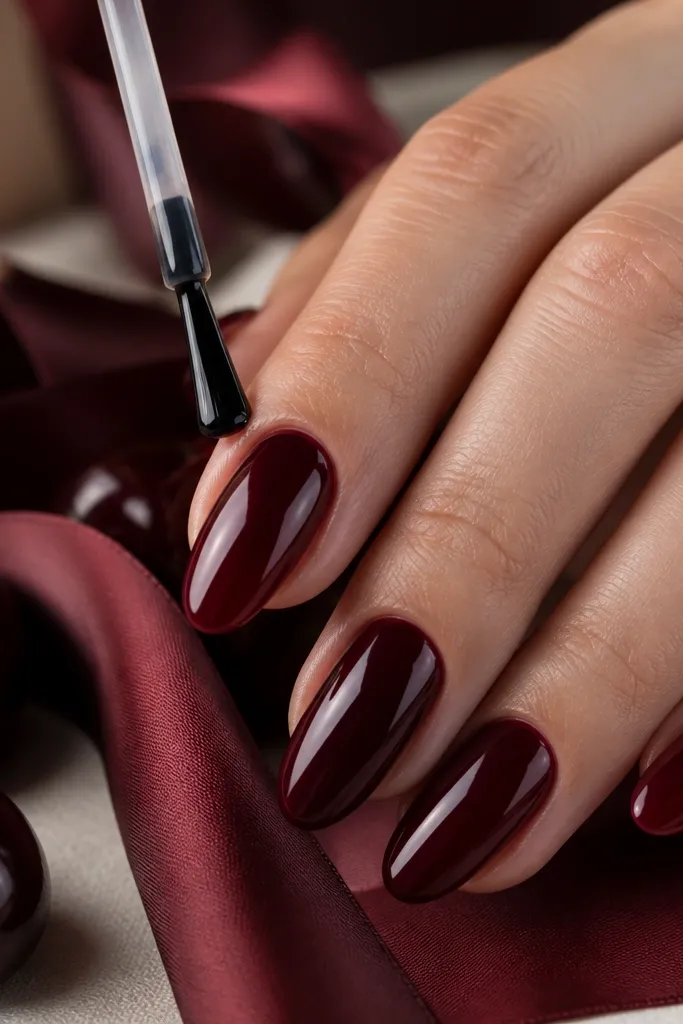
Dark cherry can look flat if your topcoat isn’t truly glossy. I’ve had sets where the color was perfect but the finish dulled by day three because the topcoat was too thick or slightly matte. A thin, high-gloss topcoat spreads and levels, which makes the cherry tone look deeper and cleaner. This is especially important for gel because gel topcoat texture shows under bright light. It also helps your nails resist smudges from daily life.
Start by applying topcoat only after your final color coat looks fully even. Brush a thin layer over the nail plate and cap the tip with a slightly thicker edge than the center. Cure for the full time your lamp calls for, then check the surface under a desk lamp. If you feel any bumps, wait until it’s cured, then lightly buff and add one more thin topcoat layer.
Wipe gel nails with lint-free wipe and cleanser after curing if your topcoat creates tack — dullness often comes from residue.
Avoid thick, gloopy topcoat layers — they drag pigment and can trap tiny ridges.
8. Fixing Streaks Without Repainting the Nail
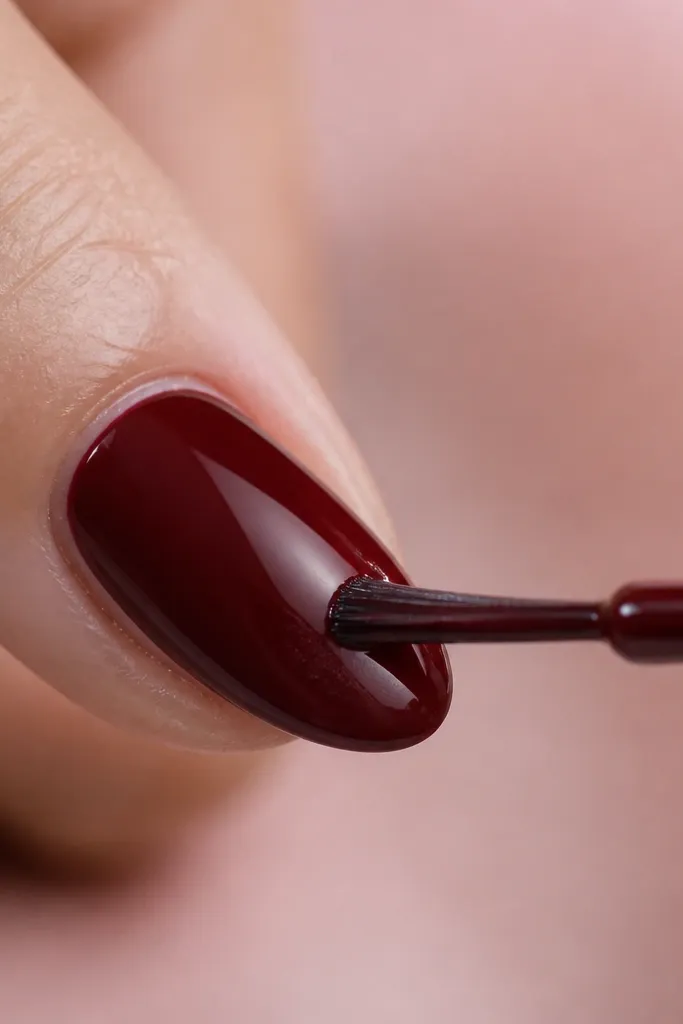
Streaks are fixable when you catch them at the right time. If you wait until the coat is fully dry, you end up sanding your own finish and repainting a thicker layer. The best moment is when the coat is still slightly workable — it has enough tack to blend, but it’s not wet enough to flood. Dark cherry streaks usually happen in the first coat, where opacity isn’t full yet. Fixing them early keeps the tone even without turning your nail into a thick layer.
Start by painting your first thin coat and stop. Before it fully dries, check the nail at an angle — you’ll see the streaks as light lines. Reload your brush with a tiny amount of polish, wipe excess, then do one smooth pass over the streak direction only. Cure or let dry fully, then apply your next coat normally so the color evens out.
Editor's noteIf streaks are still visible after coat two, don’t rush coat three. Add one thin coat and cure longer, then inspect again.
Watch outAvoid covering streaks with repeated back-and-forth strokes — that creates waves.
9. Short Nail Color Placement for Zero Pooling
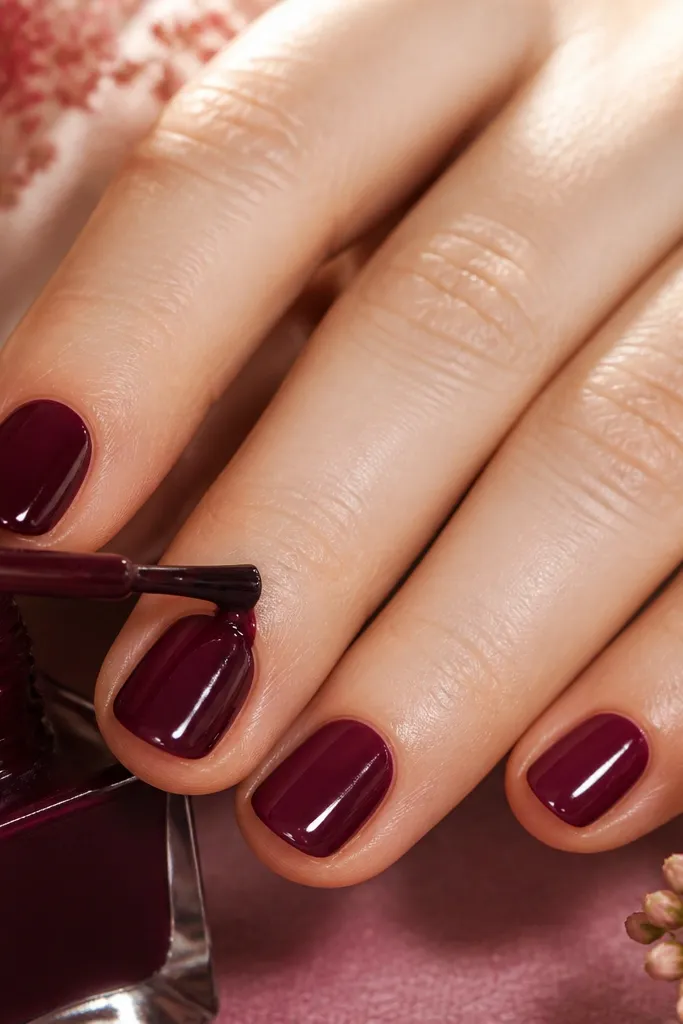
Short nails look amazing in dark cherry when you reduce how much polish you carry. If you load the brush like you would for long nails, the polish pools near the center and you get a thick band that never levels. I place color more toward the middle and leave the cuticle edge clean so the nail stays flat and smooth. This also makes your nails look neat even if your cuticles aren’t perfectly pushed back. It flatters hands with shorter nail beds because the smooth center keeps the color looking uniform.
Start by painting one thin center stripe that stops about 1mm from the cuticle. Then add two side strokes that meet the stripe but do not extend too far toward the cuticle line. For the tip, cap lightly and avoid dragging polish backward — that’s what causes pooling. After curing or drying, add a second thin coat only where opacity needs it, then topcoat with a thin, even pass.
Editor's noteIf your polish pools on short nails, use a smaller brush load and shorten your first strokes by half.
Watch outAvoid painting the cuticle area aggressively on short nails — it pools and peels faster.



