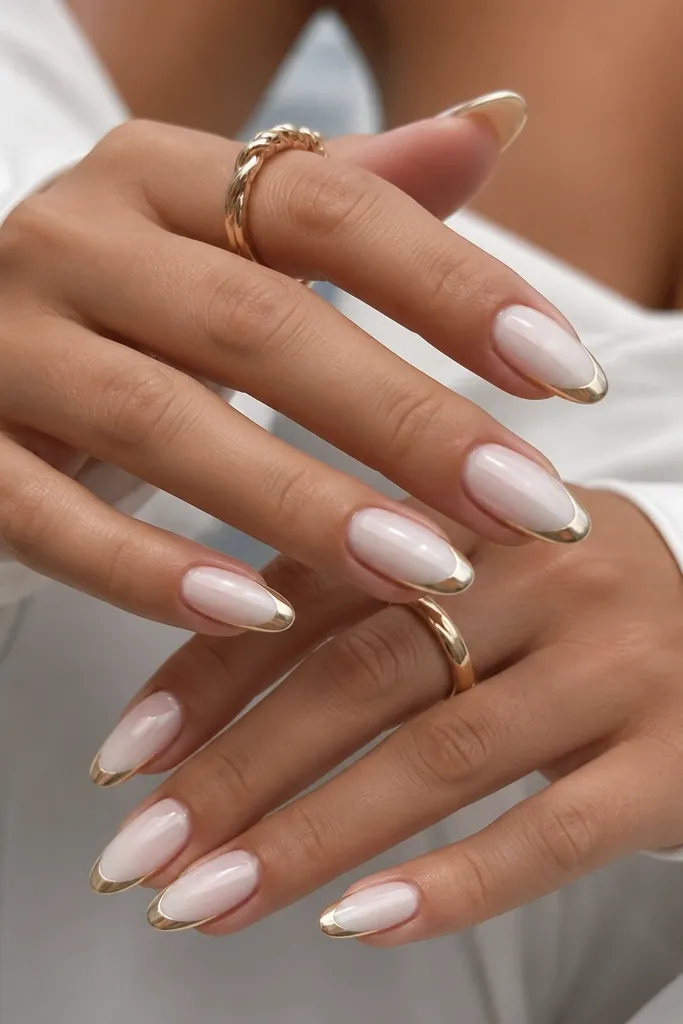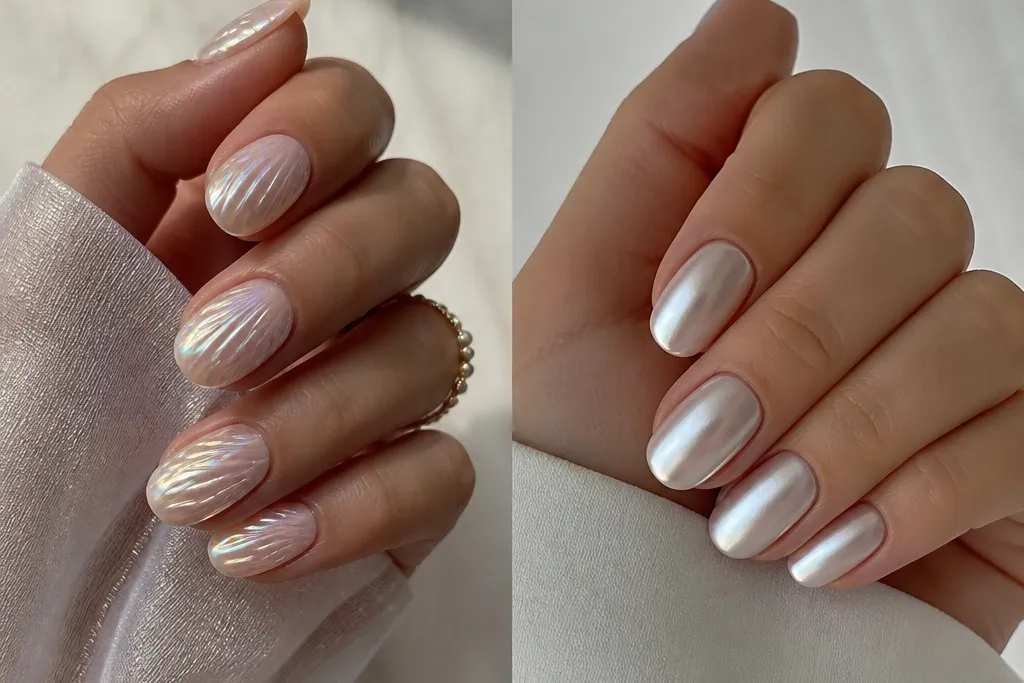
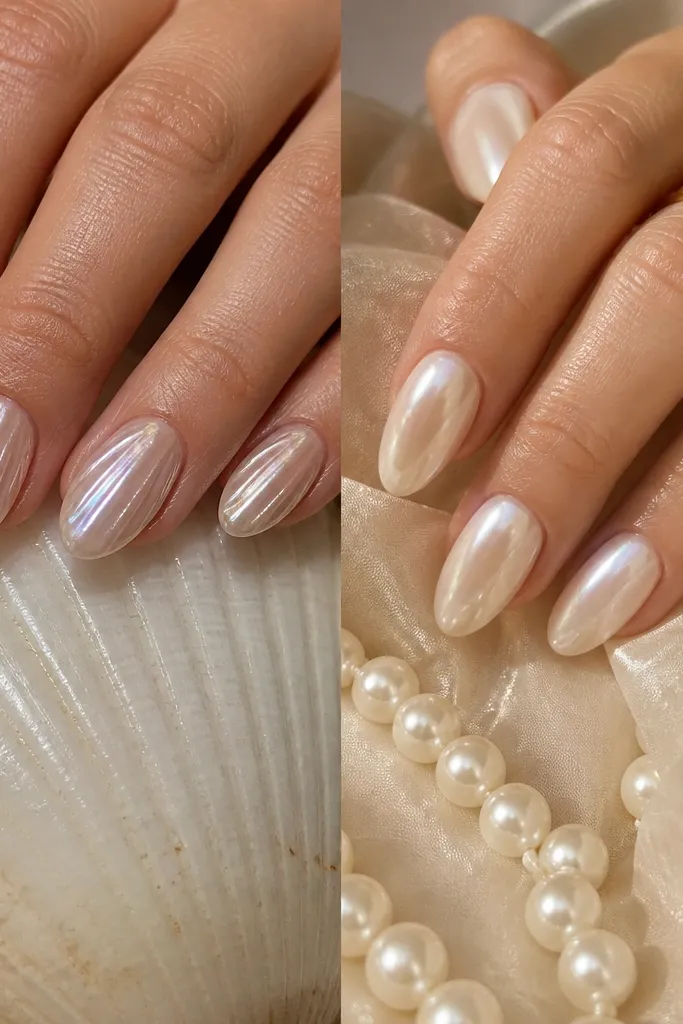
1. Icy Milky Chrome Seashell Tips
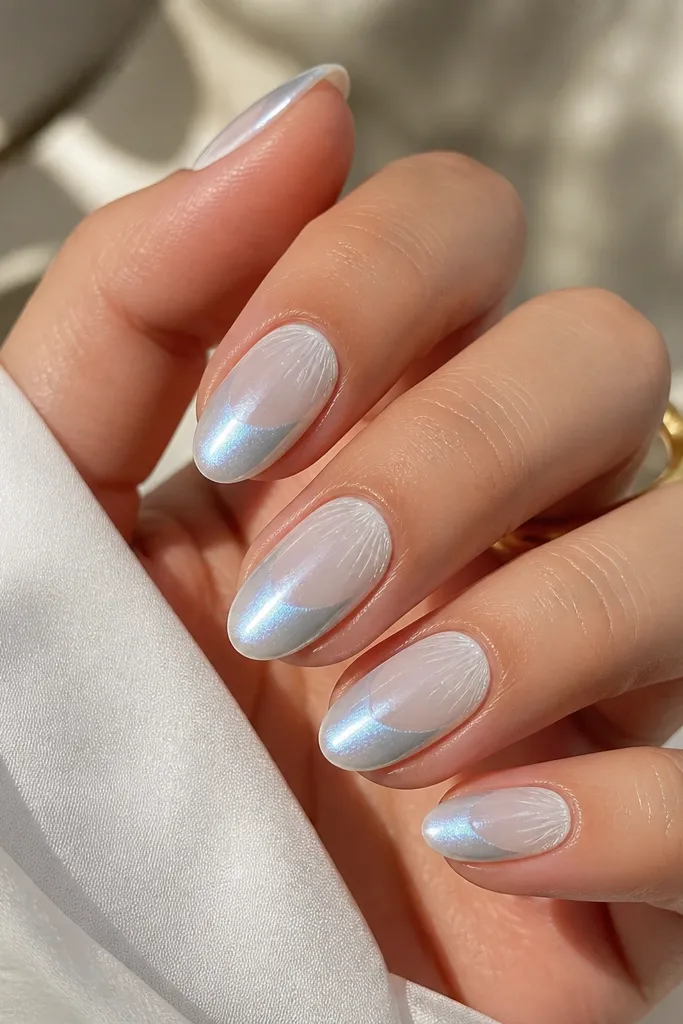
This look is the one I reach for when I want “seashell at noon” energy. The base is an opaque milky white gel so the chrome doesn’t turn into harsh mirror silver. I add chrome mostly on the last third of the nail, then I feather it inward so it looks like the wave edge is catching light. On fair to light-medium skin, it reads clean and bright; on deeper skin tones, it still pops without going neon because the base stays creamy instead of transparent.
Start by applying two thin coats of milky white gel and curing fully between coats. Use a striping brush to paint faint shell ridges with a translucent pale blue gel, then cure again. Tap chrome powder onto the tip area only, press lightly so it stays dense at the end, and brush away excess. Seal with a glossy top coat in two thin layers, then cap the free edge with the second layer.
If your chrome looks too icy, switch from pure mirror chrome to a “pearlized” chrome powder that has a blue-leaning tint.
Avoid applying chrome over a sheer nude base — it makes the reflectivity look patchy and cheap.
2. Champagne Pearl Shell Glow
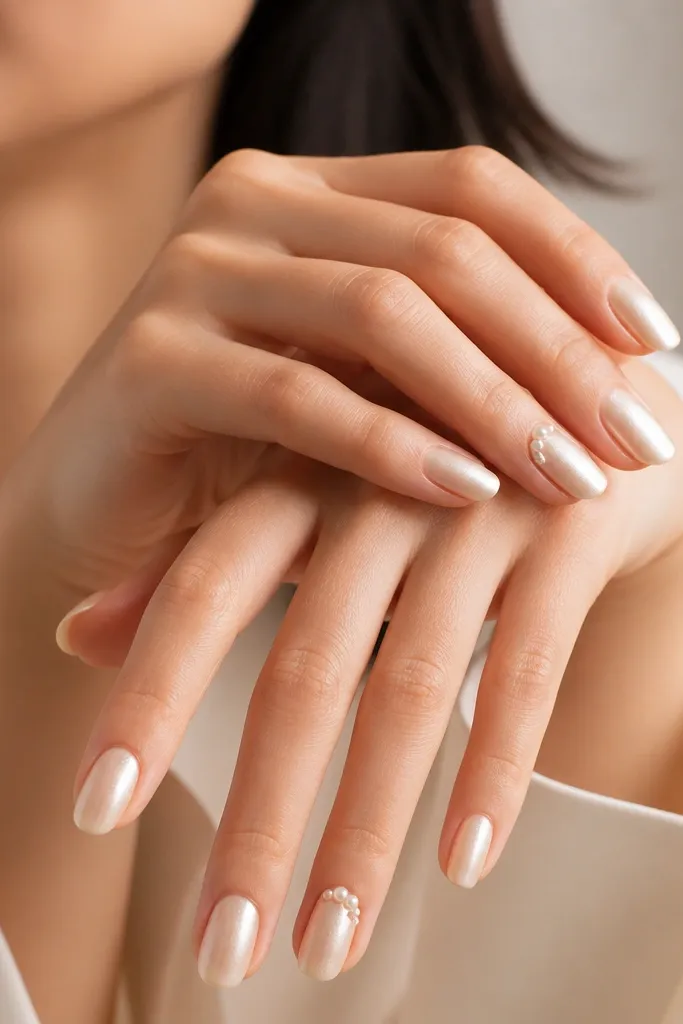
Apply a creamy nude base gel first, then cure. Mix or layer a champagne pearl gel/powder so it coats evenly and stays opaque in two coats. For accents, use a dotting tool to place 3-4 tiny pearl beads near the cuticle on two nails, then cure to lock them in. Finish with a thick glossy top coat so the pearl texture looks like it’s under glass.
Pearl nails look best when they mimic candlelight, not a disco ball. This set uses a champagne pearl pigment that shifts slightly gold instead of turning gray under warm bulbs. I like it on medium to deep skin because the warm undertone makes the nail bed look even and healthy. The finish stays smooth and forgiving, so it still looks polished when you move your hands — no harsh reflections.
Watch outDon’t overwork the pearl gel with repeated strokes — that’s when it turns grainy.
Editor's noteUse a glossy top coat labeled for “high shine” or “glass finish” because it smooths pearl pigments more than standard top coats.
3. Seafoam Chrome Swirl Ridges
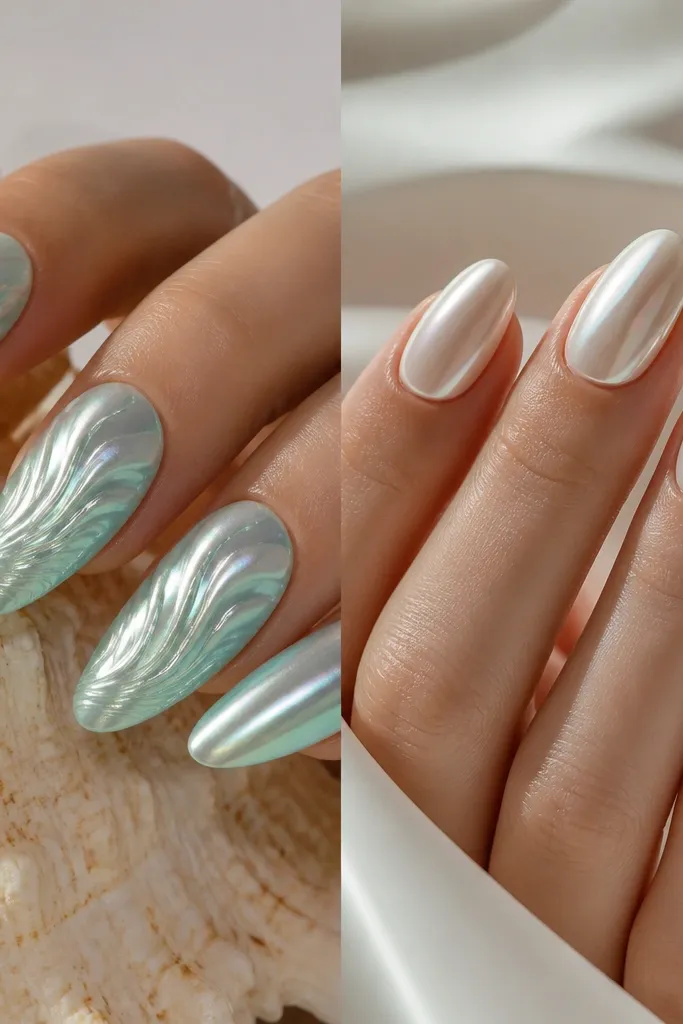
Start with a seafoam milky base (light green-blue) in two thin layers. Use a fine liner brush to paint thin, curved ridges with milky white gel, then cure. Apply chrome powder to the swirl area only, pressing gently and leaving the ridges more visible. Seal with top coat and do one extra pass along the ridges so they don’t snag or dull.
This is the “I actually textured a shell” version of chrome. The trick is that the grooves are not glitter — they’re thin gel ridges that catch light after you add chrome on top. Seafoam works great on cool skin tones and also flatters olive skin because it keeps the set from turning too pink. In photos, the swirl reads as dimensional even when your camera flash is harsh.
Watch outAvoid thick gel ridges — they make the shell lines look bulky and can lift at the edges.
Editor's noteKeep chrome away from the very edge of the ridges; let the ridge gel show through for that real-shell look.
4. Pearl Fade Half-Moon Cuticle
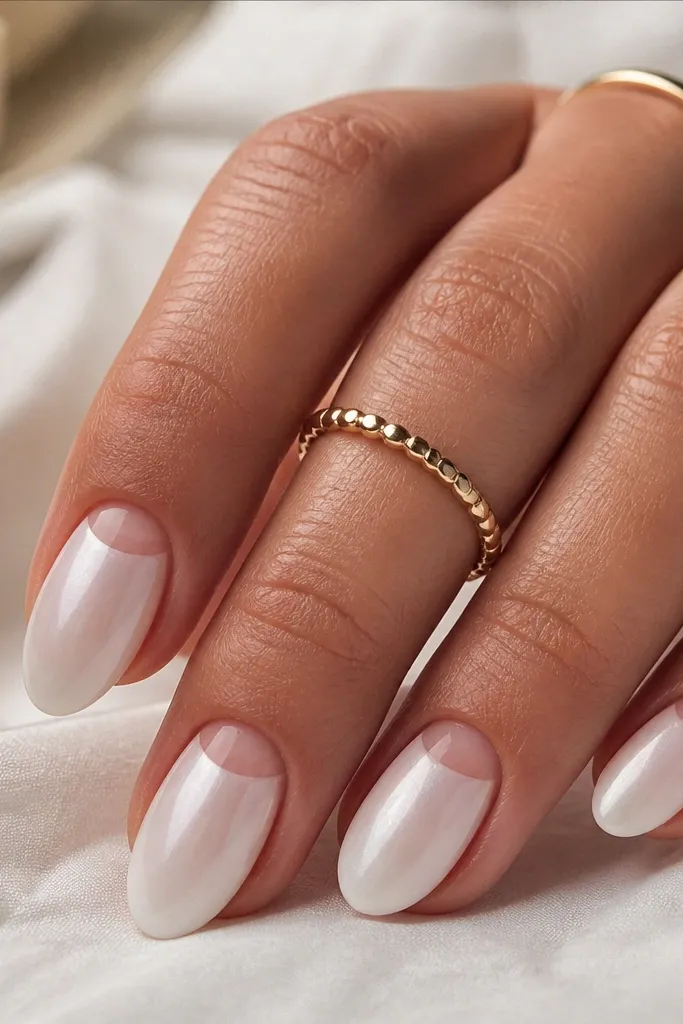
Apply a milky white base gel and cure. Place a small barrier half-moon area near the cuticle using a thin striping tape, then apply pearl gel only to the lower two-thirds. Cure, remove tape carefully, and wipe the edge with alcohol. Finish with a smooth glossy top coat, then cap the free edge.
This pearl look is clean and flattering when you want the shine but hate how full-coverage shimmer can feel busy. The half-moon negative space makes your nail bed look longer, and the pearl fade stays soft enough for everyday. I’ve worn this to work events where chrome would look too intense at 9 a.m. The pearl finish also hides minor surface imperfections better than chrome.
Watch outDon’t flood pearl gel up to the cuticle — it can look messy and lift faster.
Editor's noteIf your tape leaves a ridge, wipe the nail with alcohol and apply one extra thin top-coat layer to level it out.
5. Pink Opal Chrome Seashell (Accent Nail Mix)
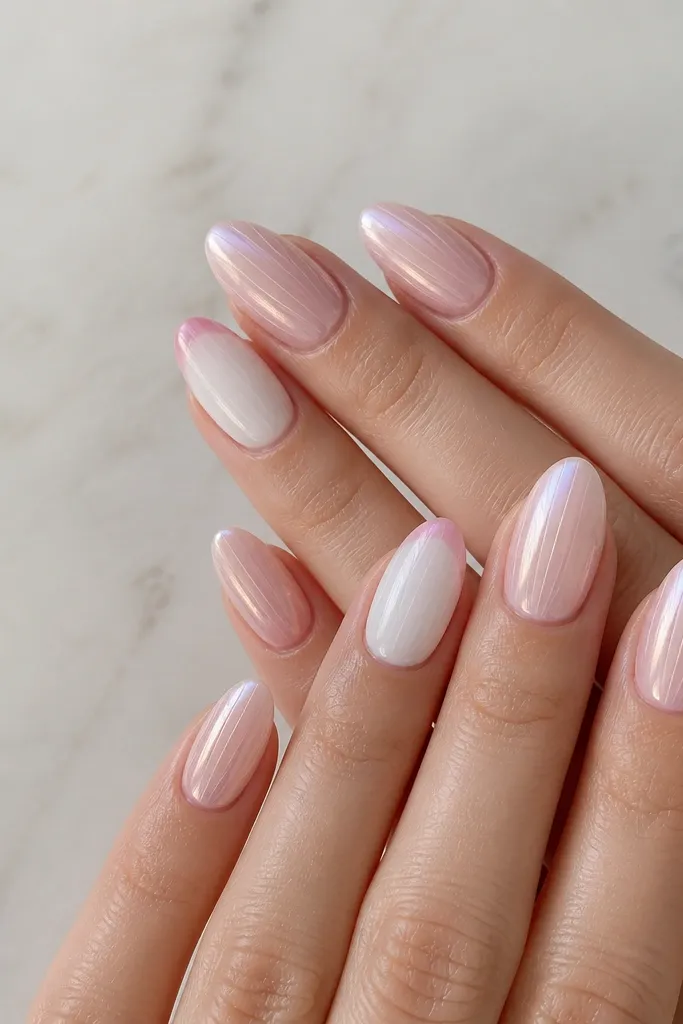
This is my go-to when I want the chrome effect but still want it to feel romantic, not icy. The base is a pink opal gel that turns the chrome from silver to a rosy shimmer. I like mixing coverage because it keeps the set from becoming one-note. On light skin, it looks like blush jewelry; on warm or olive tones, it reads as a flattering rosy highlight that doesn’t wash you out.
Paint an opal pink gel base on all nails and cure. For two accent nails, cover the whole nail with milky white gel, then only add chrome to the tips. Use a dotting tool to drag tiny lines from the side of the cuticle toward the center with a translucent pink gel, cure, then apply a micro amount of chrome over those lines. Seal with a glossy top coat and cure fully to lock the reflectors in.
Use less chrome than you think — opal chrome gets loud fast, and thin coverage looks more expensive.
Avoid full mirror chrome on every nail if you’re using pink opal — it can turn streaky in daylight.
6. Pearl Rose Milk Nails with Fine Stripes
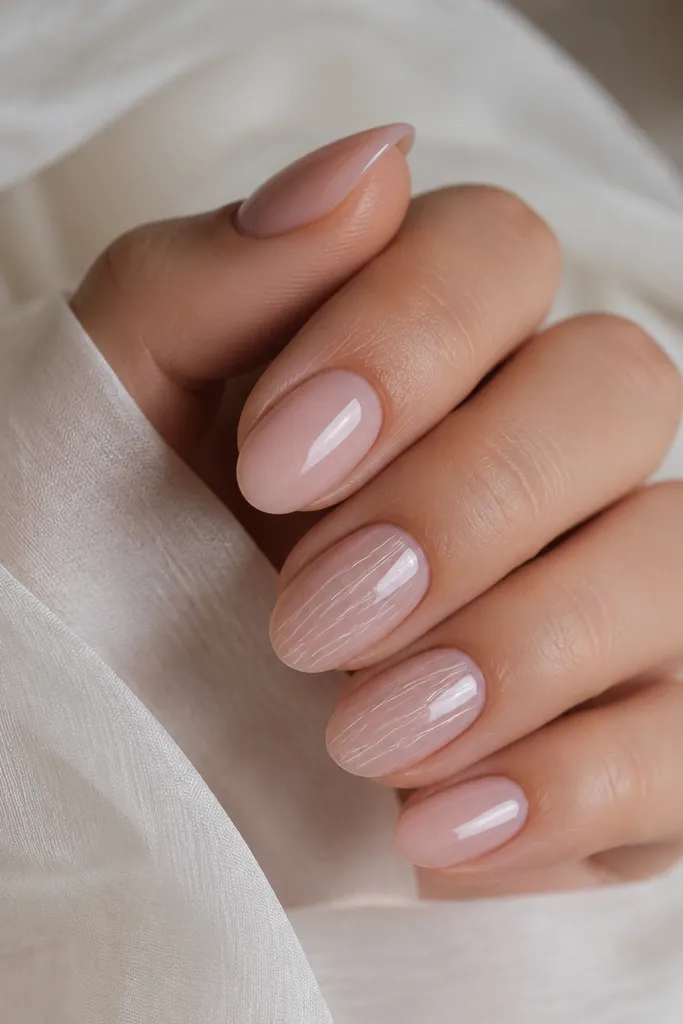
Rose milk pearl is the prettiest middle ground between pearl and chrome, and it wears like a soft filter. The finish is creamy pink with a gentle glow that flatters hands without demanding attention. I like it for date nights and spring weddings because it looks “done” even if your jewelry is simple. The fine stripes add the seashell hint without making the nail feel busy.
Start with a rose milk base gel in two thin coats. Add pearl pigment/gel on top so it stays opaque and smooth, then cure. Use a 00 liner brush to draw one or two fine stripes down the nail with milky white gel, then place tiny dots along the stripe using a dotting tool. Seal with glossy top coat and cure, then check the surface under a lamp for any textured spots.
If the stripes catch too much light, reduce the pearl layer opacity so the white lines stay crisp.
Don’t use chunky rhinestones — they interrupt the soft pearl vibe and can look heavy.
7. Pearl Chrome Hybrid (Micro Chrome Over Pearl)
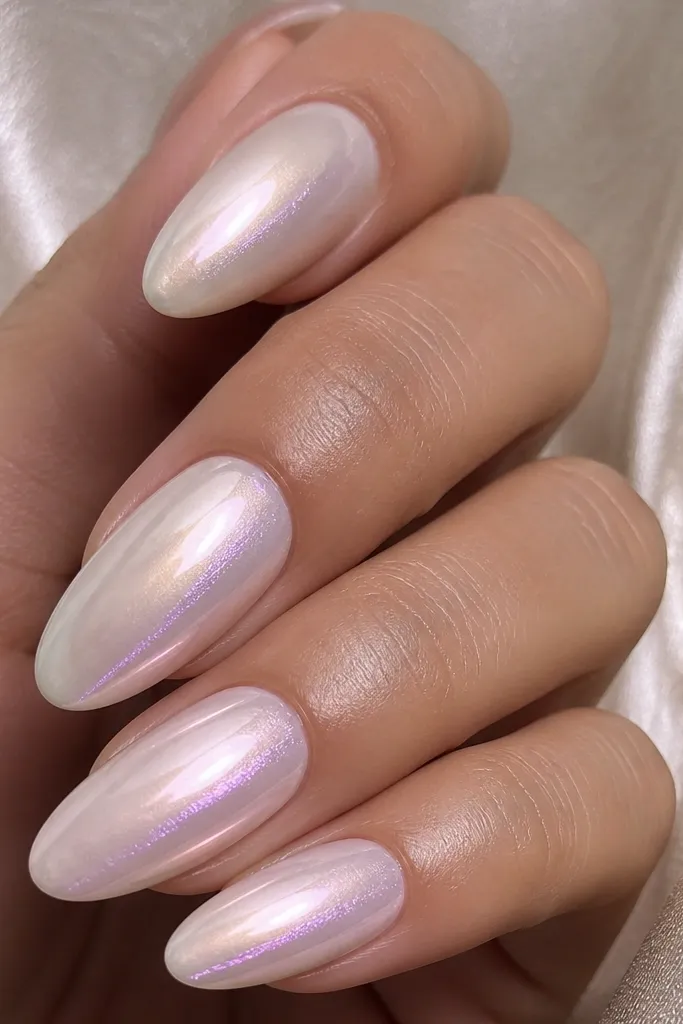
This is the best compromise when you can’t decide between Chrome Seashell Nails vs pearl nails. The base gives you the soft, skin-flattering glow, and the tiny chrome dusting adds just enough reflection to look like a shell ridge. I’ve used this when the event lighting is mixed — bright outdoors and warm indoor dinners. The result reads elegant because the chrome is controlled and doesn’t dominate the whole nail.
Apply a pearl base gel first in two coats and cure. Choose one accent direction — center ridge or one side — and dust micro chrome only along that line, tapping lightly so it looks like a thin ribbon. Brush off excess and wipe the nail surface with alcohol if needed to remove loose powder. Seal with two thin layers of glossy top coat, curing long enough so the chrome doesn’t dull.
Dust chrome with a small eyeshadow applicator — it gives you control you don’t get with big chrome puffs.
Avoid heavy chrome on top of pearl — it turns the set back into full chrome glare.
8. Classic Pearl White with Glossy Glass Top
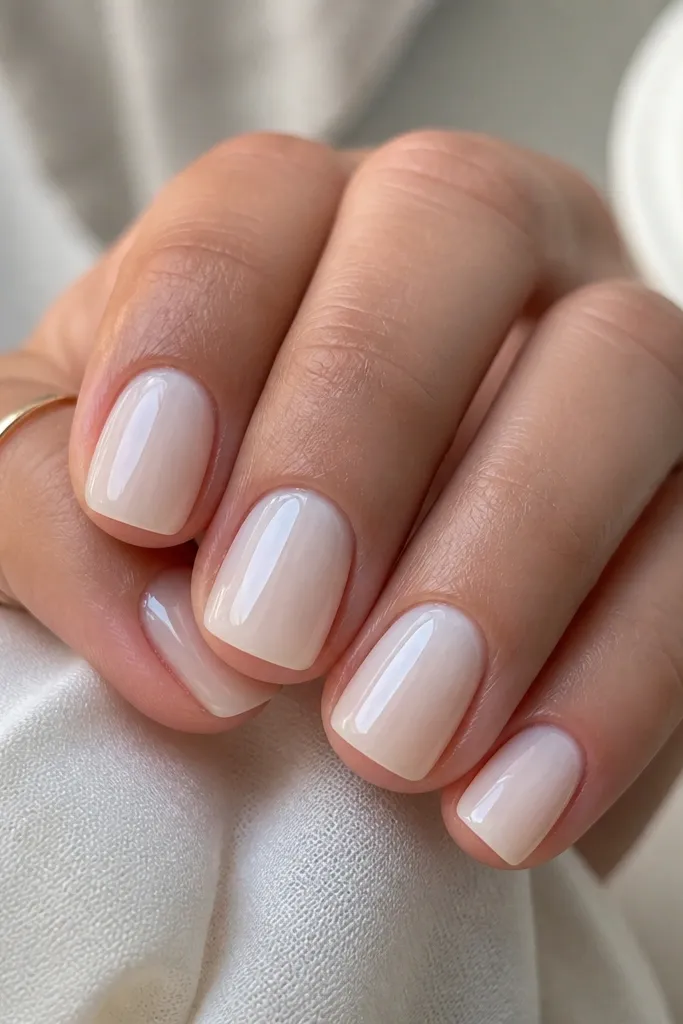
Simple pearl white is the most wearable option when you want your nails to look fresh for days. This shade makes hands look brighter without the mirror look that chrome can give. It’s also great if you hate nail art but still want that seashell vibe. Under office lighting, it reads smooth and expensive because the glow is even and not spiky.
Apply a milky white base gel and cure. Add a pearl white layer in one to two thin coats so it stays glossy and smooth. Skip art if you want the cleanest look, then add a glossy glass top coat in two layers, curing fully between them. After the final cure, wipe with gel cleanser and lightly buff only if there’s any texture.
Use a thicker second top coat layer — it levels micro texture and makes pearl look creamy, not sandy.
Don’t use a matte top coat on pearl white — it kills the seashell glow.