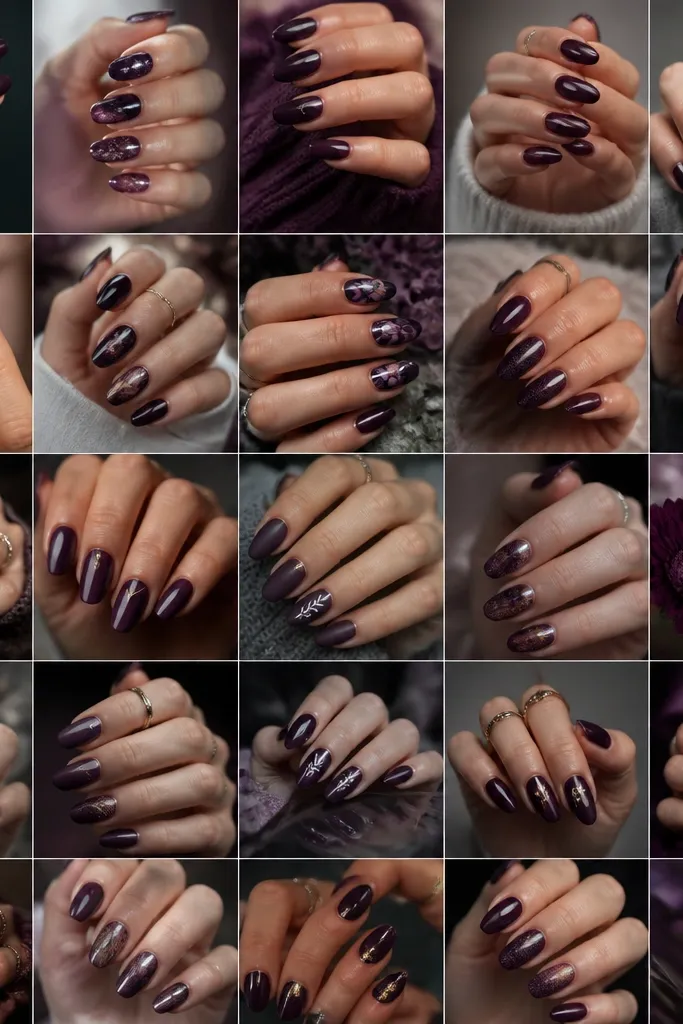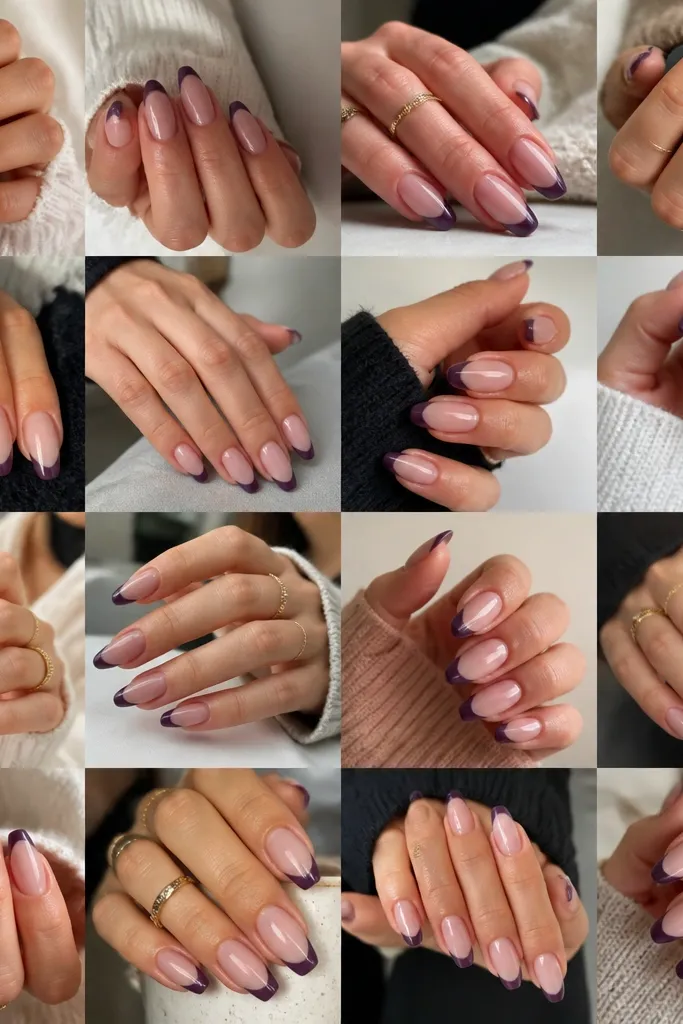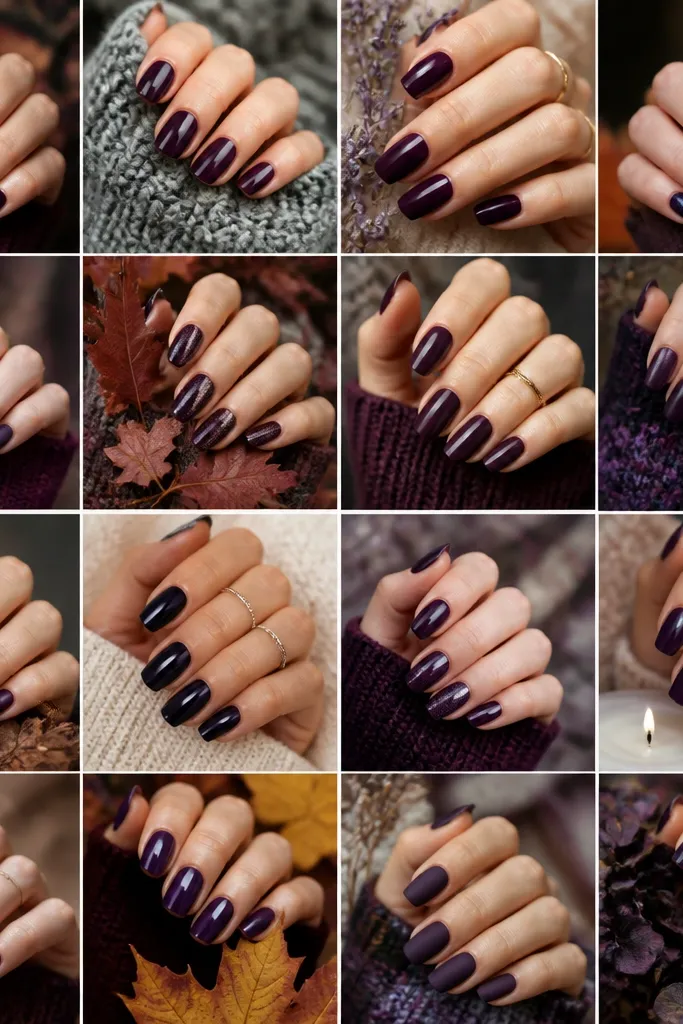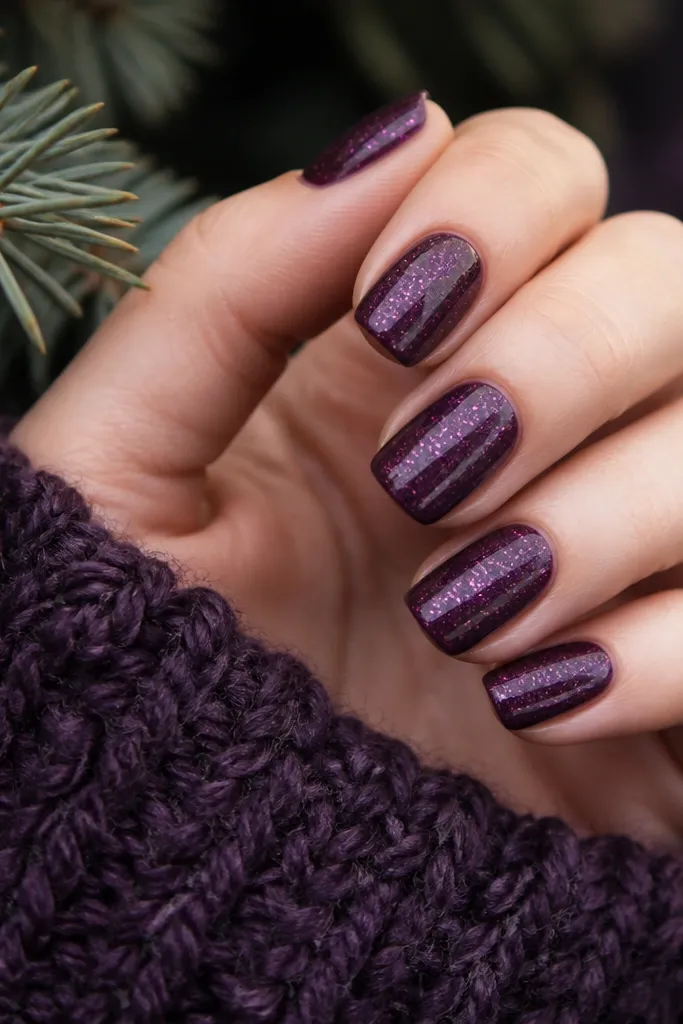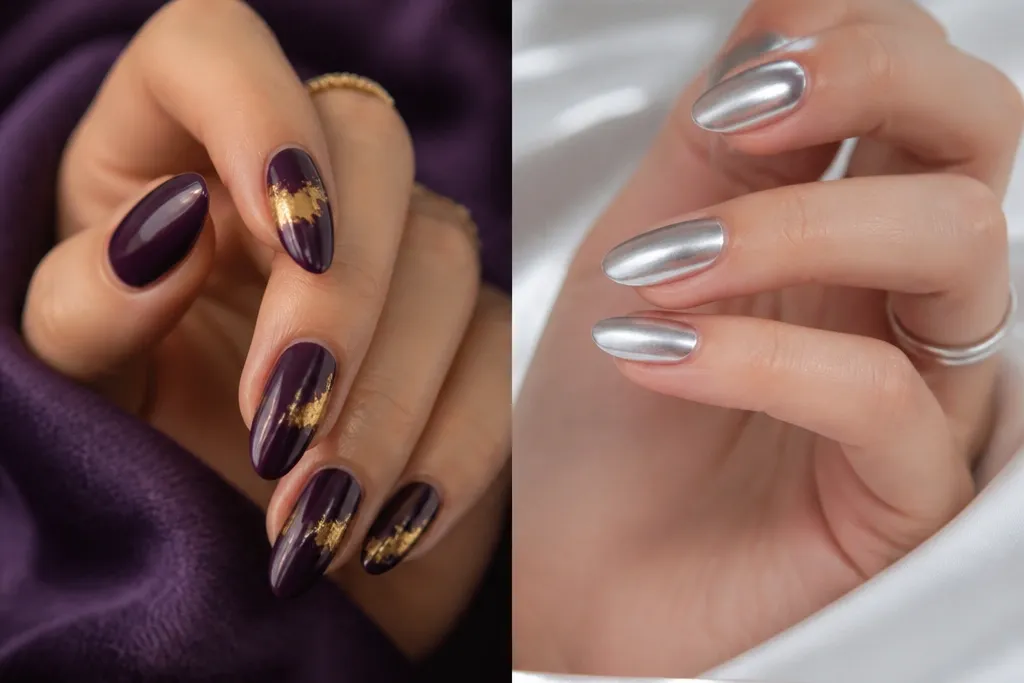
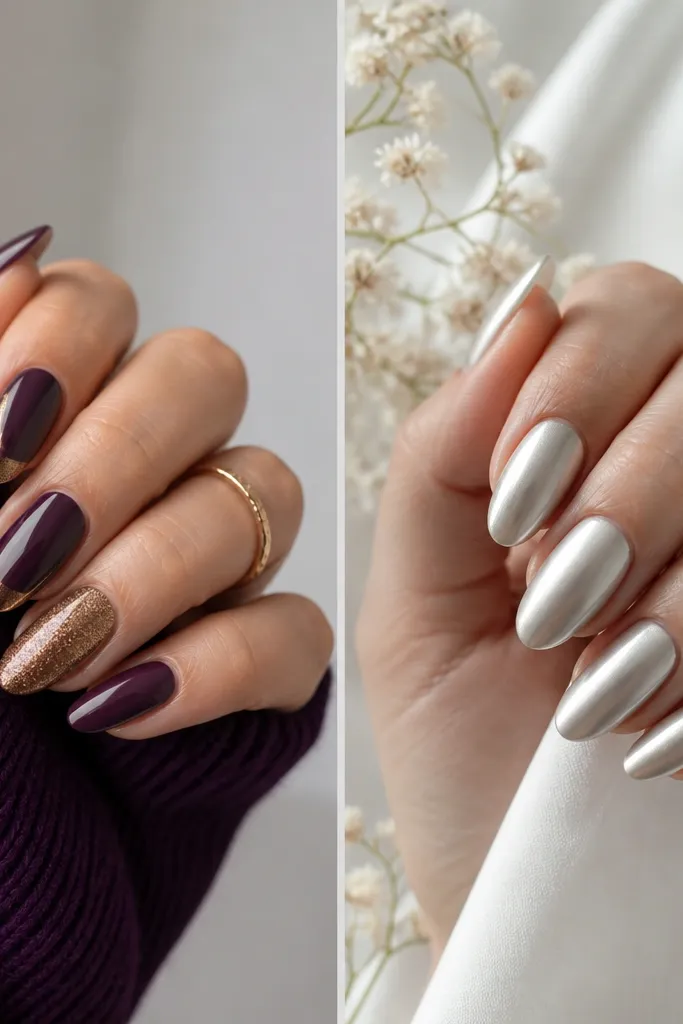
1. Antique Gold French Tips Over Grape Jelly Purple
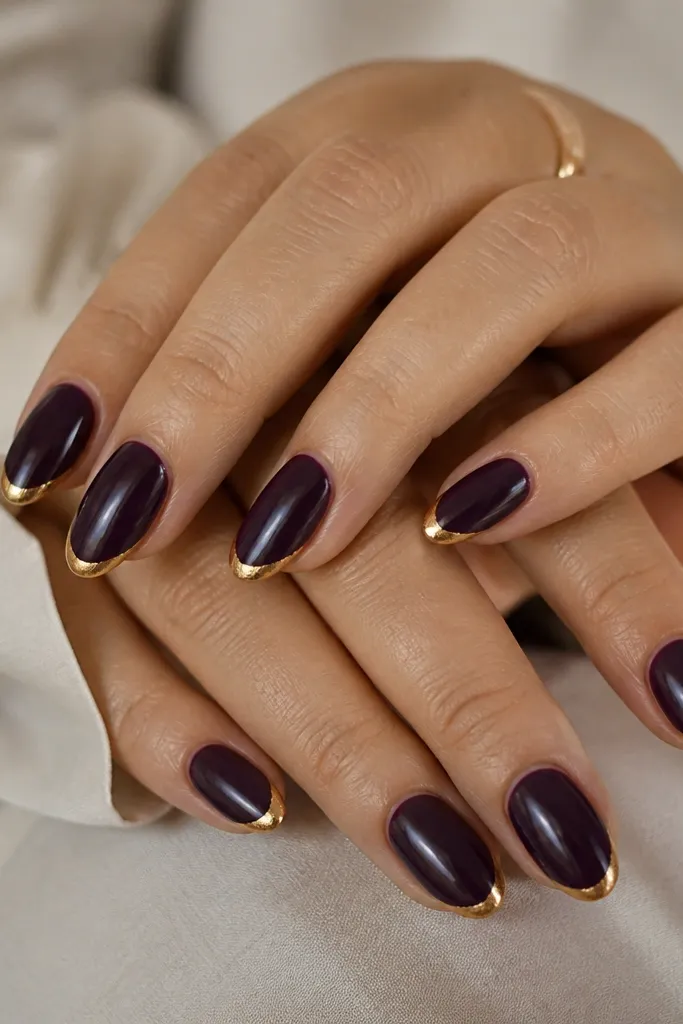
This look is my go-to when I want dark purple to look expensive instead of goth. The grape jelly purple is semi-translucent-glossy, and it makes the antique gold look aged and warm rather than loud. I’ve worn it on both fair and medium skin — it flatters because the gold line stays narrow and doesn’t fight the purple. For work dinners, it reads polished even without rhinestones. The styling principle is thin metallic placement: keep the gold to the tip and let the purple do the heavy lifting.
Editor's noteIf your French line looks wobbly, clean the edges with a flat brush dipped in acetone before the top coat.
Start with a smooth base: apply two coats of the grape jelly purple, letting each coat dry fully. Use a French guide or freehand with a striping brush to paint a thin gold tip — aim for about 1.5 to 2 mm. When the gold is tacky, press a tiny bit of antique gold foil at the outer corners only, then seal it. Finish with a thick, glossy top coat and cap the free edge on each nail.
Watch outSkipping a thick top coat is the fastest way to make foil texture catch on fabric and chip.
2. Mirror Silver Half-Moons On Dark Purple Velvet
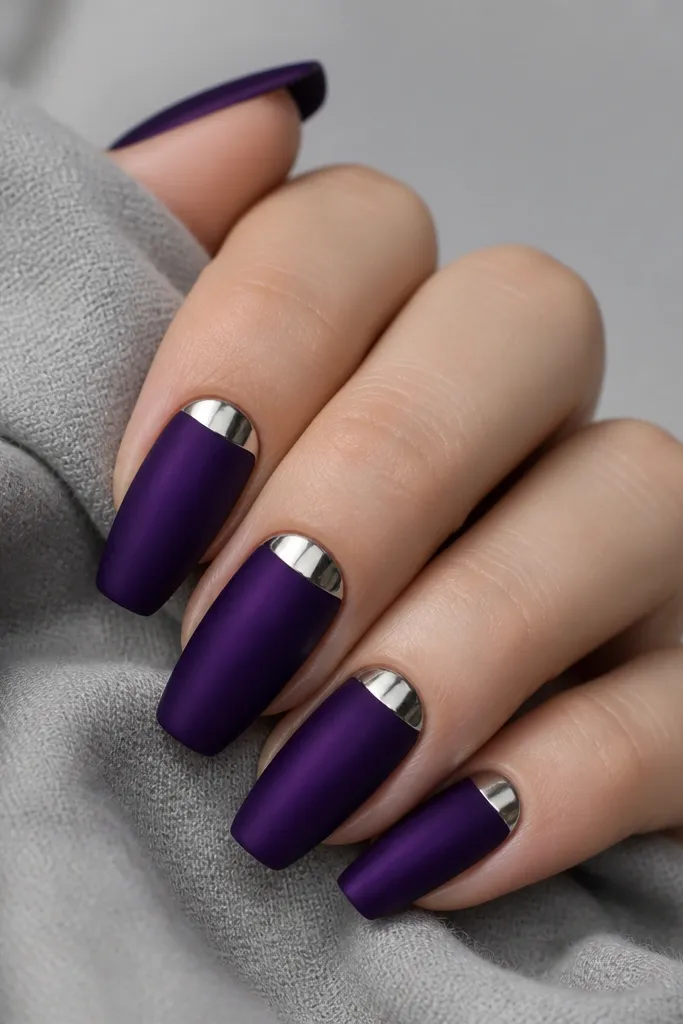
Mirror silver half-moons make dark purple feel sharp and nightlife-ready. I like this on deep purple that’s slightly cool — it keeps the silver from turning dull gray. On my skin (and on friends with pink or neutral undertones), the silver pops without making purple look muddy. It also looks good on hands with longer fingers because the half-moon draws the eye upward. The principle here is cuticle framing: one clean metallic shape near the base makes the whole manicure look intentional.
Editor's noteTest your top coat on one nail first — some dull chrome instantly.
Buff your nail surface lightly so the satin finish grabs. Paint two coats of dark purple velvet (satin or matte polish), then let it set until it feels dry to the touch. Use a small silicone half-moon tool or a cuticle stencil to apply mirror silver at the cuticle — keep it tight, about 1 mm above the cuticle line. Seal with a glossy top coat over everything except the silver if your top coat dulls chrome — then use a chrome-safe top coat only.
Watch outTrying to cover the half-moon with too much silver makes it look like a blob instead of a crisp frame.
3. Gold Leaf Swirl On One Accent Nail, Solid Purple Everywhere Else
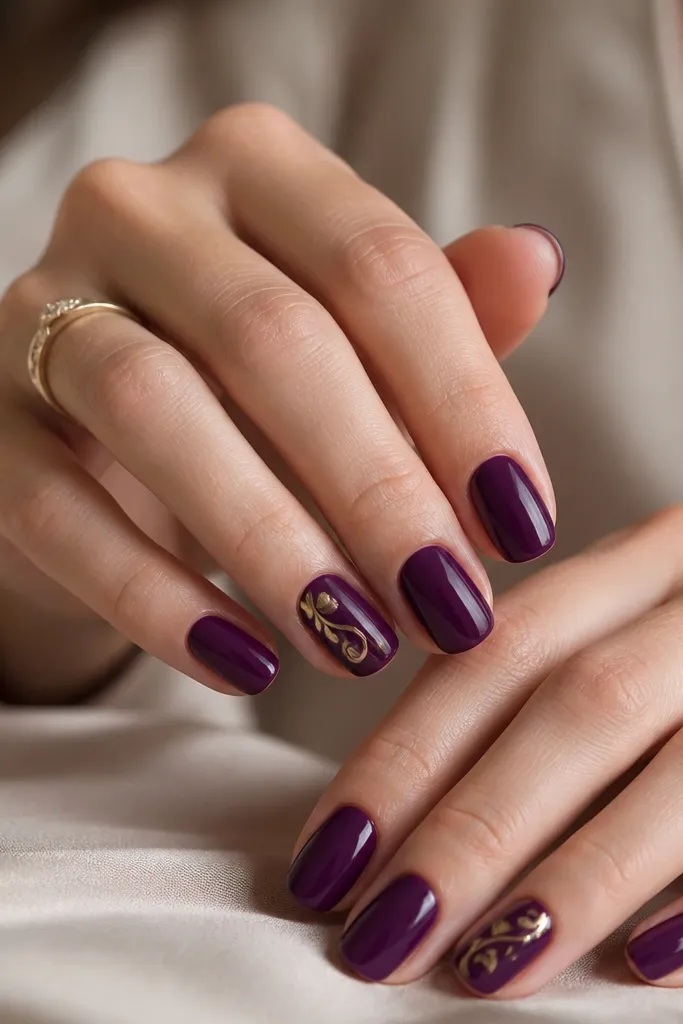
This is the “I did my nails but I didn’t overdo it” set that still gets compliments. Dark purple stays the star, and the gold leaf swirl adds texture without turning into a full glitter bomb. I’ve seen it look best when your purple is fully opaque in two coats — it gives the leaf something clean to sit on. It flatters most skin tones because gold leaf has warm, irregular edges that soften the contrast. The principle is controlled texture: one or two nails get the leaf, the rest stay smooth and glossy.
Editor's noteUse smaller leaf pieces than you think — big chunks make the swirl look like a sticker.
Paint all nails with two coats of opaque dark purple, then wait until the surface is fully dry. On the accent nail, place a thin line of nail glue or gel tack along where you want the swirl — start near the sidewall and curve inward. Press small pieces of gold leaf into the tack, then use a dry brush to lift off excess. Finish with top coat, but go lighter over the leaf so you don’t smash the texture.
Watch outDoing gold leaf over a streaky purple base makes the whole nail look patchy.
4. Gold Chain Link Lines Over Dark Purple Gloss
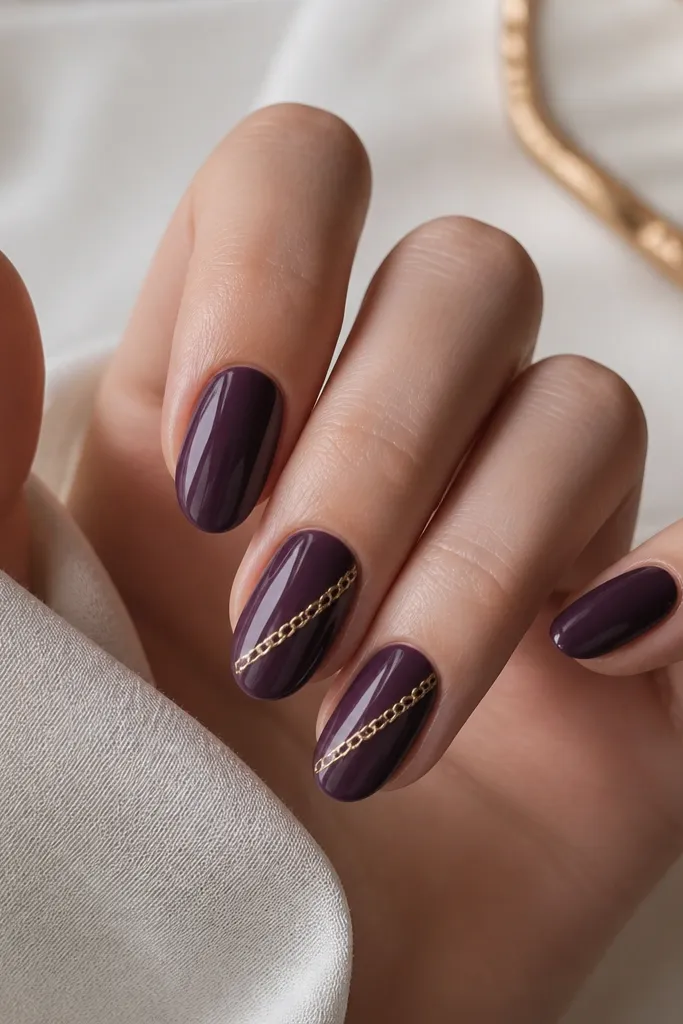
Gold chain lines give dark purple a jewelry feel without adding bulk. I love this when I’m wearing a gold watch or layered necklaces because the manicure matches the hardware tone. The purple should be glossy and smooth — any texture will make the chain lines look messy. On fair to medium skin, it looks bright and clean; on deeper skin tones, the contrast is dramatic in a good way. The principle is line weight: keep the chain thin and leave space between links so the purple shows through.
Start with two glossy coats of dark purple and let them level out fully. Apply a base layer of gel or regular clear polish where the chain will go. Use a fine detail striping brush to paint small gold rectangles or dots, then connect them with tiny lines to mimic links. Add a second thin pass to define edges, then top coat over the whole nail and cap the free edge.
If you’re using regular polish, work one nail at a time so the gold doesn’t drag.
Trying to make one thick “chain” layer — it looks like tape, not links.
5. Silver Foil Shards On Two Nails, Solid Purple Rest
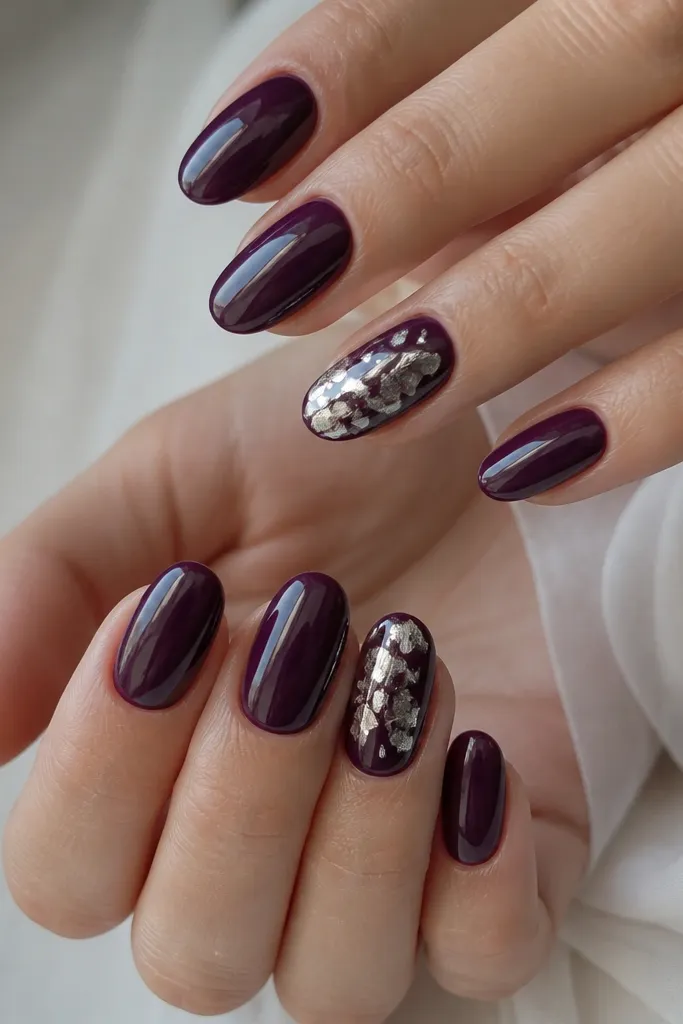
Silver foil shards look like you caught moonlight on your nails. This pairing works when your dark purple is cool-toned — I’ve gotten gray results when the purple is more plum than violet. It flatters hands with cool undertones and also looks great with silver rings because the reflections match. The effect is high-impact but still wearable because it’s limited to two nails. The principle is reflective randomness: foil shards should look scattered, not painted in a pattern.
Apply two coats of cool dark purple to all nails and seal with a glossy top coat. On the two accent nails, dab clear gel tack or foil glue in small patches — don’t cover the whole nail. Press silver foil onto the tack, then press again lightly to sharpen edges. Seal with a top coat in two steps: one thin coat to lock, then a thicker final coat after it levels.
Use a makeup sponge to dab the foil glue — it creates smaller tack spots for cleaner shards.
Sealing foil with a runny top coat right away — it can smear the edges.
6. Gold Studded Half-Tip On Dark Purple Squoval
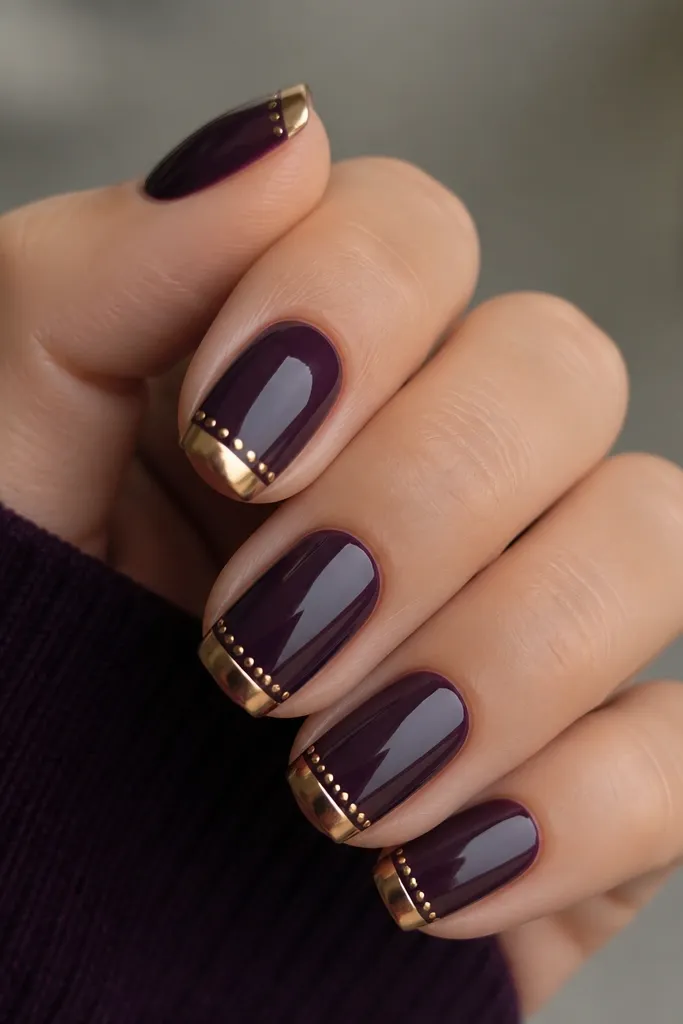
Gold studs turn dark purple into something you’d wear to a wedding or a birthday dinner. The squoval shape makes the half-tip look smooth instead of sharp, especially on hands that aren’t used to pointy nails. This works best with a medium-deep purple that covers in two coats so the studs don’t sit on patchy color. Gold studs also flatter olive skin because the warm metal keeps purple from looking too cold. The principle is spacing: studs should be evenly placed in one band, not scattered.
Editor's noteDo one nail first and let it set — you’ll learn the exact stud spacing for your nail size.
Paint two coats of glossy dark purple and let it dry completely. Decide where your half-tip band lands — I aim for the top third of the nail. Apply a thin line of gel or nail glue along that band, then place small gold studs with tweezers — keep them touching or separated by a hair. Cure if using gel, then top coat gently so the studs don’t sink.
Watch outOverloading studs — too many makes the half-tip look heavy and uneven.
7. Silver Micro-Glitter Ombré With Dark Purple Base
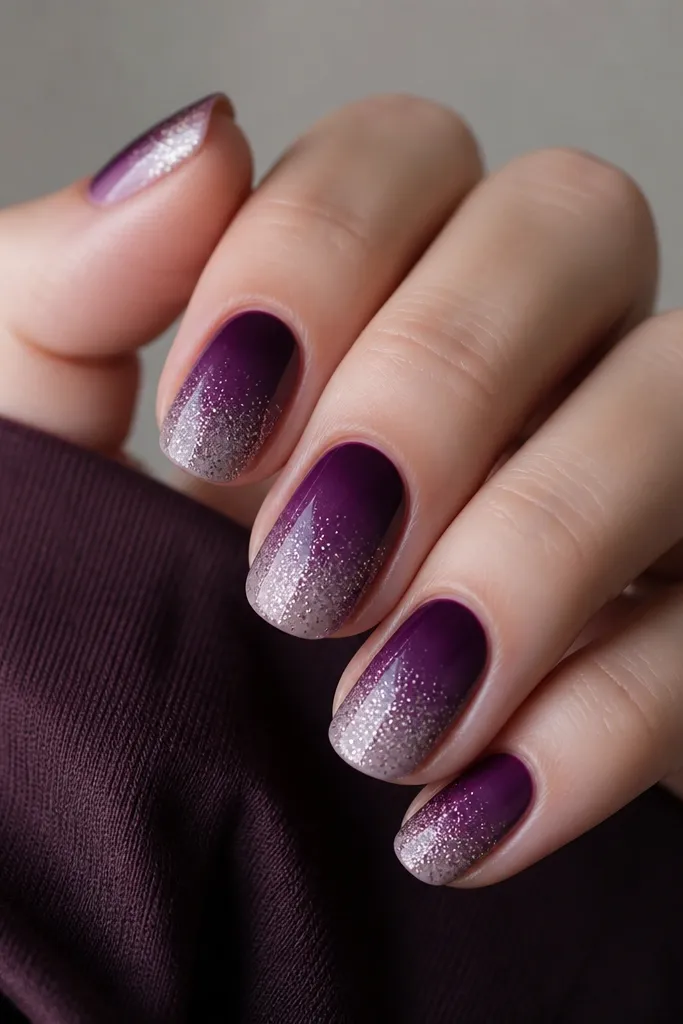
This is the “subtle sparkle” version that still reads festive. Silver micro-glitter spreads softly over dark purple, so you get shimmer without harsh lines. I like it when you’re wearing silver-toned jewelry or a cool-toned outfit and want nails that match without going full chrome. It flatters short nails because the ombré pulls the eye upward. The principle is gradient control: you build the glitter gradually instead of dumping it at the tip.
Editor's noteUse a flat makeup brush to sweep glitter off the sides before top coat.
Start with two coats of dark purple and wait until the surface is tack-free if you’re using gel. Sponge on a thin layer of clear gel or base coat at the very tip and blend downward using a makeup sponge. Dust silver micro-glitter onto the tack in a light layer, then repeat in smaller amounts as you move toward the center of the nail. Finish with a glossy top coat, and cap the free edge with extra top coat so glitter doesn’t lift.
Watch outTrying to blend glitter with a brush — it usually drags and leaves streaks.
8. Gold Foil Vertical Stripe From Cuticle To Tip
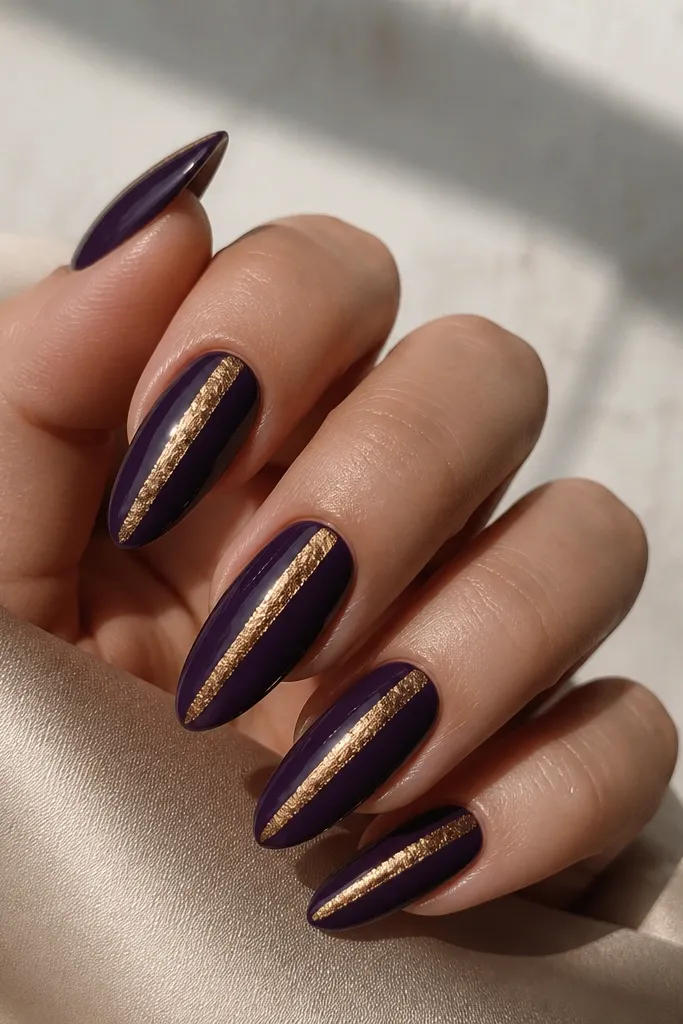
A vertical gold stripe makes dark purple look longer and slimmer, which is why I use it when I want my nails to look sleek. Gold foil gives a textured shimmer that looks better in daylight than plain gold paint. It flatters nearly everyone because the stripe sits in the center and doesn’t cut the nail into awkward sections. I especially like it on shorter nails because it adds length without extra width. The principle is symmetry: keep the stripe centered and the same width across the set.
Paint two coats of deep purple and let them cure. Apply a thin line of foil glue or gel along the center of the nail — it should be narrow, about the width of a pencil line. Press antique gold foil onto the sticky line, then use the back of a brush to burnish and remove loose edges. Top coat in two layers so the foil is smooth and won’t catch on fabric.
If your stripe looks crooked, wipe the glue with a cotton swab before it cures and redo it.
Using thick gold paint for a “foil look” — it looks raised and rough.
9. Silver Chrome Tips With Dark Purple Base Like A Fashion Coat
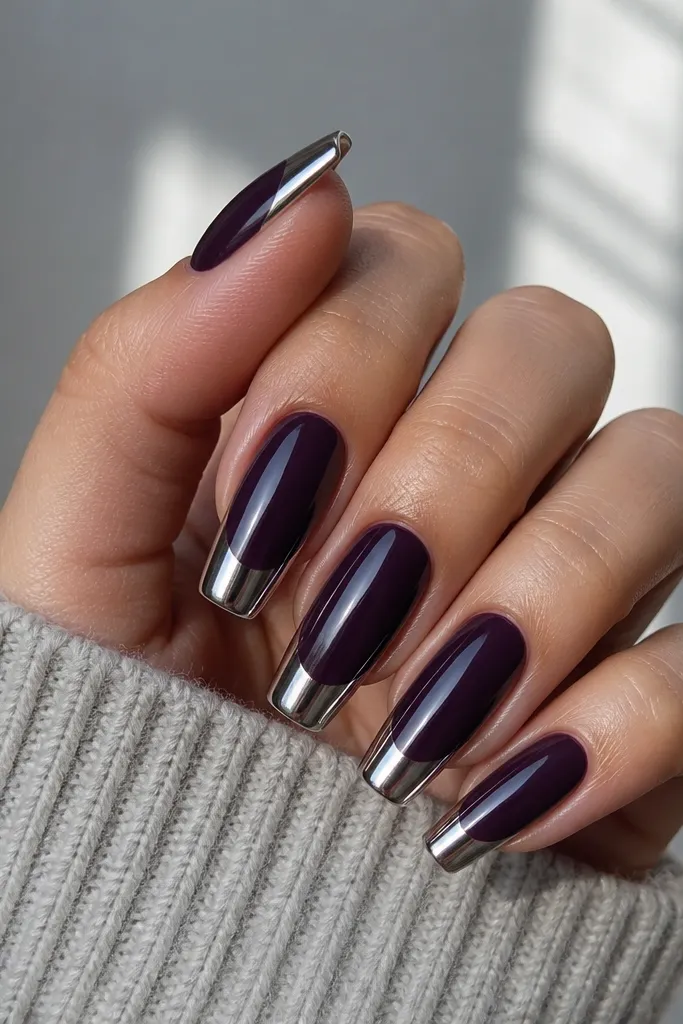
Chrome silver tips over dark purple look like nail armor — sleek, bright, and very “going somewhere.” This pairing shines when your purple is deep and cool so the chrome doesn’t clash. On my skin, it looks best with neutral makeup and a clean lip because the chrome already does the talking. It also looks great with silver or white gold rings. The principle is full-tip coverage: the chrome needs a smooth, even layer, and the wrap over the sides makes it look professionally finished.
Start with two coats of deep cool dark purple and let it fully dry. Apply chrome base or a chrome-ready gel layer at the tip area only, then blend the line so there’s no ridge. Apply silver chrome powder or rub-on chrome and buff lightly for mirror shine — focus on the tip surface and the side edges. Seal with a chrome-safe top coat or a thin layer that won’t kill the shine.
Wipe the sides with a lint-free wipe after chrome application — it keeps the wrap crisp.
Overloading chrome at the cuticle — it drags the look downward.
10. Gold Gem Crescent On Dark Purple Night Sky
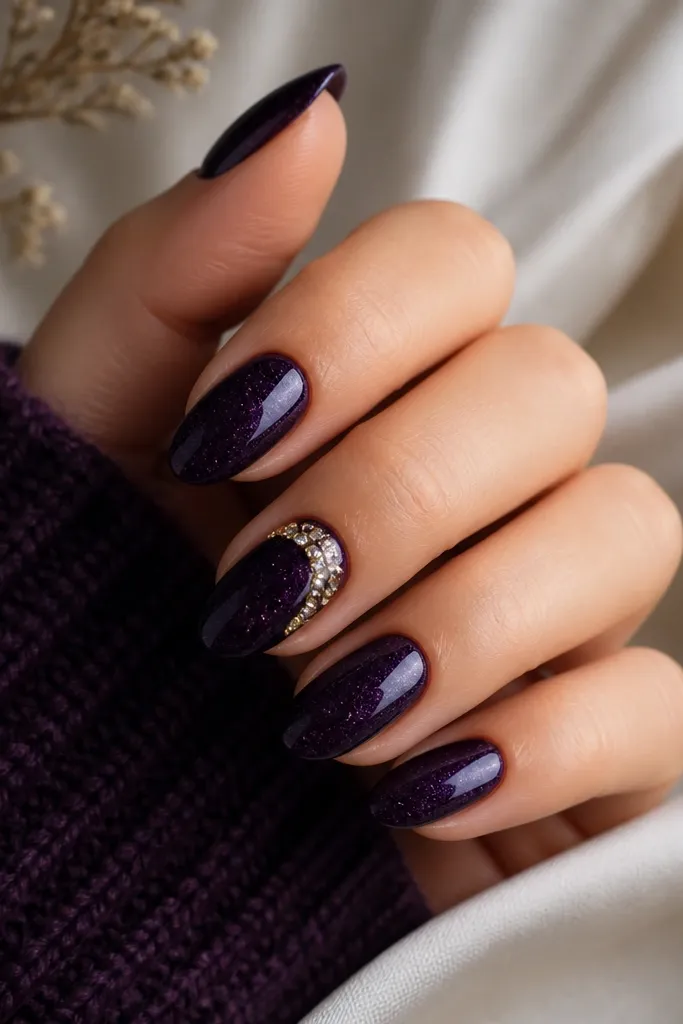
This is the “one statement nail” set that still feels balanced. Dark purple night-sky polish has tiny sparkles, and the gold gem crescent adds a warm focal point without covering the whole nail. I like it for party season because your nails catch light even when you’re just holding a drink. It works on fair, medium, and deep skin because the gems sit at the cuticle where the eye expects detail. The principle is anchoring: gems go near the base and taper away, so the nail stays elegant.
Paint two coats of dark purple night-sky polish on all nails and seal with a glossy top coat. On the accent nail, place a small bead of gel at the cuticle line where the crescent will sit. Use a curved tweezer or dotting tool to place gold micro-gems in an arc — I place 6 to 10 stones depending on nail size. Cure, then top coat carefully around the gems, leaving them slightly domed for shine.
Pick gems that are the same size — mixed sizes look messy with dark backgrounds.
Putting gems on a matte base — the stones grip unevenly and snag during filing.
11. Silver Leaf On A Matte Dark Purple Base
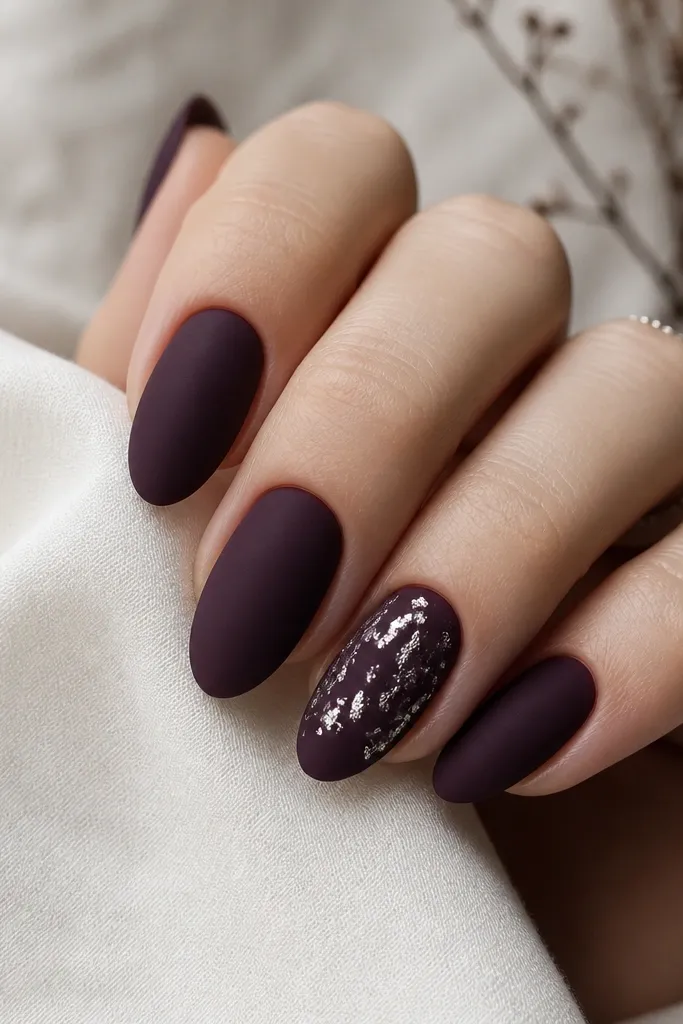
Matte dark purple plus silver leaf looks modern and a little artsy. The matte finish kills the “cheap glitter” vibe and makes the silver leaf feel like real metal. I’ve found this combo flatters cooler undertones and looks especially good with silver earrings. It also hides small imperfections because matte polish forgives unevenness better than glossy. The principle is finish contrast: matte base and reflective leaf create interest without extra color changes.
Editor's noteUse a matte top coat that says matte-safe for foil — some brands turn leaf dull in a weird way.
Apply two coats of matte dark purple and let it dry fully so it doesn’t turn shiny when you add leaf. On the accent nail, dab leaf glue or tack onto the center area in small dots. Press silver leaf onto the tack, then use a soft brush to remove extra pieces so the nail doesn’t look crowded. Seal with a matte-friendly top coat over everything except any leaf you want extra shine on — you can leave a few spots glossy by sealing only the edges.
Watch outOver-brushing matte nails after leaf — it can wipe off the leaf patches.
12. Gold And Purple Split-Negative Space Triangle
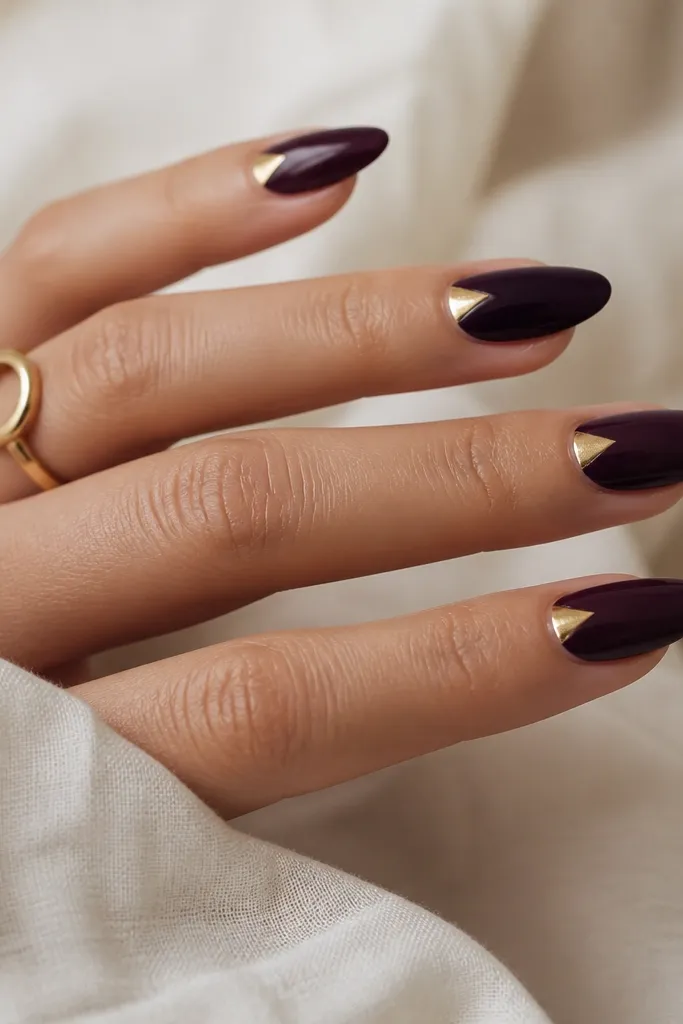
Negative space makes dark purple feel lighter and more design-forward. The triangle shape with antique gold looks like a modern geometric ring, and it doesn’t require a lot of metal coverage. I like this on medium almond and squoval shapes because the triangle edges have room to look crisp. It flatters most skin tones since the gold triangle breaks up the dark color and adds a warm highlight. The principle is clean geometry: sharp edges look expensive, messy edges look like a mistake.
Start with a full purple base — two coats, glossy. Use striping tape to form a triangle near the sidewall, leaving the tape edge tight and straight. Paint the exposed triangle area with antique gold gel or polish, then peel tape while still slightly tacky for cleaner edges. Seal with top coat, making sure you cap the triangle edges so it doesn’t lift.
Press the tape down firmly along the edges — tape gaps create fuzzy lines.
Using flimsy tape — it bleeds and ruins the triangle crispness.
13. Silver Diagonal V Tip With Solid Dark Purple Base

A diagonal V tip makes the manicure look custom, like a salon design, even if you’re doing it at home. Silver here is best when it’s bright and clean, like chrome striping gel or a high-pigment metallic. This is a great choice if your outfit has a sharp cut — blazer sleeves, structured dresses, or monochrome looks. It also makes short nails look more stylized because the V shape pulls the eye to the tip point. The principle is sharp angles: keep the V lines even and let the purple fill the rest.
Paint two coats of glossy deep purple and let it set. Place striping tape on both sides to mark the V angle, leaving the tip point centered. Paint the exposed area with silver metallic — do one thin coat, then a second for full coverage. Remove tape after the second coat is tacky, then top coat over everything and cap the tip.
Use a ruler or nail art guide to set the V angle the same on every finger.
Freehanding both lines without guides — the V usually ends up uneven.
14. Gold Glitter Fade At The Cuticle Edge On Dark Purple
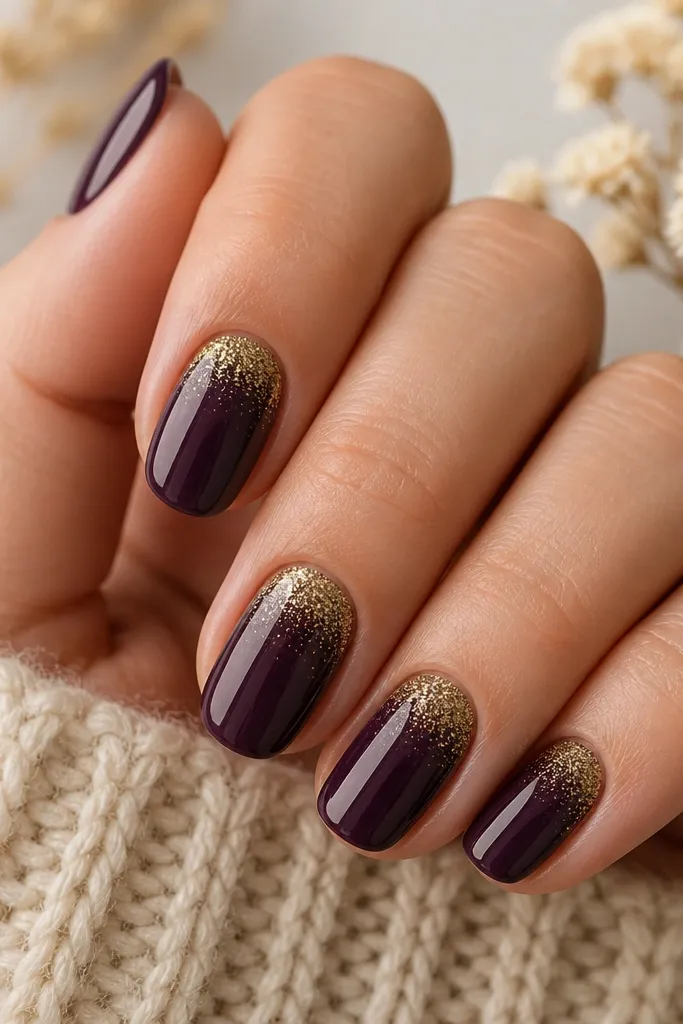
Gold glitter near the cuticle looks delicate and intentional, not like you spilled glitter on your nails. It makes dark purple look warm and bright, especially if you’re wearing gold jewelry. I like this for daytime events because the glitter is concentrated at the base where it reads as sparkle, not chaos. It also flatters smaller nails by adding interest without making the tip heavy. The principle is placement: keep glitter close to the cuticle and let it fade quickly so the nail still looks clean.
Editor's noteIf glitter feels scratchy, add an extra thin top coat and cure longer.
Paint two coats of dark purple and keep the surface glossy. Apply a small amount of clear gel around the cuticle area — about 1 to 2 mm wide. Dust fine gold glitter onto the tack, then use a clean brush to blend the glitter downward into the purple in a soft fade. Seal with a top coat that levels — you want no gritty texture at the cuticle.
Watch outPacking glitter too thick at the cuticle — it catches on hair and looks chunky.
15. Silver Ombre Glow With Dark Purple Jelly Base
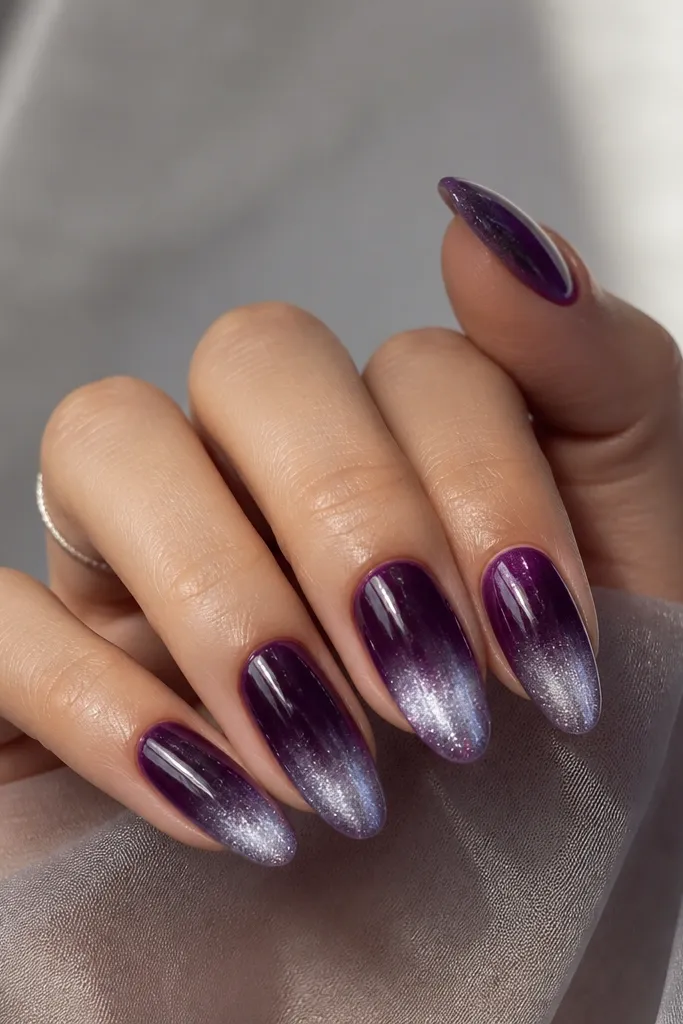
This is the “glass nails” look that makes dark purple feel airy without losing drama. A jelly base is key because it lets the silver shimmer look suspended, not stuck on top. I prefer it for evening and photos because the shimmer catches as you move your hands. It works well on medium to long nails since the gradient has room to develop. The principle is layering: jelly base first, then a controlled shimmer gradient, then a glossy seal.
Apply two coats of dark purple jelly polish, letting the second coat build opacity but stay glossy. Add a thin layer of clear gel at the lower half of the nail, then sponge on silver shimmer from mid-nail to tip. Keep the sponge light so you get a smooth fade, not a stripe. Finish with a thick glossy top coat to lock the shimmer and make everything look like one smooth surface.
Use less shimmer than you think at first, then build — it’s easier to add than to remove.
Skipping the jelly base — opaque purple makes silver shimmer look like glitter stuck on.