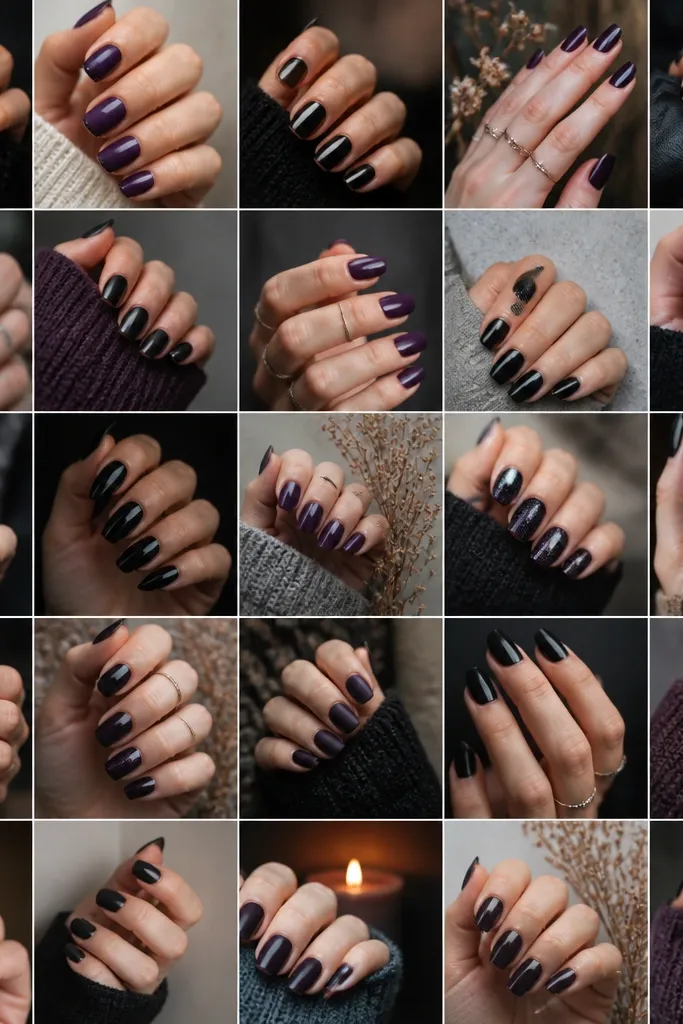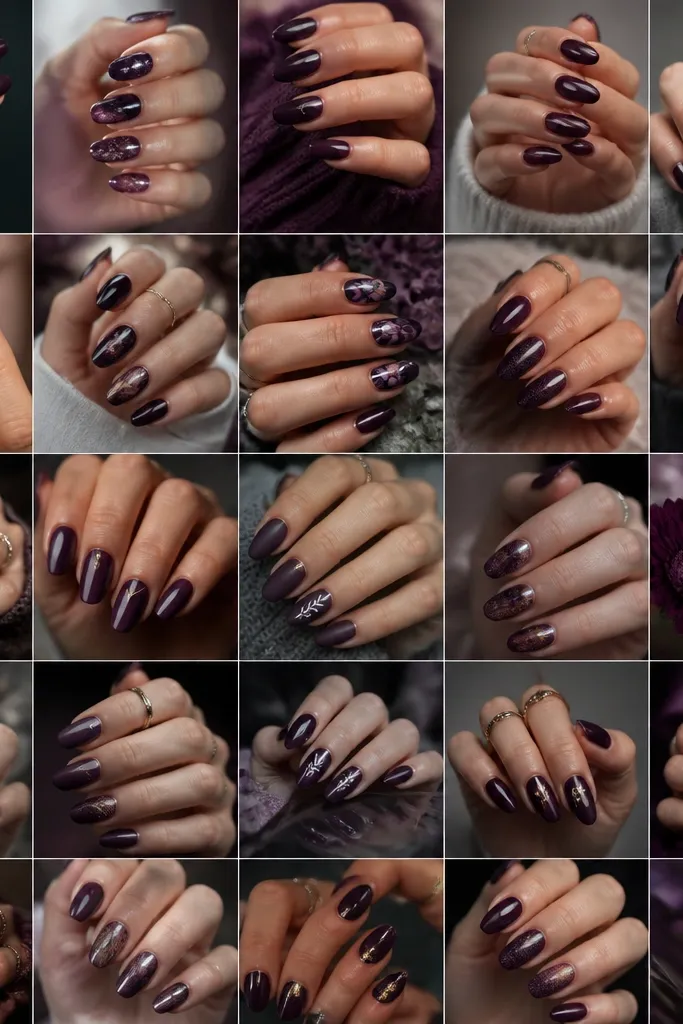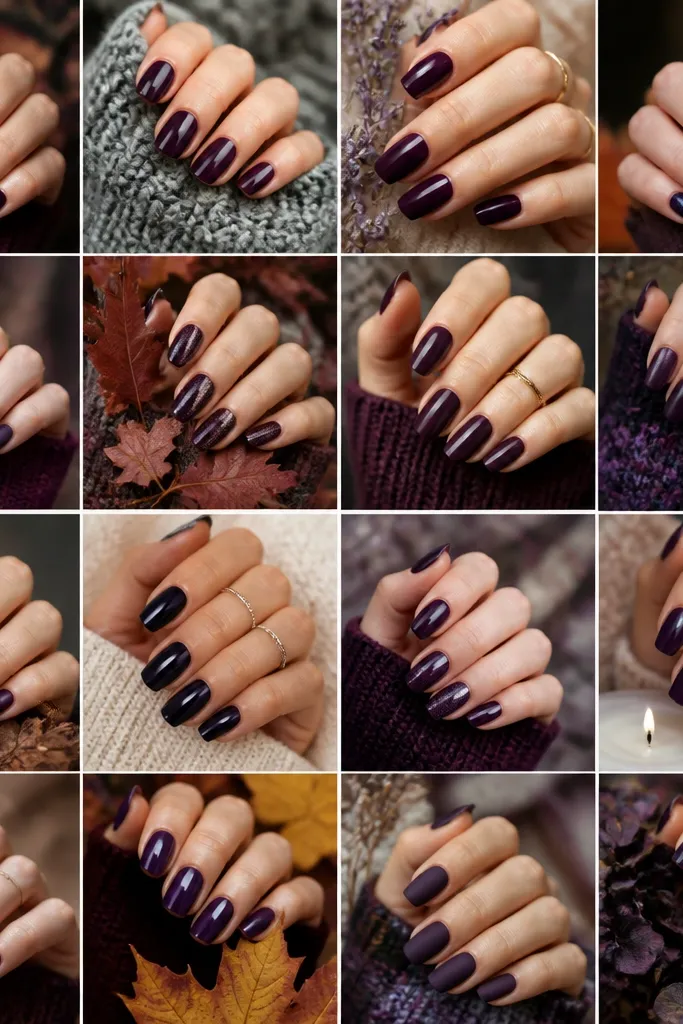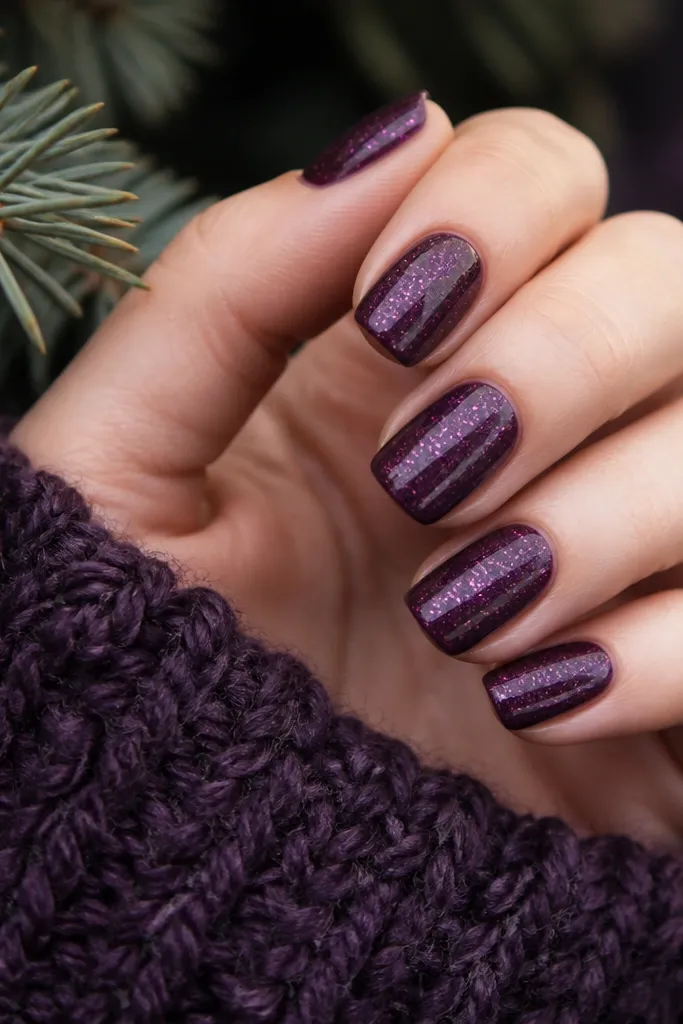
1. Near-Black Plum Micro-French with Clear Tip
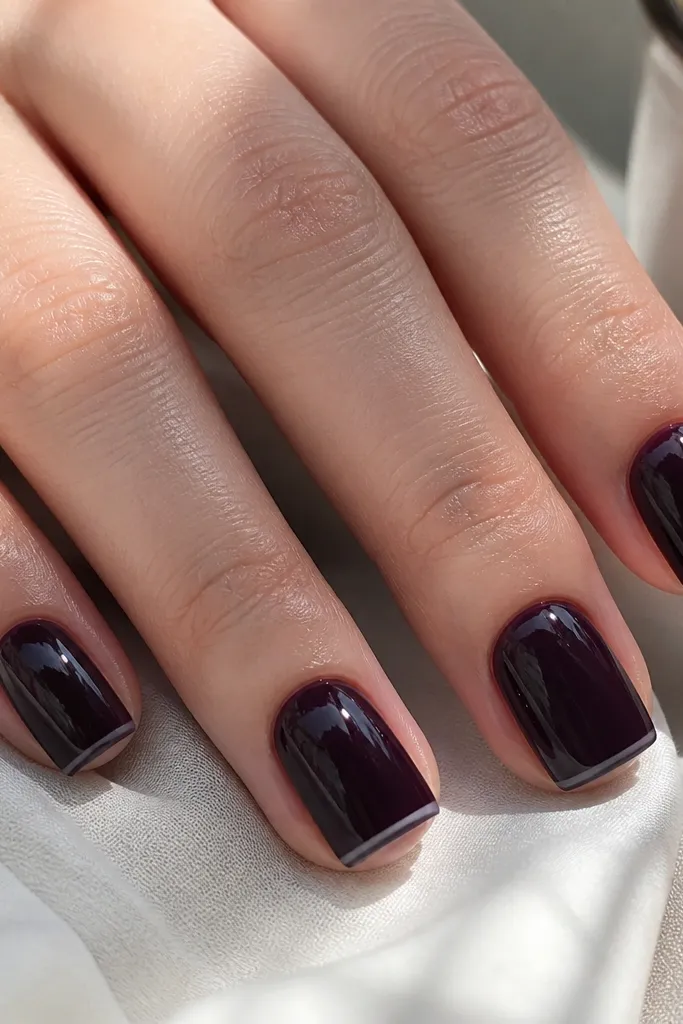
This is the cleanest way I know to make dark purple look expensive without adding extra art. The near-black plum reads sharp, and the clear tip gives your nails a lighter "breathing" space so they don't look heavy. It flatters short nail beds because the micro-French only takes a tiny strip of visual weight. I've worn this to work and to nights out - the look stays classy even with simple outfits and silver rings.
Start by prepping and applying tips (or building with acrylic) to your preferred short-square shape. Paint a full base coat of near-black plum, then cure. Using a striping brush, draw a micro-French line about 1 mm wide at the free edge and extend it evenly across all nails. Leave the very tip clear, then seal with two thin layers of high-gloss top coat, cap the free edge on the last coat. Finish by wiping the tacky layer clean if your top coat requires it.
Editor's noteIf your purple looks too dark to see, switch to a grape jelly plum for the base and keep the micro-French fully opaque.
Watch outAvoid thick French lines. They make the nail look stubby and cheap fast.
2. Grape Jelly Base with Floating Star Confetti
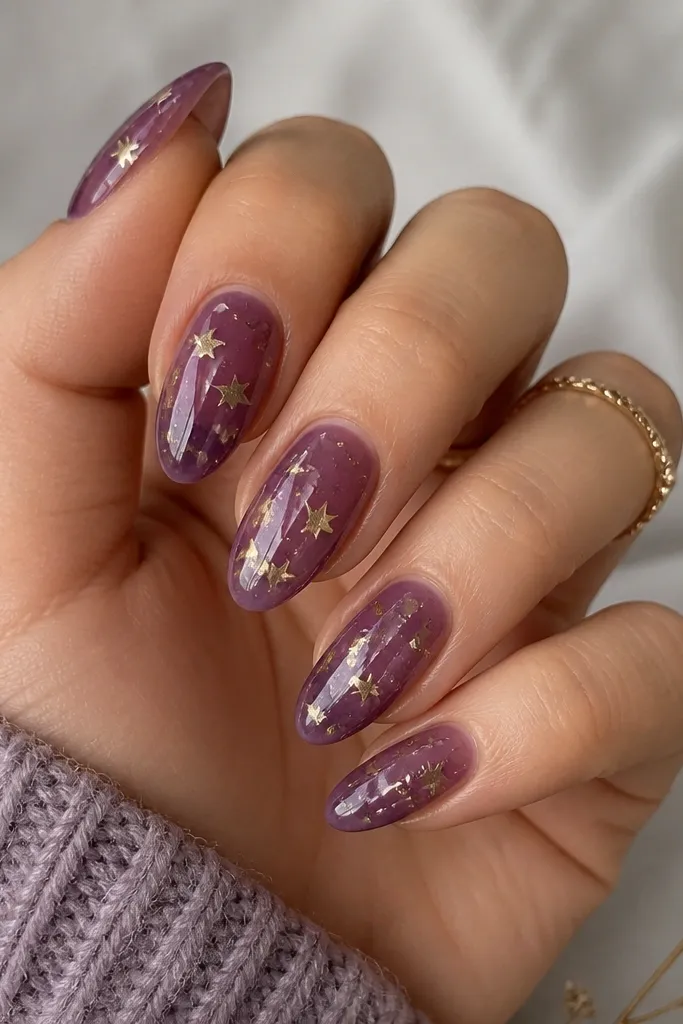
Grape jelly purple is the most forgiving dark purple because you can see light through it. That transparency makes the gold stars look like they're floating instead of pasted on. It's flattering on medium to long almond shapes because the jelly base softens the edges and the stars guide the eye upward. I've done this for events when I wanted "pretty" without risking messy nail art - it photographs beautifully under flash.
Start by building your nails with a sheer nude-pink base under the jelly color so the grape tone looks clean. Apply grape jelly purple in two thin layers, curing each time. Before the final cure, place tiny gold star confetti with a dotting tool, then cover with a thin jelly overlay layer so the stars sink slightly. Cure fully, then seal with a thick glassy top coat. Keep star sizes tiny - think 1 mm to 2 mm pieces.
Editor's noteUse a matte top coat on one accent nail only if you want contrast - then bring it back to gloss on the rest.
Watch outDon't bury chunky stars under thick product. They create bumps that catch on hair and snag.
3. Velvet Plum with Gold Side Swirl Accent
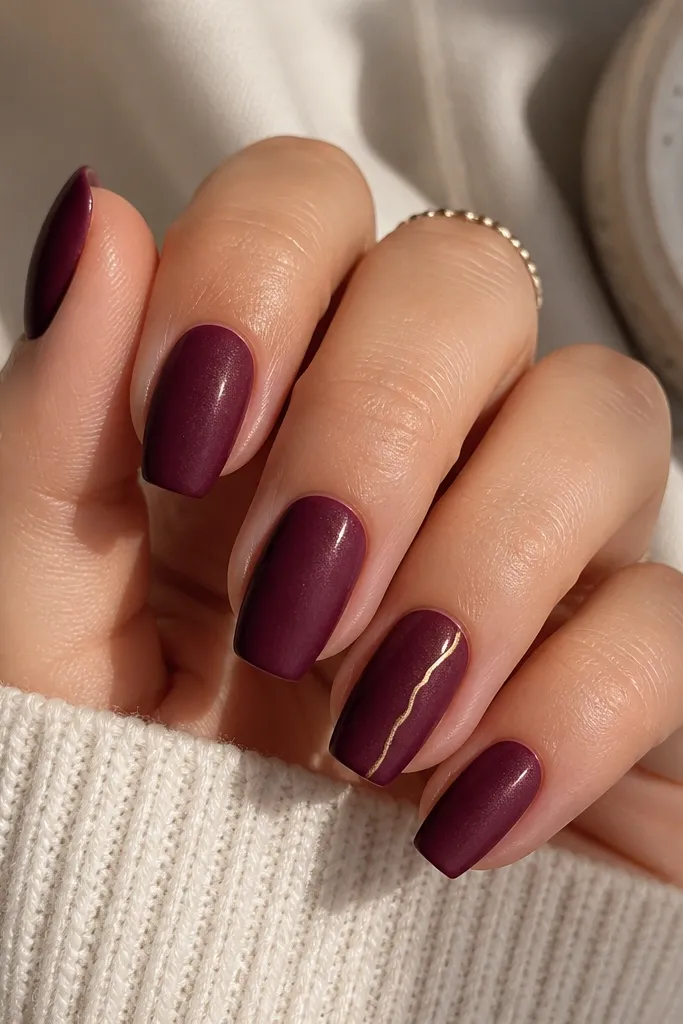
Velvet plum has that soft, "fabric" look that makes dark purple feel classy even when it's plain. The gold side swirl adds movement without taking over the whole nail. This flatters hands with longer fingers because the sidewall line gives a vertical effect, and it also looks great on deeper skin tones where gold pops. I wear this when I want something dark but not goth - it still reads polished.
Start with a velvet-finish plum polish or a velvet effect gel look, then cure. If you're using acrylic, apply plum acrylic and then top with a velvet-effect gel layer for the texture. For the accent nail, use a stripping brush and metallic gold gel to draw a thin swirl starting around the center and tapering as it reaches the free edge. Cure the gold, then apply a glossy top coat only on the gold line and the non-velvet nails so the contrast stays intentional. If you do want the whole set glossy, keep the velvet effect lighter so it doesn't dull the gold.
Editor's noteIf your swirl looks shaky, practice on a paper strip first - the sidewall placement makes every wobble obvious.
Watch outAvoid gold on every nail. One or two accents make it look designed, not random.
4. Dark Purple Chrome Half-Moon with Sheer Nude Base
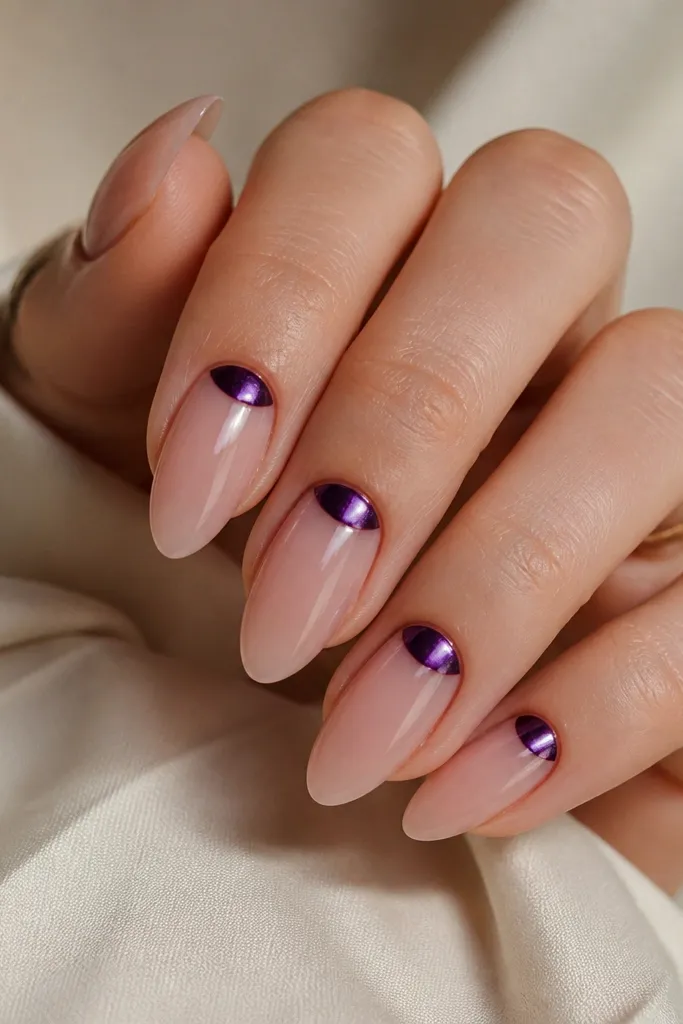
This is the renter-friendly "instant glam" design. The sheer nude base makes your cuticle area look clean, while the dark purple chrome half-moon gives that mirror hit without needing full coverage art. It's flattering for most nail beds because the half-moon sits at the natural curve and hides tiny imperfections. I like it on hands with warm undertones because the purple chrome cools everything down.
Start by applying a sheer nude base (gel or acrylic overlay) and cure. Use a half-moon stencil or freehand with a small nail art brush to mask the cuticle curve. Apply dark purple chrome powder over tacky gel inside the half-moon, then buff gently to remove excess. Seal with a chrome-safe top coat in thin layers - two coats, cure between them. Keep the half-moon tight to the cuticle line so it doesn't look like a wide band.
Editor's noteChoose a chrome top coat that stays reflective after curing. Some matte-sealing coats kill the mirror look.
Watch outAvoid covering the whole nail in chrome. Full chrome on dark purple can look heavy and less classy.
5. Plum Ombré Fade into Clear at the Tips
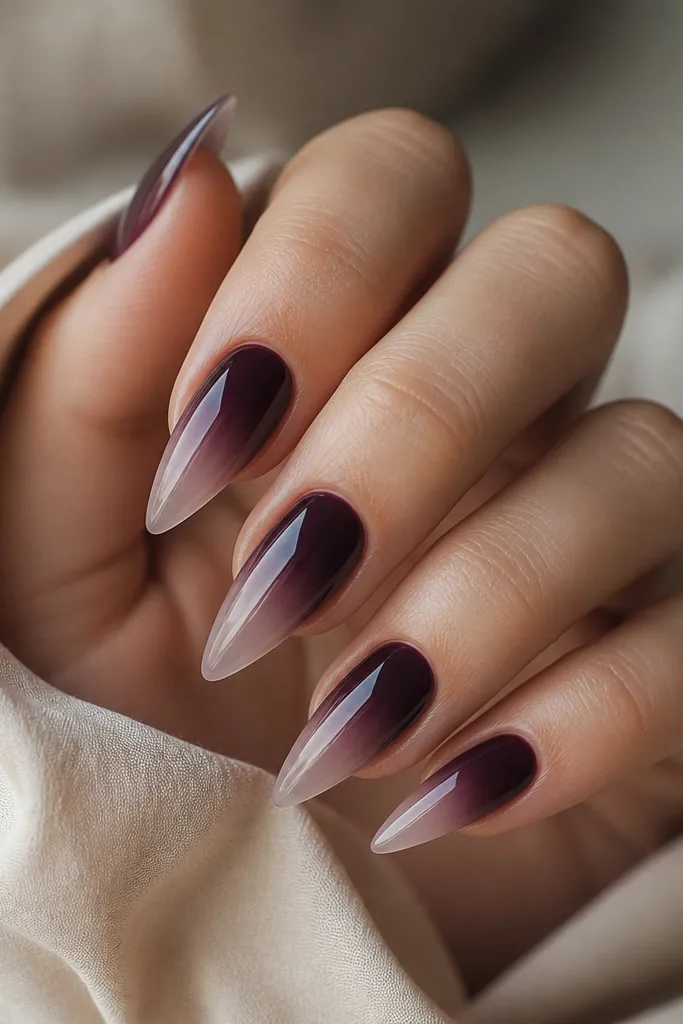
Ombré is classy when the fade is smooth and the ends stay light. This style makes dark purple feel modern because the tip reads clean and bright. It flatters hands with longer nail beds because the gradient stretches the eye from cuticle to tip. I've done this on acrylic extensions for clients who hate chunky nail art - it's just color control.
Start with a sheer base layer and build your nail length first. Sponge on dark plum starting at the cuticle, then blend downward with a clean makeup sponge using gentle taps. Stop blending about 2 mm before the tip so the tip can stay clear. Add a thin clear acrylic/gel overlay on the tip to lock the gradient and smooth the surface. Cure, then seal with glossy top coat and cap the free edge.
Editor's noteUse a small makeup sponge and reload product lightly. Overloading makes the fade look muddy.
Watch outAvoid harsh lines at the blend boundary. That's what makes ombré look like a sticker.
6. Glossy Plum with Negative-Space Half-Heart Cutout
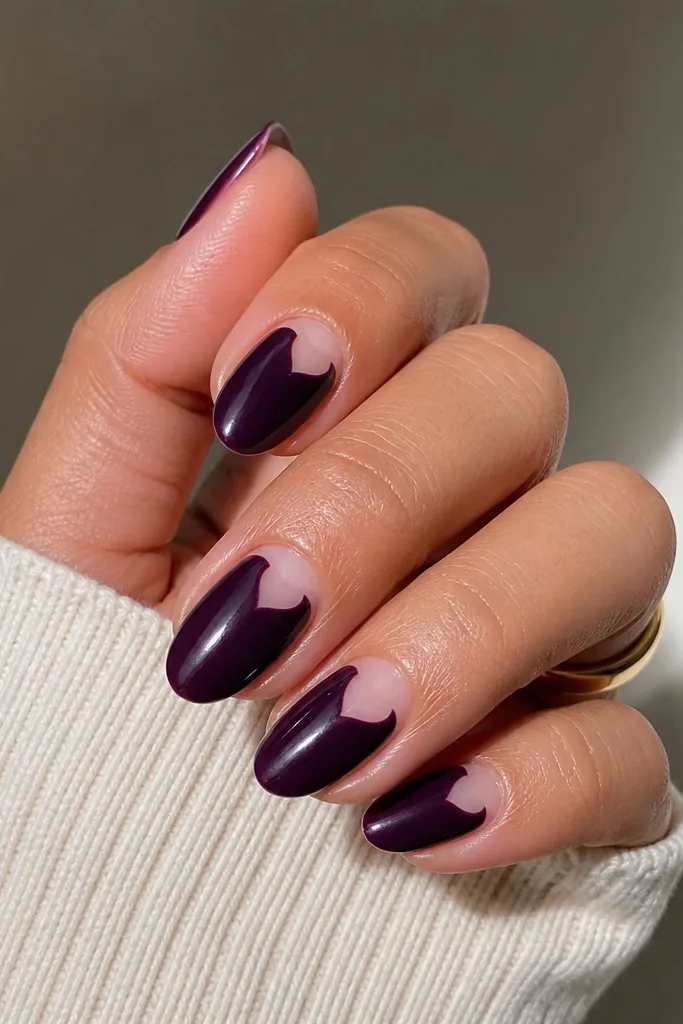
Negative space makes dark purple feel playful instead of heavy. The half-heart cutout keeps the design small and intentional, so it doesn't look like a full Valentine theme. It flatters smaller nail beds because the clear shape breaks up the solid color. I've worn this with both cozy sweaters and going-out dresses - the look shifts depending on your accessories.
Start by applying a sheer base layer so the clear area looks clean. Paint dark purple across the nail, leaving the half-heart area unpainted. Use a nail art brush or a tiny heart stencil to shape the negative space - keep it tight to the cuticle curve and slightly off-center to one side. Let it cure, then clean edges with a brush dipped in alcohol. Seal with glossy top coat in two thin layers, making sure the clear cutout stays crisp.
Editor's noteIf you're doing it freehand, draw the heart outline first with a thin purple line, then fill around it.
Watch outAvoid sloppy edges around the cutout. Even a small blur makes it look messy.
7. Dark Purple Marble Vein Tips on Clear Base
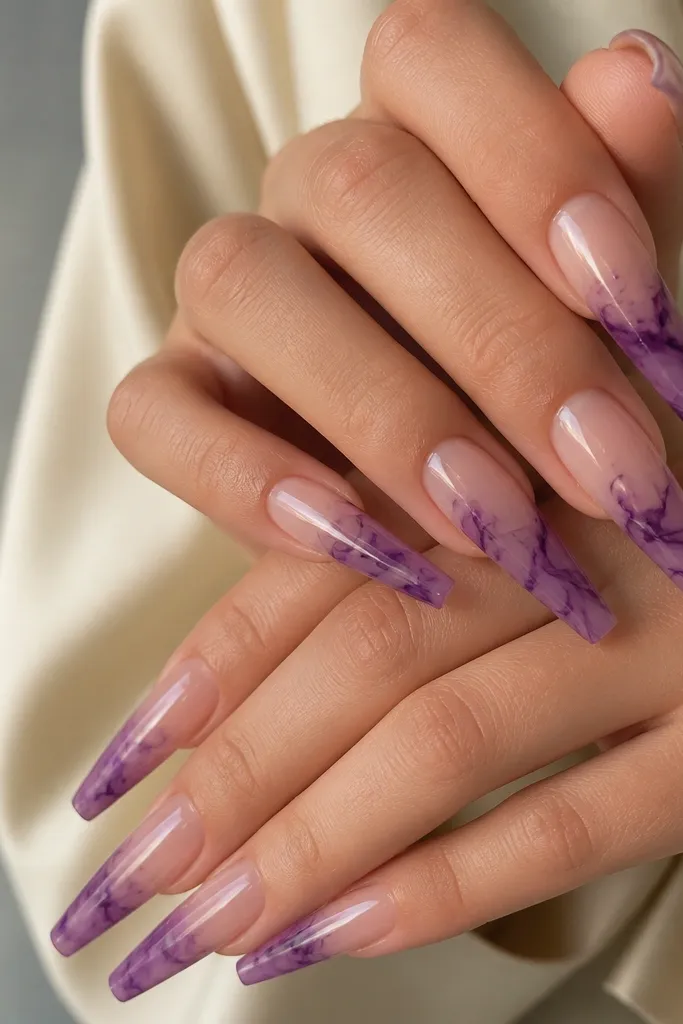
Marble tips look classy because the art is concentrated near the free edge. A clear base keeps the design light, so the dark purple veins read like jewelry instead of paint. This style flatters hands with shorter fingers because the clear base visually extends the nail, especially on coffin shapes. I've done marble tips for renters who want something that grows out well - the design stays interesting even as it moves forward.
Start with a clear or jelly nude base and cure fully. Add a thin dark purple gel at the tip area, then drag a lighter and darker purple through it with a toothpick to create vein lines. Work in small sections: build one nail tip at a time so the marble doesn't over-blend. Cure, then add a thin clear overlay to smooth and level the tip. Finish with glossy top coat and cap the free edge.
Editor's noteUse two shades of purple - one deep plum and one slightly lighter grape - to make veins look dimensional.
Watch outAvoid using too much product in the tip. Thick marble raises and chips at the edge.
8. Plum Matte Base with Glossy Dot Grid
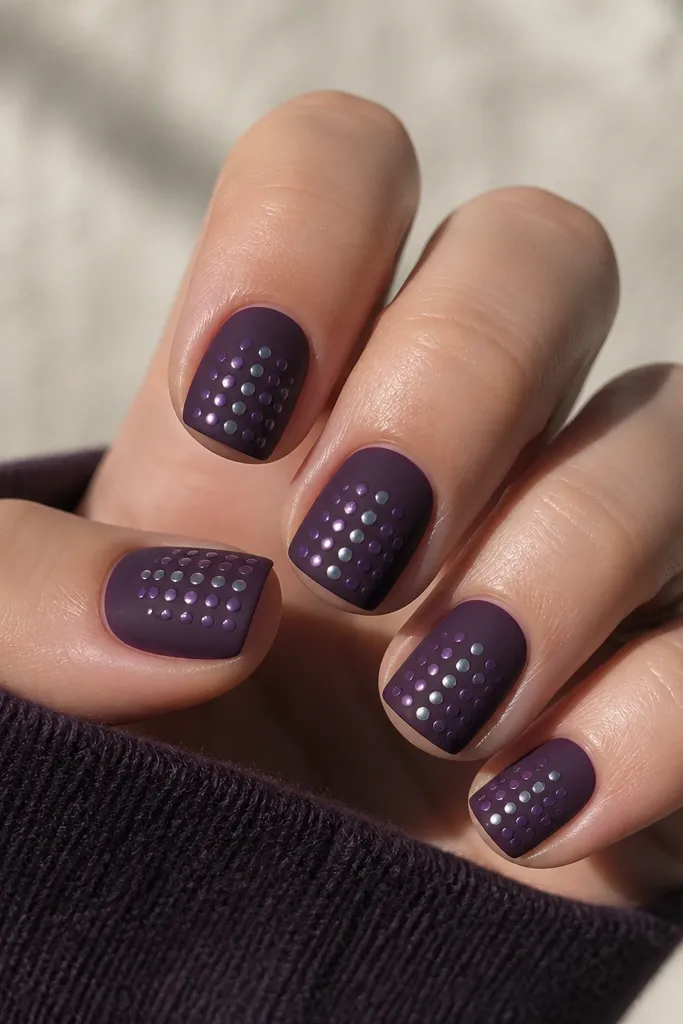
This is one of my favorite ways to make dark purple look "designer" without complicated art. Matte base tones make the color feel soft, while the glossy dot grid adds a clean sparkle that still reads classy. It's flattering on short nails because the dots give structure and keep the surface interesting. I like this for everyday because matte hides minor surface scratches better than glossy.
Start by applying matte dark purple gel or matte-finish polish and cure. Use a dotting tool to place a row of small dots in a slightly lighter purple down the center - spacing about 1 mm apart. Add a second row of dots with silver near the tip edge, then cure. Seal with a glossy top coat only over the dots, not the whole nail, so the matte stays matte. If your top coat spreads, apply it carefully with a small brush.
Editor's noteKeep dot sizes consistent. One big dot breaks the grid look and makes it feel random.
Watch outAvoid matting over glossy dots. You'll lose the contrast that makes this design work.
9. Deep Plum Aura Around the Cuticle
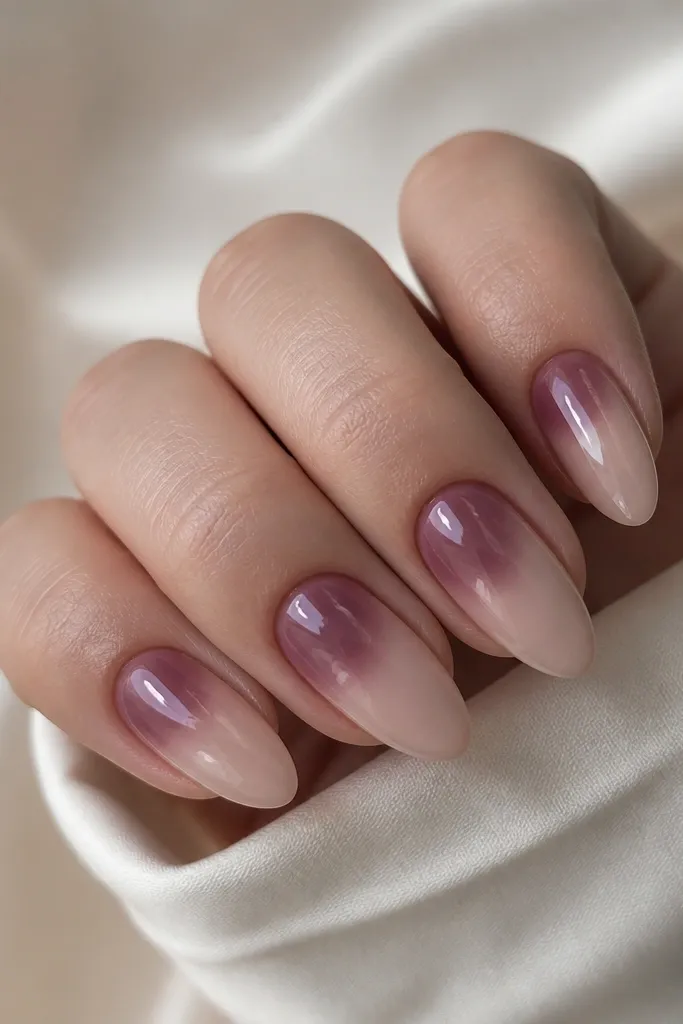
Aura nails are flattering because they mimic light - they pull attention to the center of your nail without harsh lines. Deep plum around the cuticle makes your hands look tidy and polished, especially if your natural nails have uneven edges. This works great on renters because the design still looks intentional as it grows out; the aura can blend into regrowth. I've done it for people who want dark color but hate full coverage on their nail beds.
Start with a sheer nude or milky base and cure. Sponge deep plum gel around the cuticle in a soft halo, using light pressure and blending outward 1-2 mm. Wipe the sponge clean between nails so the aura stays soft and doesn't become blotchy. Add a thin clear overlay to smooth the blend, cure, then top coat with glassy shine. Keep the aura strongest at the cuticle and faint at the center so it reads like glow.
Editor's noteIf the aura looks too dark, tap a clean sponge with clear gel over the edges to soften.
Watch outAvoid painting aura with a brush. Brushes create hard edges that ruin the glow effect.
10. Plum Cat-Eye Lines with One Spark Accent
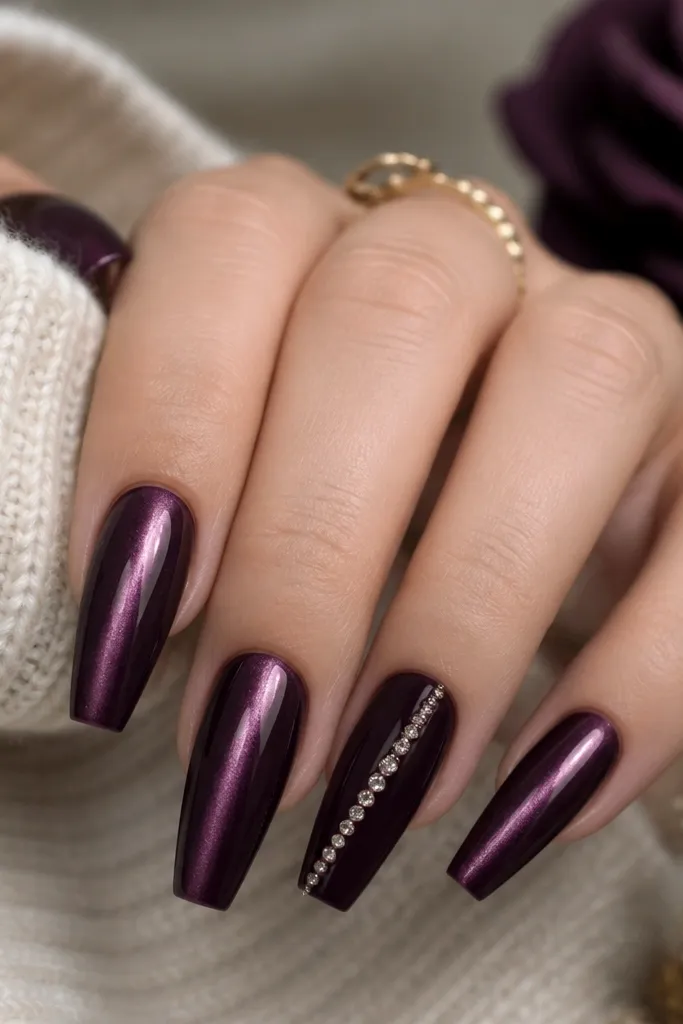
Cat-eye in dark purple looks classy because it's glossy, dimensional, and doesn't need extra art. The vertical stripe lengthens the nail and makes the color look richer than plain polish. I like pairing it with one rhinestone diagonal line - it gives the set a focal point without turning every nail into a party. This flatters hands with olive or medium skin tones because the purple magnet shine reads clean next to warm undertones.
Start by applying your base coat and building the dark plum cat-eye gel. Apply cat-eye gel to each nail, then use a magnet to pull the stripe straight down the center. Hold the magnet over the nail for the time listed for your gel, then cure. For the accent nail, skip the magnet and apply solid dark purple, cure, then place a diagonal line of tiny rhinestones with tweezers. Seal everything with a thick glossy top coat, pressing lightly over the rhinestones to lock them down.
Editor's noteAngle the magnet slightly for one nail if you want a subtle twist - keep it minimal so it still looks grown-up.
Watch outAvoid smearing cat-eye gel after magnetizing. If you drag, the stripe turns cloudy.
11. Dark Purple Galaxy with Micro Glitter Fade
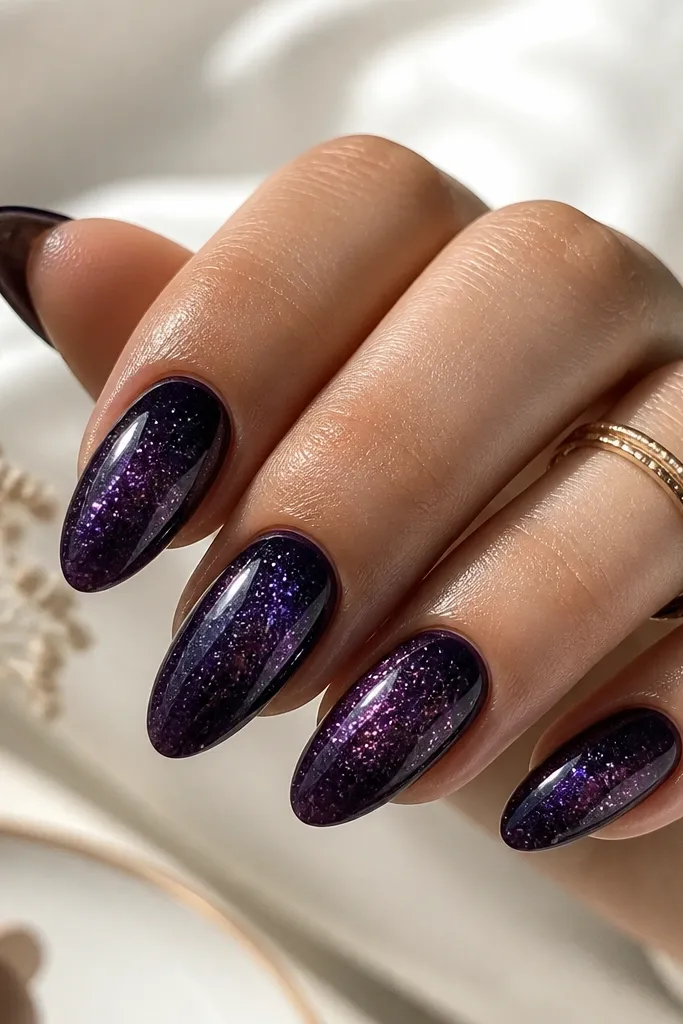
Galaxy nails look best when the glitter stays micro and the purple base stays deep. This design reads classy because it's not neon and not overly busy - it's a controlled starfield. It flatters all nail lengths, but I especially like it on almond because the shape makes the star effect feel like it's moving. I've worn this on travel days when I wanted something fun but still wearable with jeans and a hoodie.
Start with a dark plum gel base and cure. Add a slightly lighter purple gel in the center, then use a small brush to flick tiny dots of glitter gel or star speck product while the gel is still tacky. Use a fine detail brush to keep the specks mostly centered, leaving the tips cleaner. Lightly dust micro glitter toward the tip and blend with a clear overlay so it fades. Cure and apply glossy top coat to smooth the surface.
Editor's noteUse a toothbrush to flick specks only if your bristles are dry and the nail is flat. Wet product makes blobs.
Watch outAvoid big chunky glitter. It looks uneven and catches on fabric.
12. Purple Velvet French with Nude Base
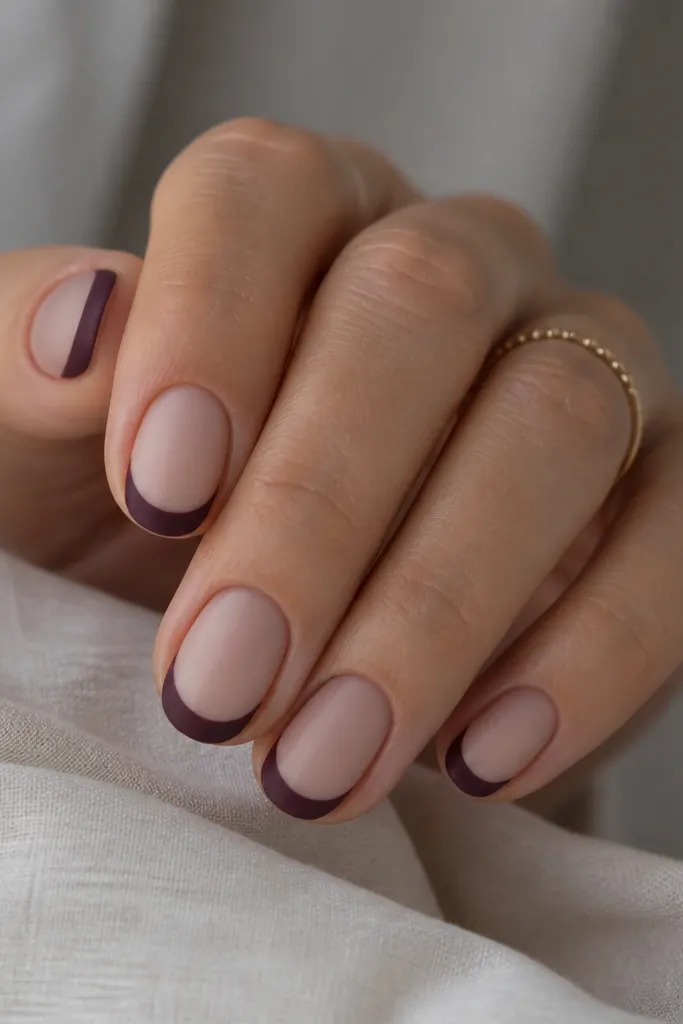
A velvet French keeps dark purple looking soft instead of harsh. The nude base makes the set look clean and renter-friendly because regrowth doesn't ruin the contrast as quickly as full dark coverage. This flatters most skin tones, especially if you like warm metals like gold or rose gold with purple. I've done this for office days because it reads neat, not goth.
Start with a nude base layer and cure. Paint the velvet dark purple only on the tips - aim for 2-3 mm width depending on your nail length. Use a curved French guide so the smile line stays even across all nails. Cure and then apply a matte or velvet top coat only on the purple tips, leaving the nude base glossy if you want contrast. If you hate texture, use a satin top coat so it still feels soft.
Editor's noteMatch the French width to your nail width. If your French is wider than half the nail, it starts looking bulky.
Watch outAvoid using glossy purple on a velvet design. The texture contrast disappears.
13. Dark Purple Gem Crescent at the Sidewall
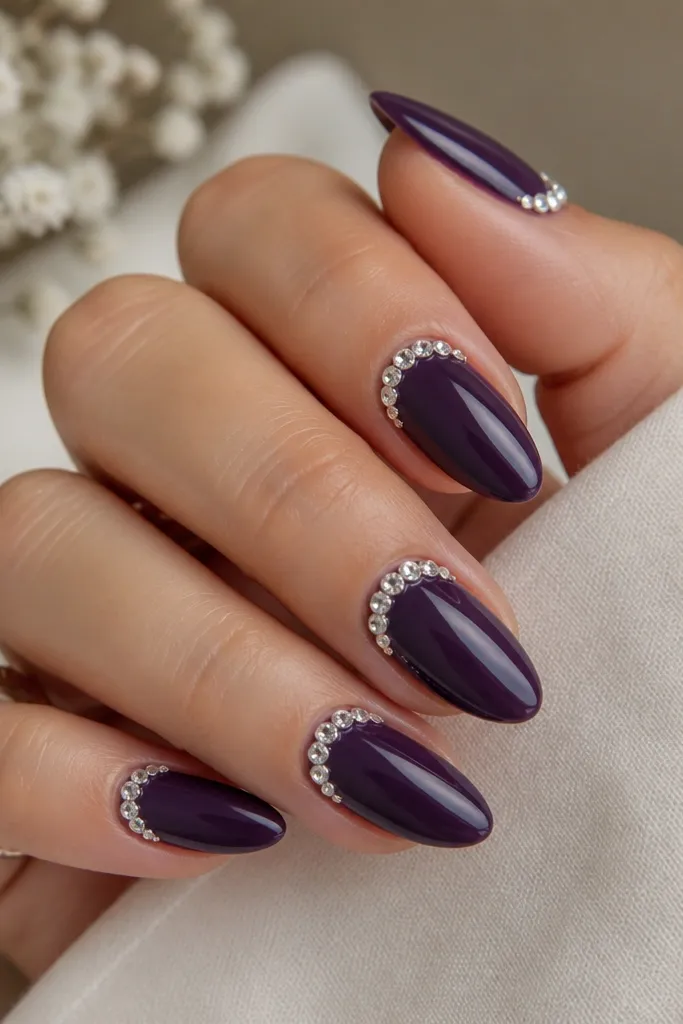
Sidewall gems look classy because they frame the nail without covering the whole surface. A crescent near the cuticle gives you that "jewelry" feel, and the dark purple base makes the stones pop cleanly. This flatters hands with slightly wider nail beds because the stones create a defined edge. I've used this when I needed something formal but still renter-friendly - you can keep it looking fresh with a careful touch-up around the gem line.
Start by applying solid dark purple acrylic or gel and curing fully. Place a few clear gems along one sidewall in a shallow crescent, leaving a small gap between the gems and the cuticle so the area stays breathable. Use a tiny amount of gel under each gem so it doesn't flood the edges. Cure, then add a thin clear overlay around the gem line to smooth. Finish with glossy top coat, and cap around the gems so they don't lift at the edges.
Editor's noteIf you're unsure about spacing, place the outer two gems first, then fill the curve between them.
Watch outAvoid placing gems too close to the cuticle skin. They lift and irritate fast.
14. Purple Smoke Gradient with Negative Tip Line
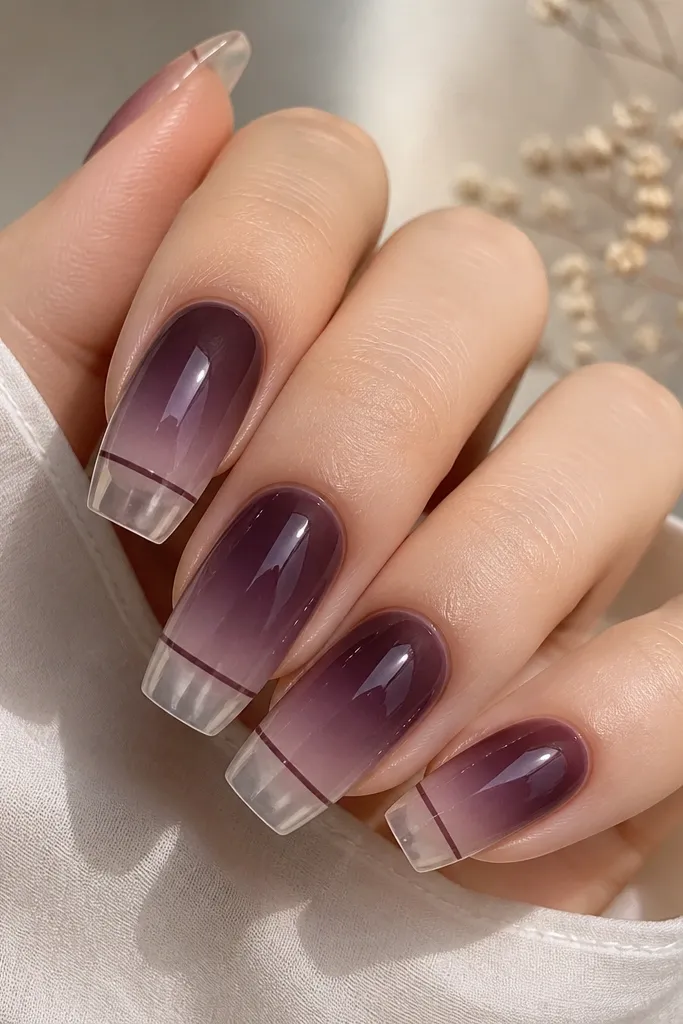
This is the design I pick when dark purple feels too dark on its own. The smoke gradient creates depth, but the negative-space tip line keeps it light and clean. It flatters longer nails because the horizontal negative line gives a graphic, editorial vibe. I've worn it with black outfits and also with denim - it always looks intentional because the tip stays crisp and reflective.
Start with a sheer nude base and cure. Sponge dark purple gel from the cuticle down toward the center, blending until it looks smoky and soft. Stop the gradient before the last 2-3 mm of the nail. Use a striping brush to paint a thin clear barrier line where you want the negative-space tip line, then cure. Seal with glossy top coat, making sure the clear tip stays clean and not tinted.
Editor's noteUse a striping brush for the negative line, not tape. Tape can pull product and create ragged edges.
Watch outAvoid letting the smoke reach the tip. If the tip turns purple, the graphic line disappears.
15. Crisp Purple Outline French with Micro Rhinestone Corner
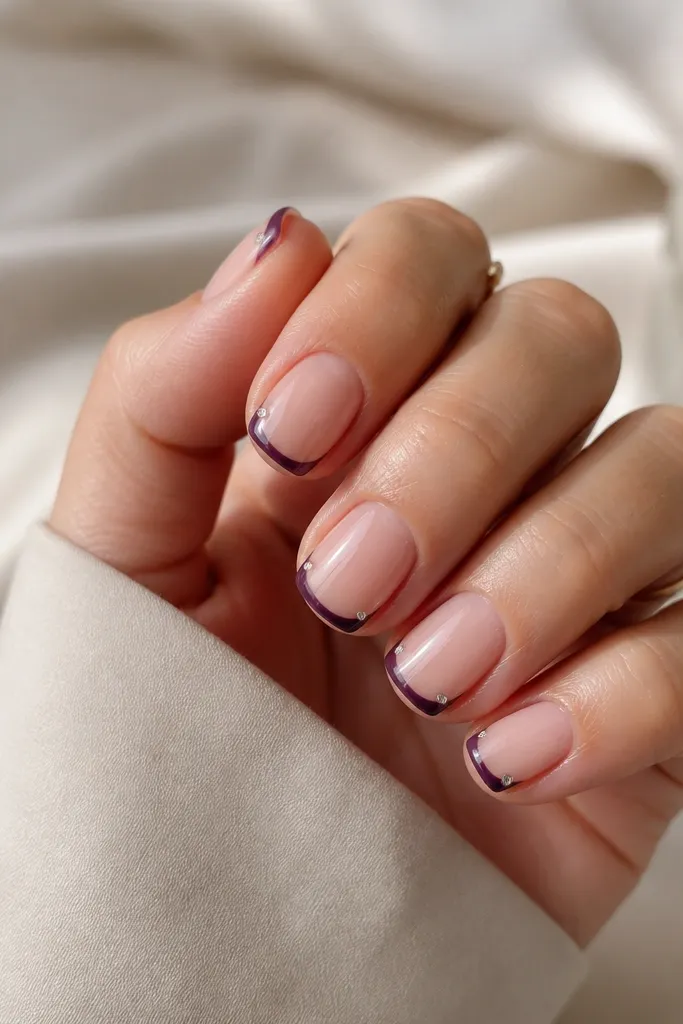
Outline French looks classy because it's basically clean linework, not full-color coverage. The sheer nude base keeps it light, and the dark purple outline gives definition that looks neat even when your nails grow out. The single rhinestone corner adds just enough sparkle without turning the set into a full bling moment. I've done this for renters who want something that still looks good after a week of daily life - the linework hides small chips better.
Start with a nude base and cure. Paint a thin dark purple outline along the French smile line, using a striping brush and keeping the line even - about 0.5-1 mm thick. For the accent nail, place one tiny rhinestone at the outer corner of the French (near the sidewall) and secure with a dot of clear gel. Cure, then apply a glossy top coat over the whole nail, being careful not to flood the rhinestone base. If the rhinestone feels raised, add one extra thin top coat layer to level it.
Editor's noteKeep the rhinestone small - 1.0 mm to 1.3 mm looks premium. Bigger stones look bulky on short nails.
Watch outAvoid thick outline lines. They turn into a blob instead of a crisp French.