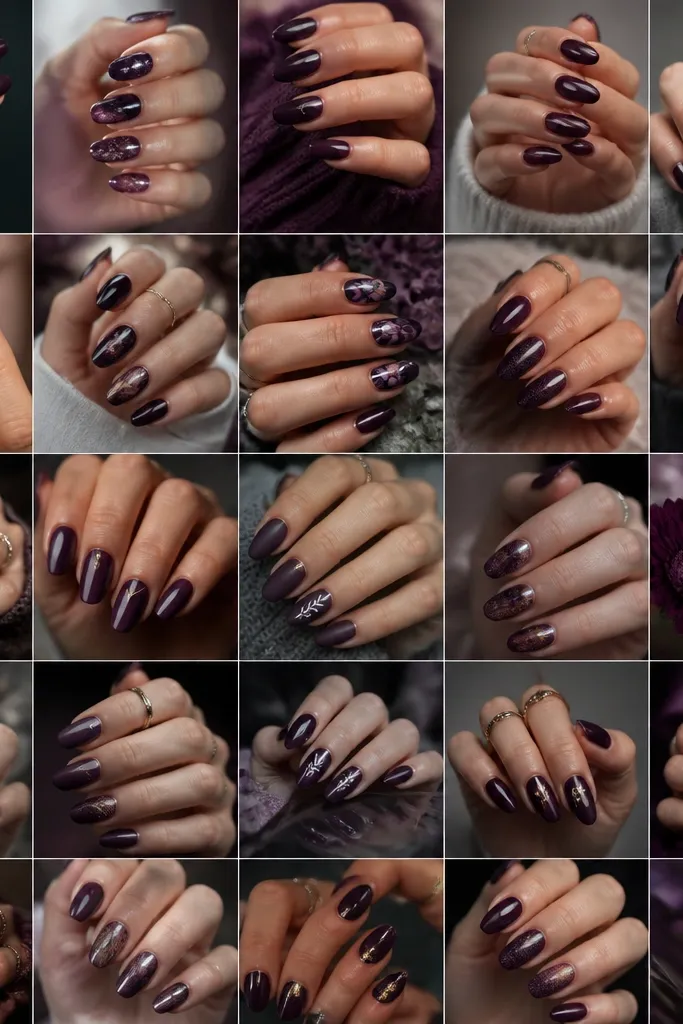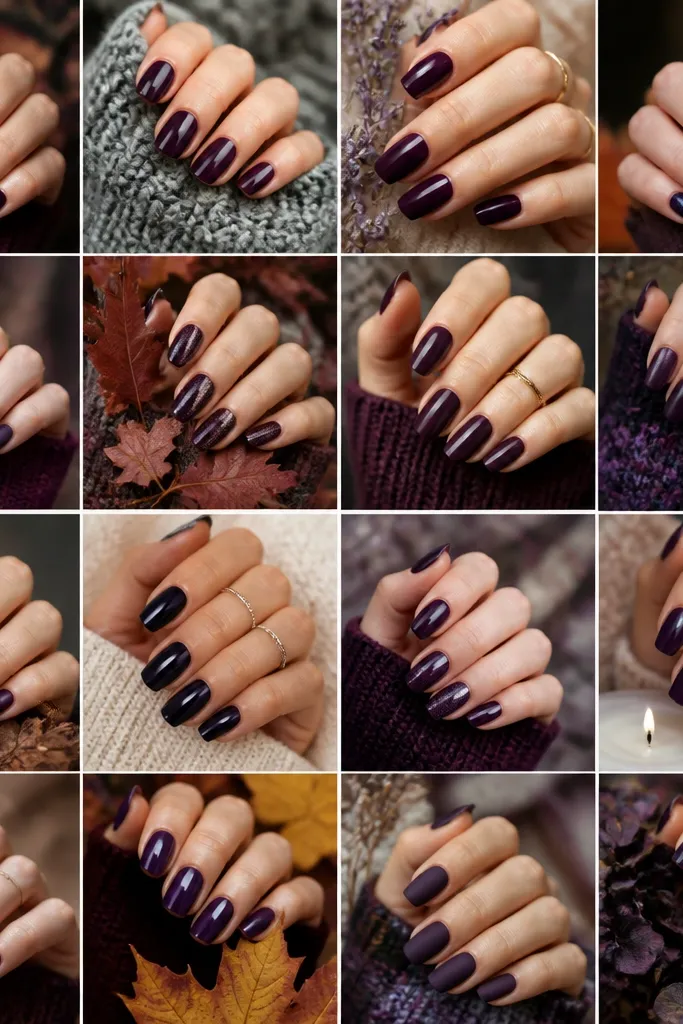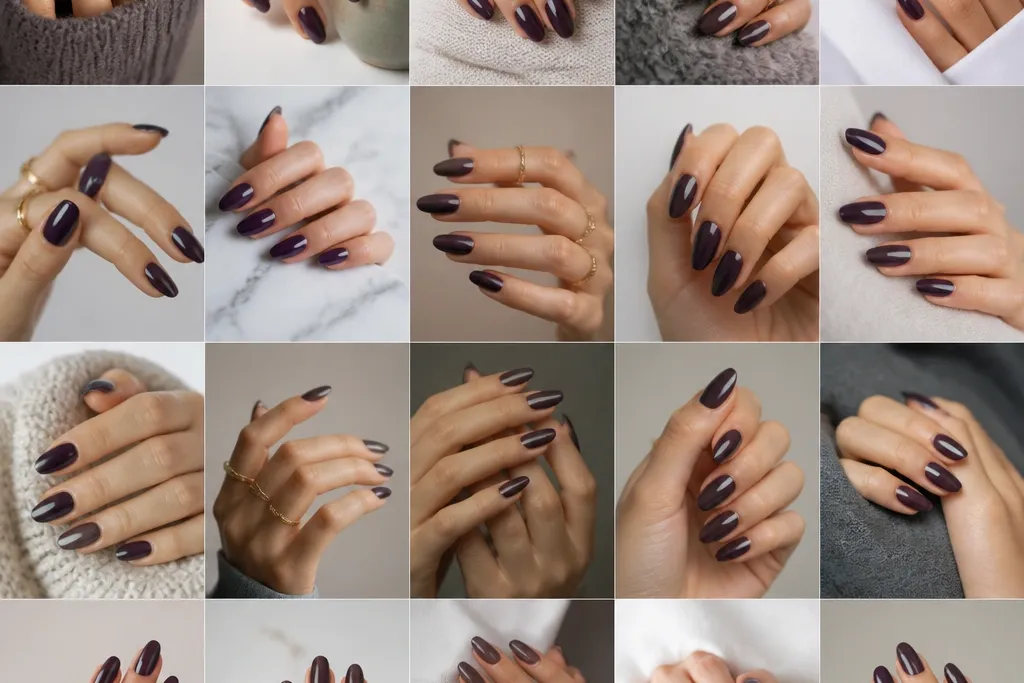
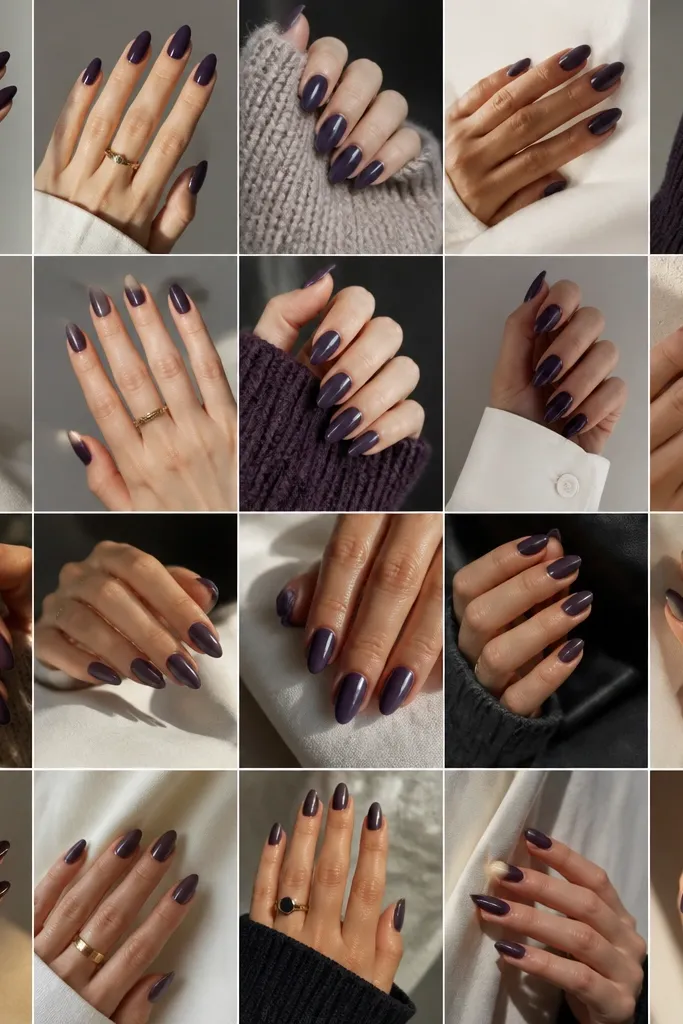
1. Velvety Espresso-Purple Solid Almonds
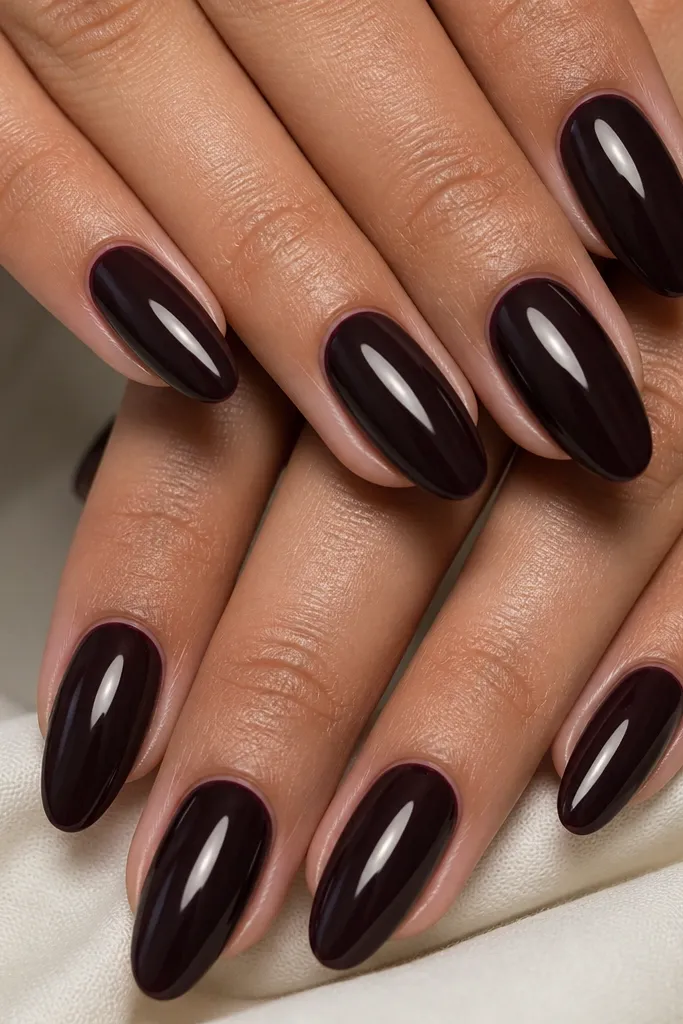
This is my go-to when I want dark purple to look expensive without adding anything. The shade sits between plum and black, so it photographs like a soft velvet instead of a loud purple. I love it on fair to medium skin because it makes the nail bed look longer, and on deeper skin it looks rich without turning ashy. The key is even pigment coverage — the color should look like one continuous layer, not patchy spots near the cuticle.
Start by pushing back cuticles gently and buffing the surface lightly so polish grips. Apply a thin base coat, then paint two thin coats of the espresso-purple, keeping the color slightly away from the sidewalls. Cap the free edge on each coat so the almond tip stays glossy longer. Finish with a high-gloss top coat and wipe the tacky layer with a lint-free pad if your top coat requires it.
Editor's noteAfter your second coat, tilt your hand under a bright lamp and check for thin spots at the center — fix them before top coat.
Watch outDon’t paint thick in one pass; thick layers shrink and cause ridges that show through dark purple.
2. Matte Blackberry Base With Glossy Cuticle Halo
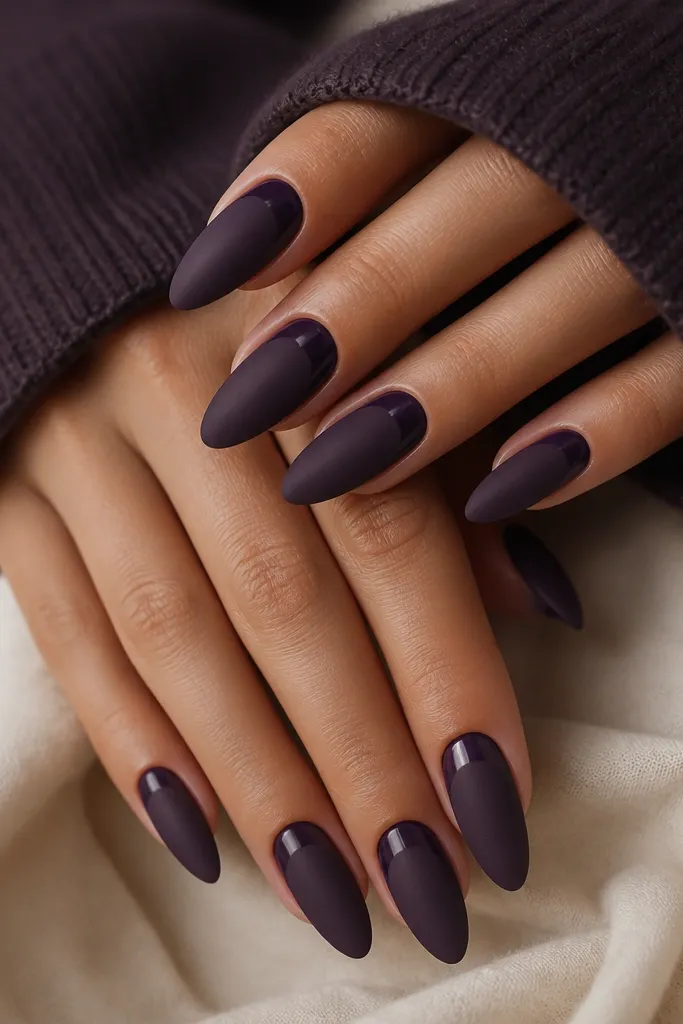
This combo looks artsy without being hard. Matte blackberry purple reads cozy and flattering, and the glossy cuticle halo makes your nails look freshly done because it adds a crisp highlight where the nail is brightest. I’ve worn it on short-to-medium almond lengths and it still looks intentional — the halo draws the eye upward. It’s especially pretty for cooler undertones and evening outfits because the matte finish softens the purple.
Paint two thin coats of blackberry purple and let them cure fully. Apply a matte top coat over the entire nail. Then, with a small detail brush, paint a thin glossy gel line right on the cuticle curve, leaving a tiny matte border around it so the halo looks deliberate. Cure again, then clean up the cuticle edges with a brush dipped in acetone or gel cleanser.
Editor's noteUse a liner brush with a flat tip so the halo stays even across the curve.
Watch outDon’t put glossy top coat over the whole nail at the end; it ruins the matte-blackberry contrast.
3. Negative Space Half-Moon Tips
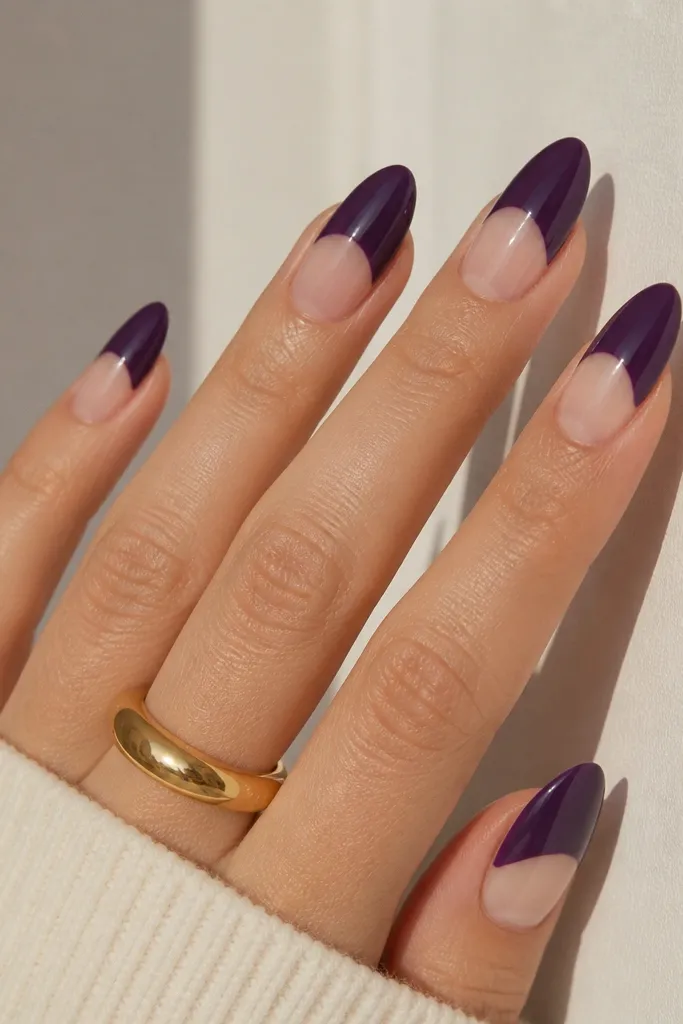
Negative space makes dark purple feel lighter and cleaner, which is why it’s perfect if your hands get dry and you want a design that still looks neat as it grows. The half-moon placement elongates the nail because the eye tracks the taper. I like this on medium-length almonds and on people who don’t want glitter or lines. It also looks great on warm skin tones because the clear negative area keeps the purple from looking too heavy.
Start with a nude base that matches your skin tone, then seal with a glossy or rubber base depending on your system. Use tape or a half-moon stencil to mask the area you want clear — I place the mask so it covers about 35% of the nail from the tip down. Paint dark purple over the exposed section in two thin coats. Remove the mask carefully, then apply top coat to everything.
Editor's noteIf stencils pull polish, apply a thin clear layer first so the mask releases cleanly.
Watch outDon’t let purple creep into the clear area — clean edges look high-end.
4. Micro-Dot Constellation Over Purple
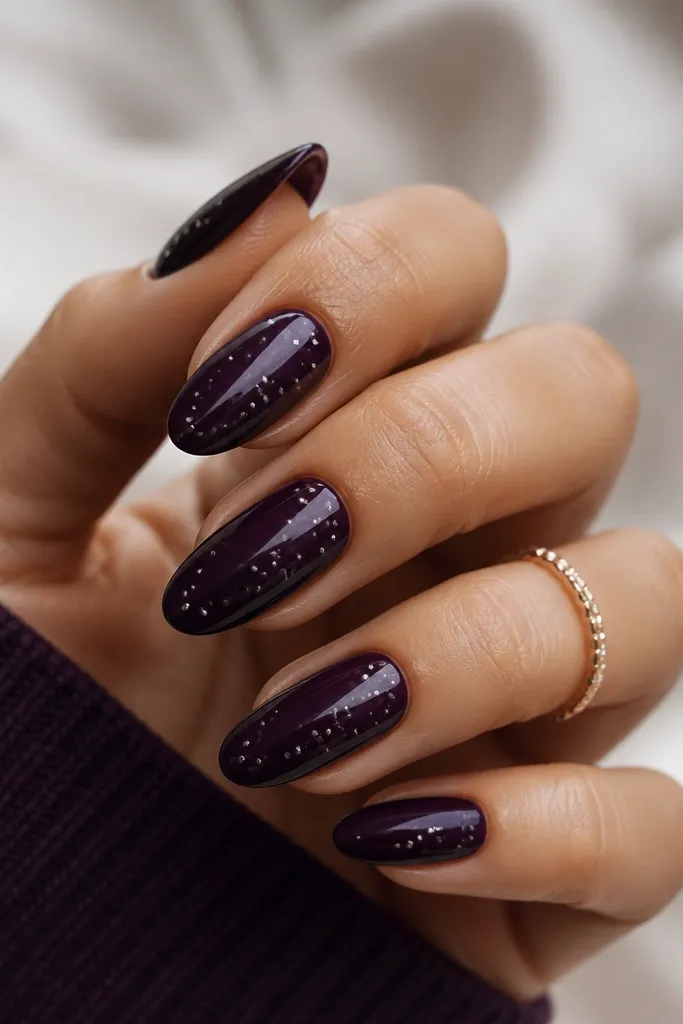
Micro dots make dark purple look playful but still grown-up. The dots catch light in small flashes, which is why the design looks good in daylight and under phone-camera flash. I’ve worn this on my own hands for work events because it doesn’t look loud, just detailed. Silver dots look best with cool undertones, while gold dots look better on warm skin and pair nicely with gold rings.
Paint your nails with two thin coats of dark purple and let them dry fully. With a dotting tool, place 5-7 micro dots starting around the middle of the nail, leaving space between them so the pattern doesn’t clump. Use a top coat that’s not too thick so the dots stay raised slightly and don’t blur. Cure and check under a lamp — add one more dot if a nail looks too empty.
Dip the dotting tool lightly; one extra dip makes the dots too big and they stop looking “micro.”
Don’t spread dots all the way to the tip; it shortens the almond visually.
5. Gold Foil Edge Lining
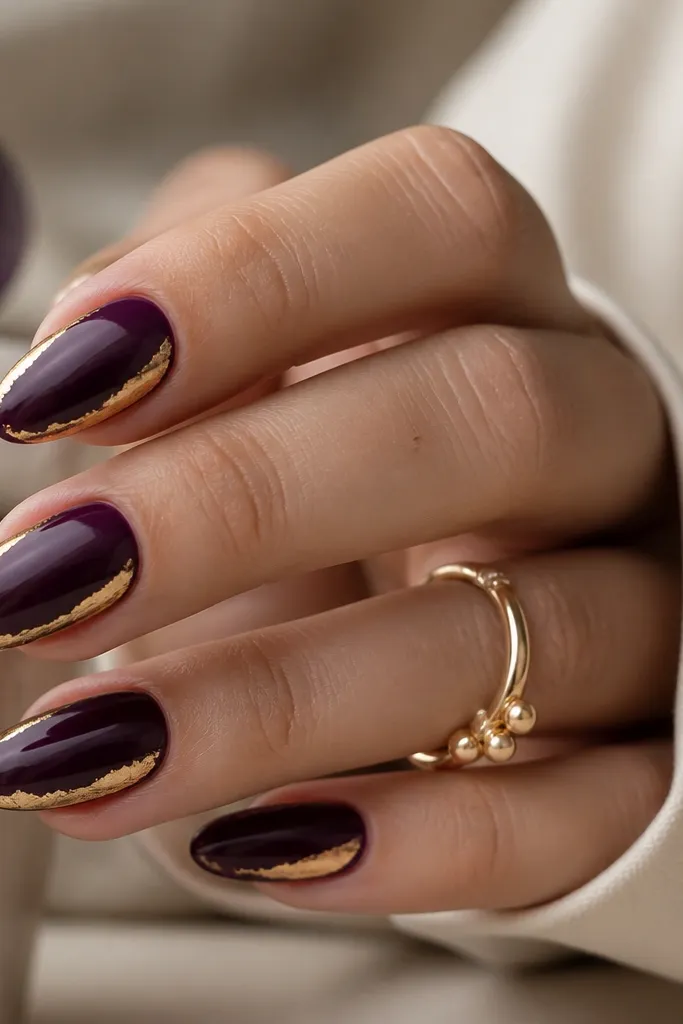
Gold foil edging gives dark purple that jewelry look. The foil catches light along the sides, which makes almond nails look slimmer and longer. I’ve found it flatters medium to deep skin tones because the gold brings warmth, and it also looks sharp with silver rings if you use cooler purple shades. Keep the foil minimal; dark purple already has depth.
Start with a solid dark purple base in two thin coats. For placement, you’re lining the outer side edges — think “a narrow picture frame” about 1-2 mm wide near the tip. Use foil adhesive or a gel liner and press small torn pieces of gold foil onto the edge. Seal with a glossy top coat, then lightly buff the top surface if the foil feels rough.
Tear foil into tiny irregular flakes so the line looks organic, not like a sticker.
Don’t cover the whole nail with foil; it turns into heavy glitter instead of sleek edging.
6. French Fade With Purple Tip Ombre
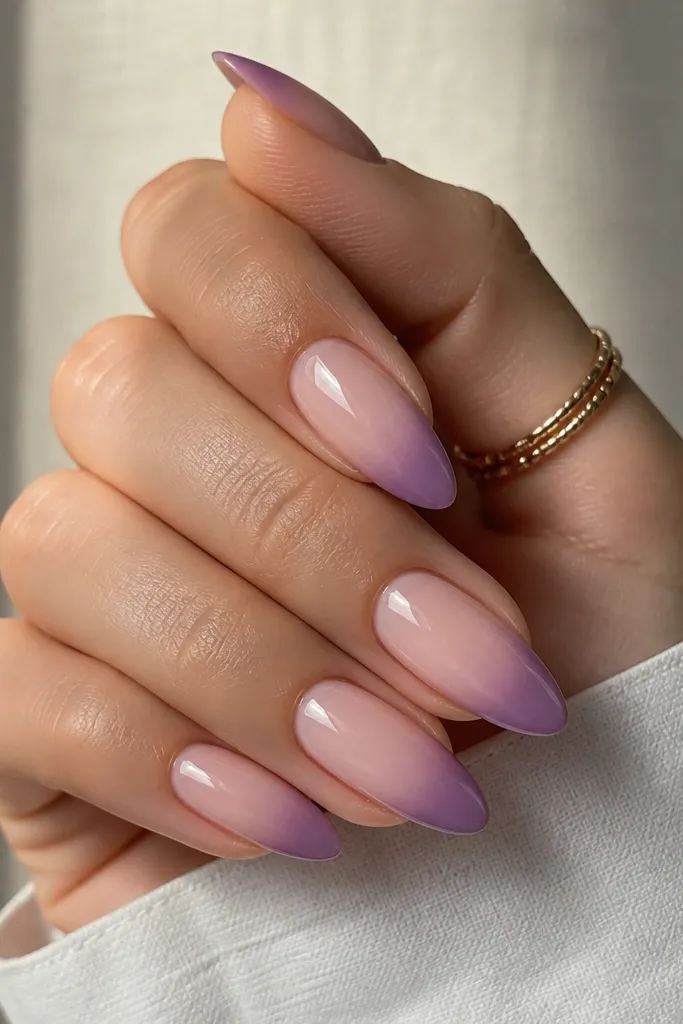
A French fade keeps the look classy while still giving you that dark purple hit. The ombre tip makes the nail look longer because the darkest pigment sits at the very edge and lightens as it moves inward. On my hands, this works especially well when my nail beds are a little uneven because the fade hides minor bumps. It also looks great for events because it reads “clean manicure” even if you only did it in 40 minutes.
Paint a nude base close to your skin tone, then add a thin white or nude-pink underlayer if your nude is sheer. Sponge on dark purple starting at the tip and blending back about 3-4 mm toward the center. Use a flat brush to smooth the transition lines. Finish with top coat, and cap the tip so the ombre doesn’t chip first.
Editor's noteUse makeup sponge cut into a small triangle for tighter blending on almonds.
Watch outDon’t draw a hard line where the purple starts; the fade should look like it melts.
7. Two-Tone Purple Split Line
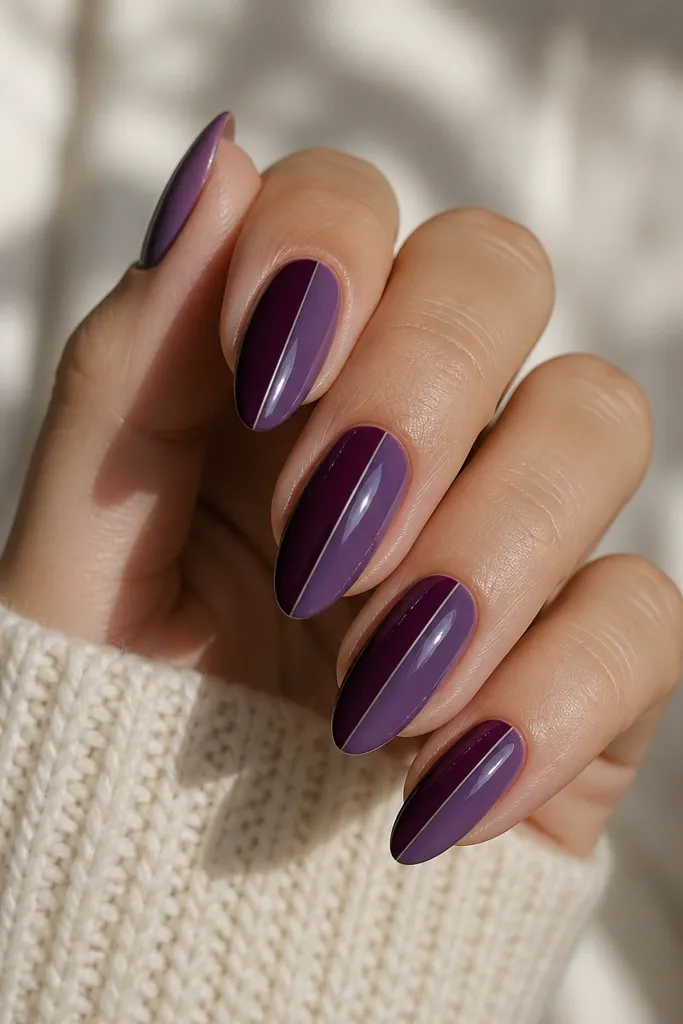
This is the fast design that looks like you spent more time than you did. The vertical split makes fingers look longer, and the crisp divider gives that modern editorial vibe. I like it on medium-length almonds because the split has enough space to show, and it looks good on both fair and deep skin tones. Choose one purple that’s almost black and one that’s bright violet — the contrast is what makes it pop.
Apply base coat and paint the lighter violet first, leaving the divider side clean. Use a thin striping brush to paint a narrow dark plum stripe exactly down the center, then pull it to meet the lighter shade. If you want it extra sharp, paint both halves first, cure, then add the divider line last. Top coat seals everything and smooths the line.
After painting the lighter half, let it dry a few minutes so the striping brush doesn’t drag.
Don’t eyeball the center — measure once with a quick pencil mark on a nail tip guide.
8. Purple Marble Swipe
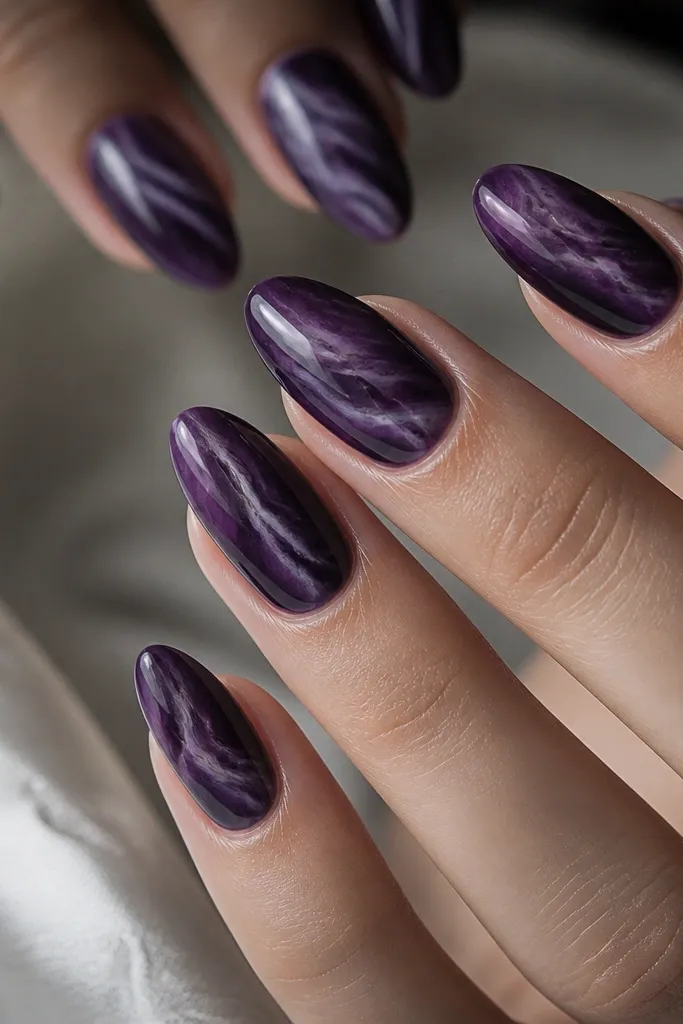
Marble swipe looks detailed but is actually forgiving. Dark purple marble hides tiny brush mistakes because the pattern has movement, and the lighter lavender streaks make the nail look dimensional. I’ve done this on hands with slightly different nail lengths and it still looks cohesive. It’s a good pick for people who want “something more” but don’t want flowers or characters.
Paint a deep dark purple base in two thin coats. Add a drop of lighter lavender and a drop of clear gel on a palette, then use a thin brush to drag streaks across the nail in one direction. Don’t overwork; stop when you like the randomness. Cure, then apply a glossy top coat that levels the marble so it looks smooth, not raised.
Editor's noteUse a small amount of clear gel so the marble lines stay crisp and don’t turn into a full blend.
Watch outDon’t swirl in circles; circles make it look muddy on almonds.
9. Velour Dust Gradient Tips
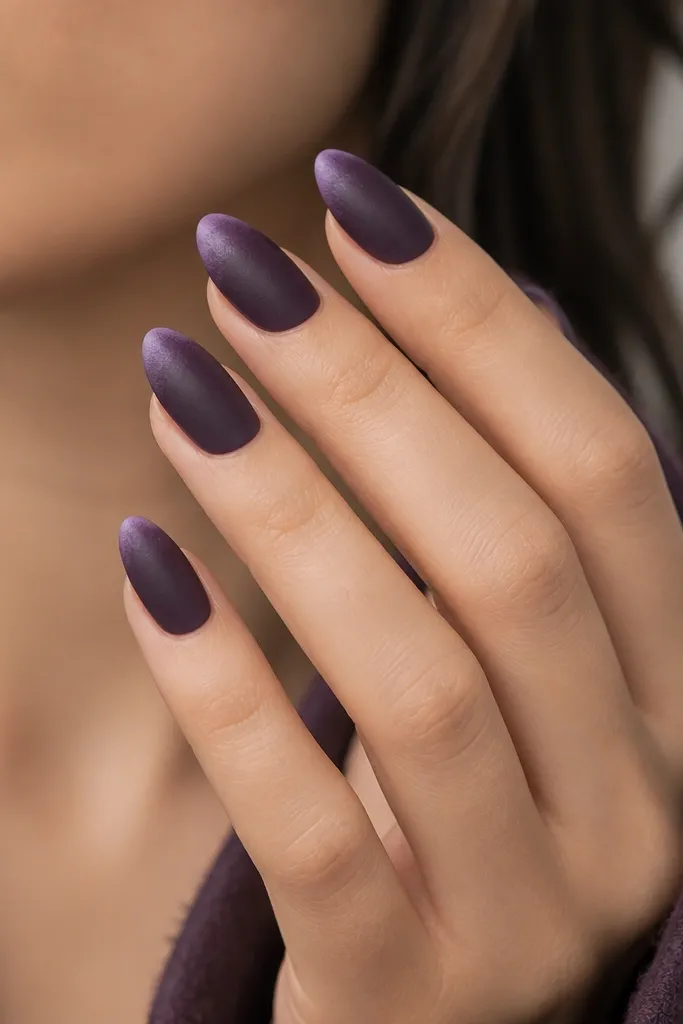
This one is all about texture. A velour dust gradient makes dark purple feel soft and tactile, and it hides minor nail edge imperfections because the powder finish blurs lines. I like it on shorter almonds because the gradient gives a “longer tip” effect. It’s also great for fall outfits and thick sweaters because it looks cozy even in low light.
Start with a dark purple base and top coat that stays slightly tacky if your powder needs it. Apply a darker purple at the very tip area, then blend upward with a sponge while the base is still workable. Sprinkle velour powder lightly from the tip downward and tap off the excess. Seal with a matte top coat or a powder-compatible top layer so it doesn’t wipe away.
Editor's noteWork one hand at a time so the tack doesn’t set before you dust.
Watch outDon’t pack powder thick; thick velour makes the nail look uneven and can catch on sleeves.
10. Purple Chrome Half-Moon
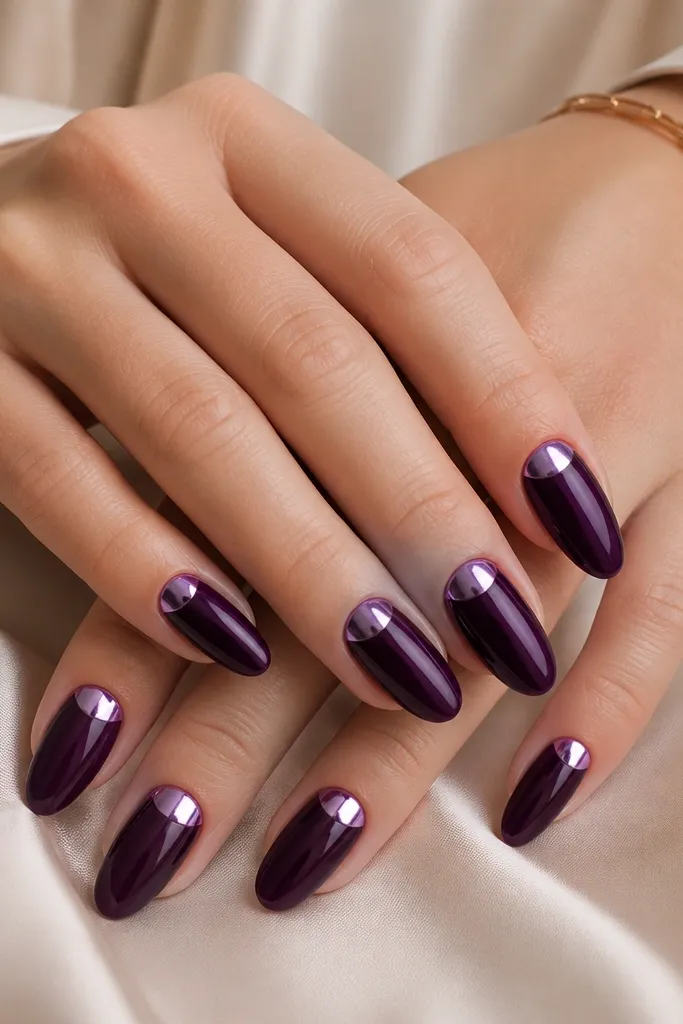
Chrome half-moons look like jewelry without being complicated. The metallic reflection pulls attention to the cuticle curve, which makes almond nails look polished even if your cuticles need a little time to settle. I like purple chrome because it stays cohesive with the dark base — it doesn’t turn gold-and-purple mismatched. This design is flattering on all skin tones, but especially pretty if you wear a lot of silver rings.
Paint two coats of glossy dark purple and cure fully. Mask a half-moon near the cuticle using a small curved stencil or tape, leaving the rest dark purple. Apply chrome powder or chrome gel over the exposed half-moon area and rub gently until it turns mirror-bright. Remove the mask, then top coat lightly on the rest of the nail while avoiding smearing the chrome.
If your chrome dulls when you rub, use less pressure; chrome needs friction, not force.
Don’t top coat over chrome with a thick layer; it kills the mirror finish.
11. Black-Purple Aura Center Glow
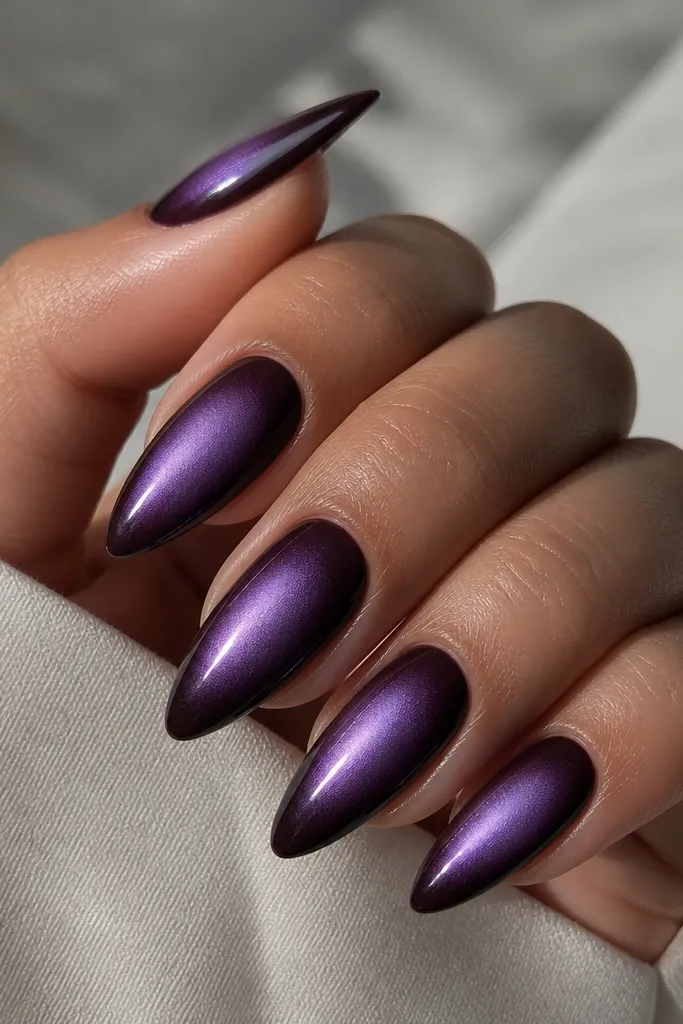
Aura nails are easy to control on almonds because you’re working in the center, not across the full width. The lighter aura glow in the center makes fingers look slimmer and the nail bed look longer. I use a smoky lavender glow over near-black purple, and it looks flattering on every skin tone because the glow sits in the middle where the eye expects brightness. It also hides minor asymmetry because the aura is soft.
Paint a near-black purple base in two coats. Sponge a lighter lavender or smoky plum in the center area, blending outward so it fades into the dark base. Add a second layer of the glow only where you want it brighter — usually the center third of the nail. Top coat seals and smooths so the aura looks like it’s under glass.
Use a makeup sponge that’s slightly damp with cleaner so the blend stays soft without streaks.
Don’t make the aura too wide; wide aura makes almond nails look bulky.
12. Rhinestone Teardrop Accent
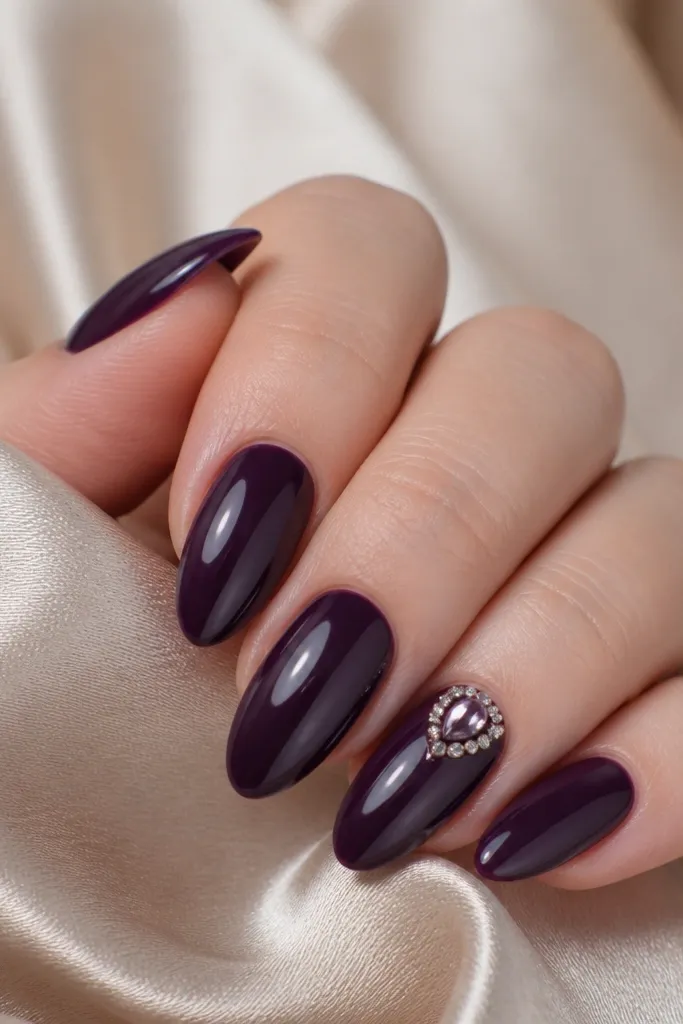
One rhinestone accent turns dark purple into a party manicure without covering the whole nail in stones. The teardrop shape looks more refined than a round gem, and placing it near the cuticle makes the hand look lifted. I wear this for birthdays and weddings because it reads elegant in photos. It’s best when your base purple is super glossy, since the shine makes the gem look like it’s floating.
Do a full set of glossy dark purple in two thin coats. On your accent nail, place a small dot of clear gel near the cuticle and press the teardrop rhinestone into it. If you want extra sparkle, add two or three micro clear crystals in a tight cluster, then cure. Finish with a top coat around the stones using a brush to avoid flooding the gem edges.
Use tweezers and place the stone once; moving it after it grabs causes little gel ridges.
Don’t bury the rhinestone under thick top coat; it dulls the sparkle.
13. Thick-Thin Gold Stripe Combo
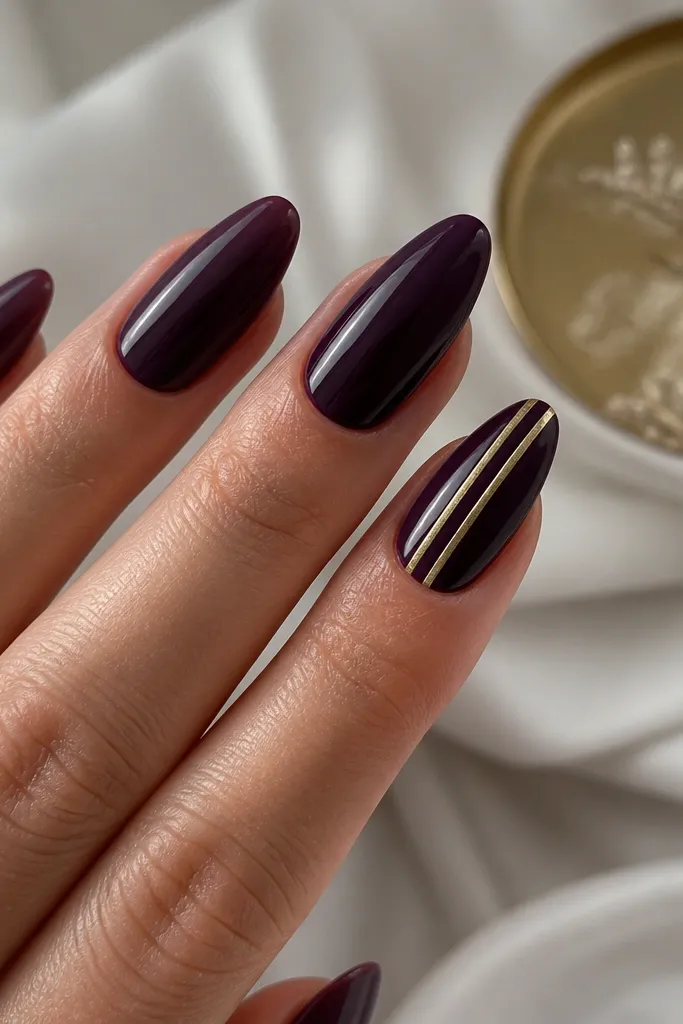
This stripe combo gives you that high-fashion nail look in minutes. The thick-thin pairing adds dimension, and the diagonal angle flatters the hand by guiding the eye along the almond taper. I love it when I want nails that look intentional but not too “busy.” Gold stripes look best with deep berry purples and look great with both warm and cool jewelry because the line is clean and reflective.
Paint all nails dark purple and cure or dry fully. On the accent nail, add a thin strip of gold foil tape or gold striping gel diagonally across the nail, then place a second narrower line a few millimeters away. If you’re using gel, apply thick line first, cure, then apply the thin line and cure again. Seal with glossy top coat and cap the tip so the stripes don’t lift.
Editor's noteIf you use foil tape, burnish the edges with a silicone tool so it stays flat on almond curves.
Watch outDon’t use a wide stripe — wide gold makes dark purple look heavy.
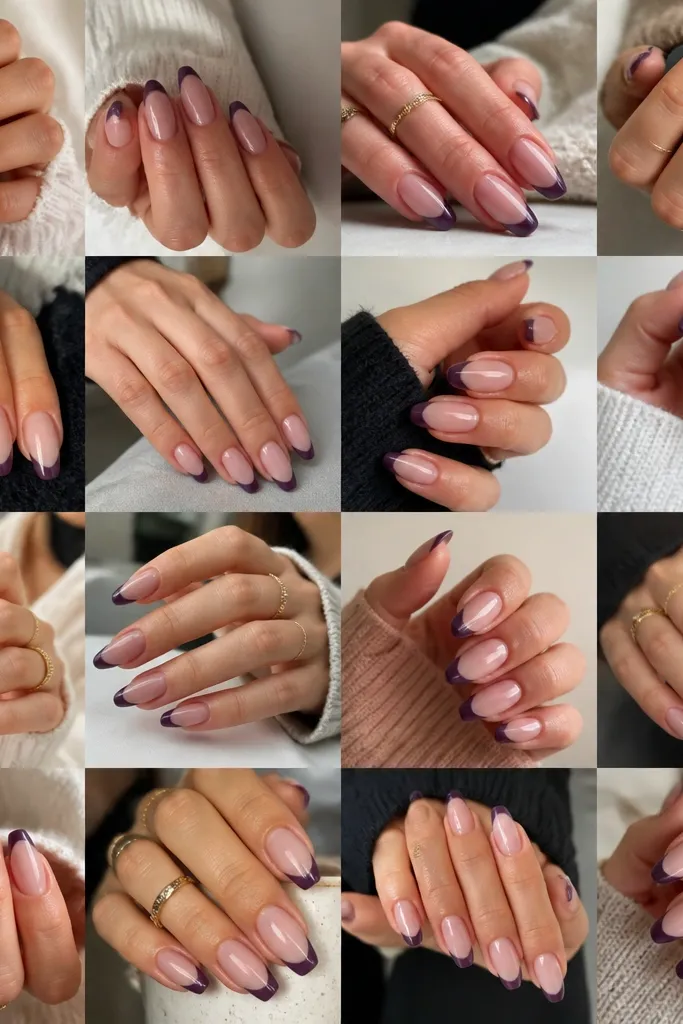
14. Purple Velvet French With Nude Center
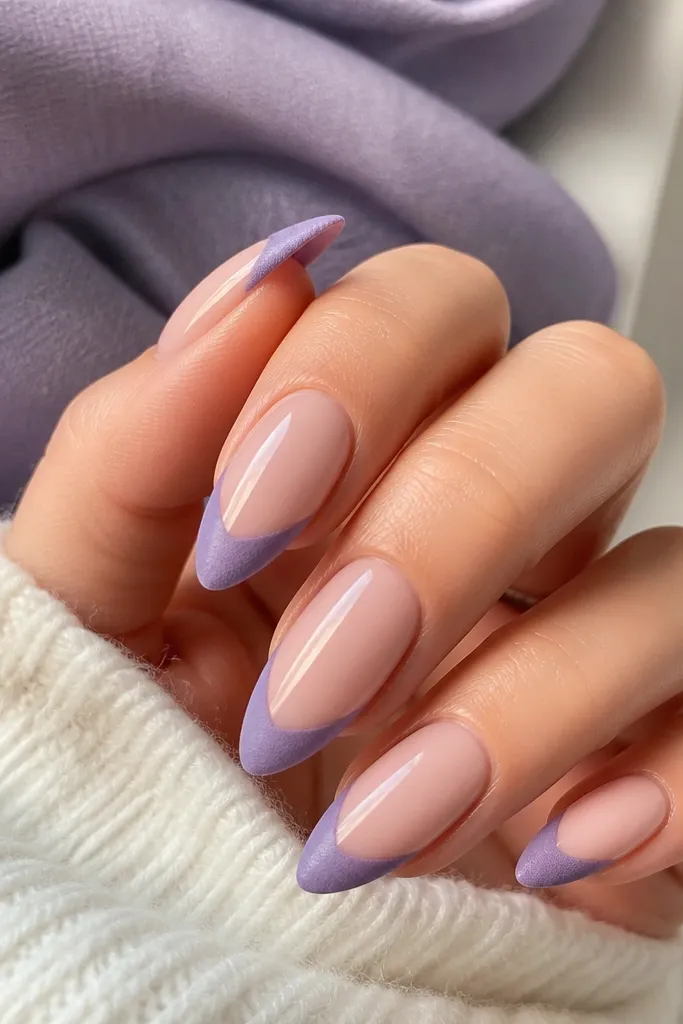
This design gives you the French shape but makes it softer. The nude center keeps the nail from looking too dark, and the velvet-matte tips add contrast that feels modern. I like it for people who want dark purple but don’t want full-coverage color. It flatters hands with shorter nail beds because the nude middle adds length and the velvet tip gives a clean edge.
Start with a nude base that matches your skin tone; keep it sheer-to-medium so it looks natural. Create a French tip using dark purple, then apply a matte or velvet powder top coat only on the tip area. Use a guide line to keep the tip curve even across nails — I mark a faint arc with the brush handle. Finish with a glossy top coat only on the nude center if you want a two-texture look.
Use a thin sponge to blend the French edge so it looks like it fades, not a hard sticker line.
Don’t put velvet powder on the whole nail; it kills the length effect.
15. Dark Purple Glass Tips
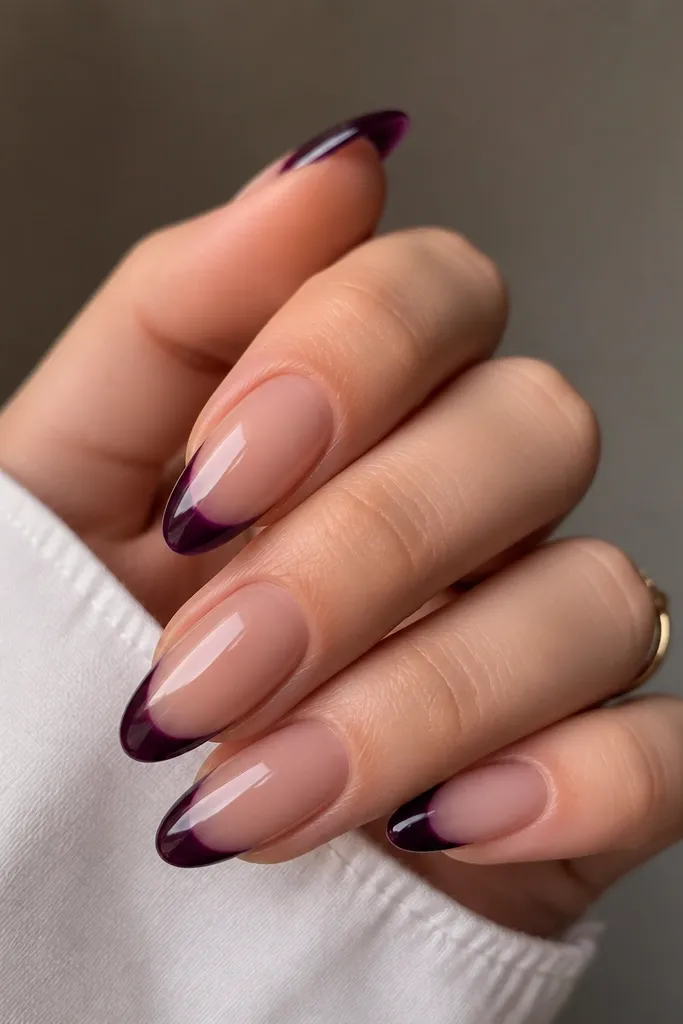
Glass tips are the “clean but trendy” option. The sheer base makes the nail look airy, and the glossy tinted tip looks like gel sculpting. This is flattering for hands that get dry because the nude base blends imperfections at the cuticle. It also works well for office days because it’s dark but not loud. The look is best when the purple tip is semi-transparent rather than solid opaque.
Apply a sheer nude base and cure. Paint a dark purple on the tip in a thin layer, then add a second thin layer only where you want the center of the tip darker. Use a small brush to shape the curve and keep the sides thin so the almond silhouette stays sleek. Finish with a thick glossy top coat and cap the free edge.
Editor's noteIf your purple tip looks too opaque, thin the polish slightly with a gel medium or use a sheer jelly purple.
Watch outDon’t leave a ridge at the tip edge; blend it with top coat while it’s still fluid.
16. Lavender Aura Side Swipe
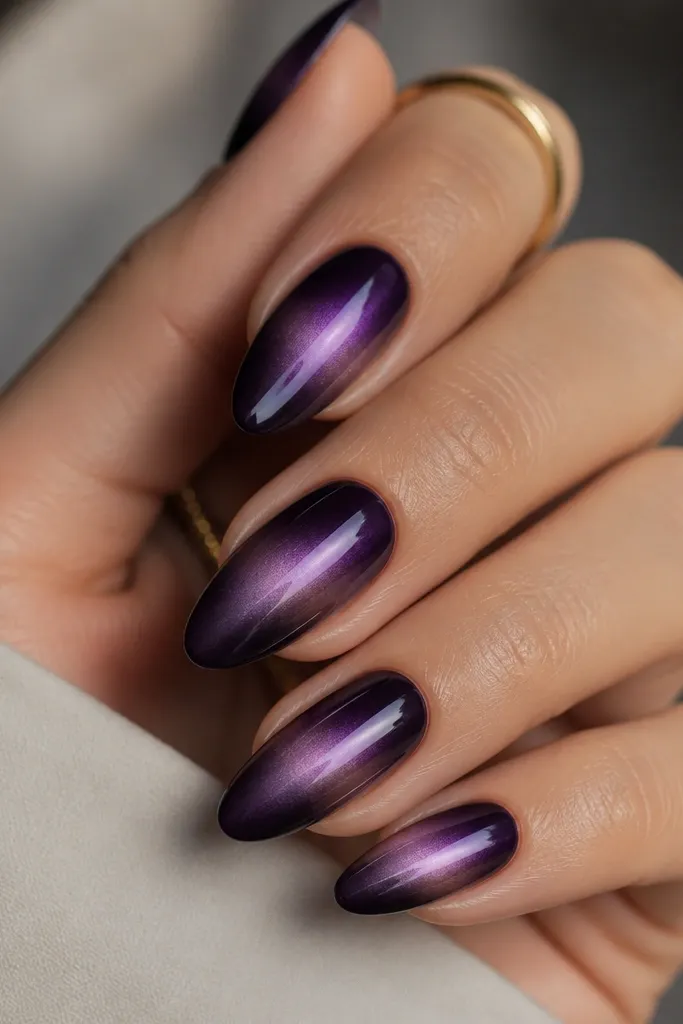
A side aura is a smart twist when you want something softer than full marble. The glow pulls attention to one side and makes the nail look sculpted, which is why it photographs well. I like it on almond nails with a slightly wider nail bed because the glow placement adds shape. Lavender over dark purple also looks great on both fair and deep skin tones because the contrast is gentle, not neon.
Paint the full nail dark purple and cure. With a small sponge, dab lavender on one side of the center area, then drag the sponge lightly so it fades into the base. Keep the glow narrow — about 2-3 mm at its strongest point. Add a glossy top coat to blend and level, and cure fully.
Editor's noteWork with a tiny amount of lavender; aura looks better when it’s subtle.
Watch outDon’t place the glow too close to the free edge; it can make the tip look uneven.
17. Purple Polka Dot Accent on Ring Finger
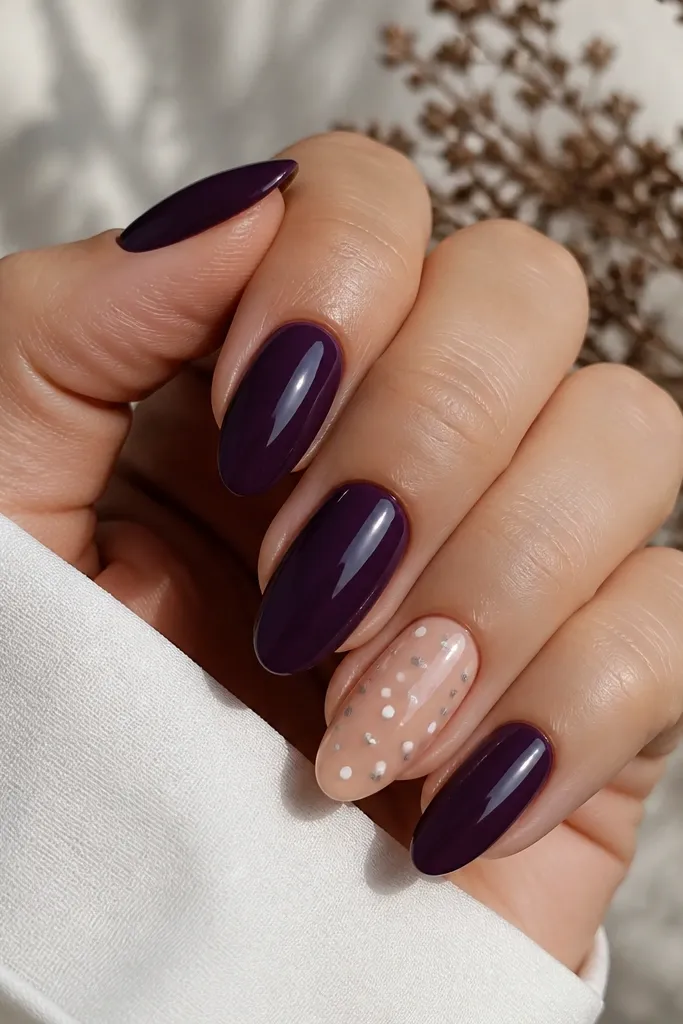
This is my favorite “easy but cute” split manicure. Keeping most nails solid dark purple makes your hands look tidy, while the ring finger polka dot adds personality without needing nail art everywhere. I use a nude base under the dots because it makes the dots look crisp and keeps the design from turning dark and heavy. This one flatters all skin tones and looks great with casual outfits and simple rings.
Paint all nails dark purple glossy. On the ring finger only, paint a nude base and cure. Then use a dotting tool to place small white dots, then add a few silver dots mixed in so the pattern looks intentional. Top coat the ring finger lightly so the dots stay defined.
Editor's noteMake the dots with one consistent tool pressure so they match in size across the nail.
Watch outDon’t freestyle dot placement — spacing matters more than the dot color.
18. Dark Purple With Silver Crescent Lines
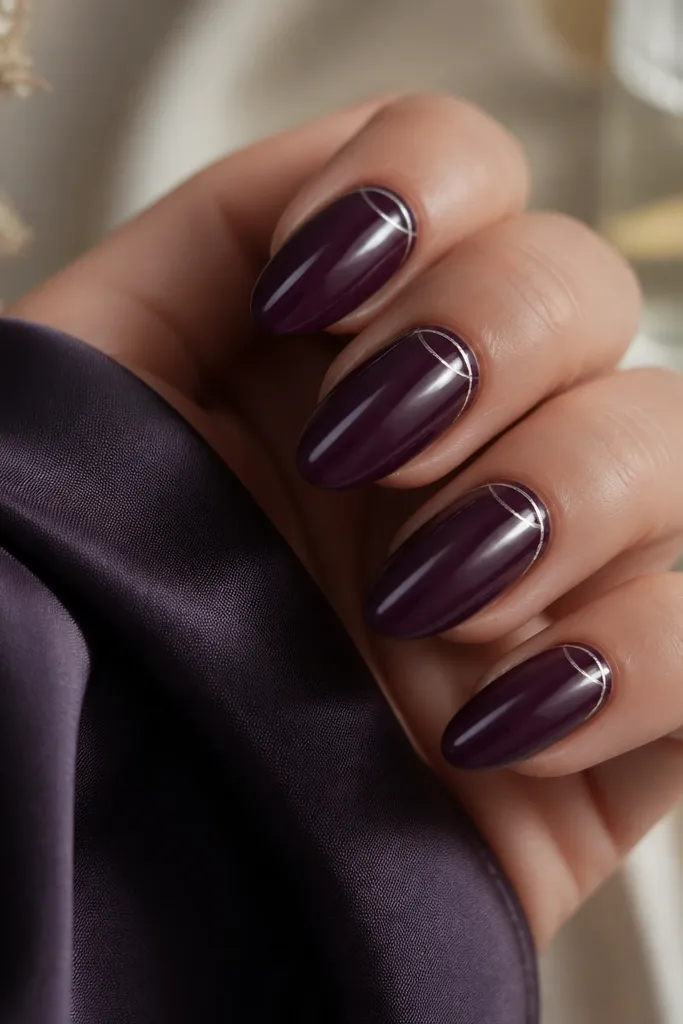
Thin silver crescents make dark purple look like a manicure with jewelry details. The crescent shape draws the eye to the cuticle curve and gives a lifted look, which I notice most on my own hands when my cuticles grow out. This design stays elegant because the lines are narrow and evenly spaced. It works especially well with cool undertones and silver jewelry, but it still looks good with gold if your purple is more berry than blue.
Paint nails in dark purple and cure. Using striping tape or a steady liner brush, draw a thin crescent line near the cuticle on each nail, leaving a small gap between the line and the skin. Add a second thinner crescent just above or below the first so it looks like a stacked ring. Cure and apply top coat, keeping the brush away from the cuticle edge to prevent smearing.
Editor's noteIf your line wobbles, wipe the brush and redraw once — don’t try to thicken a messy line.
Watch outDon’t use chunky glitter silver; it makes the crescents look messy instead of sleek.
19. Purple Ombre With Clear Center Strip
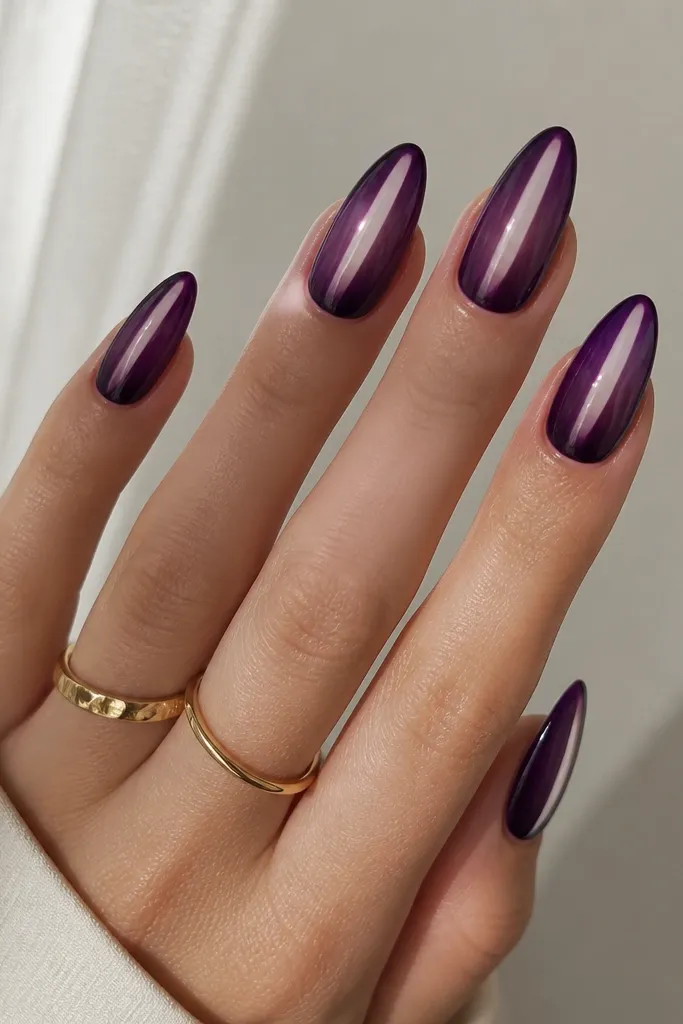
This is the “illusion of longer nails” design. The clear strip breaks up the dark purple block and creates a vertical highlight, so your nails look slimmer and longer even when your length is modest. It’s also a great option when you want something modern but you hate heavy nail art. I’ve worn this for evenings and it still looks clean enough for daytime because the accent is minimal.
Apply a base coat and seal. Paint dark purple at the tip and blend upward with a sponge, stopping around the middle. Before the paint dries fully, place a thin strip of tape down the center to keep it clear — about 1-1.5 mm wide. After the ombre cures, remove the tape and apply top coat over everything, including the clear strip area, so it looks glassy.
Use thin tape meant for nail art so it doesn’t pull your polish when you remove it.
Don’t blend purple all the way to the center; the clear strip is the whole point.
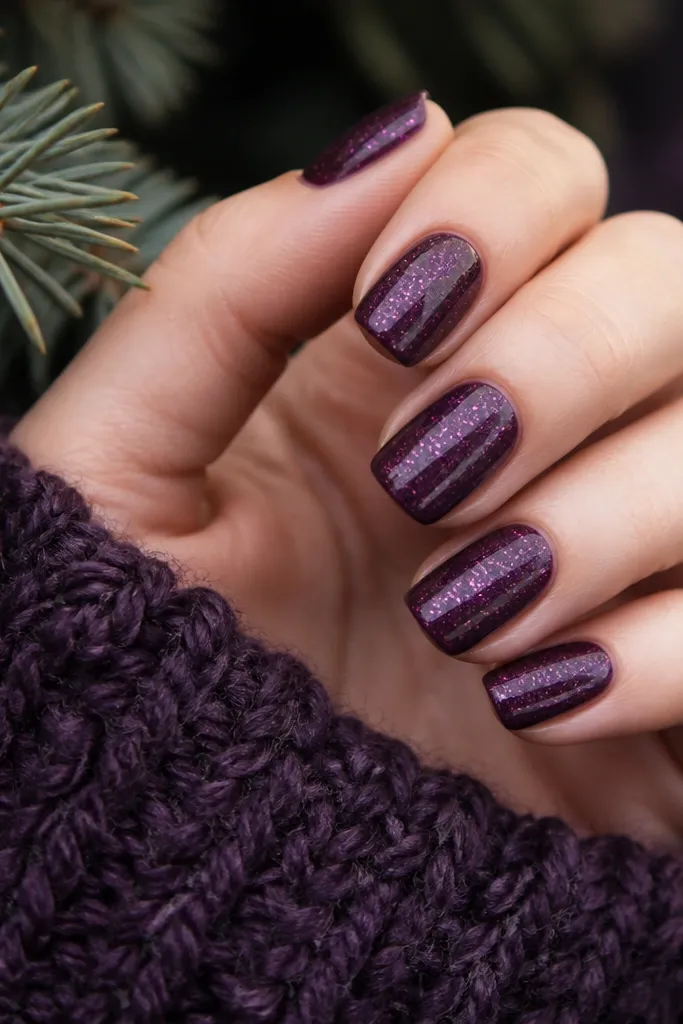
20. Dark Purple Galaxy Smudge (Easy Version)
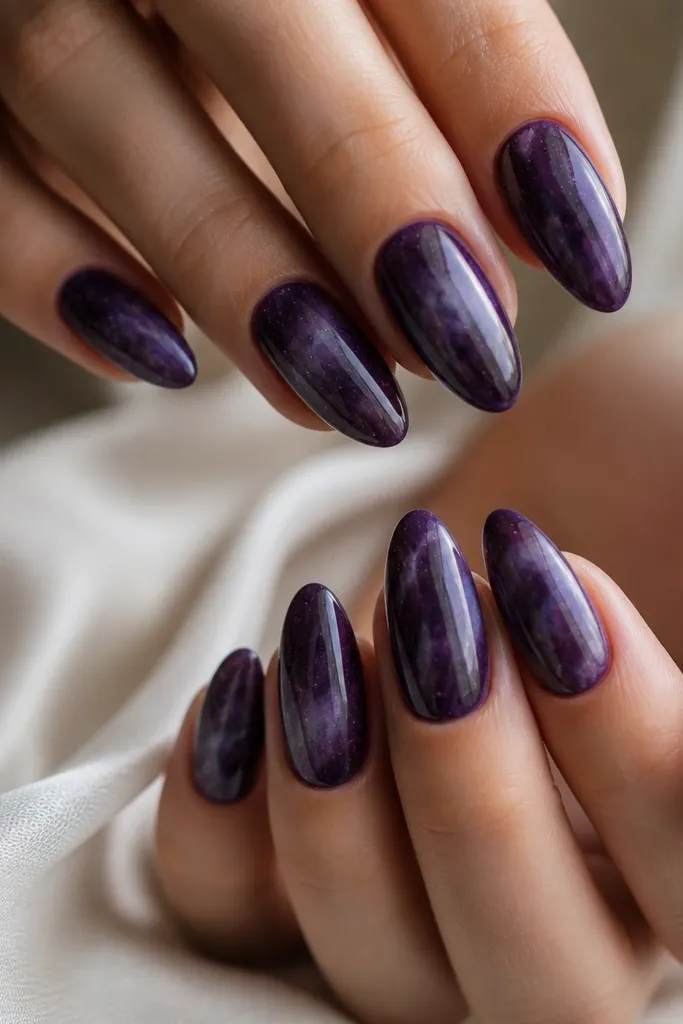
Galaxy nails usually take forever, but this easy smudge version is fast and forgiving. The smoky effect hides brush marks, and the tiny silver specks give you the star vibe without painstaking dot-by-dot work. I like it for late nights and concerts because it looks like the nails have depth. It’s flattering on all skin tones because the base stays dark and the specks are small.
Paint a deep dark purple base and cure. With a makeup sponge, dab a slightly lighter purple or smoky plum around the center and edges, blending until it looks cloudy. Add silver specks using a toothbrush method: load a little silver polish on the toothbrush, then flick lightly over the nail. Seal with top coat to lock in the specks and smooth the surface.
Editor's notePractice the flick on a paper towel first so you get a light scatter, not splatter.
Watch outDon’t overdo the specks; too many turns galaxy nails into glittery confetti.