
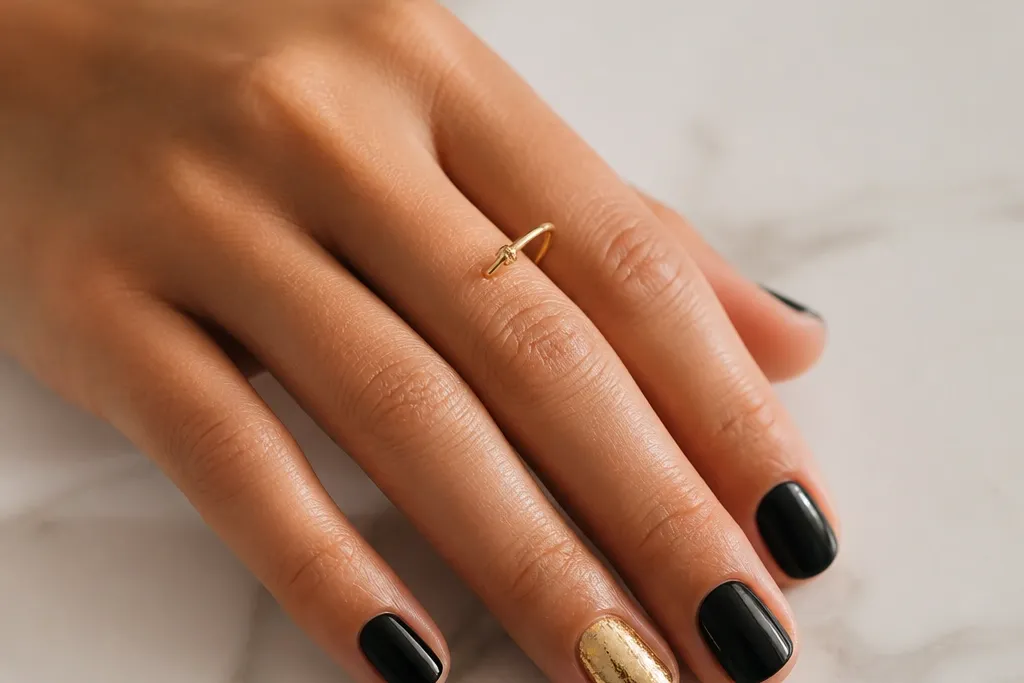
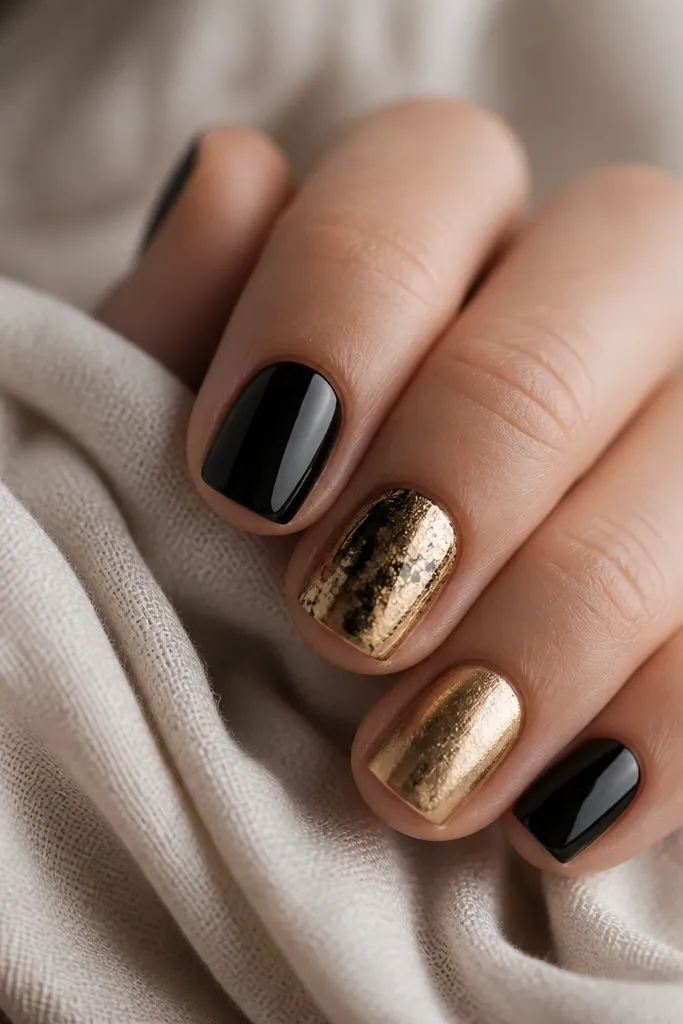
1. Micro French Tip With Gold Line
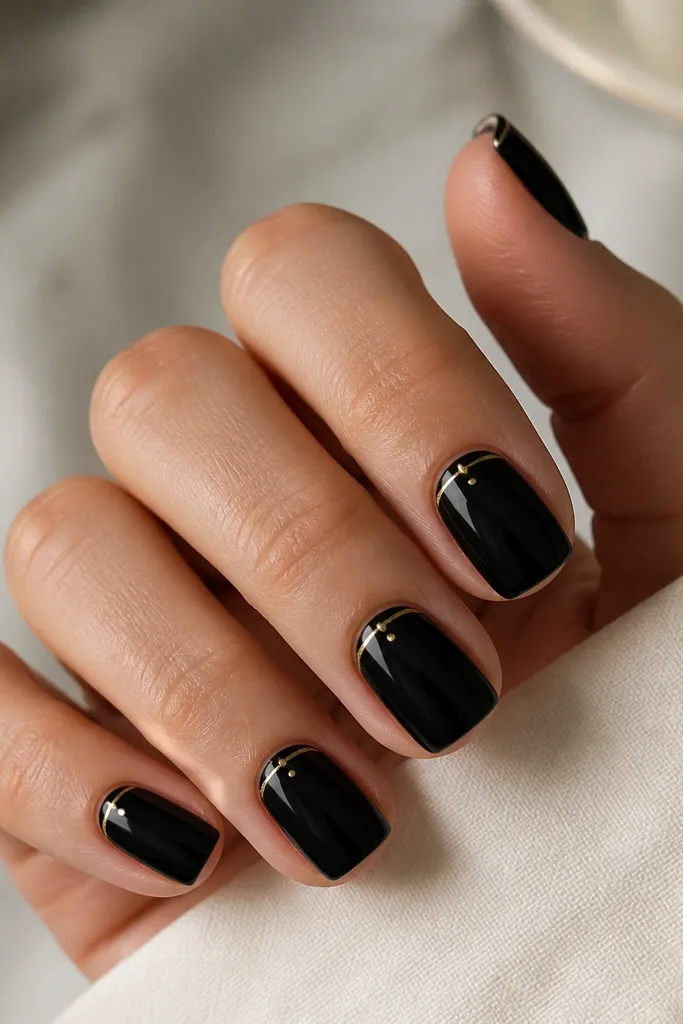
This is the black-and-gold look that stays clean on short nails because the gold only lives at the tip. I start with a glossy jet-black base so the gold reads bright against it, then I draw a micro French line — thin enough that your nail still looks narrow. The dot in the center makes the tip feel intentional instead of like you “forgot” the design. It flatters hands with shorter nail beds because the line anchors the eye at the end without widening the whole nail.
Start by painting two coats of black gel or polish, then cure fully. Use a liner brush and gold striping gel to pull a straight line 1-2 mm from the free edge, keeping it centered on each nail. Add a single tiny gold dot where the line ends at the center of the tip. Cure again, then finish with a glossy top coat that covers the edge lightly.
If your gold line smears, wipe the brush on a lint-free pad before touching the nail.
Avoid thick gold tips — they make short nails look stubby.
2. Gold Crescent Cuticle Half-Moon
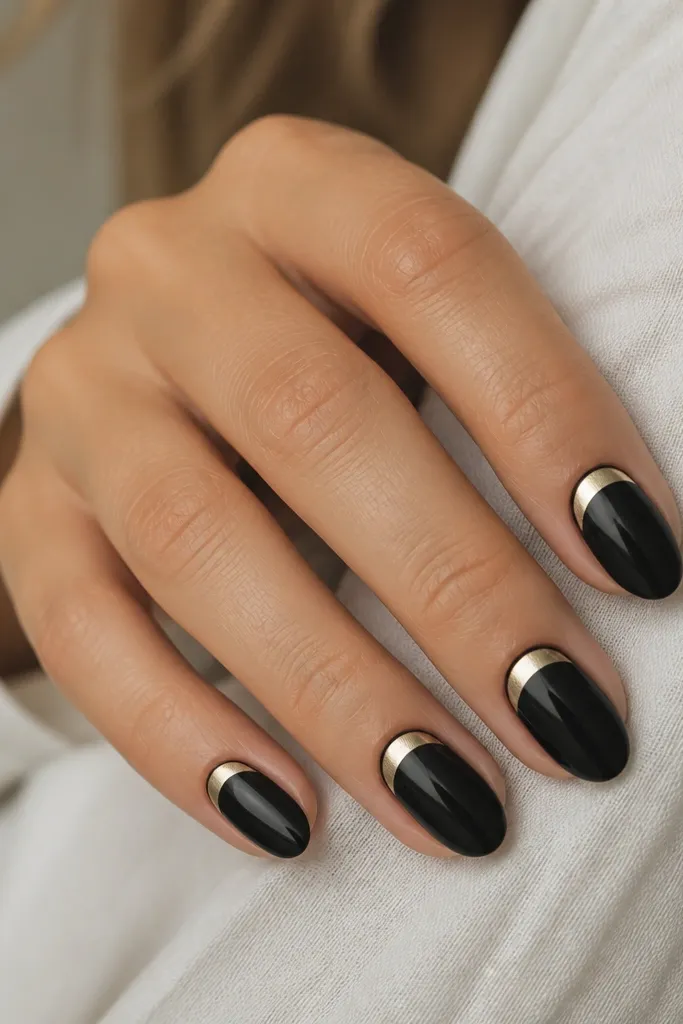
A cuticle crescent is my go-to for Black And Gold Short Nails easy because it frames the nail without crowding the tip. The half-moon shape also balances the shorter length — your eye starts at the cuticle and reads up the nail. I use a thin gold gel or chrome paste so it looks like jewelry, not paint. This design looks great on medium to warm skin tones because the gold catches light right where your hands move most.
Apply your black base in two thin coats. With a small detail brush, paint a gold crescent that sits about 0.5-1 mm away from the cuticle line so it doesn’t flood the skin. Keep the crescent thicker in the center and thinner at the sides for a flattering curve. Cure, then seal with a top coat that smooths the gold edge.
Editor's noteUse a dotting tool to place the two side points first, then connect them with the brush.
Watch outSkip a full gold cuticle ring — it looks bulky on short nails.
3. Black Base With Gold Foil Corner
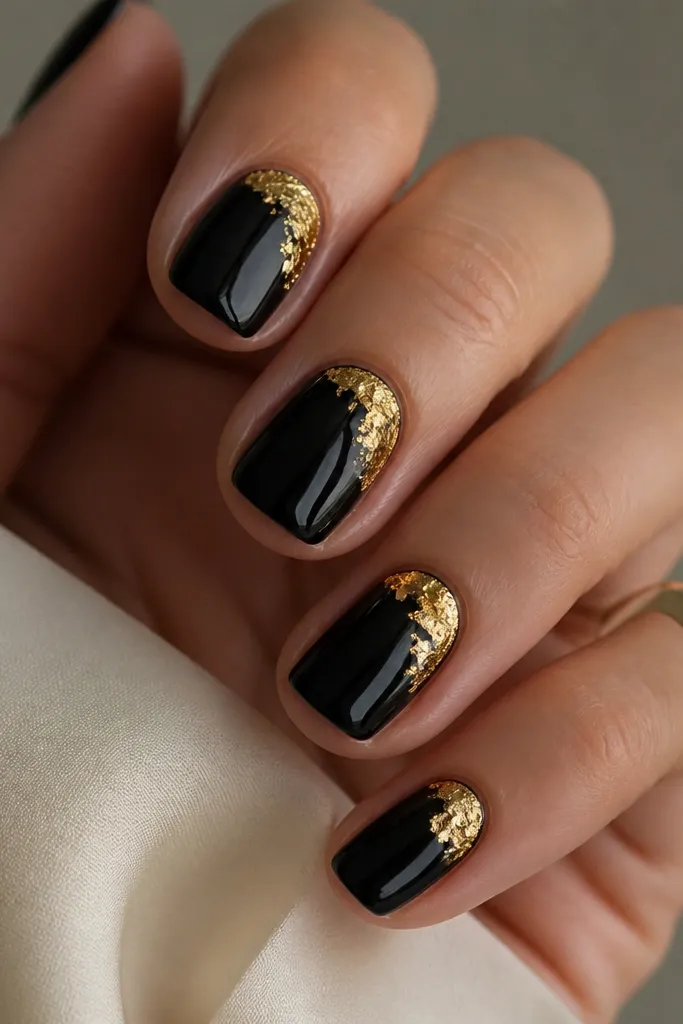
Foil corners look expensive because the gold texture is irregular, so you don’t need perfect drawing. This works on short nails because the foil sits in the corner — it doesn’t take over the nail width. I like using black as a solid opaque base and then placing foil on only two or three nails per hand for a balanced look. It flatters hands that need a visual lift, since the corner placement pulls the eye upward.
Paint two coats of black and cure fully. Add foil adhesive or a tacky gel layer on the top outer corner area (about 1/4 of the nail). Press small pieces of gold foil onto the tacky spot, then burnish lightly with a clean silicone tool. Seal with glossy top coat in two passes so you don’t lift foil edges.
Cut foil into smaller scraps before you start so you can place pieces quickly while the tack is active.
Don’t cover the whole nail in foil — it turns short nails into a solid gold block.
4. Gold V-Shape Center Line
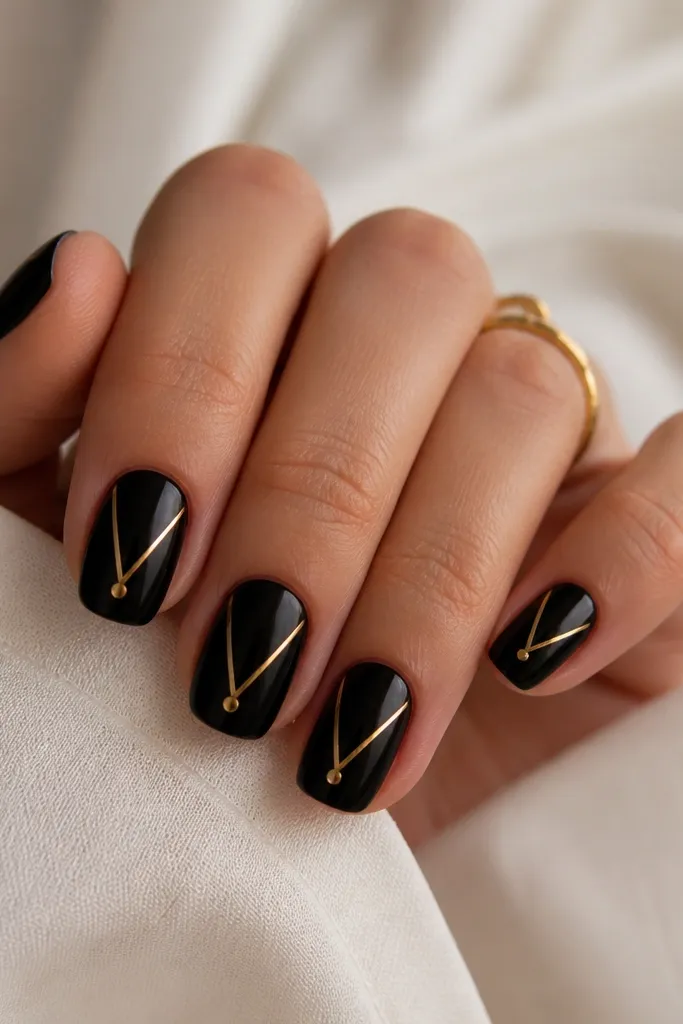
A V shape is a trick I use when I want black-and-gold to look longer without adding length. The lines converge toward the tip, which visually narrows the nail and keeps it from looking wide. I draw the V with liner gel so it stays sharp, then add a tiny dot at the point so it looks like a gem setting. This design suits almost every skin tone, but it really pops on cool undertones because gold feels warm against the black.
Paint your black base and cure. Use gold liner gel to place the two arms of the V — start about 2 mm from the cuticle center and angle toward the tip point. Keep the gap between the arms about the width of a hair so it doesn’t look thick. Add a micro dot at the tip point, cure, then top coat.
If the V looks uneven, correct it before curing by wiping the edges with a clean brush dipped in alcohol.
Avoid a fat V — it turns into a stripe and loses the slimming effect.
5. Gold Marble Vein Over Black
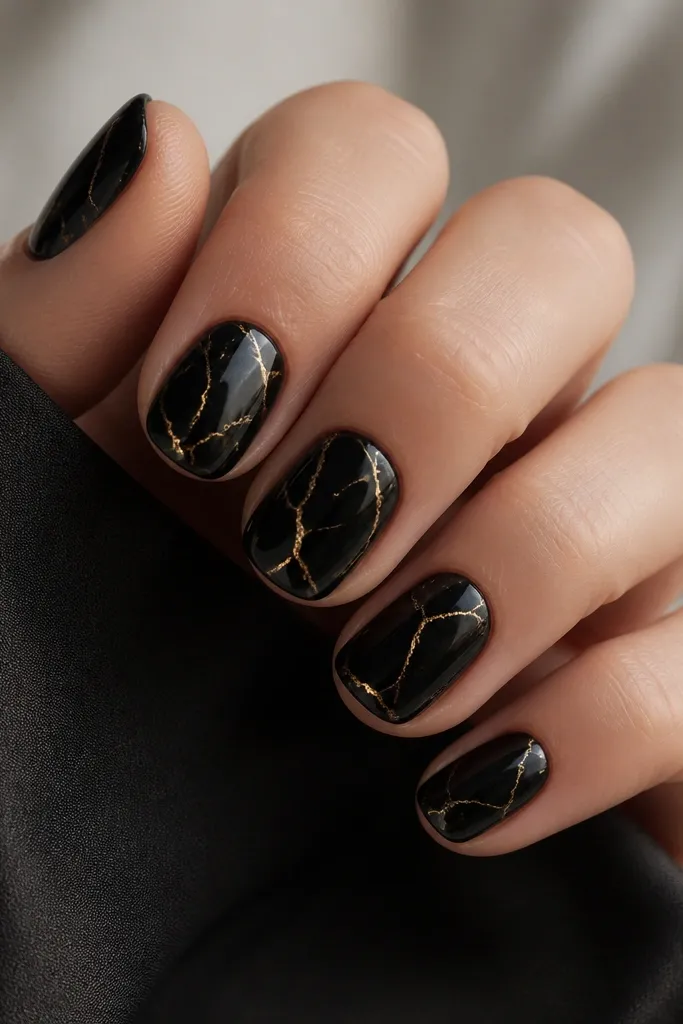
Marble veins look hard, but on short nails they’re actually easy because you’re not covering the entire surface. You’re placing a few thin veins that guide the eye across the nail. I use gold striping gel and a fine brush, then lightly drag the line to create natural bends. This works especially well for short almond because the curved nail shape makes the veins look like they belong there.
Start with a smooth black base in two coats. Take a thin liner brush and pull one main gold vein from near the cuticle toward the side, then add one smaller vein crossing it. Vary thickness by pressing lightly for thin lines and lifting for thicker moments. Cure and seal with a glossy top coat so the gold looks glassy.
Editor's noteMake your veins slightly off-center — perfect symmetry looks like a sticker on short nails.
Watch outSkip chunky gold paint — it looks like glitter glue instead of marble.
6. Gold Chrome Half-Glazed Nail
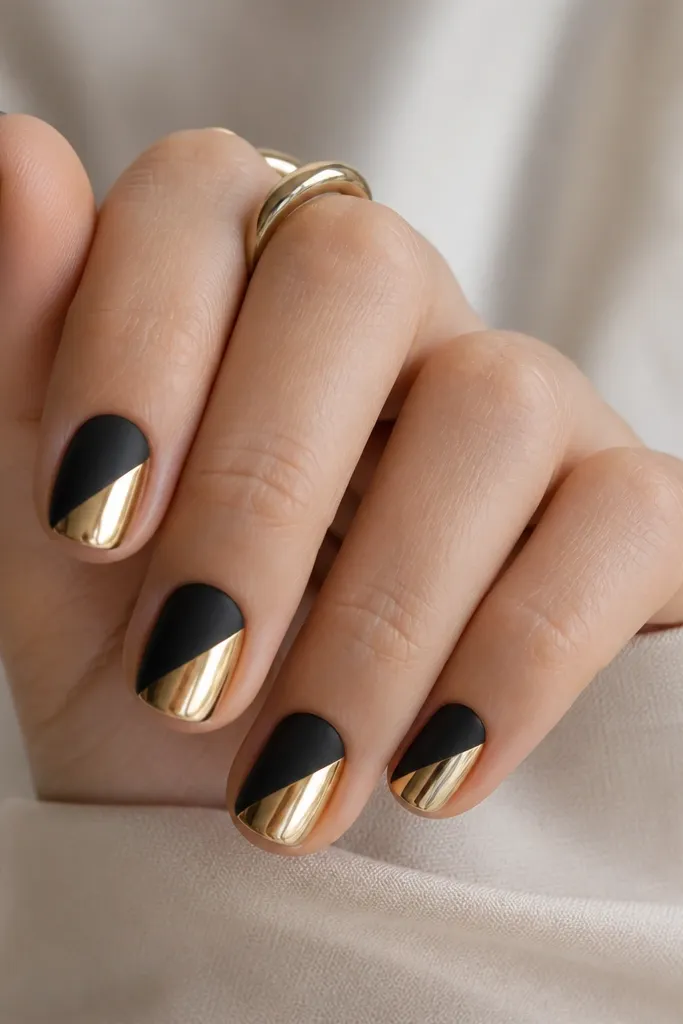
Chrome on half a short nail is the easiest way to get that high-end shine without worrying about many details. The diagonal split reads modern and keeps the gold from feeling too “busy.” I keep the black glossy so the contrast looks sharp, then I apply gold chrome only to the gold side. This flatters hands because it gives a bright highlight that moves with your fingers.
Paint a glossy black base and cure. Tape or use a diagonal guide to mask the side you want to keep black. Apply a thin layer of base gel to the chrome side, cure to the point your chrome needs (follow your product’s tack stage), then buff gold chrome powder over the tack. Remove the mask, then top coat over chrome using a chrome-safe top coat to avoid dulling.
Editor's notePress chrome with a sponge applicator, not your fingers, so it stays even.
Watch outAvoid heavy top coat over chrome that isn’t chrome-safe — it can turn gold dull.
7. Gold Studs On Two Accent Nails
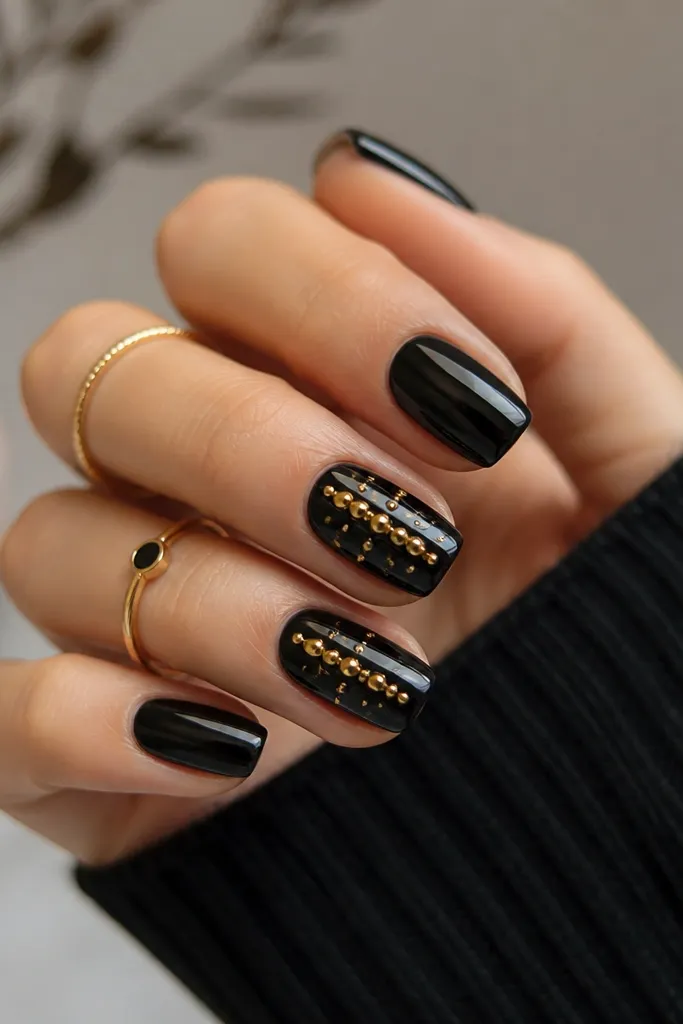
Studs are simple when you treat them like jewelry, not confetti. I put studs on only two nails per hand so the look stays clean on short length. The vertical placement makes the nail look longer, and the tiny rhinestones catch light when you move your hands. This is great for parties, date nights, and anything where you want sparkle without elaborate painting.
Do your black base in two coats and cure. Pick two accent nails and apply a small bead of clear builder gel or rhinestone glue where the center line will be. Place three small gold studs vertically, then tuck two micro rhinestones around the middle stud. Cure, then top coat carefully around the studs so they don’t pop up.
Editor's noteIf studs catch on fabric, file the top of the stud lightly after cure.
Watch outSkip too many studs on every nail — short nails look crowded fast.
8. Thin Gold Stripes Across Black
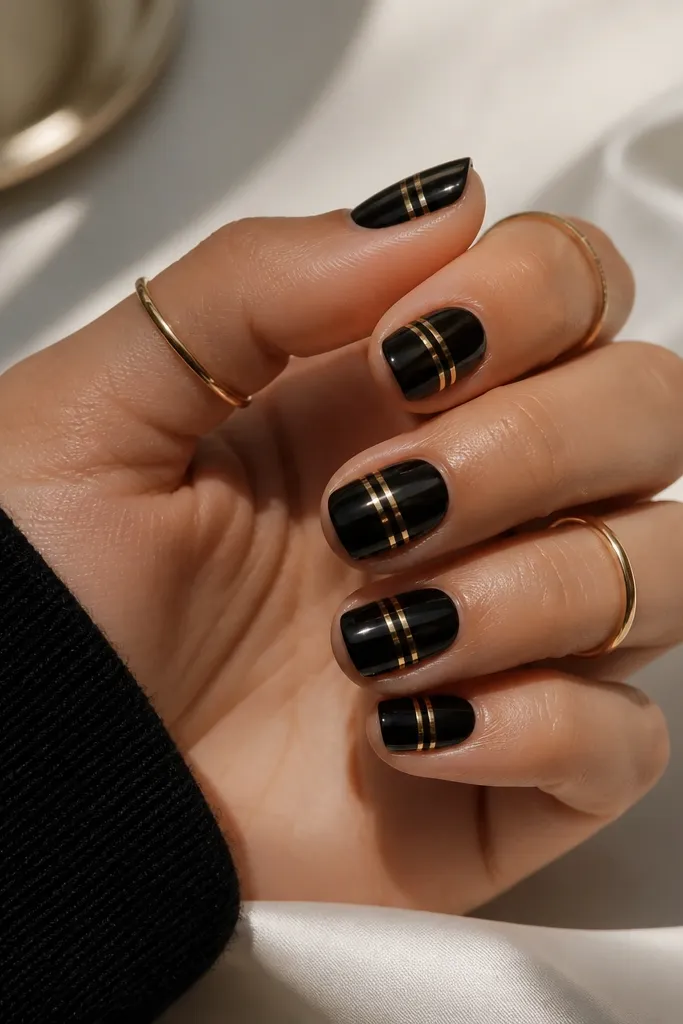
This design feels easy because it’s only lines — no painting curves, no filling shapes. I like using a striping brush to put two thin stripes across the center, then a third stripe on the ring finger for a focal shift. The stripes make the nail look graphic and clean, which works on short squoval because the nail shape already has a flat edge at the sides. It looks especially good on hands that want a more structured, minimal glam.
Apply black base in two coats and cure. Use gold liner gel and pull one stripe horizontally across the middle, keeping it straight. Add a second stripe above it with slightly different spacing, then on the ring finger add a third stripe that runs at a slight diagonal. Cure and seal with top coat to lock the lines down.
Editor's noteUse a striping brush with a tiny tip — wide brushes make stripes wobble on short nails.
Watch outAvoid uneven stripe thickness — it reads messy instead of intentional.
9. Gold Outline Stiletto On Short Squoval
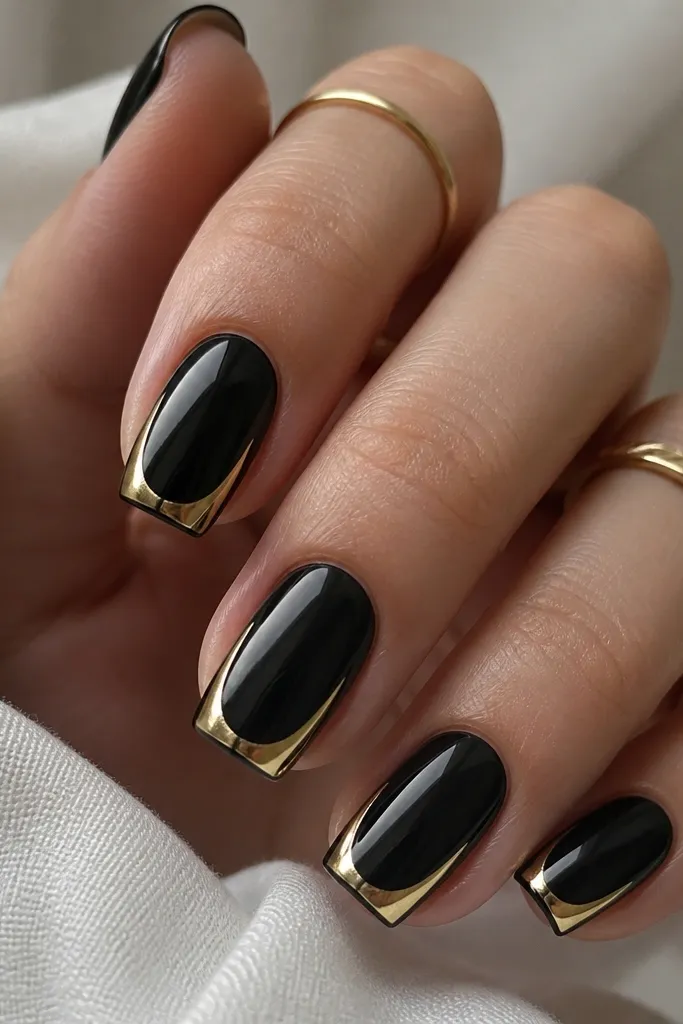
Outlining a stiletto shape on short nails gives you that sharp vibe without the length. The key is that the gold is only the outline, so you don’t add bulk. I draw the “stiletto” lines from the side edges toward the center tip area, then close the shape with a thin line near the free edge. This flatters shorter nail beds because it creates a crisp visual structure and keeps the surface clean.
Start with a fully opaque black base and cure. With gold liner gel, draw two diagonal lines that angle inward from the side corners toward the center near the tip. Add a short curved line to connect them at the top of the free edge area, then outline the sides lightly if you want more definition. Cure and top coat, keeping the outline smooth so it doesn’t catch.
If the outline looks shaky, use a nail vinyl (small triangle) as a guide for your first attempt.
Don’t fill the outlined stiletto area with gold — it turns into a block on short nails.
10. Black And Gold Checker Accent
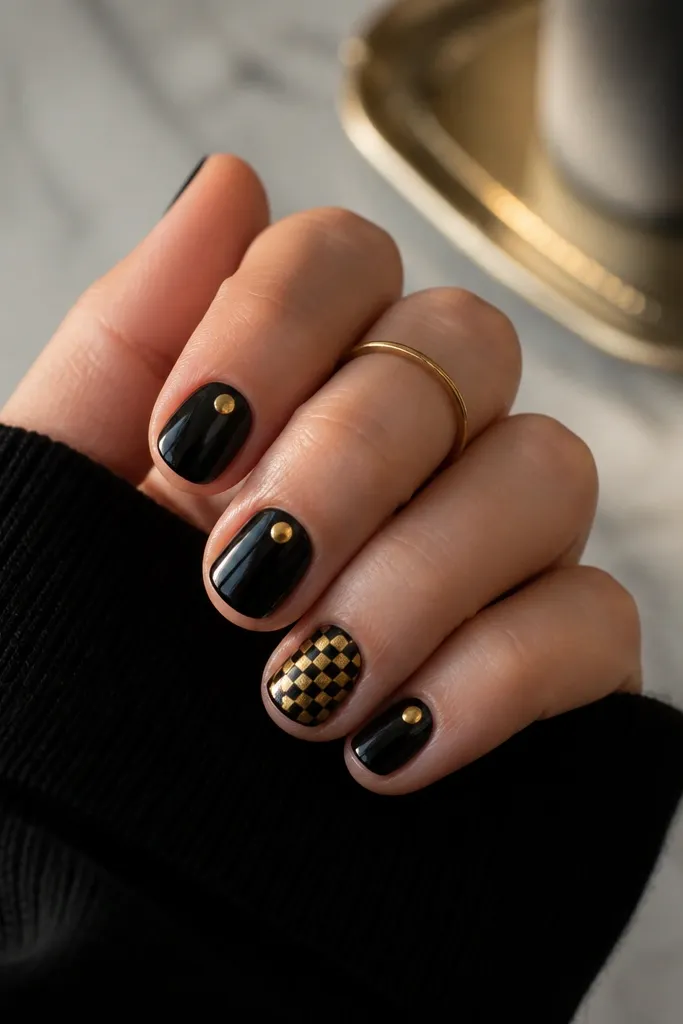
Checker accents look playful, but on short nails you need tiny squares and only one or two nails doing the pattern. I use a fine dotting tool to place small gold squares on a black base, keeping the grid under 1/4 of the nail surface. It reads cute and modern without feeling childish. This design suits everyday wear because the gold pattern is contained and easy to maintain.
Paint black base on all nails and cure. Choose one accent nail and lightly map a 3x3 checker area centered on the nail. Use a dotting tool with gold gel to place small squares, then cure between if your gel needs it. Add a single tiny gold dot near the cuticle on the other nails for balance, then top coat.
Use the same dot size for all squares — that’s what makes it look like a real pattern instead of random dots.
Skip large squares — they overwhelm short nails.
11. Gold Halo Dot Gradient
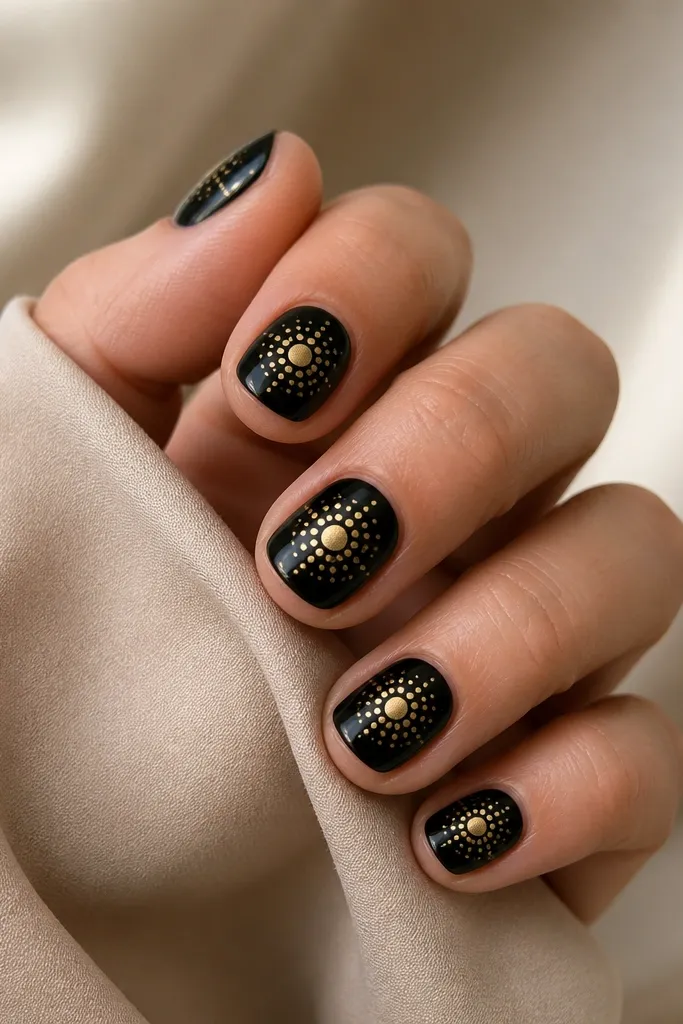
A halo dot cluster is one of the easiest ways to make black and gold feel “designed” on short nails. The dots create a soft gradient that doesn’t require long lines or perfect symmetry. I do a center cluster of three to five dots, then surround them with smaller dots so it looks like a little sun. It flatters short nails because it adds interest without widening the nail like a big stripe would.
Paint two coats of black and cure. Place a medium gold dot in the center, then add two more dots around it to form a small triangle. Add smaller dots around the triangle to create the halo, keeping the whole cluster about the width of your thumbprint on the nail. Cure and seal with top coat, dragging the brush from cuticle to tip so the dots look embedded.
Editor's noteIf dots look raised, add one extra thin top coat instead of pressing them harder.
Watch outAvoid glittery gold dust over everything — it turns into grain on short nails.
12. Gold Chain Link Stripe
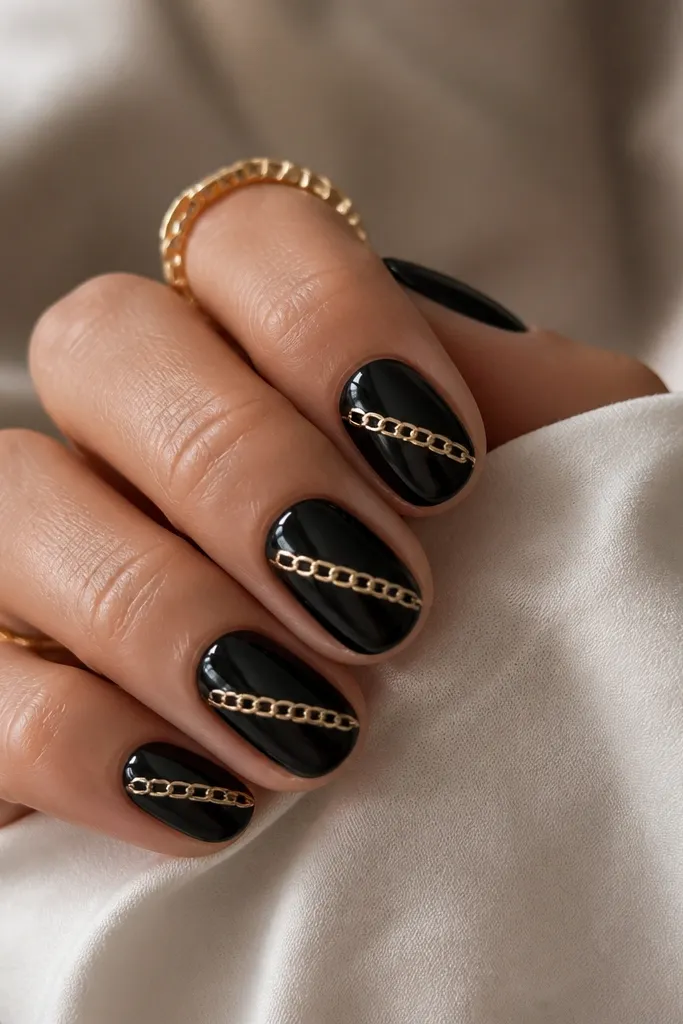
This one looks like jewelry because chain links catch light at different angles. It’s also easy because you’re repeating a simple shape instead of freehanding curves across the whole nail. I keep the chain stripe to one diagonal band that starts near the cuticle and ends near the tip corner. The diagonal direction flatters short nails by making them look longer from base to tip. It works well for warm and neutral undertones since gold looks clean and bright.
Start with a glossy black base in two coats and cure. Use a gold liner gel to draw a diagonal path 2-3 mm wide across the nail. On top of that path, place tiny chain links using pre-made gold chain decals or by drawing small rounded loops with a detail brush. Cure, then apply top coat carefully over the chain so it doesn’t lift at edges.
Editor's noteIf you use decals, trim them to nail width before placing so the stripe stays narrow.
Watch outDon’t make the chain band too wide — it looks like a thick glitter stripe.
13. Gold Leaf On One Side Only
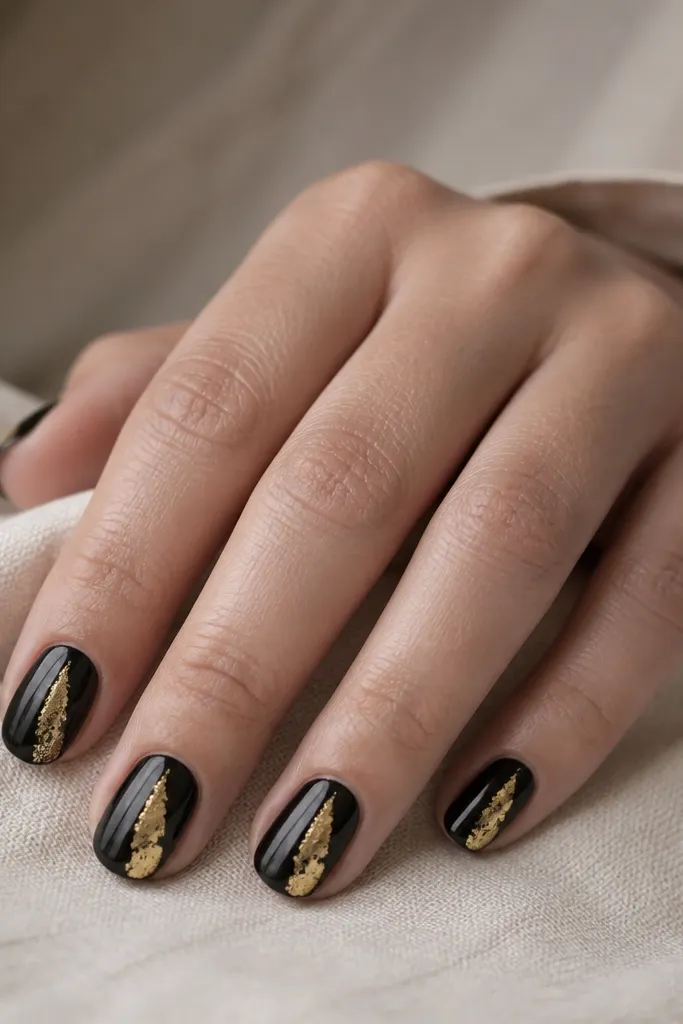
Gold leaf on one side is my favorite way to keep black-and-gold elegant on short nails. The torn edges create texture, but side placement keeps the design from crowding the center. I use leaf on only one or two nails so your hands don’t look overly busy. This flatters hands with shorter, wider nail beds because the leaf runs vertically and adds length without turning the nail into a solid gold surface.
Apply black base and cure. Put a thin strip of foil adhesive or tacky gel on one side of the nail — keep it narrow, about the width of a pencil eraser. Press gold leaf onto the tack, then lightly tap to secure the edges. Seal with a glossy top coat in two thin layers so leaf doesn’t peel at the sides.
Editor's noteUse tweezers with a slight bend so you can place leaf edges without flattening the texture.
Watch outAvoid leaf across the whole nail — it looks messy on short length.
14. Gold Triangle At The Tip
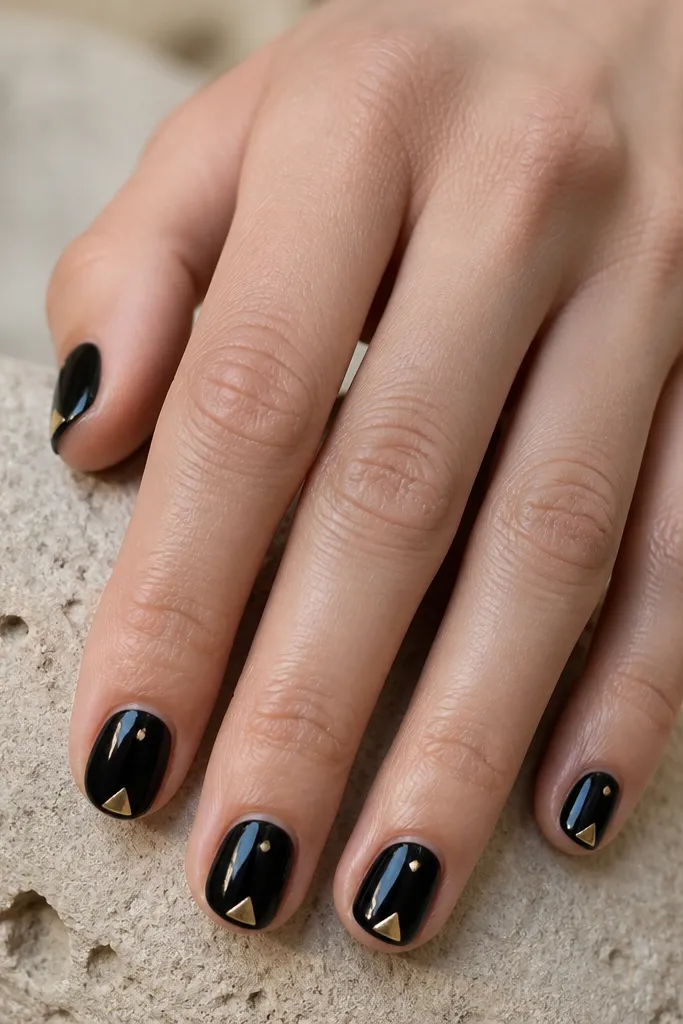
A centered gold triangle on the tip is clean, geometric, and fast. It works on short nails because the triangle is narrow and points upward, which visually lengthens the free edge area. I use metallic gold gel or foil to keep the edges crisp. This design looks good on all skin tones, but it’s especially striking on fair to light-medium hands because the gold reads bright and the black stays smooth. It also fits casual outfits because it’s minimal.
Paint black base in two coats and cure. With a striping brush, draw a small inverted V at the tip center, then fill the triangle shape with gold gel. Keep the triangle height to about 1-2 mm so it doesn’t cover the whole tip. Cure and top coat, making sure the top coat covers the triangle edges so they feel smooth.
Editor's noteIf the triangle edges blur, let the gold gel sit 10 seconds to level before curing.
Watch outSkip a large triangle — it turns into a gold cap on short nails.
15. Gold Foil French Side Smile
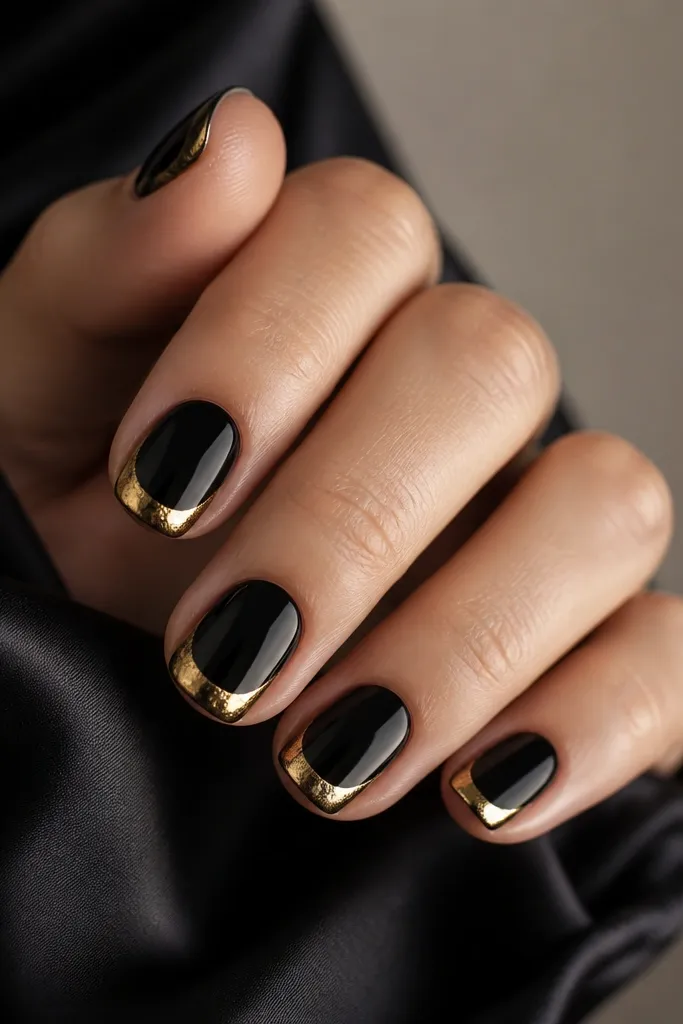
This is a twist on French that stays easy because it uses placement, not lots of drawing. The side smile curve gives movement, and foil makes the edge look naturally imperfect in a good way. I do it on two nails per hand for balance, keeping the rest solid black or with a tiny gold dot near the cuticle. It flatters short nails because the foil curve follows the nail shape and doesn’t create a wide horizontal band.
Start with a glossy black base and cure. Choose two accent nails and apply foil adhesive along one side of the tip, curving slightly toward the center but stopping short of the center. Press small gold foil pieces into the adhesive line until it looks like a French edge. Seal with top coat, then add a tiny dot of gold on the other accent nail if you want symmetry.
Press foil with a soft foam applicator so it grips without tearing.
Don’t try to cover the whole tip with foil — keep it to the side curve.



