
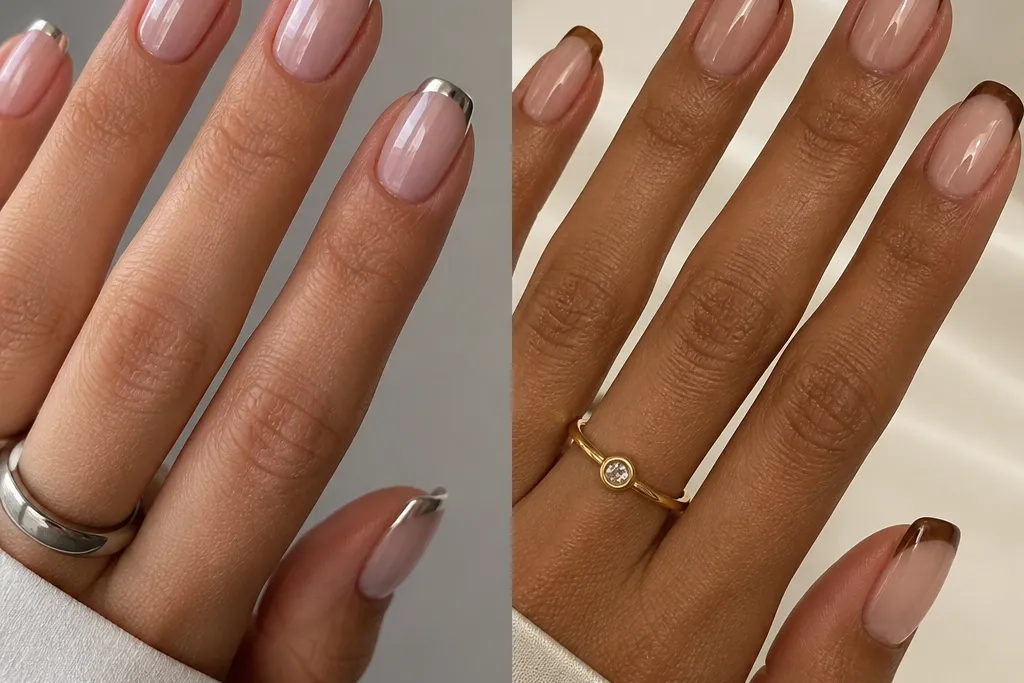
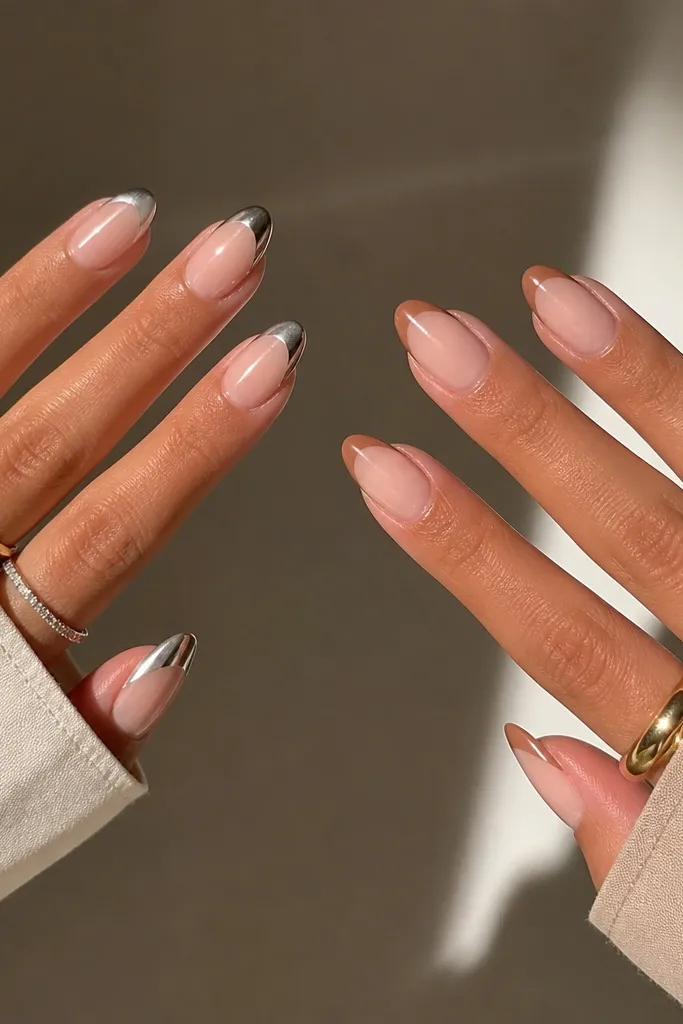
1. Mocha Nude Base + Narrow Mirror Chrome French
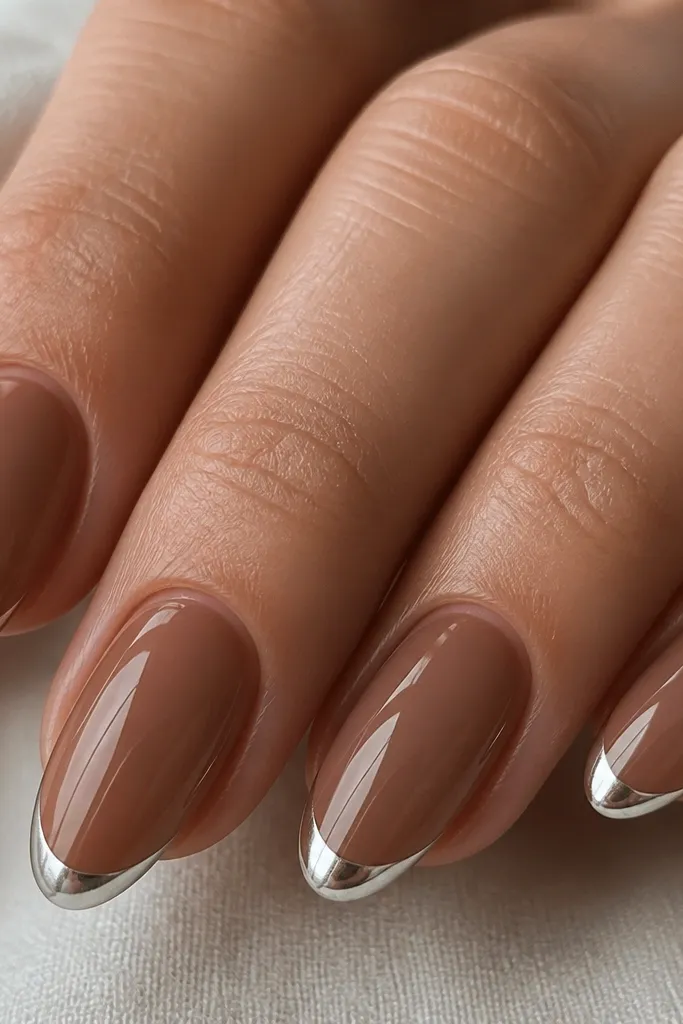
This is the set I reach for when someone wants Chrome French Nails vs nude brown tips without it turning into "too much." The mocha nude reads warm and wearable, and the narrow mirror chrome tip gives you that crisp line that makes fingers look longer. On medium to deep skin tones, the brown base keeps the chrome from looking icy, so the whole nail still feels grounded. On fair skin, it looks luxe because the nude isn't grey - it has brown warmth that flatters. The styling principle is contrast control: thin chrome line, sheer base, clean cuticle.
Start by prepping the nail with a light buff on the surface only - no sanding down to raw shine. Apply a sheer mocha nude gel in two thin coats, curing fully between coats, then seal with a tack-free layer if your system needs it. Use a fine liner brush to paint the French curve about 1/8 of the nail width, keeping the corners rounded so they don't catch. Apply gel chrome on the tip only, then press mirror chrome powder/foil onto the wet area, rubbing lightly for full coverage. Finish with a glossy top coat that doesn't dull the chrome too much.
Editor's noteIf your chrome looks streaky, reduce the gel amount - over-wet chrome gel makes the foil smear at the edges.
Watch outAvoid thick French lines. Wide chrome tips on a brown nude base can look like a grown-out sticker.
2. Rose Nude + Silver Chrome French Half-Moon
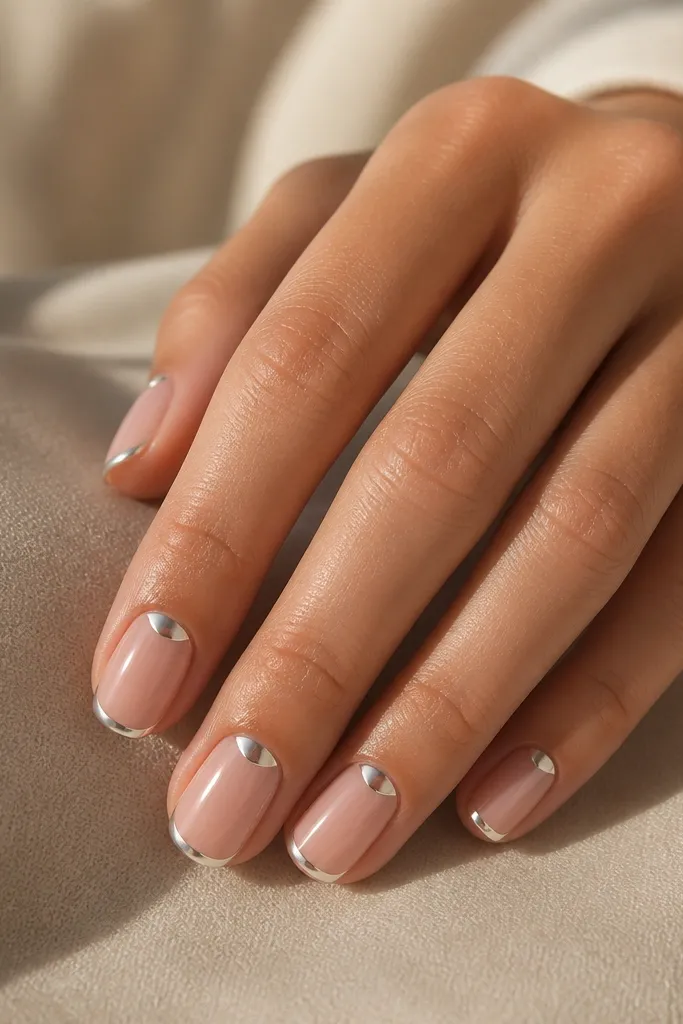
This look is for the person who loves chrome but hates the "hard line" feel of a standard French. The rose nude keeps the set soft, while the mirrored silver half-moon near the cuticle pulls the eye upward. It flatters hands with longer nail beds because the cuticle flash makes the nail look even more elongated. If your nails are short, the half-moon is still flattering because it gives shape without adding width at the tip. The principle is eye guidance - you place chrome where it lifts the visual length.
Start with a sheer rose nude base in two thin coats, then cure and wipe tacky residue if your system requires it. With a thin liner brush, paint the free-edge French curve lightly and keep it narrow - you're aiming for a delicate crescent. Cure the gel for the tip, then apply chrome gel only to the tip and the small half-moon area near the cuticle. Press mirror chrome powder onto those wet sections, then brush off excess with a dry, soft makeup brush. Seal with a high-gloss top coat, applying extra care around the half-moon so you don't flood it.
Editor's noteUse a dotting tool to place the half-moon first, then connect it with the liner brush for a clean curve.
Watch outDon't put chrome all the way to the sidewalls. It makes the nail look wider than it is.
3. Caramel Nude + Chrome Tips with Micro Nude Gap
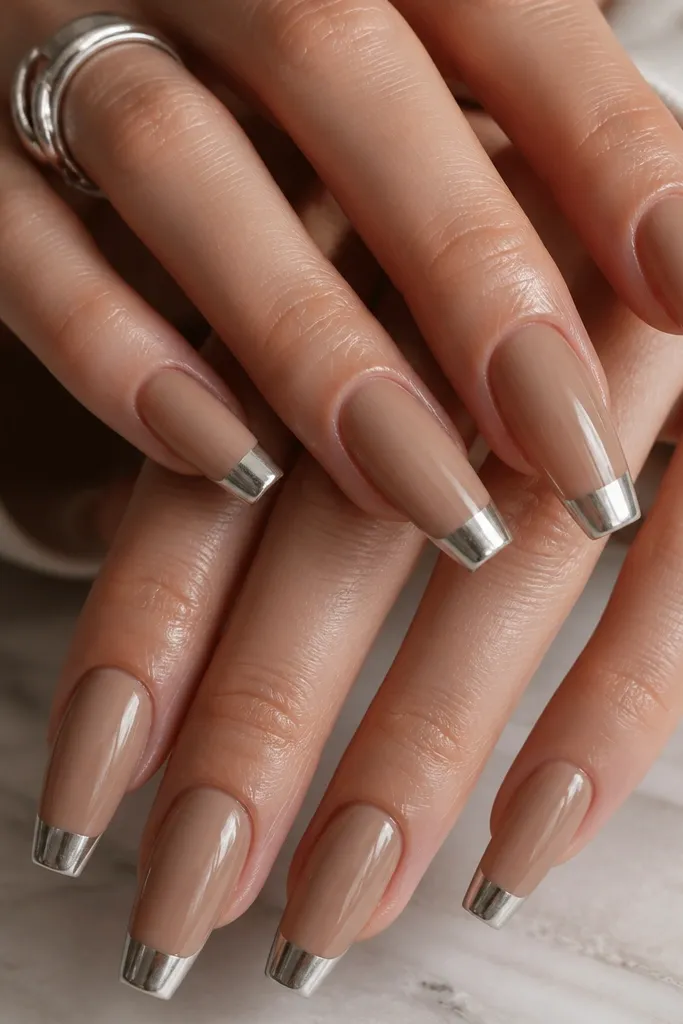
This is the "brown chrome french nails vs nude" compromise I actually wear when I want drama but still want a clean, expensive look. The caramel nude is slightly darker than a typical nude, so it warms up your hands. The micro nude gap keeps the chrome from touching the cuticle - that small separation makes the nails look sculpted, not painted. It's especially flattering if your nail beds are shorter, because the gap gives an illusion of extra length. The principle is negative space - that thin nude line creates structure.
Start with a caramel nude jelly base in three thin coats so it stays translucent but even. Leave the cuticle area slightly cleaner than you think - don't flood it, because the gap needs crisp boundaries. Paint a wide French tip but stop and leave a 0.5-1 mm nude gap above it. Cure, then apply chrome gel to only the French area, not the gap. Press chrome powder/foil onto the gel, burnish gently, and finish with a glossy top coat that covers the very edge of the chrome so it doesn't peel.
Editor's noteWhen you paint the French, use the nail's natural smile line as your guide instead of guessing the curve.
Watch outAvoid skipping the nude gap. Without it, the chrome can look like a thick line stuck to the whole nail.
4. Taupe Nude + Brushed Chrome French (Satin-to-Mirror)
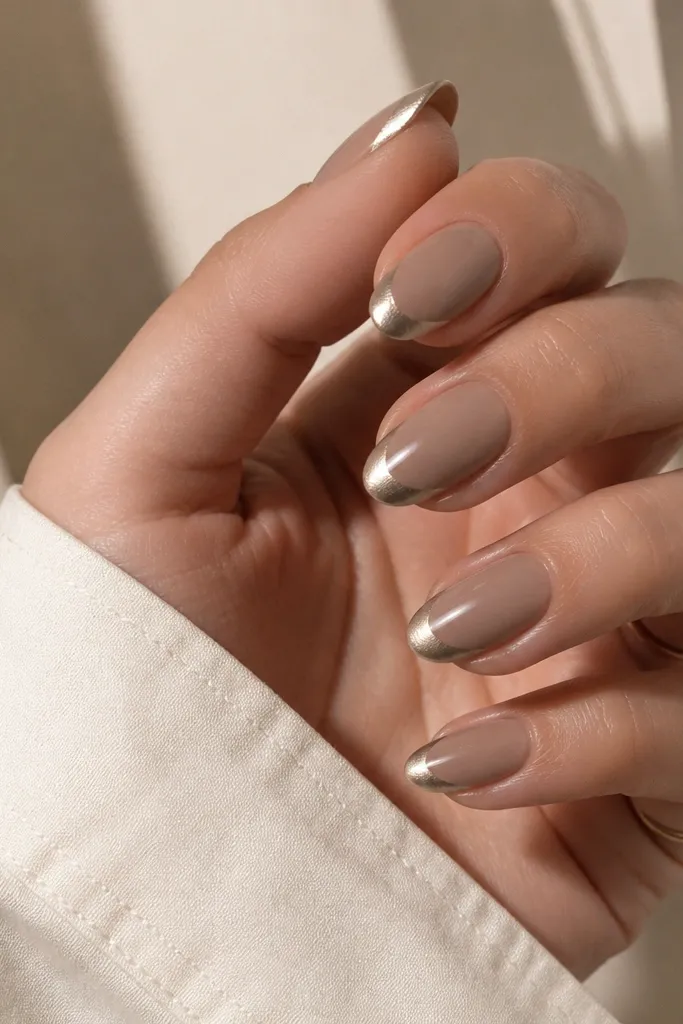
If you want chrome French that feels less loud than mirror, this is the one. Taupe nude is the neutral that makes chrome look intentional instead of stark. The brushed chrome tip catches light in a moving way, which looks great in daylight and office lighting. It flatters olive and neutral undertones because taupe sits in the same temperature family as your skin. The styling principle is texture contrast - satin chrome on top of a smooth jelly nude looks fashion-forward without being flashy.
Apply a taupe nude gel in two to three thin layers, curing fully. Create the French shape with a thin brush and build the tip gel so the curve stays even from sidewall to sidewall. For the chrome, apply chrome gel to the French area, then press chrome powder with a sponge applicator. Before it's fully set, lightly brush the surface with a soft dry brush to create the brushed streak effect. Finish with a top coat that keeps the chrome reflective (avoid super matte top coats).
Editor's noteTest the brushed effect on one nail first. The amount of brushing changes how "satin" it looks.
Watch outDon't over-buff the chrome after it's set. It turns brushed chrome into patchy chrome.
5. Sheer Nude + Brown Chrome Outline French
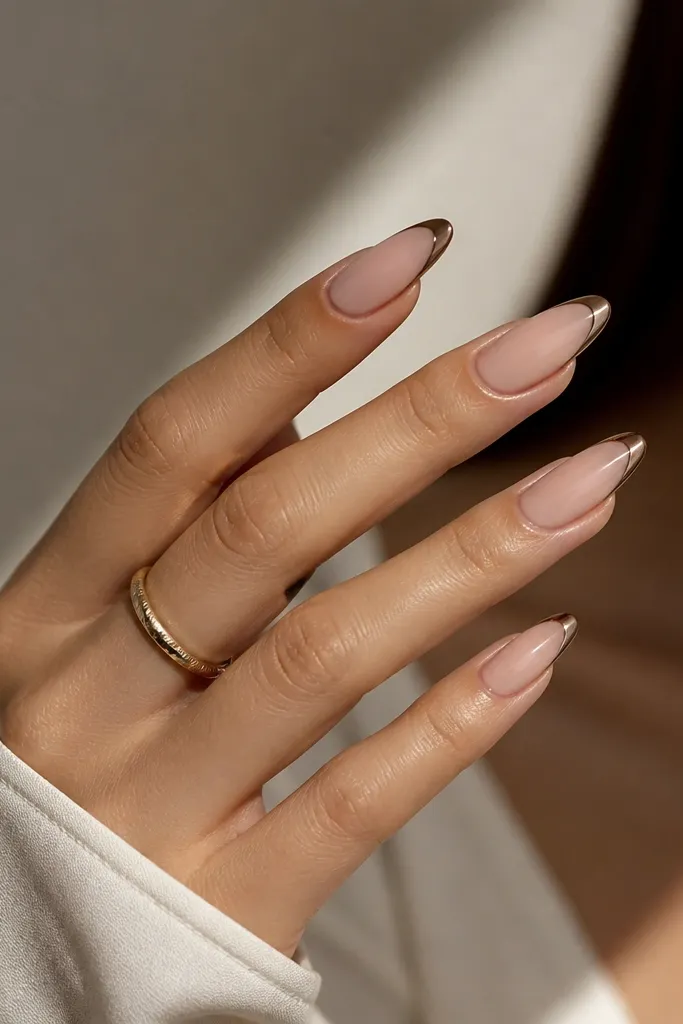
This one is for people who think Chrome French Nails vs nude brown tips will look too heavy. It stays light because you're only adding chrome along the edge, not filling the whole tip. The brown-tinted chrome looks softer than bright silver, so it flatters hands that look better with warm neutrals. It also makes the nail look very clean because there's no thick layer at the free edge. The principle is edge definition - outline the tip to create shape, then let the nude do the rest.
Start with a sheer nude base - one that matches your skin tone closely - in two thin coats. Cure and wipe tacky residue if needed. Use a fine liner brush to draw a thin French outline right at the free-edge curve, keeping it about a hair-width thick. Apply a small amount of chrome gel along that outline, then press brown-tinted chrome powder onto just the line. Seal carefully with top coat, dragging the brush over the outline gently so it doesn't smear.
Editor's noteKeep your liner brush slightly damp with cleaner so the line stays smooth instead of skipping.
Watch outAvoid filling the entire tip with chrome if you're going for a delicate outline. It stops looking "clean" and starts looking "thick."
6. Chocolate Brown Tips + Nude Chrome Halo
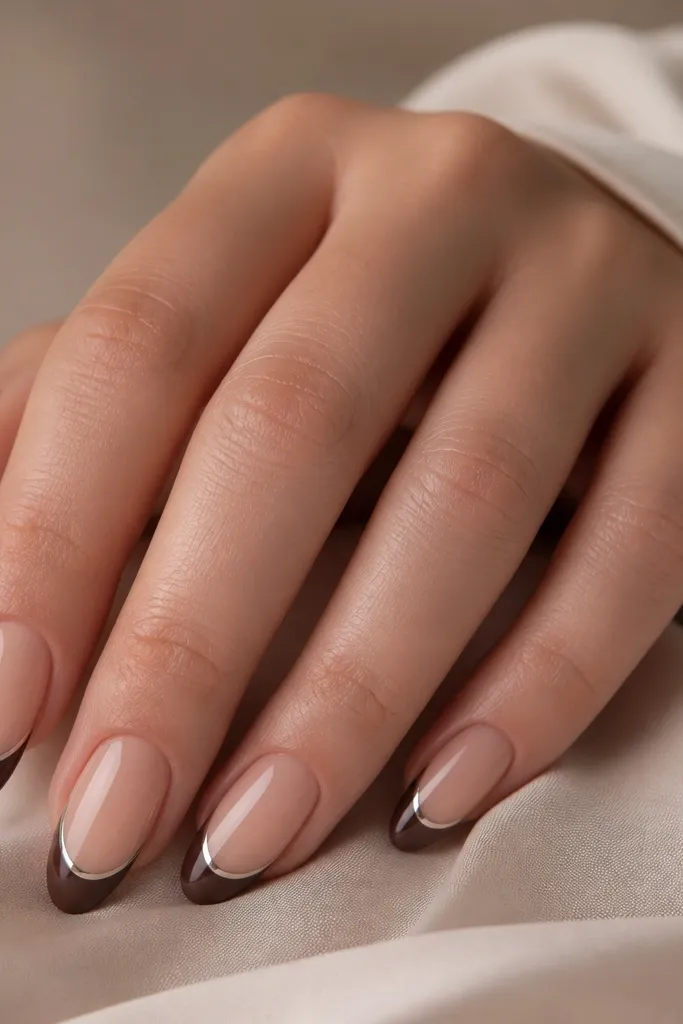
This is the set I use when I want the warmth of nude brown tips but still want that chrome punch. The chocolate French base adds depth, and the chrome halo line makes the boundary look sharp. It flatters deeper skin tones because the brown is rich without turning red, and it looks polished on lighter skin because the halo adds brightness. The chrome halo also hides tiny imperfections in the brown paint line. The principle is layering: you build color first, then add chrome as the crisp boundary.
Apply a nude base in two thin coats and cure fully. Paint the chocolate French tip first - keep it smooth and even, and cure. Clean up the edges with a flat brush dipped in cleaner before the next layer sets. Then apply chrome gel only along the top edge of the chocolate tip, not the entire tip surface. Press mirror chrome powder/foil onto the gel line, burnish lightly, and cap with glossy top coat.
Editor's noteUse a flat angled brush to define the French edge before you cure the brown. The cleaner your brown edge is, the easier the halo line looks.
Watch outDon't let the chrome gel touch the nude base too much. It can blur the French boundary.
7. Nude Brown Fade to Chrome (No Hard Line)
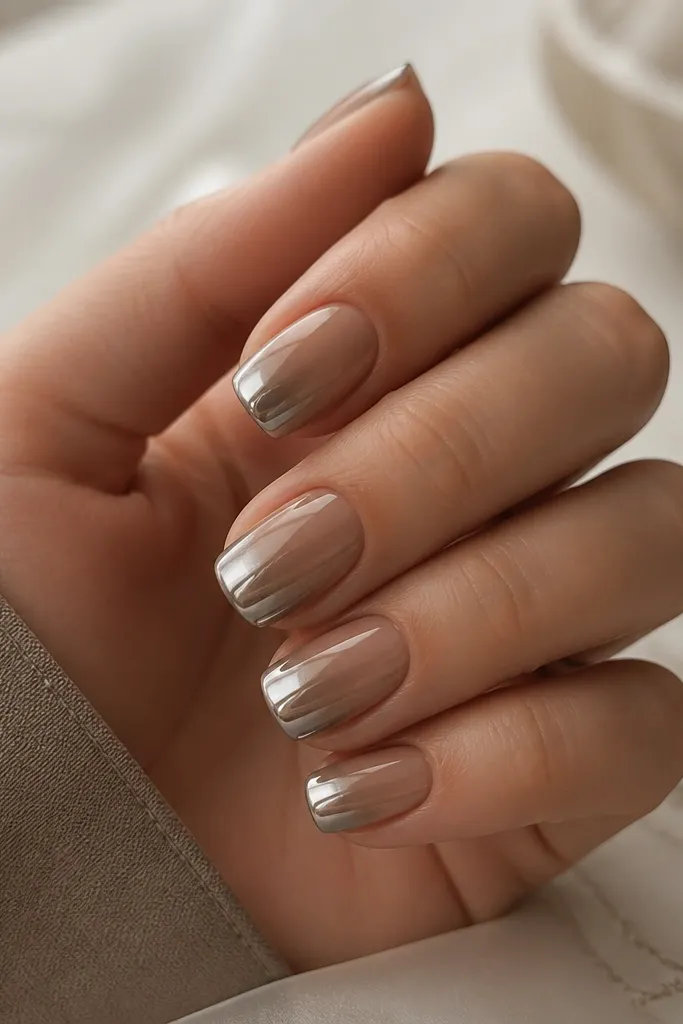
If you hate the look of a straight French line, this gradient style is my favorite way to wear Chrome French Nails vs nude brown tips without it looking harsh. The nude brown base blends into chrome so your nails look smooth and modern. It flatters hands with ridges because the fade draws attention away from tiny texture - the eye sees the smooth transition. For olive and warm skin, the brown-to-silver shift looks balanced. The principle is soften the boundary - chrome should feel like it melts into the nude, not like it was taped on.
Start with a nude brown base in two coats, then cure. Use a makeup sponge to apply a brown-to-clear transition gel near the free edge, keeping the blend zone about 2-3 mm. Apply chrome gel only at the very tip area first, then lightly blend the chrome gel outward with the sponge so the chrome starts later. Press mirror chrome powder on the wet tip area and rub gently to keep the gradient intact. Cap with a glossy top coat and avoid heavy brushing over the transition zone.
Editor's noteUse a small sponge cut to a wedge shape. It makes the fade look controlled instead of muddy.
Watch outDon't press chrome powder aggressively across the whole nail. That turns the fade into a flat, streaky chrome block.
8. Clear Nude Jelly + Extreme Thin Chrome French
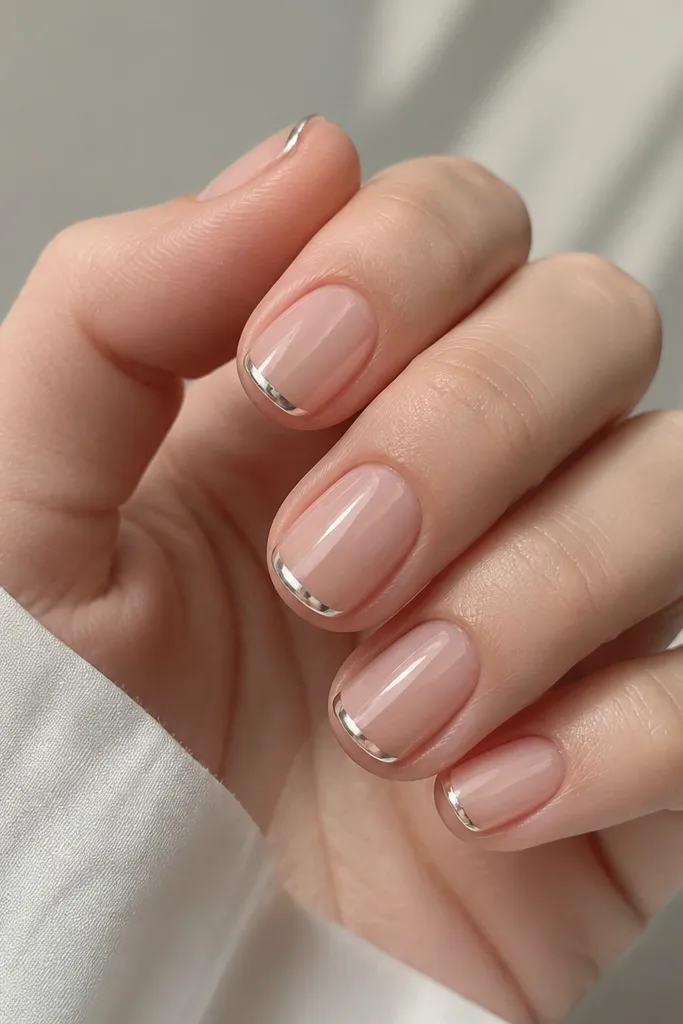
This is the "barely there but still chrome" look that keeps chrome French nails from feeling overpowering. A clear nude jelly base makes your natural nail color show through, which flatters almost every skin tone because it doesn't fight your undertone. The ultra-thin chrome line adds a polished edge without making your nails look shorter. It's great for work because it looks like a tidy manicure, not a costume. The principle is minimal chrome placement - tiny amount, maximum definition.
Prep and shape first, then apply a clear nude jelly gel base in two thin coats. Cure thoroughly and keep the surface smooth, because jelly shows texture. With a striping brush, paint an ultra-thin French curve at the free edge - think 0.5 mm thick, not a stripe you could feel. Cure and then apply chrome gel only on that tiny French line. Press mirror chrome powder lightly, then remove excess and cap with a glossy top coat that locks the edges.
Editor's noteIf your line gets wobbly, clean the brush with cleaner, wipe it on a lint-free pad, then re-draw the arc once. Don't keep dragging back and forth.
Watch outAvoid thick top coat over the chrome line. It can dull the mirror finish.
9. Cocoa Nude + Chrome French with Tiny Side Stars
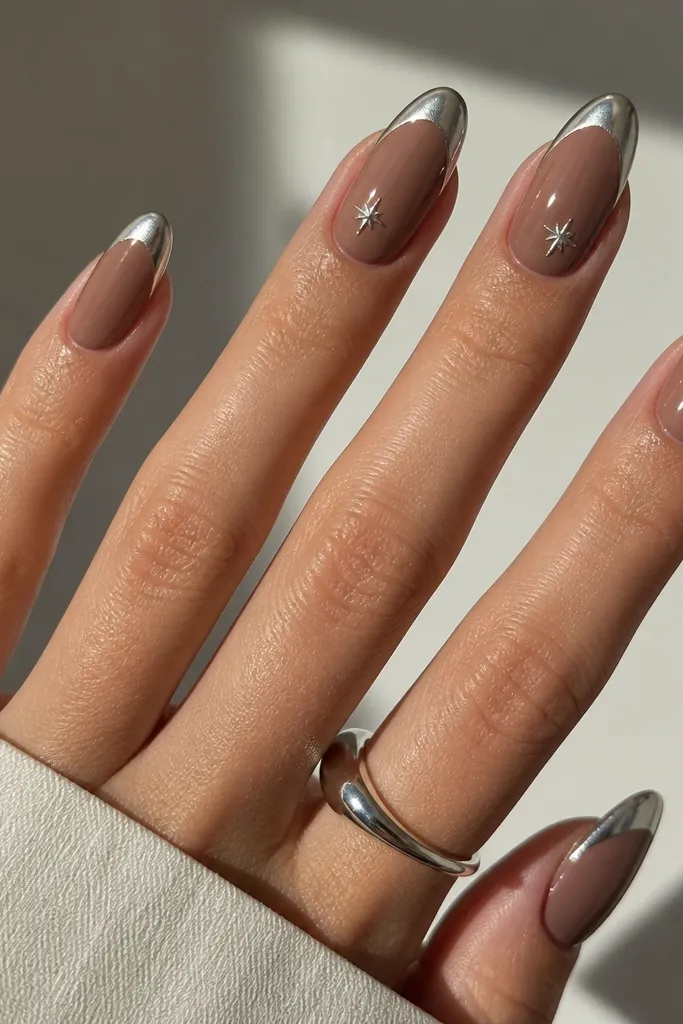
This is chrome French for people who want a little personality without turning the whole set into rhinestones. Cocoa nude keeps it warm and grounded, and the mirror chrome French does the heavy lifting for shine. The tiny side stars add movement when you move your hand, but they don't crowd the nail. This flatters hands that look better with small, targeted details - especially if you have shorter nails and don't want big gems. The principle is accent restraint: one feature per nail, placed where it won't interrupt the French line.
Apply cocoa nude gel in two coats and cure. Paint the French tips in a medium width, keeping the curve symmetrical across each nail. Cure and apply chrome gel on the French area, then press mirror chrome powder for full coverage. For the star accents, place tiny star charms or paint small star shapes with chrome gel on the side near the middle, then cure and press a small amount of chrome powder. Finish with top coat, using a thin layer so the charms don't lift.
Editor's noteUse tweezers with a flat tip to place stars - round tips roll the charm into the chrome and it looks messy.
Watch outAvoid multiple star clusters. Too many accents around the French tip looks crowded fast.



