
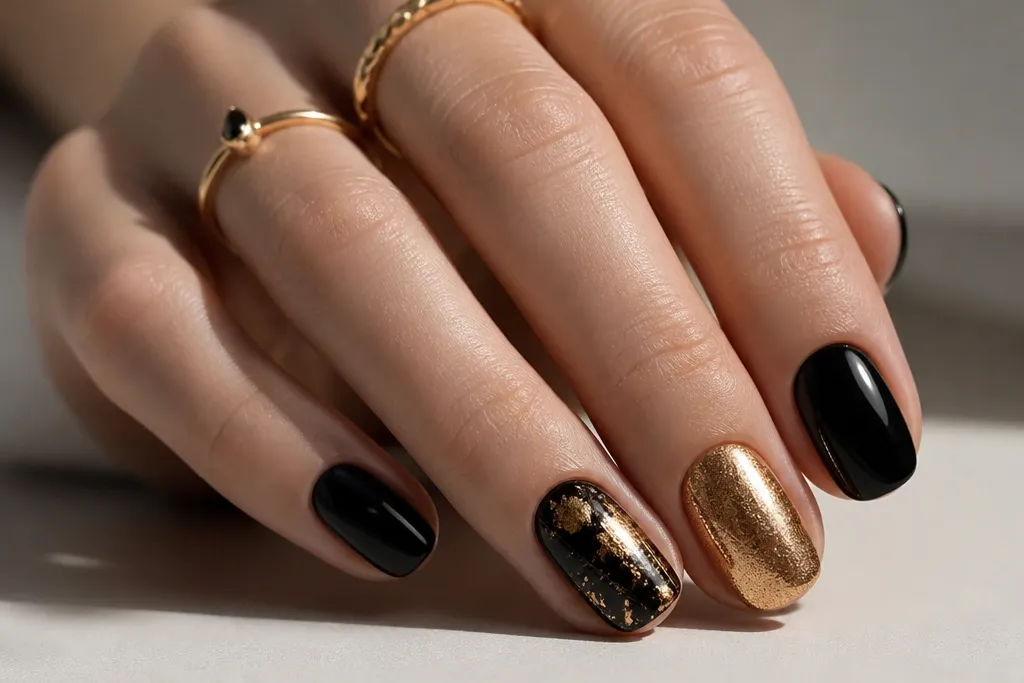
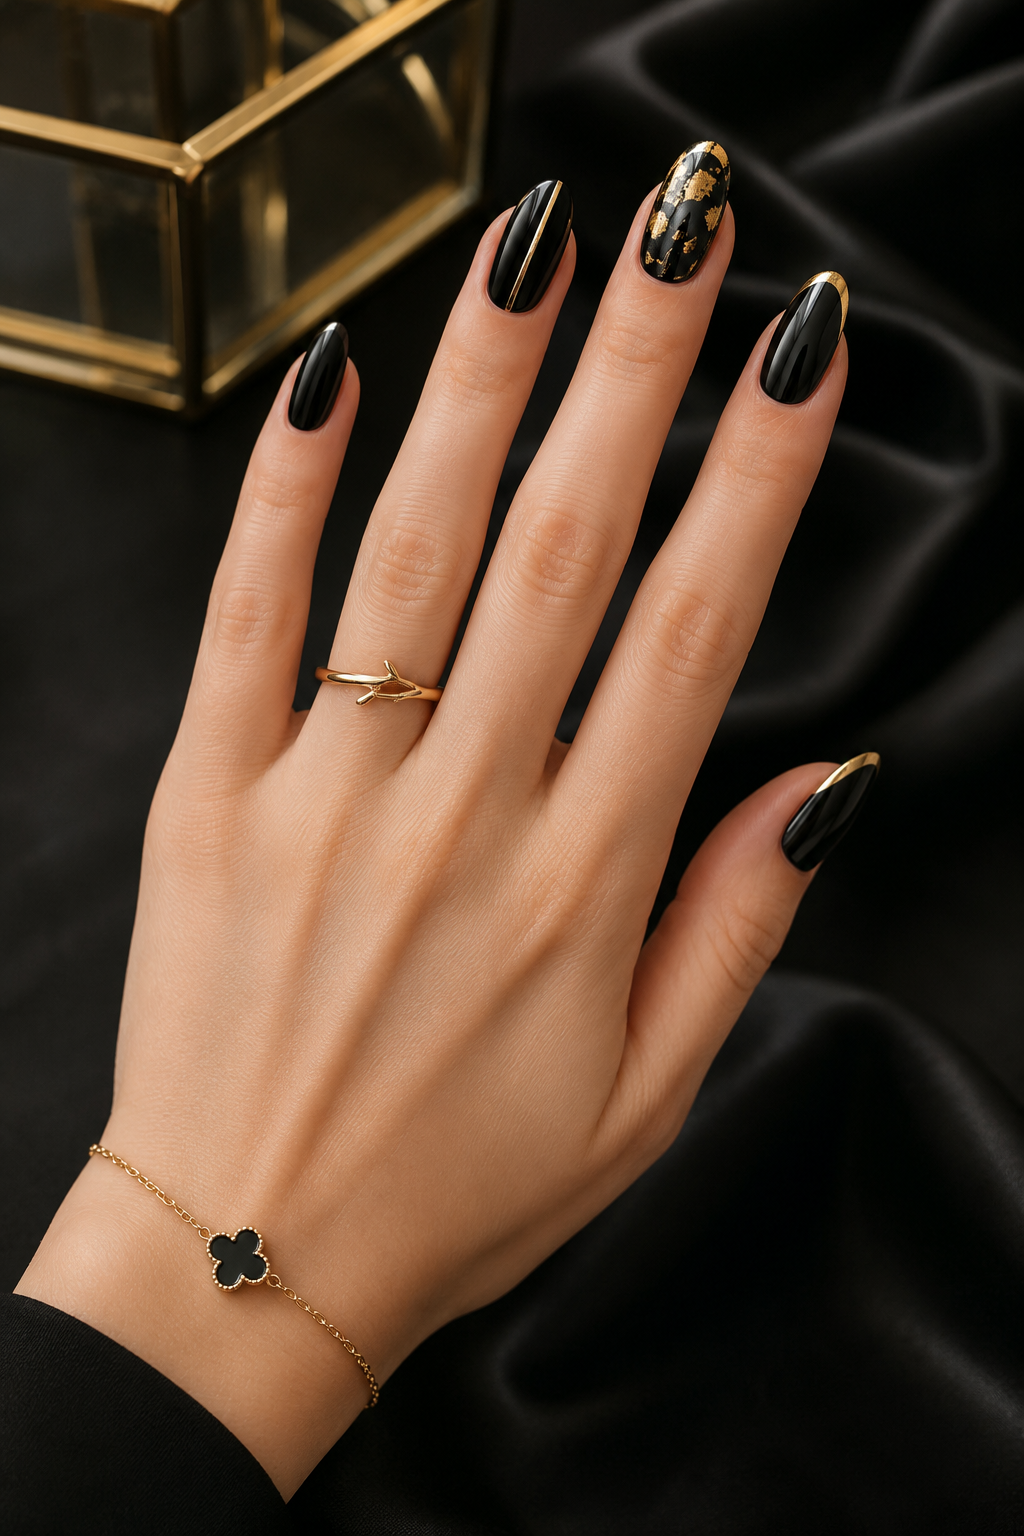
1. Micro French Tip in Gold Foil
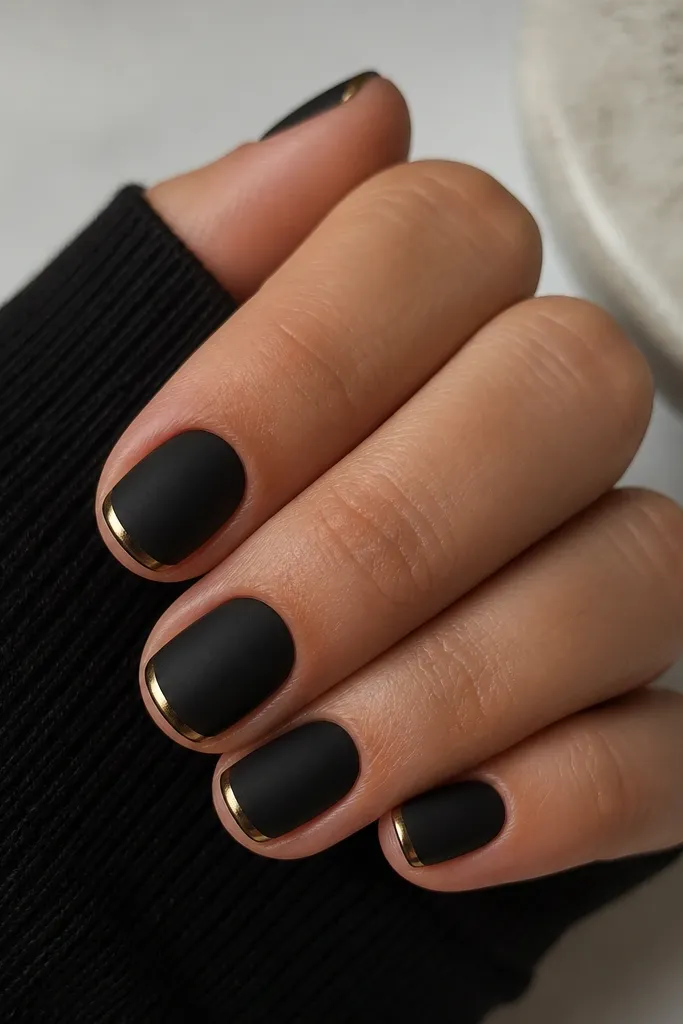
This one works because it mimics the classic French shape but shrinks the gold so it fits a small nail bed. I use matte black as the base because it makes the gold look brighter and cleaner. The gold sits at the free edge, so it visually extends the nail without covering your whole nail. It flatters most skin tones, but it looks especially sharp on cool undertones where black reads extra crisp. Keep the nails short and rounded — the thin tip looks intentional instead of cramped.
Start with two coats of matte black gel polish and cure fully. Cut a small piece of gold foil and press it just along the very edge of the nail, aiming for a 1-2 mm band. Use a lint-free wipe with a little gel cleanser to remove loose foil bits, then cap the foil with a thin top coat. Finally, file the tip lightly so the foil doesn’t catch on fabric and looks smooth under your fingers.
Press foil with a foam applicator, not your finger — it keeps the line tighter.
Avoid a wide foil tip; on small nails it turns into a block and looks heavy.
2. Gold Crescent Cuticle Line
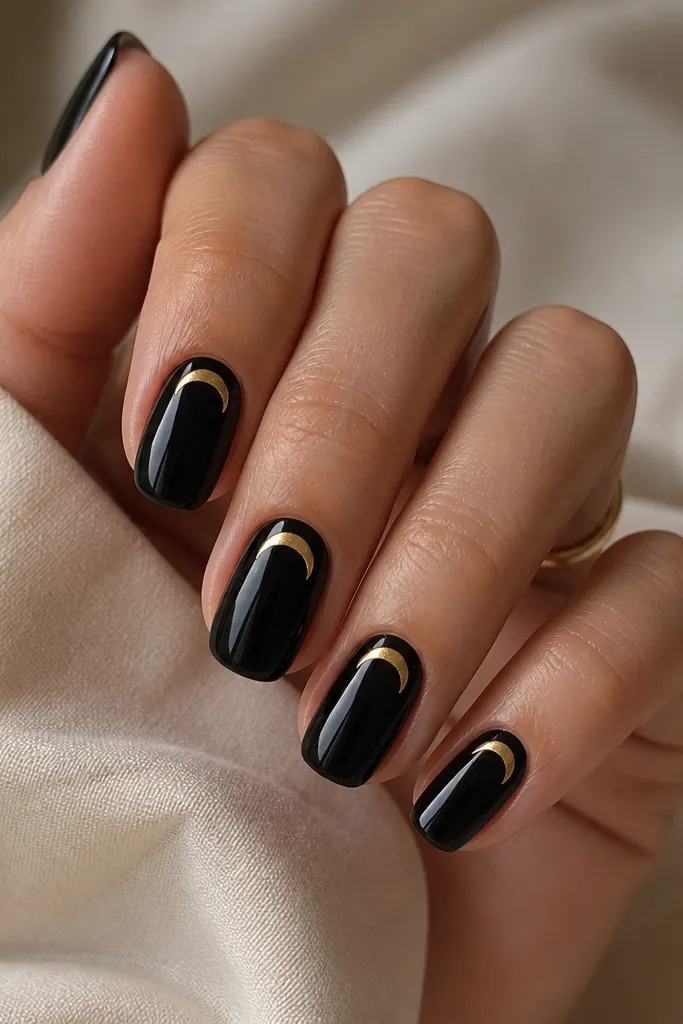
Paint two thin coats of glossy black gel and cure each coat. Using a dotting tool or a small flat brush, place gold gel (or chrome powder gel) in a tight arc 1-2 mm wide right at the cuticle. Leave a 0.5 mm black buffer on both side edges so the crescent doesn’t touch the sidewalls. Cure, then seal with a thick top coat so the crescent stays smooth and doesn’t snag.
A cuticle crescent makes nails look longer because your eye anchors near the base instead of the middle. I like glossy black here because the gold looks like it’s floating on top of a mirror finish. The crescent shape also hides uneven cuticle areas — if your cuticle line is slightly off, the gold reads as design, not growth. This look suits short squoval nails and even bitten nail edges because the gold is small and controlled. If you wear gold jewelry, it ties in instantly.
Watch outDon’t flood the cuticle; gold that spreads down the nail looks messy fast.
Editor's noteFor chrome crescents, tap powder lightly and cure — too much pressure makes the shape spread.
3. Diagonal Black-To-Gold Stripe
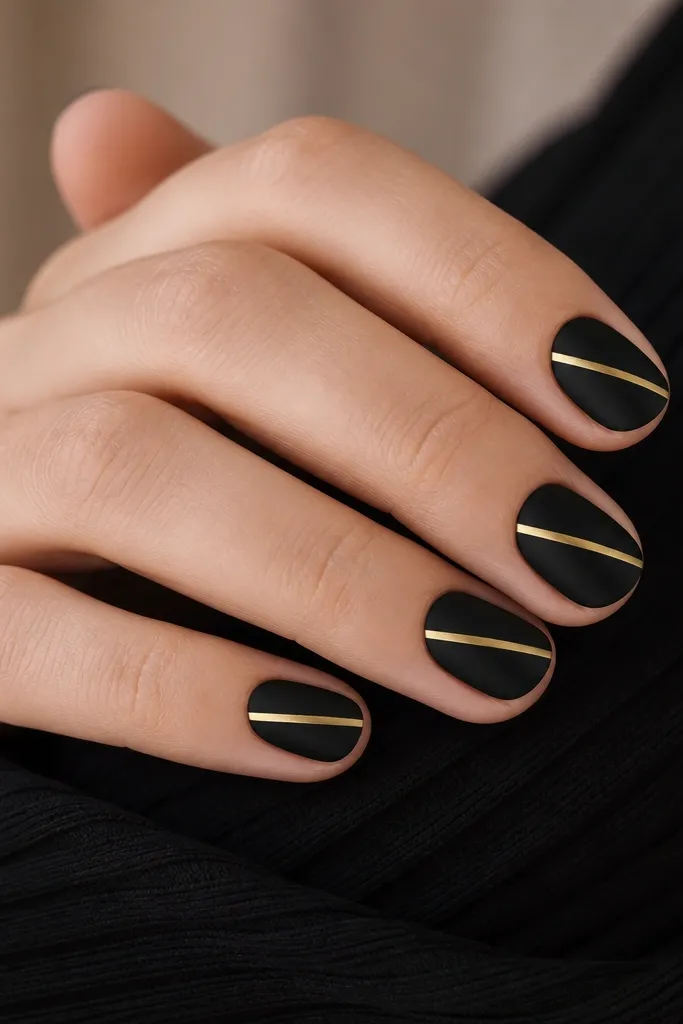
Start with matte black as your base and cure. Place striping tape diagonally across the nail where you want the stripe, keeping it 1-2 mm wide from edge to edge. Paint or apply gold gel over the exposed strip, then remove the tape before curing if your system allows clean lift, or cure first then remove carefully. Seal with top coat and do a quick file at the edges to keep the stripe from catching.
Diagonal lines create motion and make short nails look like they have more length. This design is classy because the gold stripe is narrow and the rest stays black — no extra glitter needed. I prefer matte black because it keeps the stripe sharp and avoids the “muddy” look that happens when both layers are glossy. This works for any skin tone and any nail shape as long as your diagonal stripe stays centered. If your nails are short, diagonal is more flattering than a horizontal band.
Watch outSkip chunky striping gel; it makes the stripe look like a sticker on small nails.
Editor's noteUse long striping tape — shorter pieces shift and your diagonal ends up uneven.
4. Gold Micro-Grid Over Black
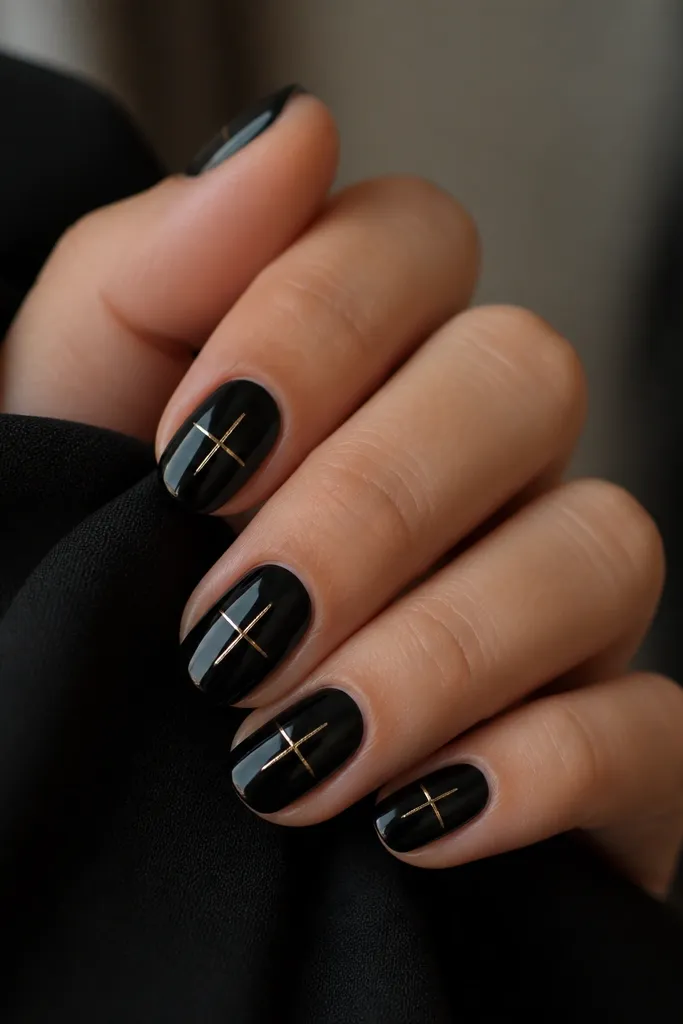
Apply two coats of glossy black gel and cure thoroughly. Use a fine liner brush with gold gel to draw a vertical line through the center, then add a horizontal line across the middle. Add two more tiny lines on each side so you get a 3x3 micro-grid, keeping each square small. Cure and finish with a smooth top coat, then wipe the tacky layer so the grid doesn’t dull.
A micro-grid is fancy without taking up space. The grid reads like texture, not coverage, so it keeps the nail looking tidy even when you’re working with a small surface area. I do this on glossy black because the lines look crisp and the intersections catch light. It flatters hands with short nail beds because the design sits in the middle and doesn’t crowd the cuticle. If you like geometric looks but hate “busy,” this is the version that stays controlled.
Watch outAvoid making the grid reach the sidewalls — it makes short nails look crowded.
Editor's noteIf your liner brush frays, clean the tip with gel cleanser and wipe on a lint-free pad before you start lines.
5. Black Base With Gold Vein (Marble Lite)
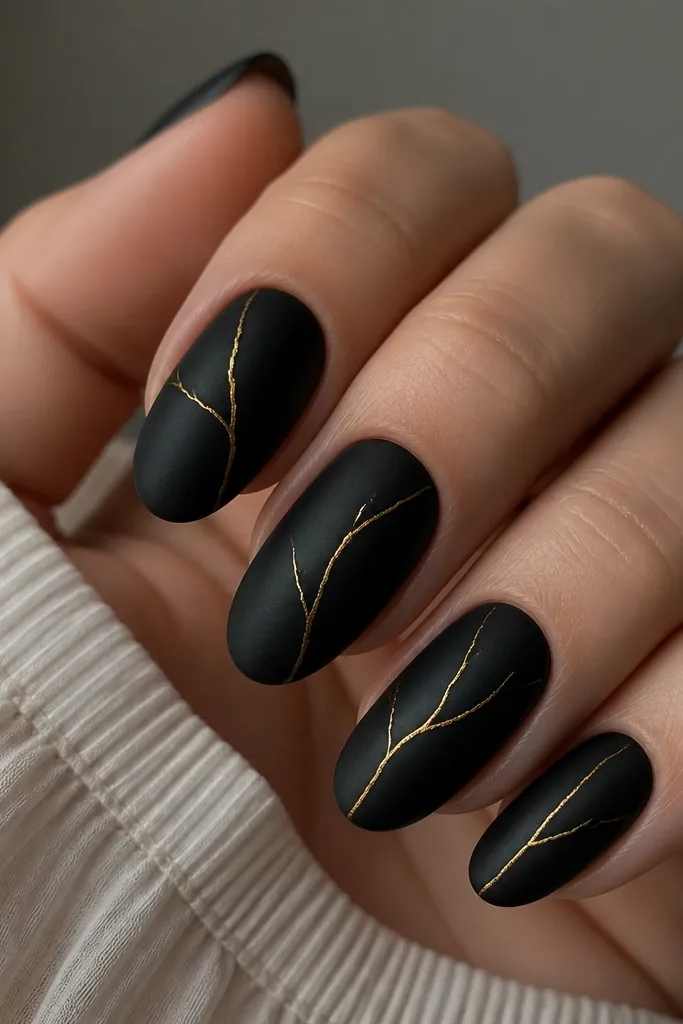
Start with matte black gel and cure. With a thin liner brush and gold acrylic paint mixed with a tiny drop of gel top coat (or gold gel liner), draw one main vein from near the cuticle toward the center. Add 2-3 smaller branches that split off, but stop them 1-2 mm before the sidewalls. Seal with top coat, then lightly buff the surface so it feels smooth over the veins.
Gold vein marble looks expensive, but the “lite” version is what works on small nails. You get the movement of marble while keeping the gold delicate and spaced out. I use matte black because it makes the gold look like metallic ink instead of glitter. This design flatters hands with shorter, wider nail plates because the veins taper as they move, which visually narrows the center. It also looks great for winter events and everyday wear.
Watch outDon’t add white marble chunks; on small nails it turns into clutter.
Editor's noteMake the vein thicker at the base and thinner at the tip — that taper is what makes it look natural.
6. Gold Halo Dot at the Center
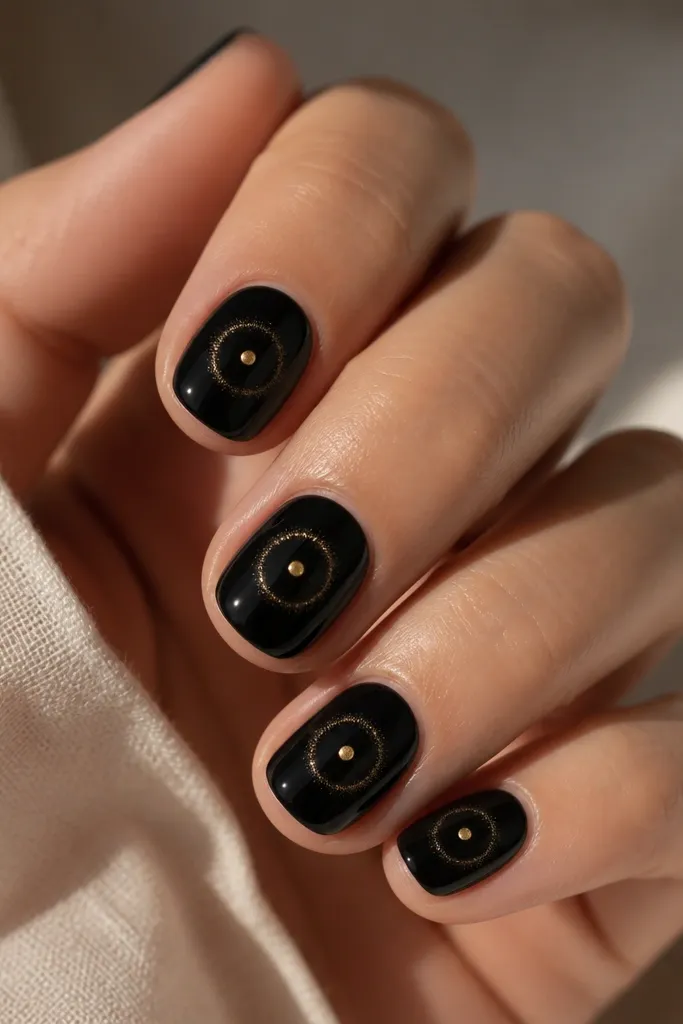
Paint two coats of glossy black gel and cure. Place a small gold dot in the center using a dotting tool and gold gel, then cure lightly. Tap gold chrome powder around the dot for the halo effect, keeping the ring thin and close to the center. Add top coat over everything and cap the dot so it doesn’t chip.
The halo dot is one of my go-to designs when I want classy with zero clutter. It’s basically a focal point — your eye lands on the center and ignores the fact that the nail is short. I do this on glossy black because the halo powder looks like it’s glowing. It flatters all nail shapes, but it’s especially flattering on rounded nails because the shape already softens the look. If you like minimal nail art but still want it to feel “done,” this is the one.
Watch outDon’t make the halo too wide; a big ring makes short nails look shorter.
Editor's noteUse a smaller dotting tool than you think — tiny centers look more expensive on short nails.
7. Gold Half-Moon Side Accent
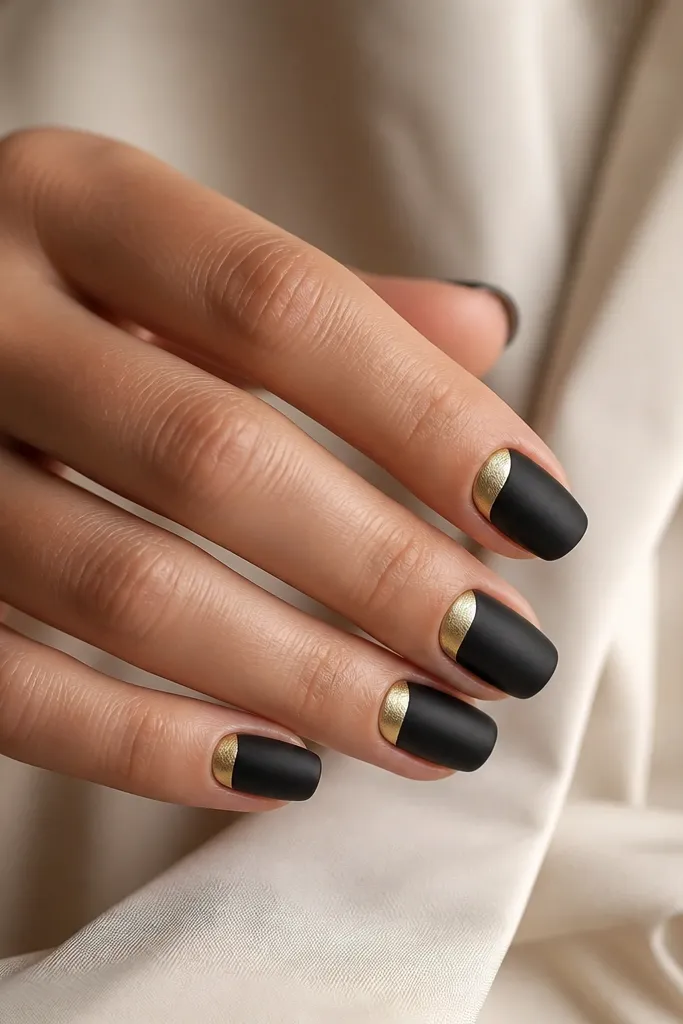
Side accents look modern and they keep the design contained. This half-moon near the cuticle makes your nails look more structured, almost like they have a “frame,” without covering the full nail. I like matte black here because it hides tiny surface imperfections and makes the gold edge look crisp. It’s flattering if your nail beds are slightly uneven because the gold sits where you can control the shape. This also looks great on hands with shorter fingers because it adds interest without stretching the nail too much.
Apply matte black gel in two thin coats and cure. Use a small detail brush to paint a half-moon of gold gel on one side of the nail, starting 1-2 mm from the cuticle edge and staying away from the opposite sidewall by a few millimeters. Cure and then add a second thin layer if the gold needs more opacity. Finish with top coat, and use a soft file to remove any gold ridge near the sidewalls.
Keep the half-moon slightly smaller on your ring finger — it prevents the design from looking too heavy across the hand.
Don’t center the half-moon; true side placement is what makes it look intentional.
8. Gold Foil Tear Drops
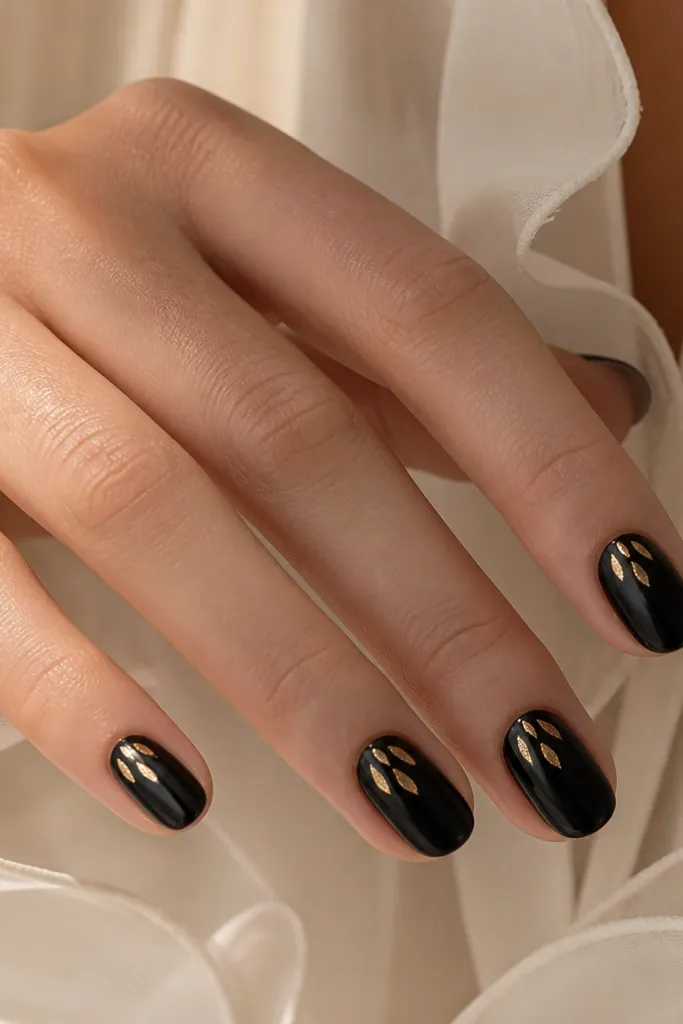
Start with glossy black gel and cure. Dab small pieces of gold foil gel or foil transfer onto the nail, placing them in the upper third so the tear points toward the cuticle. Press gently and remove loose bits so the placement stays tidy. Seal with top coat in thin layers — foil needs more careful capping to avoid texture.
Foil tear drops feel luxe because they look organic, not painted. On small nails, you want just one or two pieces so the foil acts like jewelry. Glossy black gives the foil something to reflect, making the gold look brighter even with tiny fragments. This design flatters short nails because the tear shape naturally pulls the eye upward. It also looks great for parties because the foil catches light when you move your hands.
Watch outAvoid covering the whole nail with foil; on short nails it turns into a thick, flat layer.
Editor's noteIf your foil tears look too random, choose pieces that are similar width so your nails look cohesive.
9. Gold Linework Frame Around the Nail
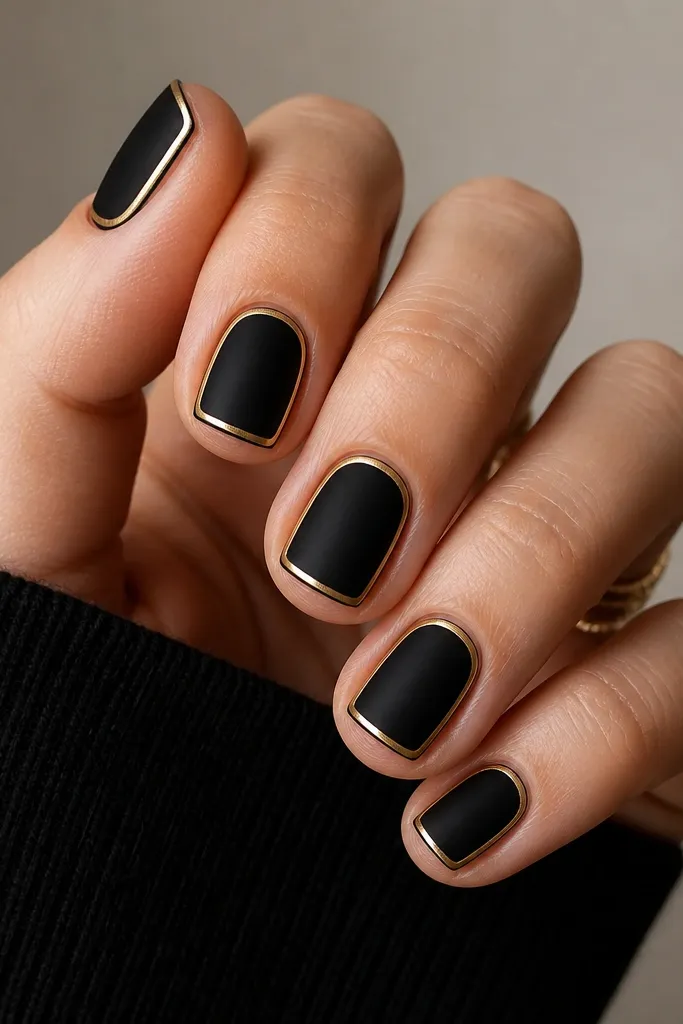
A frame makes your nail look like it has structure, which is exactly what short nails need. The key is leaving a gap at the cuticle so the frame doesn’t look like a thick border. I use matte black so the gold linework looks clean and not sparkly. This flatters hands with wider nail plates because the frame edges create a crisp boundary. It also works for both everyday and dressy events since it’s graphic but still minimal.
Paint matte black and cure. With a fine liner and gold gel, draw a thin line along the sidewalls, stopping 1 mm before the cuticle. Connect the lines with a thin top curve near the free edge, keeping it light so it doesn’t look like a French tip. Cure and top coat, then check the edges with your fingertip — smooth it with a quick buff if needed.
Use a gel liner that self-levels slightly; it keeps the frame line from looking wobbly.
Don’t close the frame at the cuticle — a full box makes short nails feel boxed in.
10. Black Gloss With Gold Chrome Center Stripe
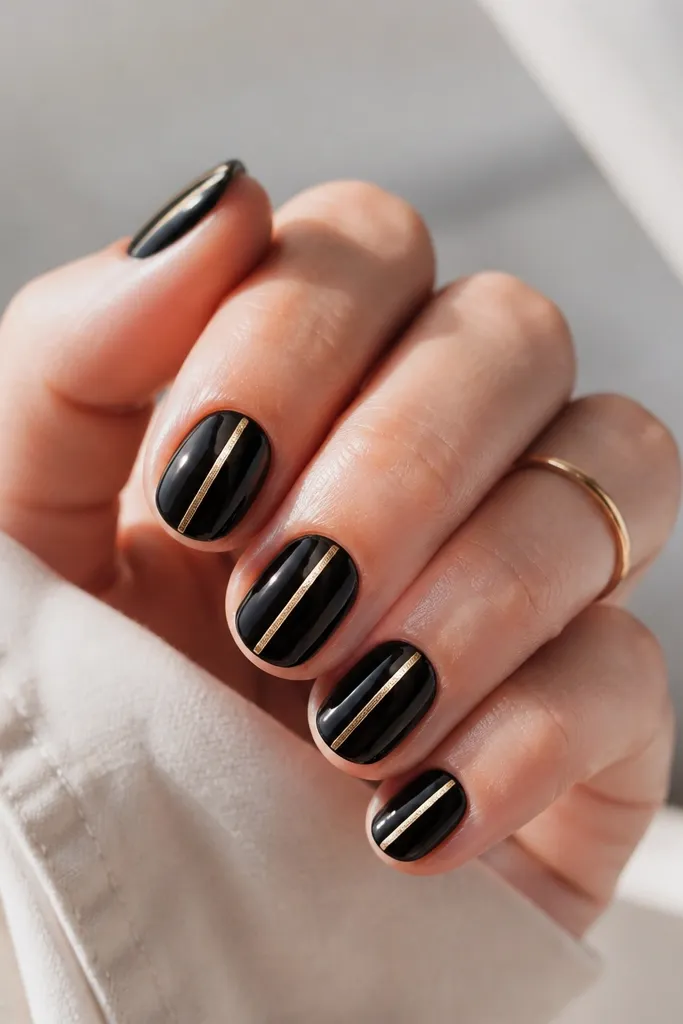
Vertical center stripes are the fastest way to make short nails look longer. Chrome is perfect here because it reflects light like jewelry, and even a thin stripe has impact. I keep this one super simple: black glossy base, one center stripe, nothing else. It flatters every skin tone, and it looks especially good if you wear silver or gold rings because chrome reads like metal. If your nails are short and you want a sleek, “put together” look, this is it.
Apply two coats of glossy black gel and cure. Use striping tape to mark the center line at about 1 mm width, then apply gold chrome powder over the exposed strip area with a chrome gel base. Remove tape carefully to keep the edges sharp. Cure, wipe away excess powder, then seal with a high-shine top coat so the stripe stays mirror-smooth.
Press tape edges down firmly — chrome powder gets into gaps and blurs the line.
Avoid a stripe that’s wider than 2 mm; it can make short nails look stocky.
11. Gold Stud Trio at the Cuticle
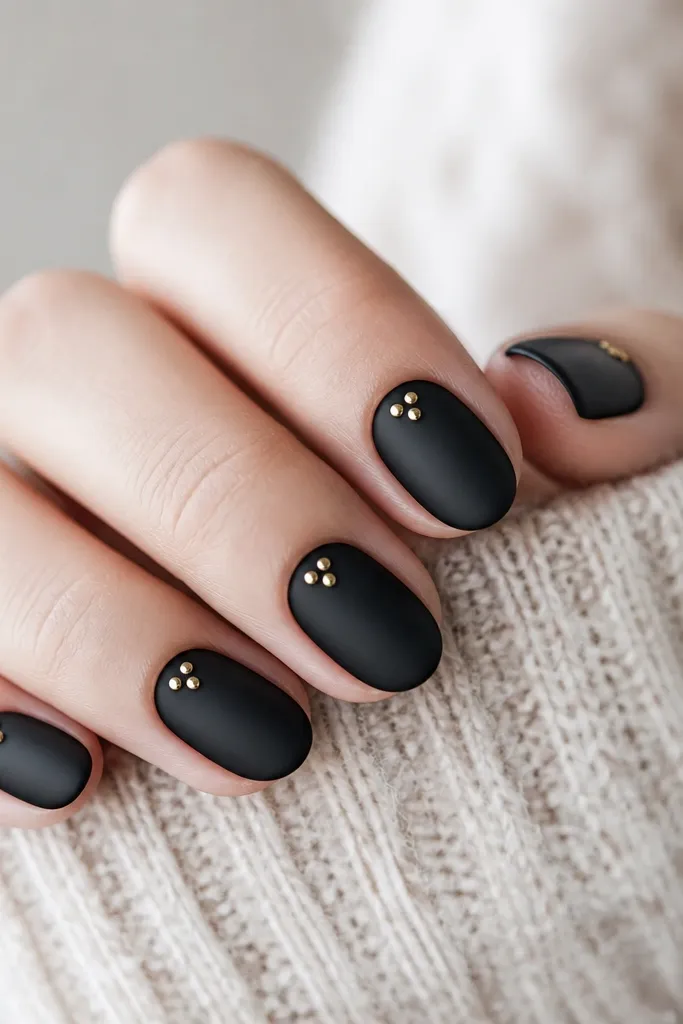
Start with matte black gel and cure. Add a small amount of nail glue or thick gel adhesive exactly where each stud will sit, then place two studs close together and one slightly above them to form a tiny triangle. Keep the trio within the center third of the nail and leave black space between studs and sidewalls. Cure if using gel adhesive, then cap with a thin top coat around the studs to lock them in.
Studs read like jewelry, and a tiny trio adds interest without taking nail space. Placing them near the cuticle also makes the nail look more lifted and tidy. I like matte black because it gives the studs contrast — the gold studs pop instead of blending into glitter. This design suits short rounded nails and short almond tips, and it looks great on warm and neutral skin tones because gold already harmonizes. If you want something that looks expensive but you don’t want fine-line art, studs are the shortcut.
Watch outDon’t place studs too close to the edge — they chip first at sidewalls.
Editor's noteUse tweezers with a light grip and press each stud for 5-8 seconds so it doesn’t slide.
12. Gold Leaf Corner Placement
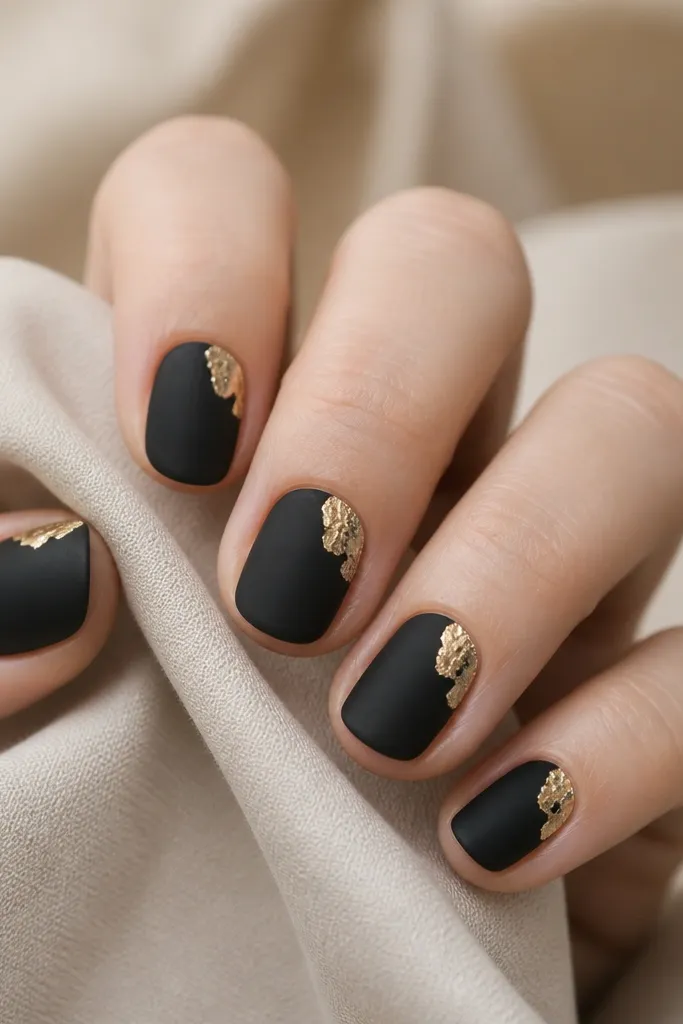
Apply matte black gel in two thin coats and cure. Cut or tear gold leaf into small irregular pieces, then dab a tiny amount of leaf adhesive gel where you want the corner. Place one leaf fragment in the upper corner of each nail, keeping it 1-2 mm away from the side edge. Cure and cap with top coat in thin layers until the leaf feels smooth under your fingertip.
Corner leaf placement looks artsy but stays controlled, which is why it works on small nails. The gold leaf fragments are organic, but the placement is geometric — upper corner means your eye reads a direction. Matte black keeps the leaf crisp and stops it from looking like loose glitter. This is flattering for short oval nails because the corner placement follows the natural curve. It also works for hands that have slightly dry cuticles since the leaf sits away from the cuticle line.
Watch outDon’t use big leaf sheets on short nails; they spread and look bulky.
Editor's noteIf your leaf lifts at the edges, add a second ultra-thin coat right on the lifted spots.
13. Gold Script Initial in Tiny Font
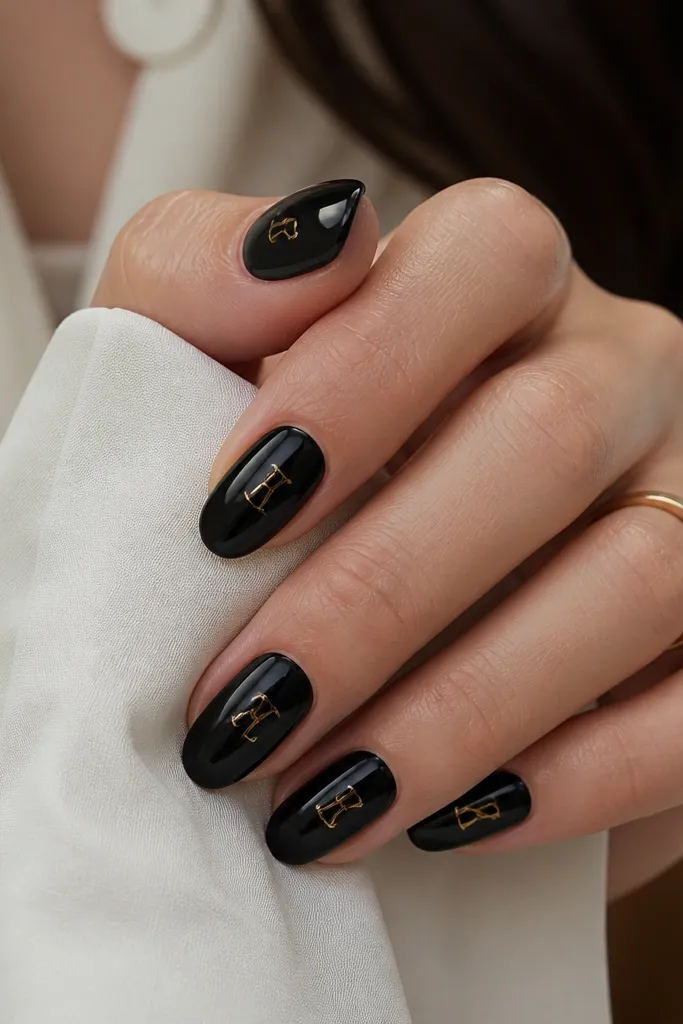
Paint two coats of glossy black gel and cure. Decide where the letter sits — I place it slightly above the center so it doesn’t get swallowed near the free edge. Use a nail vinyl stencil or a fine liner brush to paint a small gold script with gold gel, keeping stroke thickness consistent. Cure and top coat, then check the top for any raised edges from the brush stroke.
A tiny gold script initial feels personal and still classy because the design is small and intentional. I keep the letter near the center of the nail, not across the whole nail, so it stays readable on short lengths. Glossy black makes the gold look like ink on glass. This works on any skin tone and feels especially good for date nights or birthdays. If you like black nails but want something different from plain, script is a clean upgrade.
Watch outAvoid thick markers of gold; chunky script on short nails looks like a decal.
Editor's notePractice the letter on a nail tip first — tiny script fails when your hand pressure changes mid-stroke.
14. Black Marble Swirl With Gold Edge
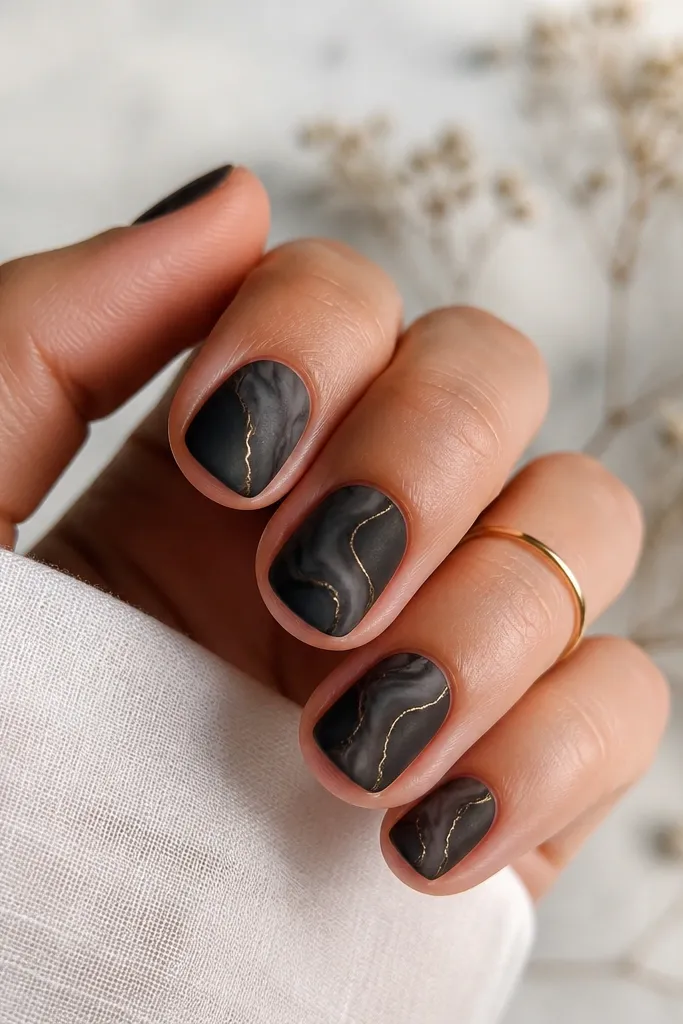
Start with a matte black base and cure. Using a marbling tool or a sponge, create a subtle swirl with a slightly lighter black or black-gray gel, keeping it near the center. With a thin liner brush, trace a small portion of the swirl edge with gold gel so it runs along one curve only. Cure and seal with top coat; if you want extra smoothness, do a slightly thicker top coat over the swirl area.
This is a “marble but controlled” look. The black marble swirl gives depth, and the gold edge keeps it looking finished instead of random. I use matte black for the base because it makes the swirl look softer, then I add a thin gold line only along one side of the curve. It flatters short nails because the gold line is a guide, not a full overlay. It also looks good on both cool and warm undertones since the gold edge is the only bright element.
Watch outAvoid heavy white marble on small nails; it steals the space the gold needs.
Editor's noteKeep the gold edge to one side of the swirl — two sides makes it look like a thick outline.
15. Gold Dipped Free Edge (Reverse French)
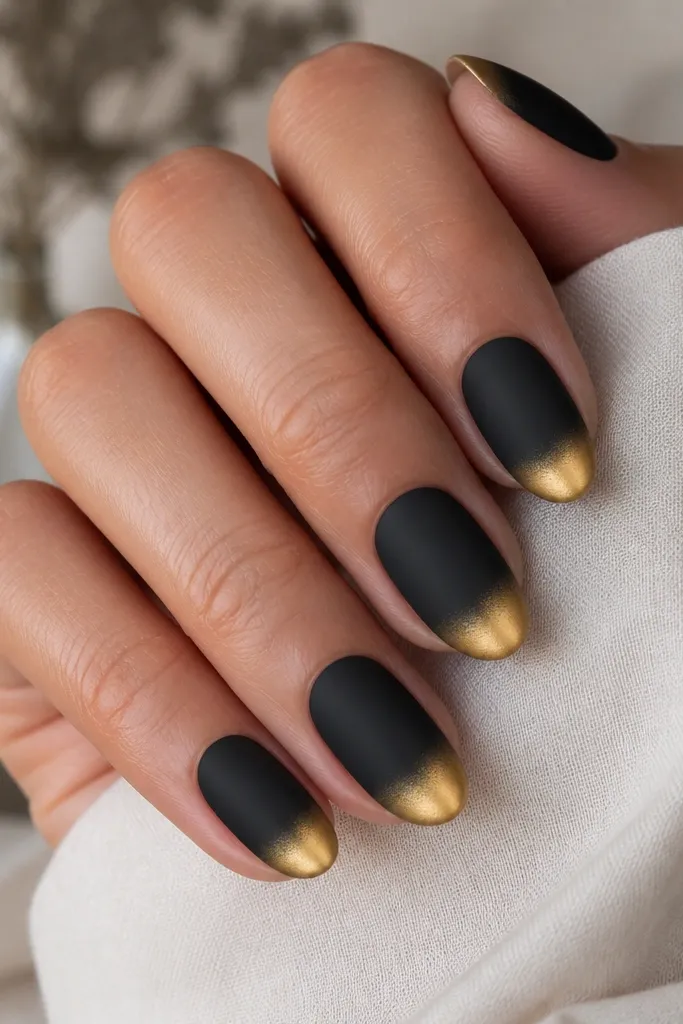
Apply matte black gel and cure. With a makeup sponge or a small foam applicator, lightly dab gold gel onto the free edge in a curved band, then blend upward slightly so the gold fades into black. Use striping tape to keep the curve clean if you’re nervous about the line. Cure and cap with top coat, then file the tip edge lightly for smoothness.
Reverse French with a dip keeps the design airy. Instead of a full gold tip, you get a gold edge that looks like it’s been painted with a brush and then lightly feathered. Matte black is key because it makes the gold look like it’s sitting on top rather than bleeding. This works on short nails because the gold is confined to the tip area and doesn’t cover the nail bed. It’s also a great choice if you like black nails but want something that feels special without doing full nail art.
Watch outDon’t make the gold fade too high; if it climbs past mid-nail it stops looking “small space.”
Editor's noteFeather with the sponge edge, not the flat — it creates a softer fade that still looks controlled.



